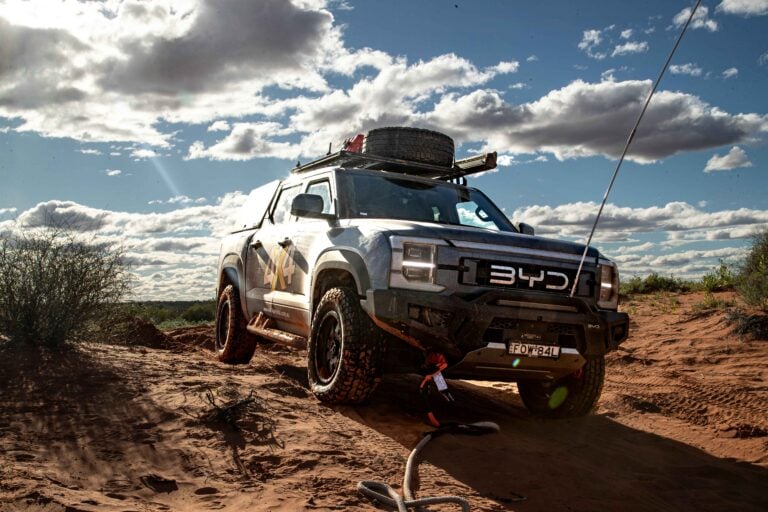
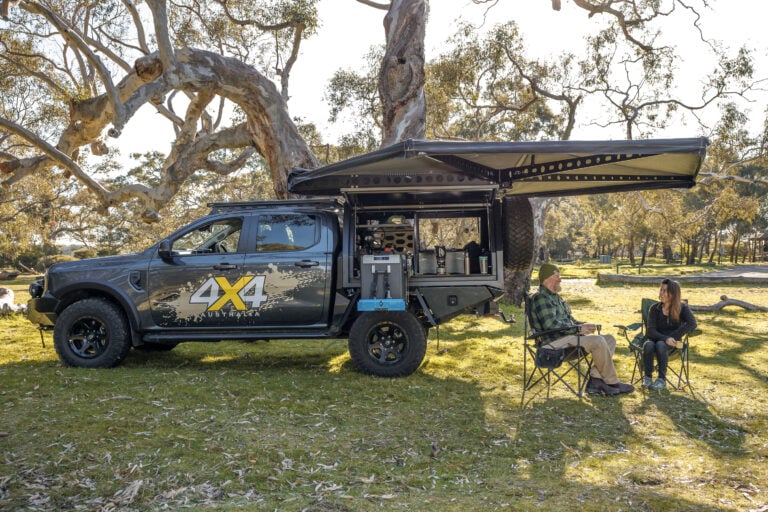
The Ford Ranger posted its best monthly sales result so far in 2023, with the Blue Oval shifting a total of 5949 new 4×4 vehicles in October.
When combining these 4×4 sales with 4×2 figures, the Ranger ranks as the best-selling new vehicle in the country for the month, with a total of 6215 units delivered. This places it ahead of its perennial rival, the Toyota HiLux, which registered a total of 5766 sales (4829 of which were 4×4 variants).
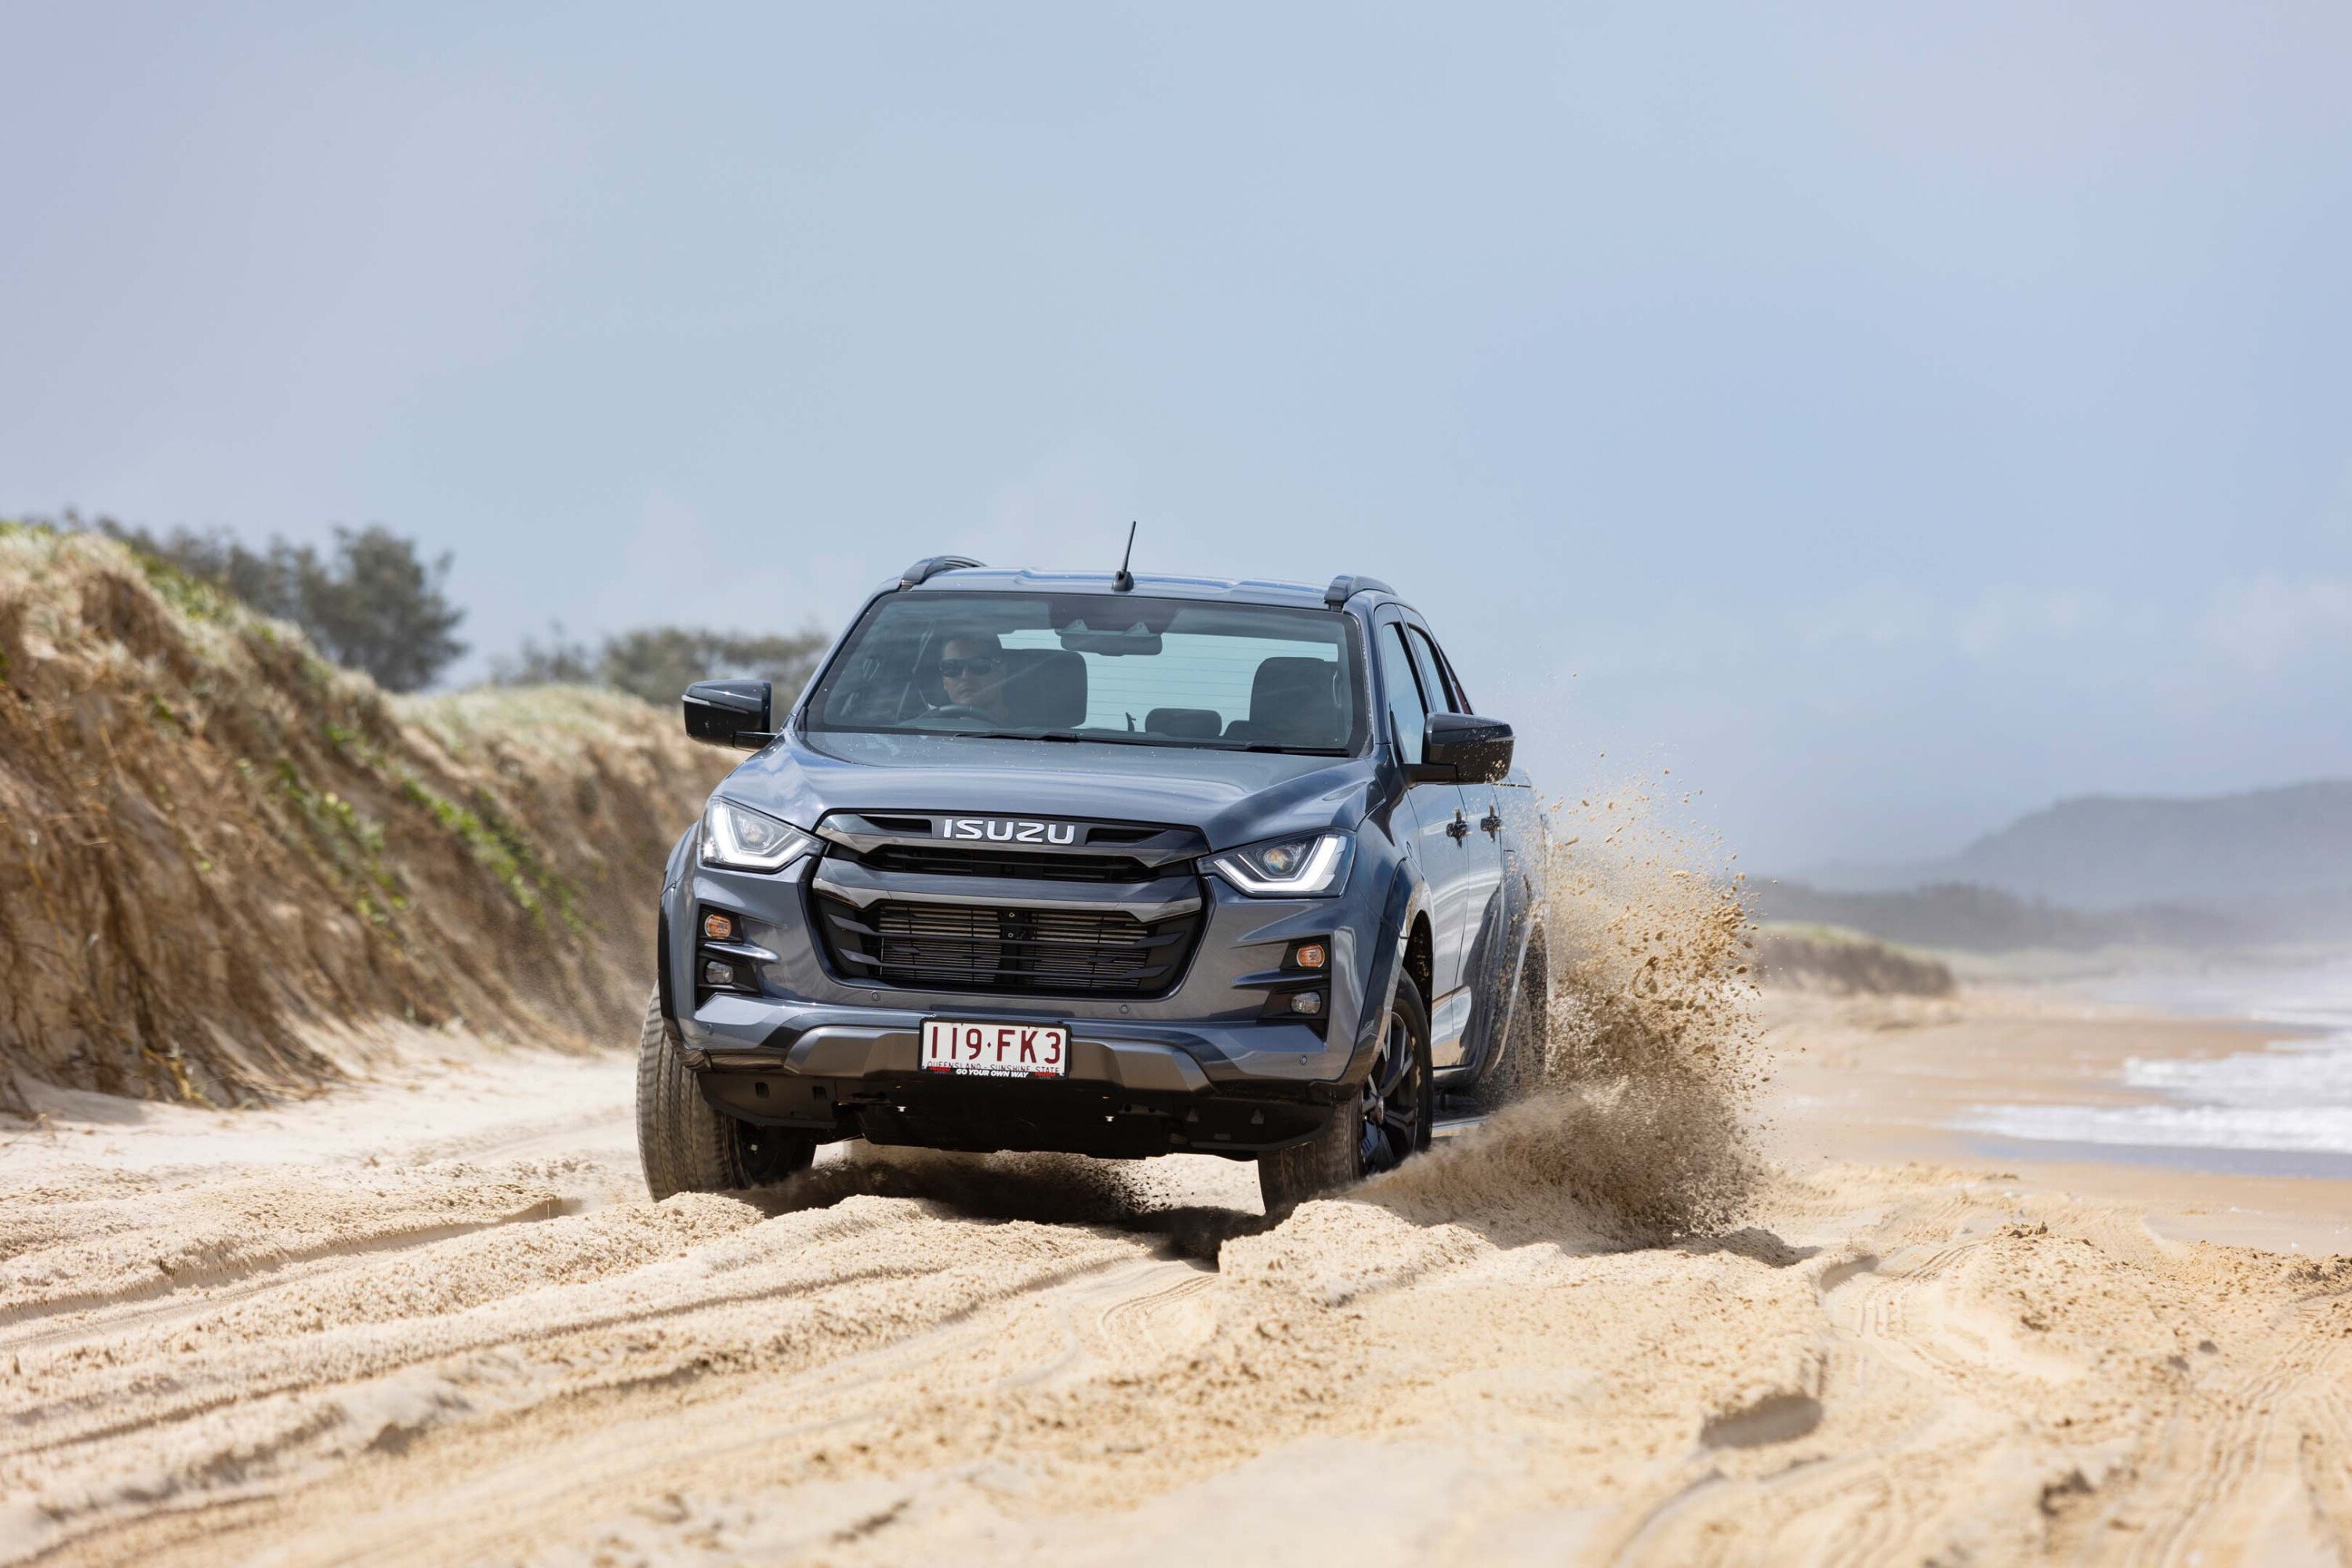
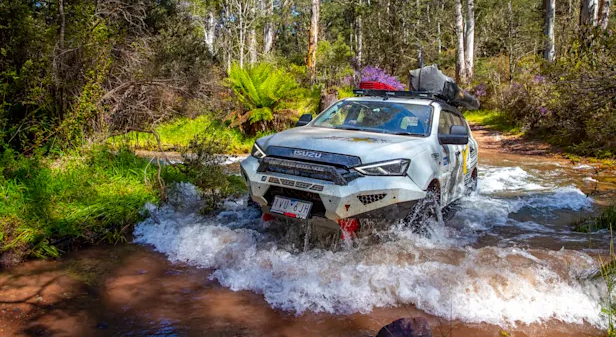
Isuzu’s D-MAX rounds out the top three on the overall sales charts and continues to be a success story for the Japanese marque. Isuzu delivered a total of 3198 D-MAX models in October (2591 of which were 4×4 variants), with the ute surpassing 20,000 4×4 sales so far in 2023.
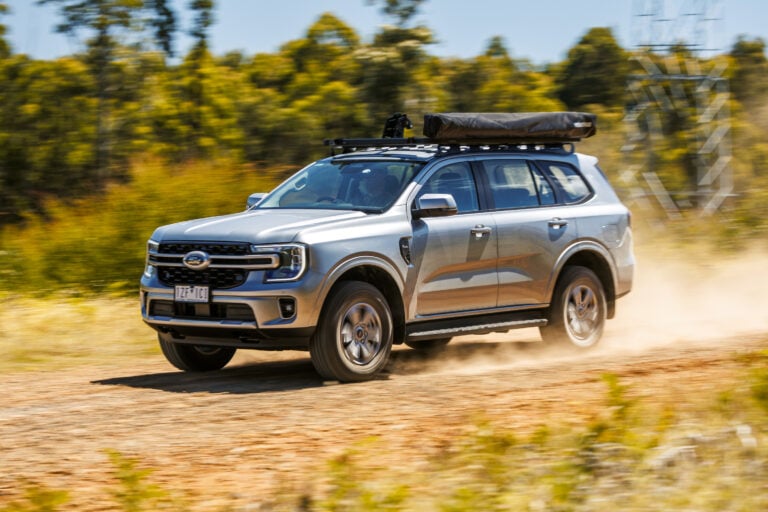
The Toyota Prado regained the mantle as the best-selling SUV on the 4×4 charts, outselling the Ford Everest and LandCruiser 300 Series in October.
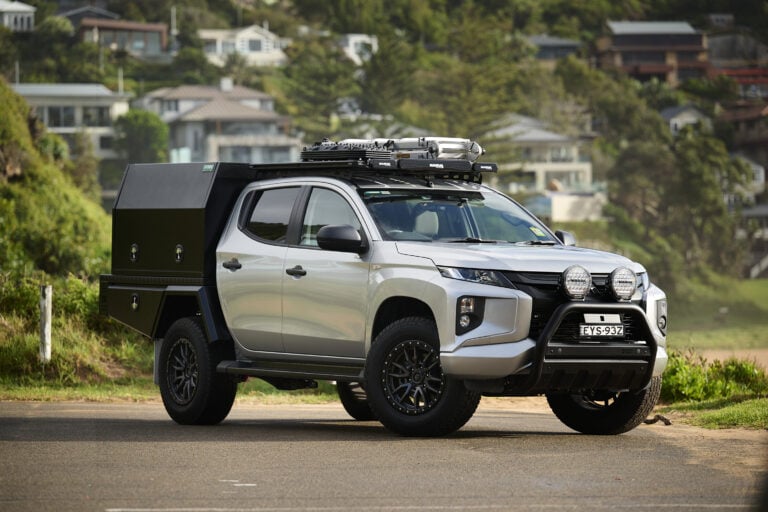
Absent from the top 10 charts last month, both the Triton and Amarok reappear with 1324 and 1024 sales respectively. Still missing from the charts, though, is the Nissan Navara, with just 374 sales posted in October.
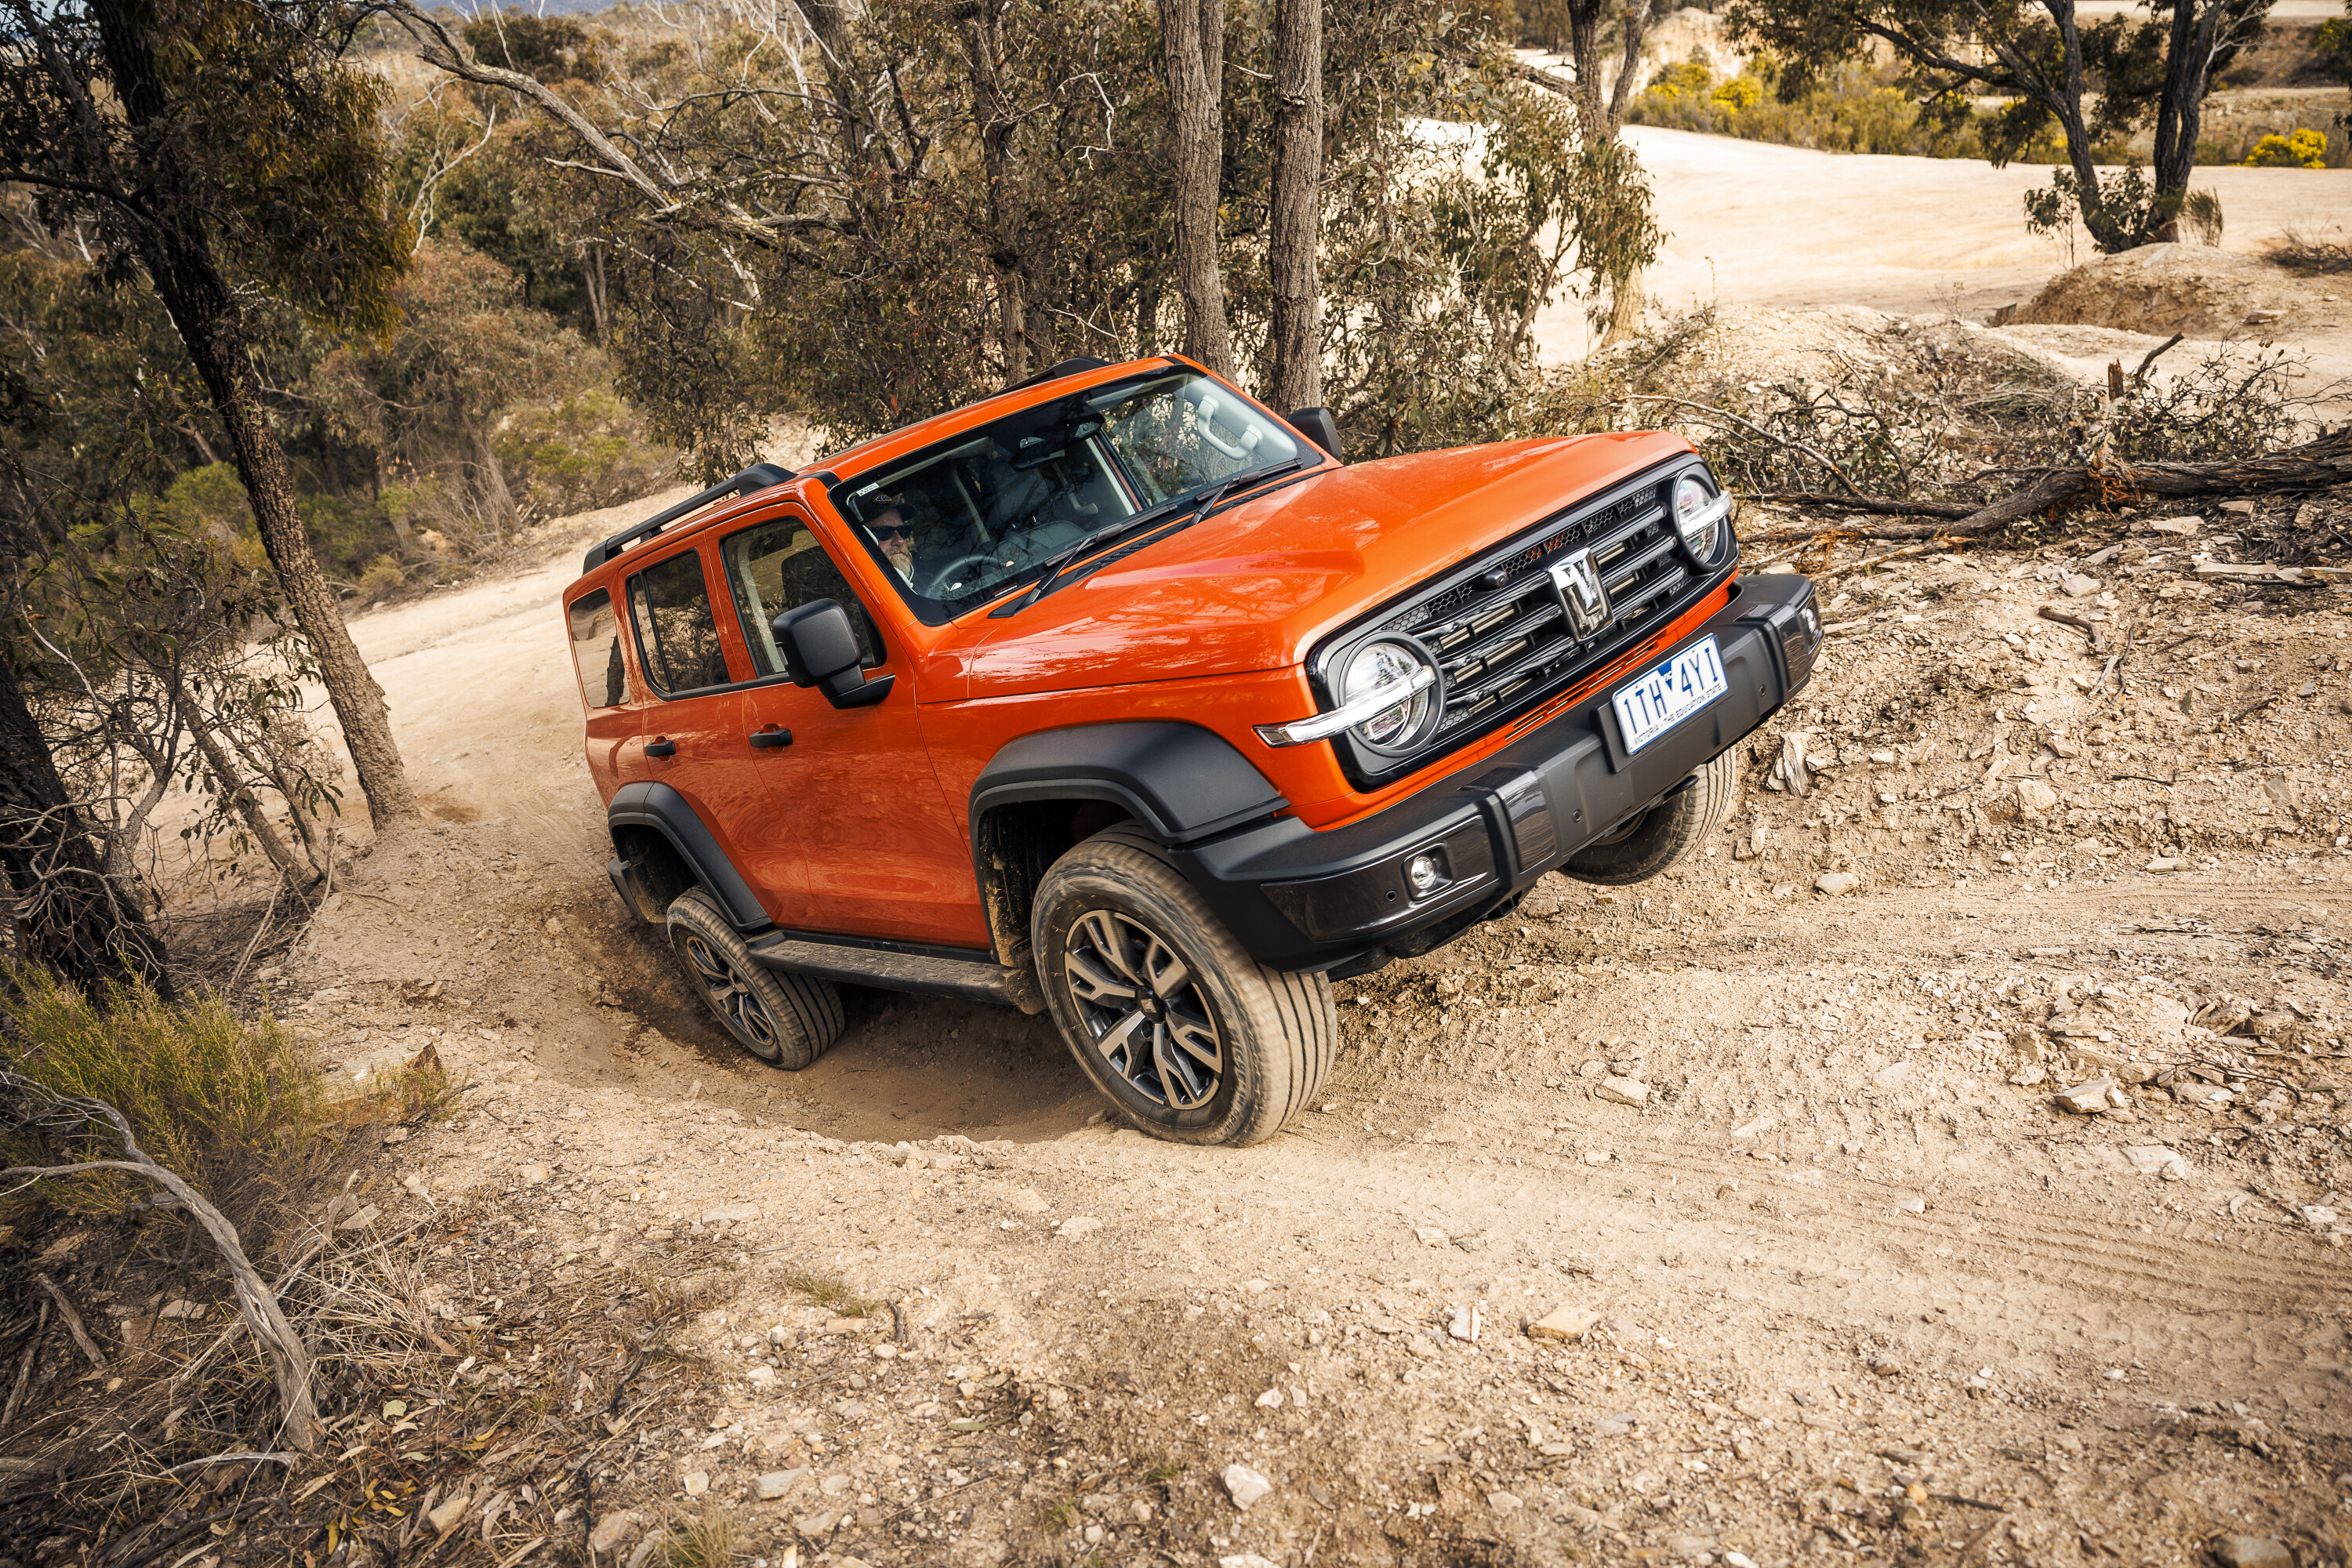
The GWM Ute leapfrogged the LDV’s T60 to become the best-selling budget buy, registering a total of 553 sales compared to 463 for the T60. A total of 268 SsangYong Musso 4x4s were delivered in October, while GWM also shifted 99 Tank 300s for the month.
In the battle of the brutes, the RAM 1500 outsold the Chevrolet Silverado by 282 units to 217.
More than one million new vehicles have now been delivered so far in 2023 continues to break all-time sales records. In October, 38.3 per cent of sales were either in LCV, large, or upper large SUV categories.
Top-selling 4x4s in October 2023
| Vehicle | Units |
|---|---|
| 1. Ford Ranger | 5949 |
| 2. Toyota HiLux | 4829 |
| 3. Isuzu D-MAX | 2591 |
| 4. Toyota Prado | 2320 |
| 5. Ford Everest | 1803 |
| 6. Toyota LandCruiser 300 | 1450 |
| 7. Mitsubishi Triton | 1321 |
| 8. Toyota LandCruiser 70 | 1111 |
| 9. Volkswagen Amarok | 1024 |
| 10. Mazda BT-50 | 1002 |
Top-selling 4×4 models YTD 2023
| Vehicle | Units |
|---|---|
| 1. Ford Ranger | 44,902 |
| 2. Toyota HiLux | 39,705 |
| 3. Isuzu D-MAX | 20,026 |
| 4. Toyota Prado | 15,145 |
| 5. Toyota LandCruiser 300 | 12,266 |
| 6. Ford Everest | 12,186 |
| 7. Mazda BT-50 | 11,831 |
| 8. Isuzu MU-X | 11,824 |
| 9. Mitsubishi Triton | 11,369 |
| 10. Toyota LandCruiser 70 | 9366 |
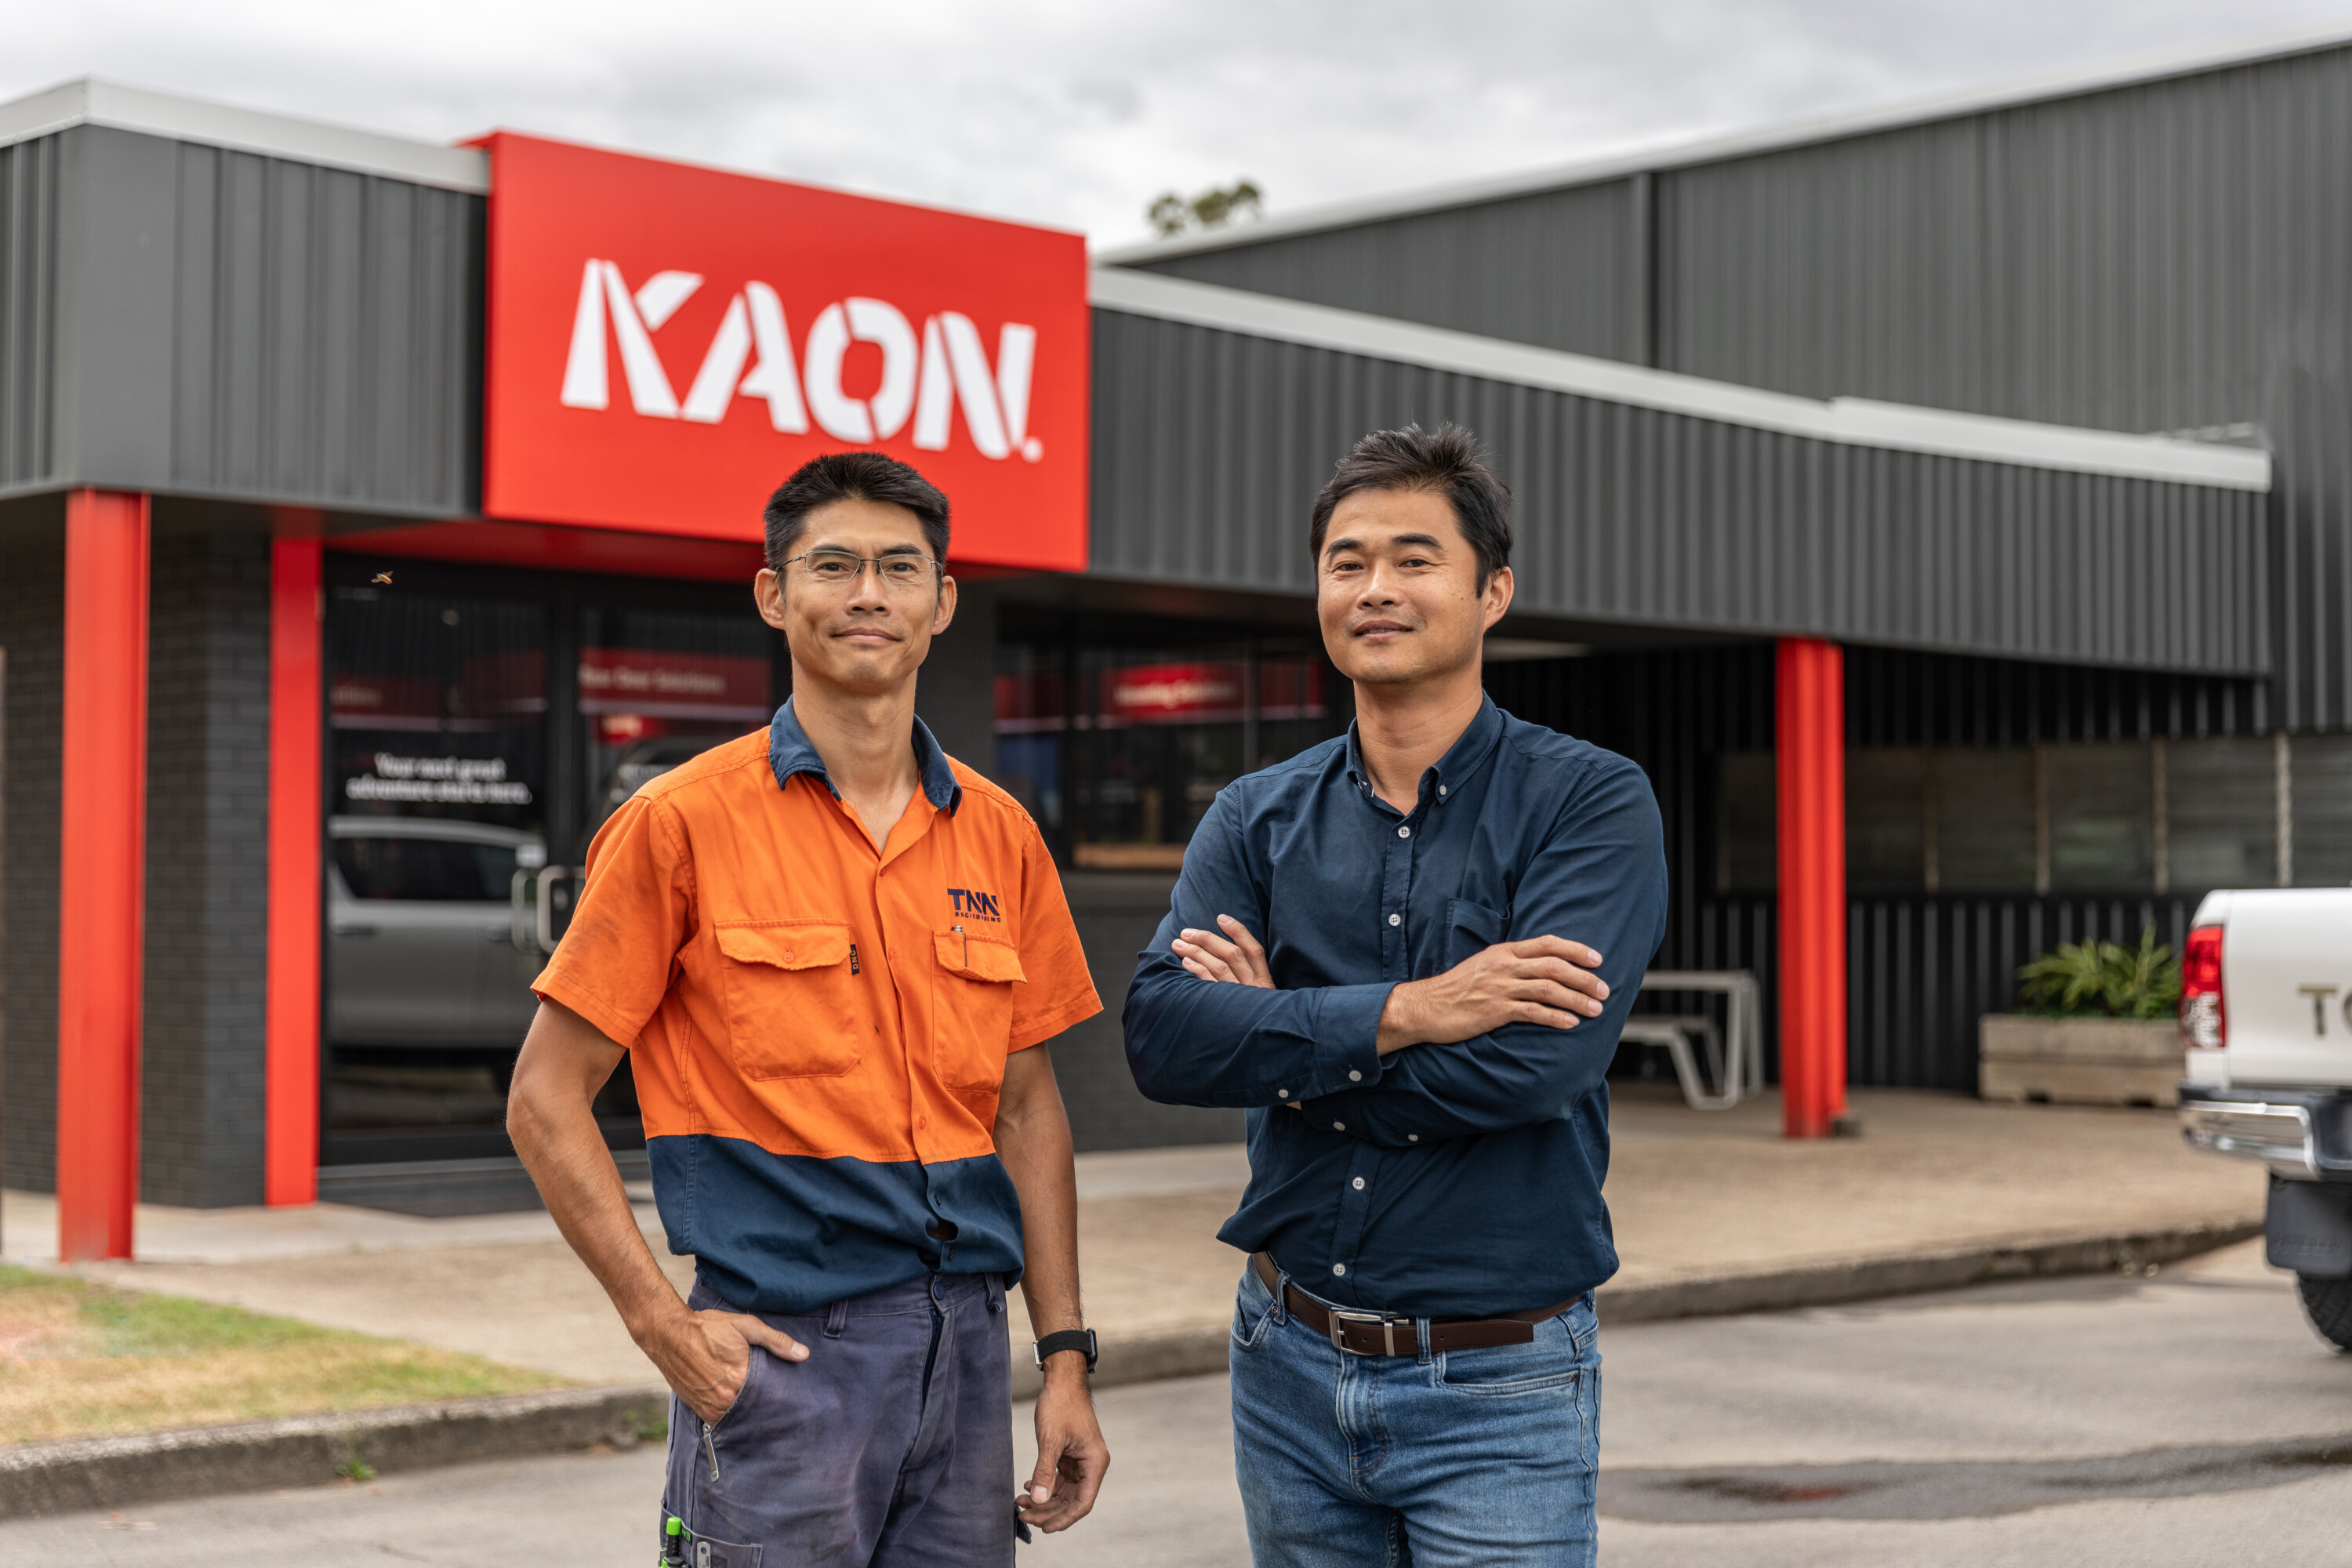
KAON is an emerging brand in the booming 4×4 aftermarket space in Australia, specialising in protection, storage and touring solutions; but, as with many family-built companies, its foundations originate in a garage.
The business is currently run by Tin (MD) and Le (Operations) Hua, brothers who have carried on the family-run operations from their parents, Thang and Nu, who immigrated from Vietnam to Brisbane as refugees in the 1980s, settling down in West End in Brisbane.
Despite speaking very little English, Thang’s career progressed from sweeping floors to becoming a fully qualified fitter and tuner at a large mining manufacturer. Following a redundancy, Thang spent his life savings on a small lathe and a basic drill press, and founded the business TNN Engineering – now a massive metal manufacturing and precision engineering business – in his West End garage.
The family garage couldn’t contain the expanding business for long, as the business relocated to a rural property in Richlands where a 200m2 purpose-built shed was erected.
It’s this business that eventually formed the foundation of KAON in the 4×4 and camping space, which was established by Tin in 2014 after he successfully created products – things like transmission cooler brackets and cargo barriers – to solve touring problems on his own family adventures throughout Australia.
Since its inception, the business has grown from a few simple products to a vast range of protection, storage and touring solutions for a variety of vehicles, with the business now operating out of its massive facility in Carole Park, Brisbane. Better still, all products are manufactured locally and stamped with an ‘Australian made and owned’ certification.
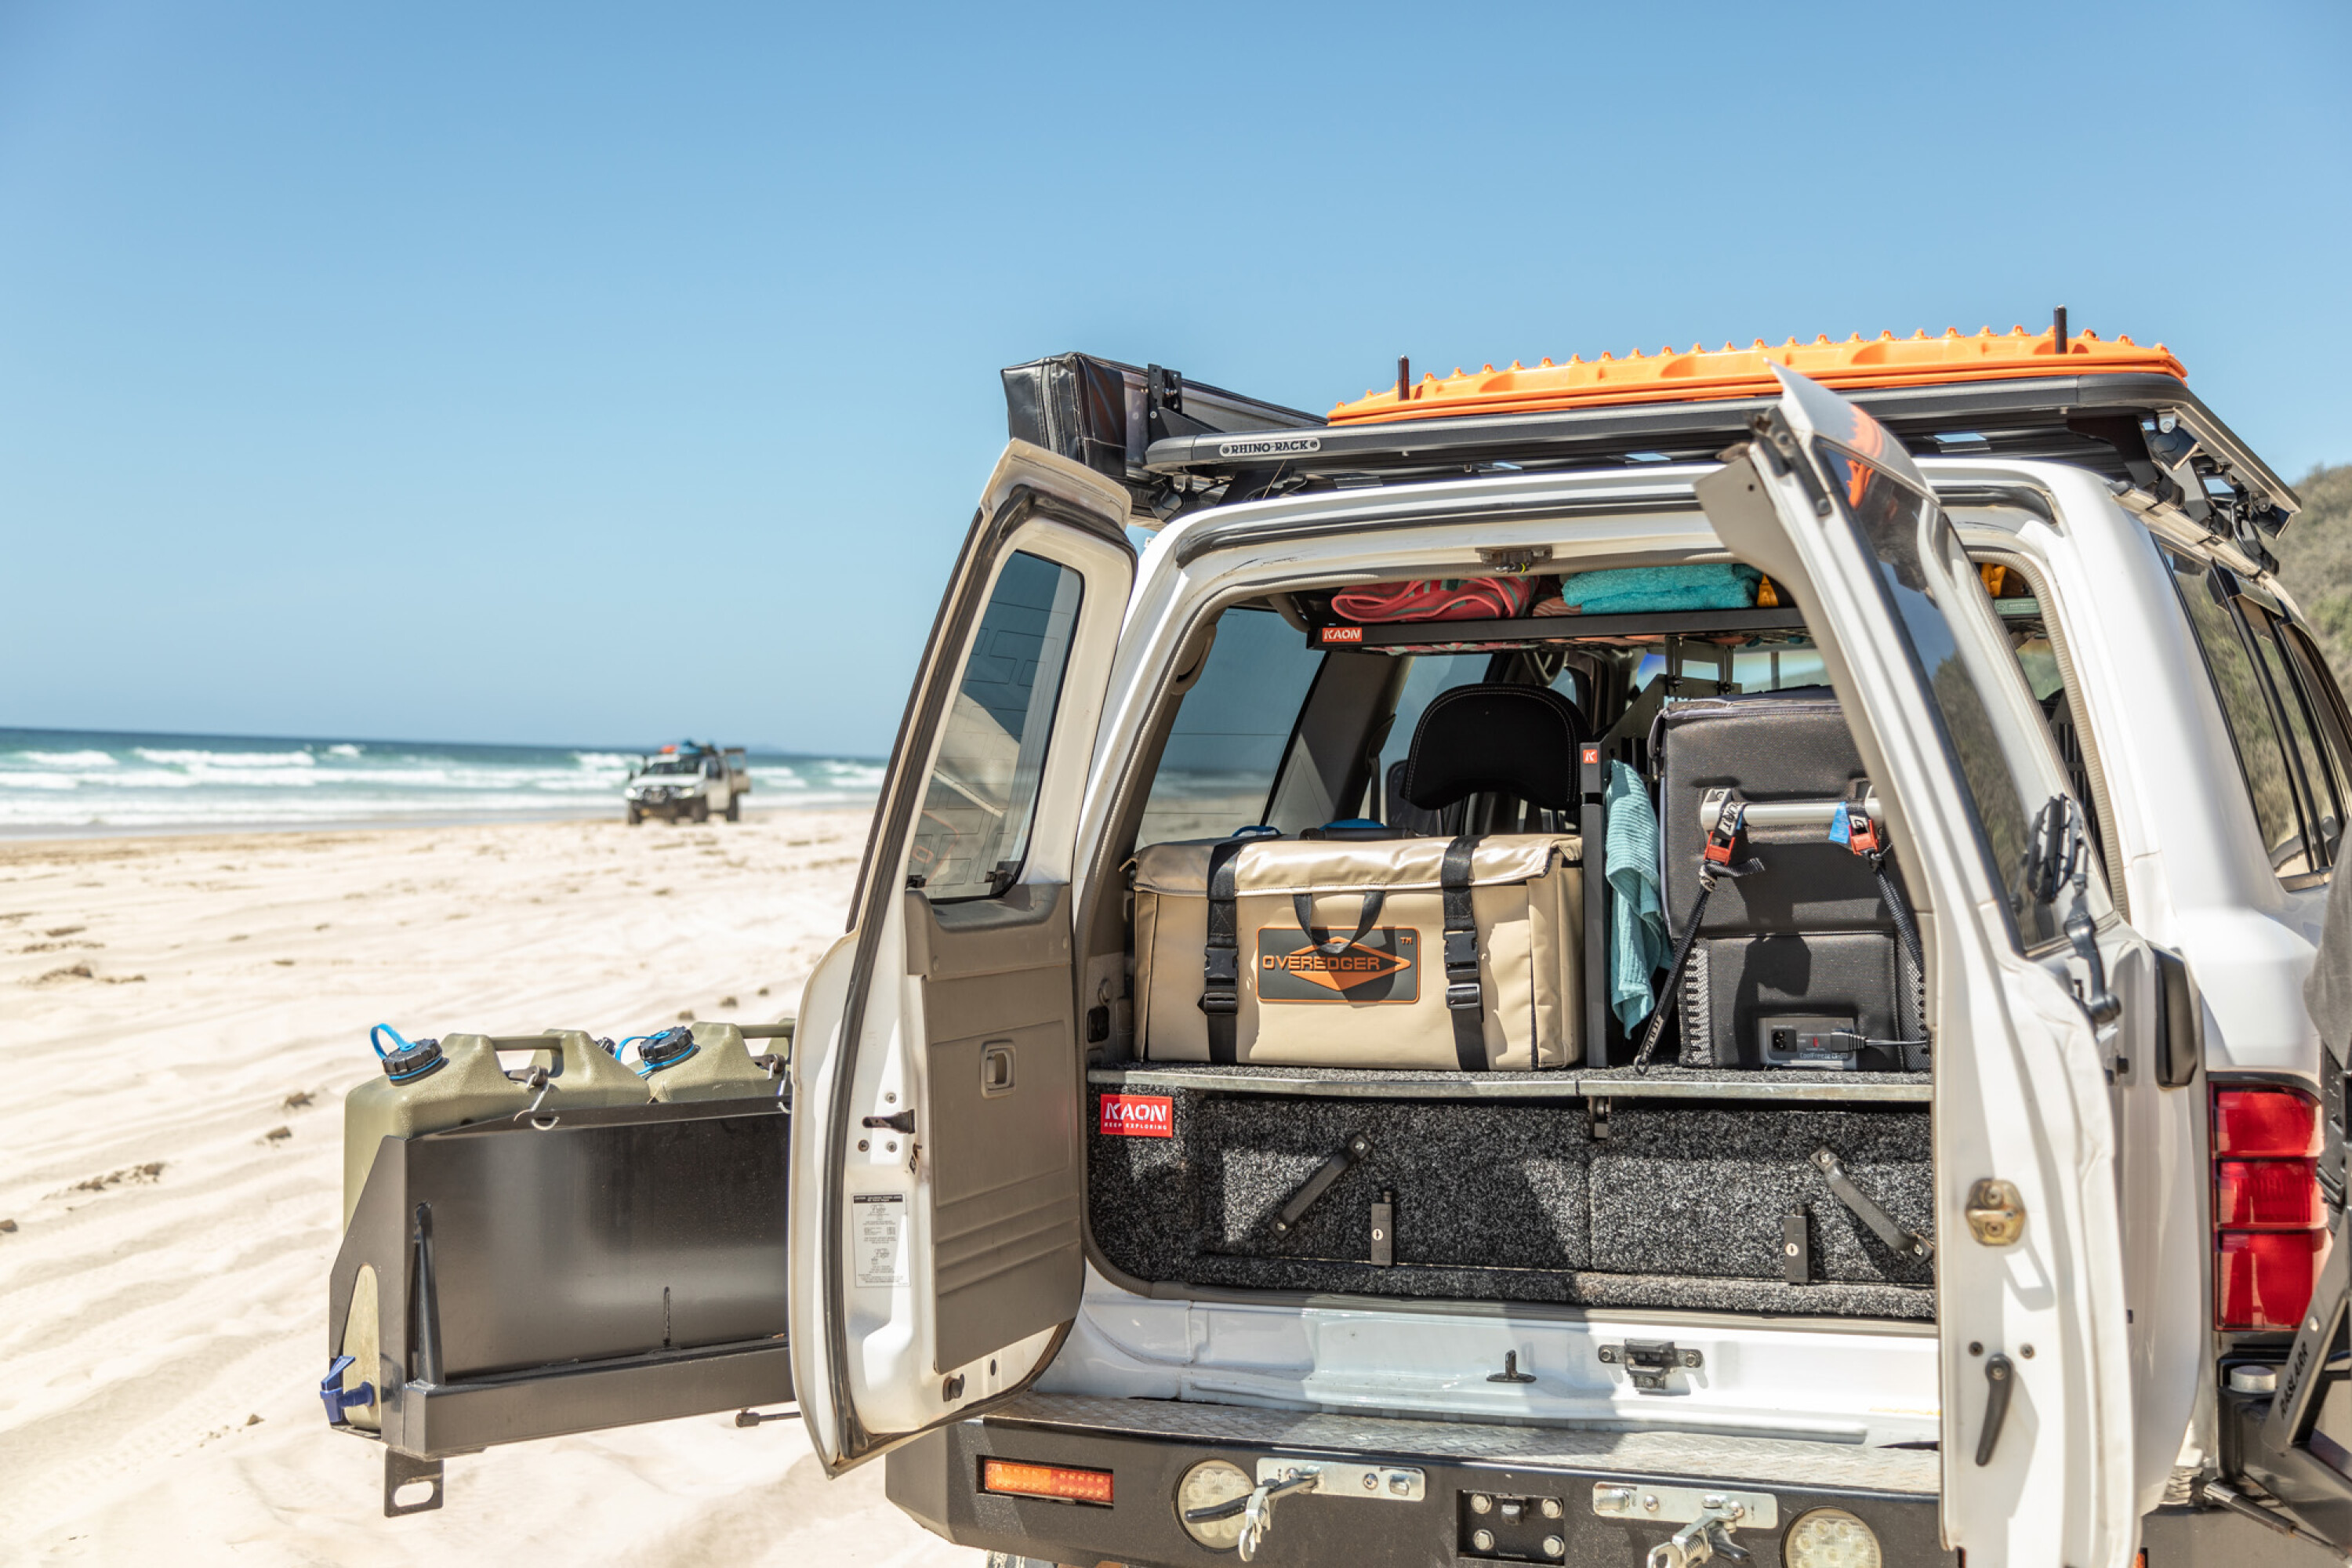
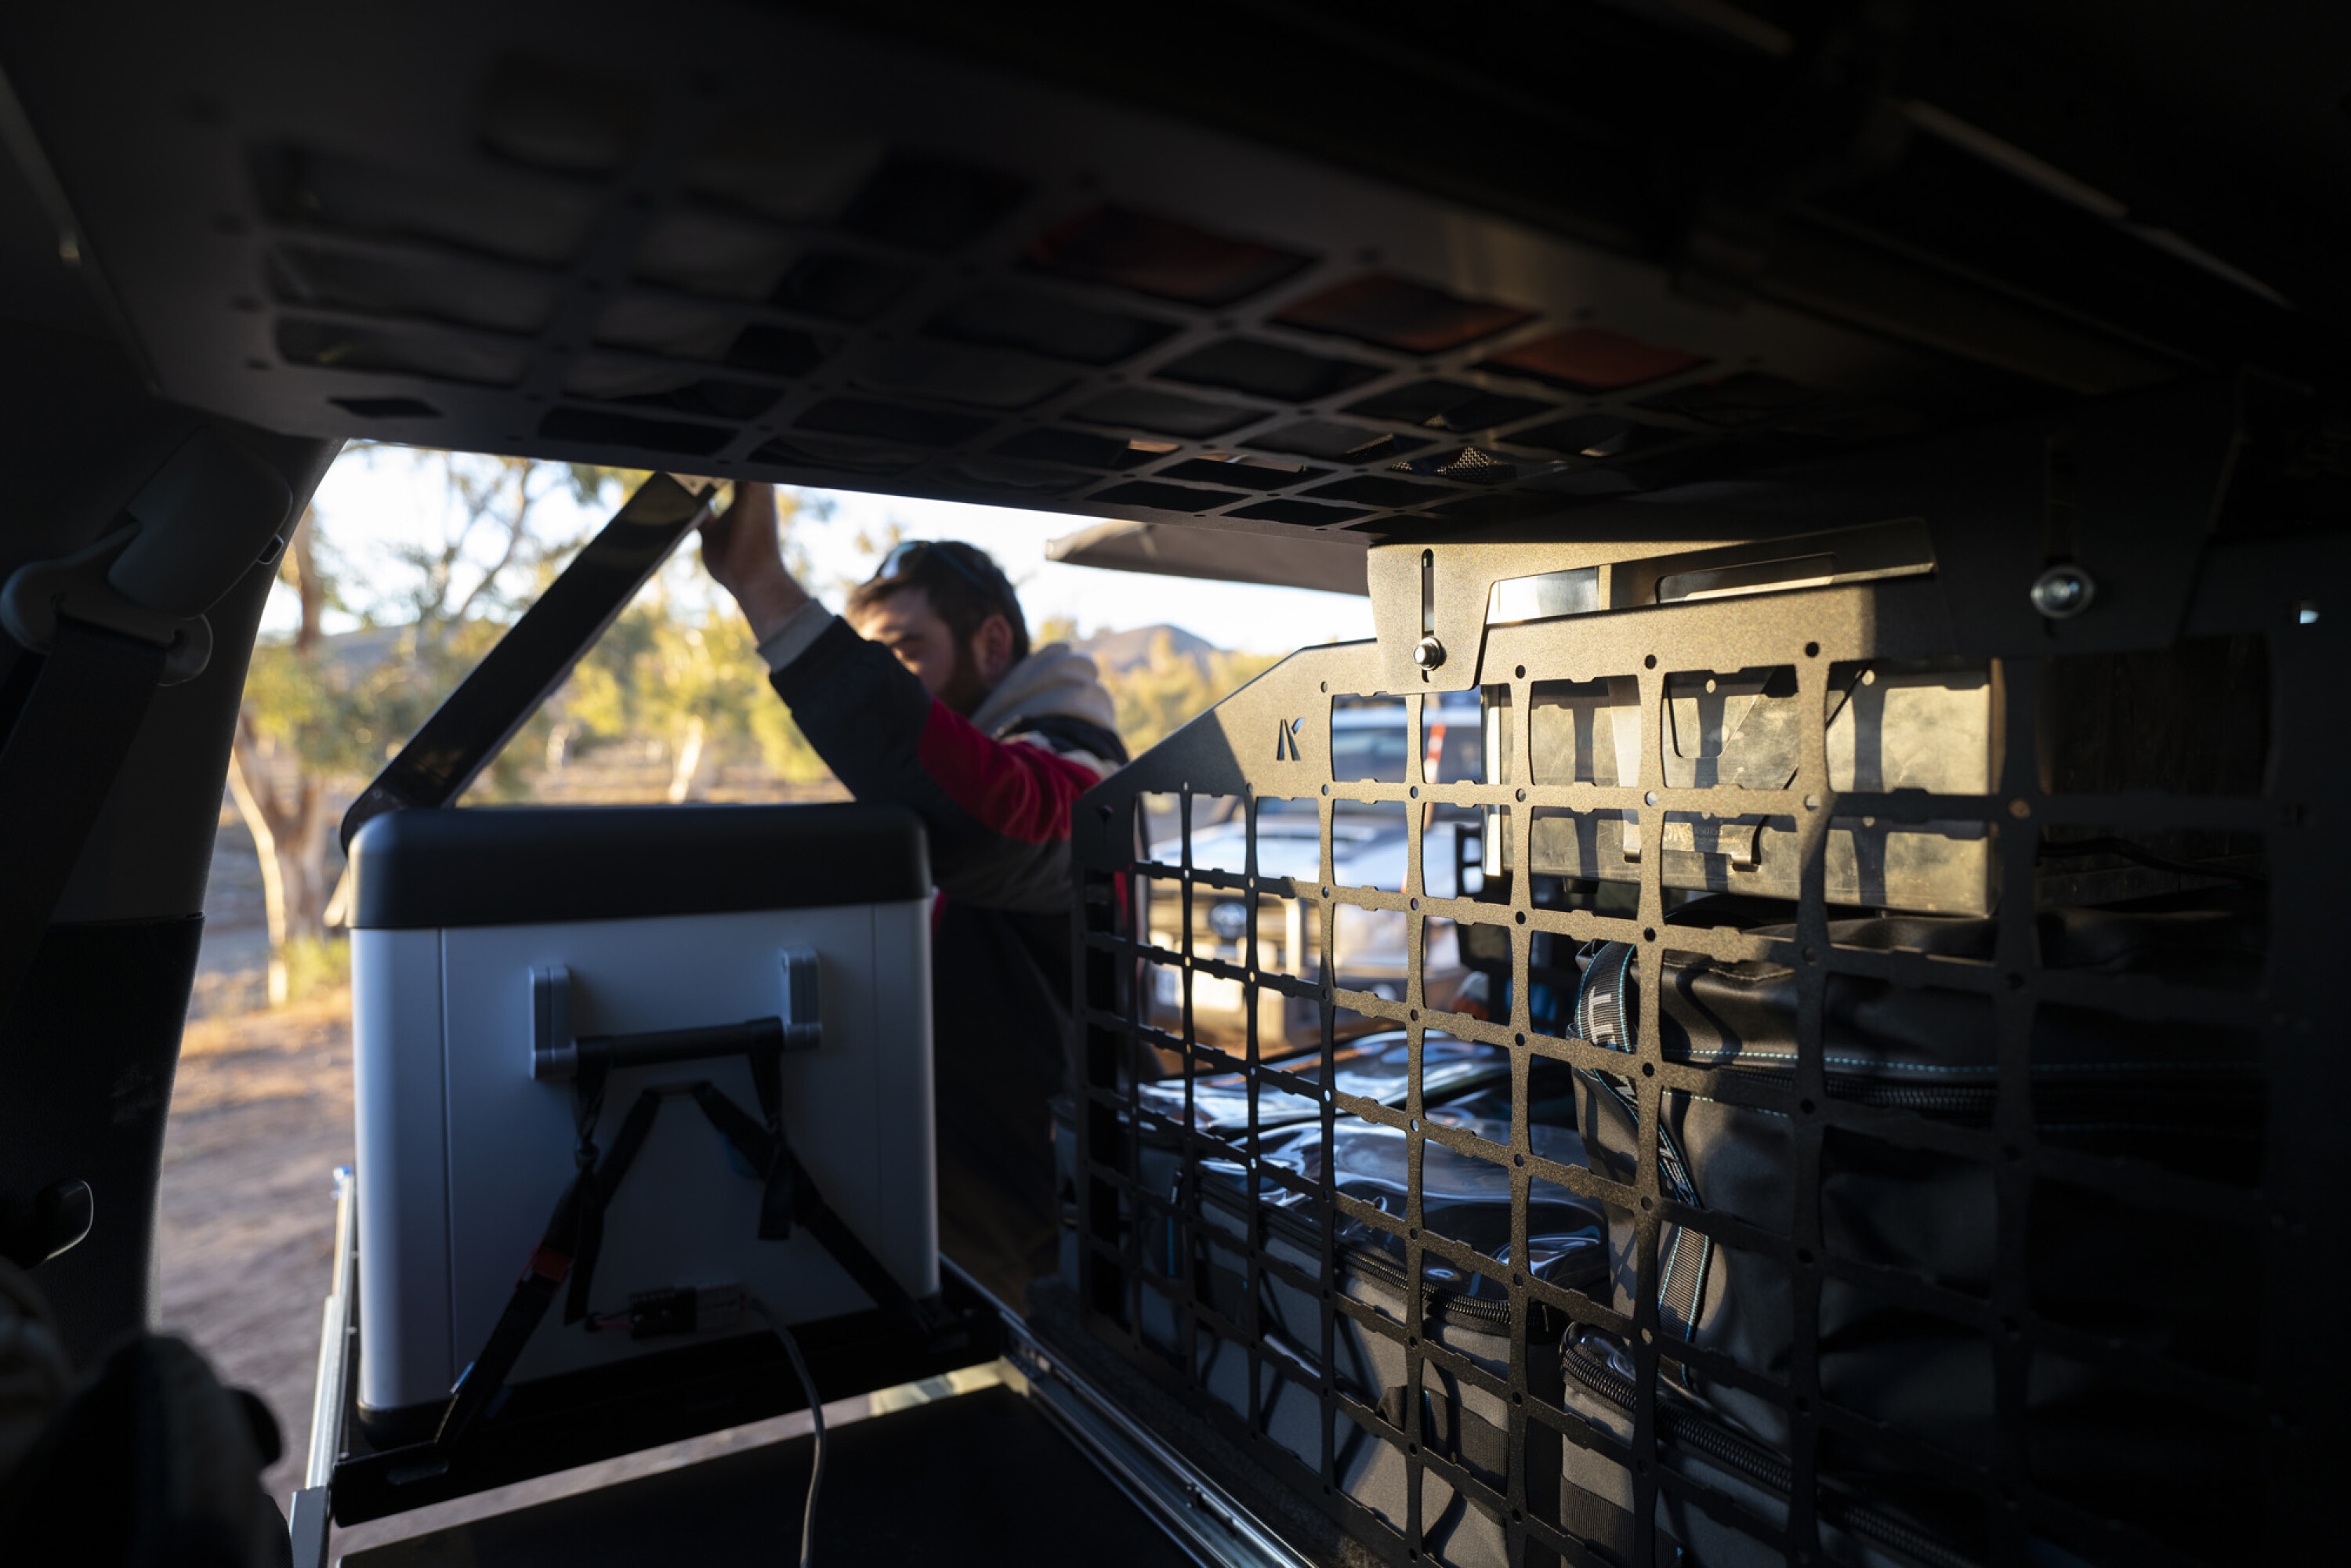
A specific range of products KAON is immensely proud of is its range of Interior Storage Solutions, which is led by the brand’s Standalone Shelves.
PRODUCTS AVAILABLE
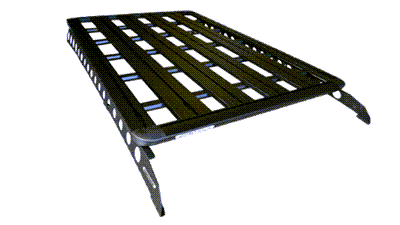
- Standalone Rear Roof Shelves
- Light Cargo Barriers
- Side Molle Panels
- Cargo/Fridge Dividers
- Storage Accessories
Standalone Rear Roof Shelves
KAON’s extensive range of Standalone Shelves are designed to maximise storage space in a vehicle and utilise otherwise wasted space.
Manufactured using precision laser cut and pressed steel and then powder-coated in a hard-wearing, textured matte black finish, the shelves are purposefully designed to suit the shape of specific vehicles. This means they hug the roofline to not only look great and be out of the way, but maximise visibility out of the rear windows.
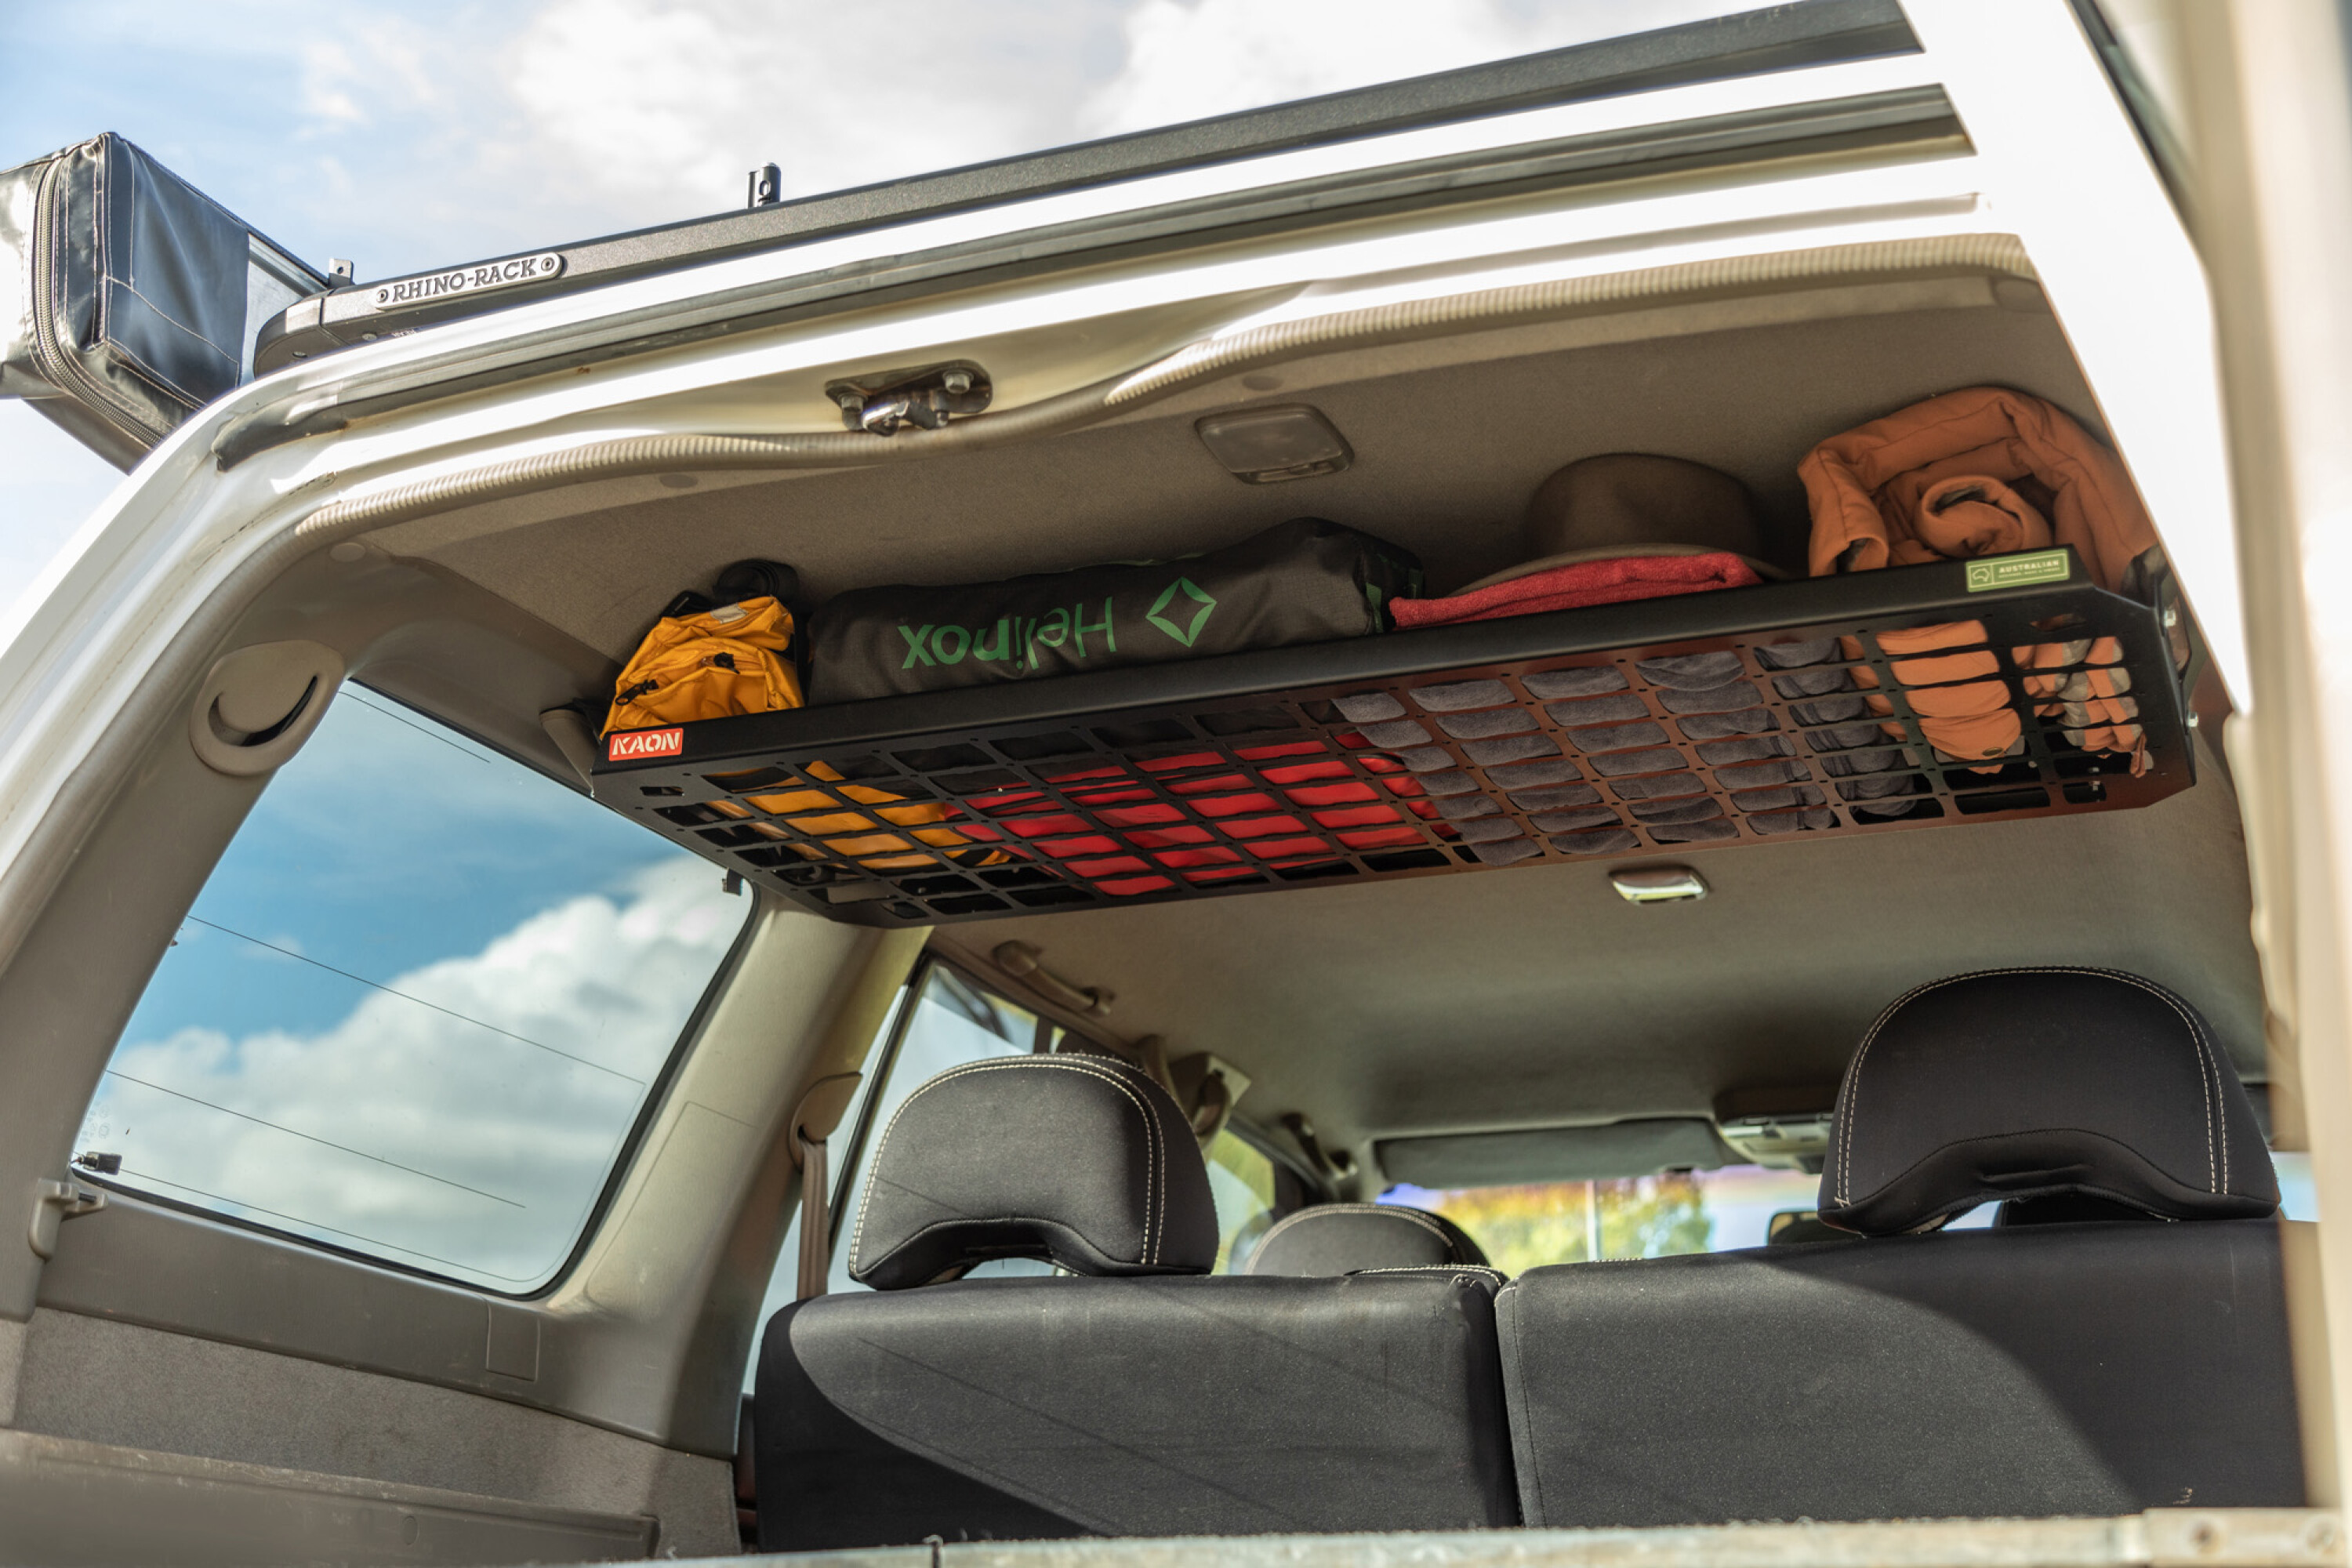
The shelves are an easy DIY installation, with no drilling required as the mounts attach to the rear grab handle points. Many of the shelves available are adjustable, often with two or three height settings and three horizontal (forwards/backwards) settings.
Most of the models in the KAON catalogue are freestanding, or can be set-up with the support of Side Molle Panels to provide additional mounting options. The shelves are also designed to be compatible with KAON’s Light Cargo Barriers or other cargo barrier brands.
Currently, KAON’s standalone shelves are designed to primarily cater for the wagon market and are available to suit many leading wagon models. The shelves have a 10kg load rating.
Light Cargo Barriers
A real benefit of KAON’s Light Cargo Barrier is that it can be set-up or removed from the second row of seats in less than two minutes, with no tools required for installation as it again utilises the vehicle’s rear grab handle points.
Like the rest of KAON’s storage range, the barrier is made from precision laser cut and pressed steel, powder-coated in a textured matte black finish, and it features M5 holes and cutouts designed to allow easy mounting of accessories.
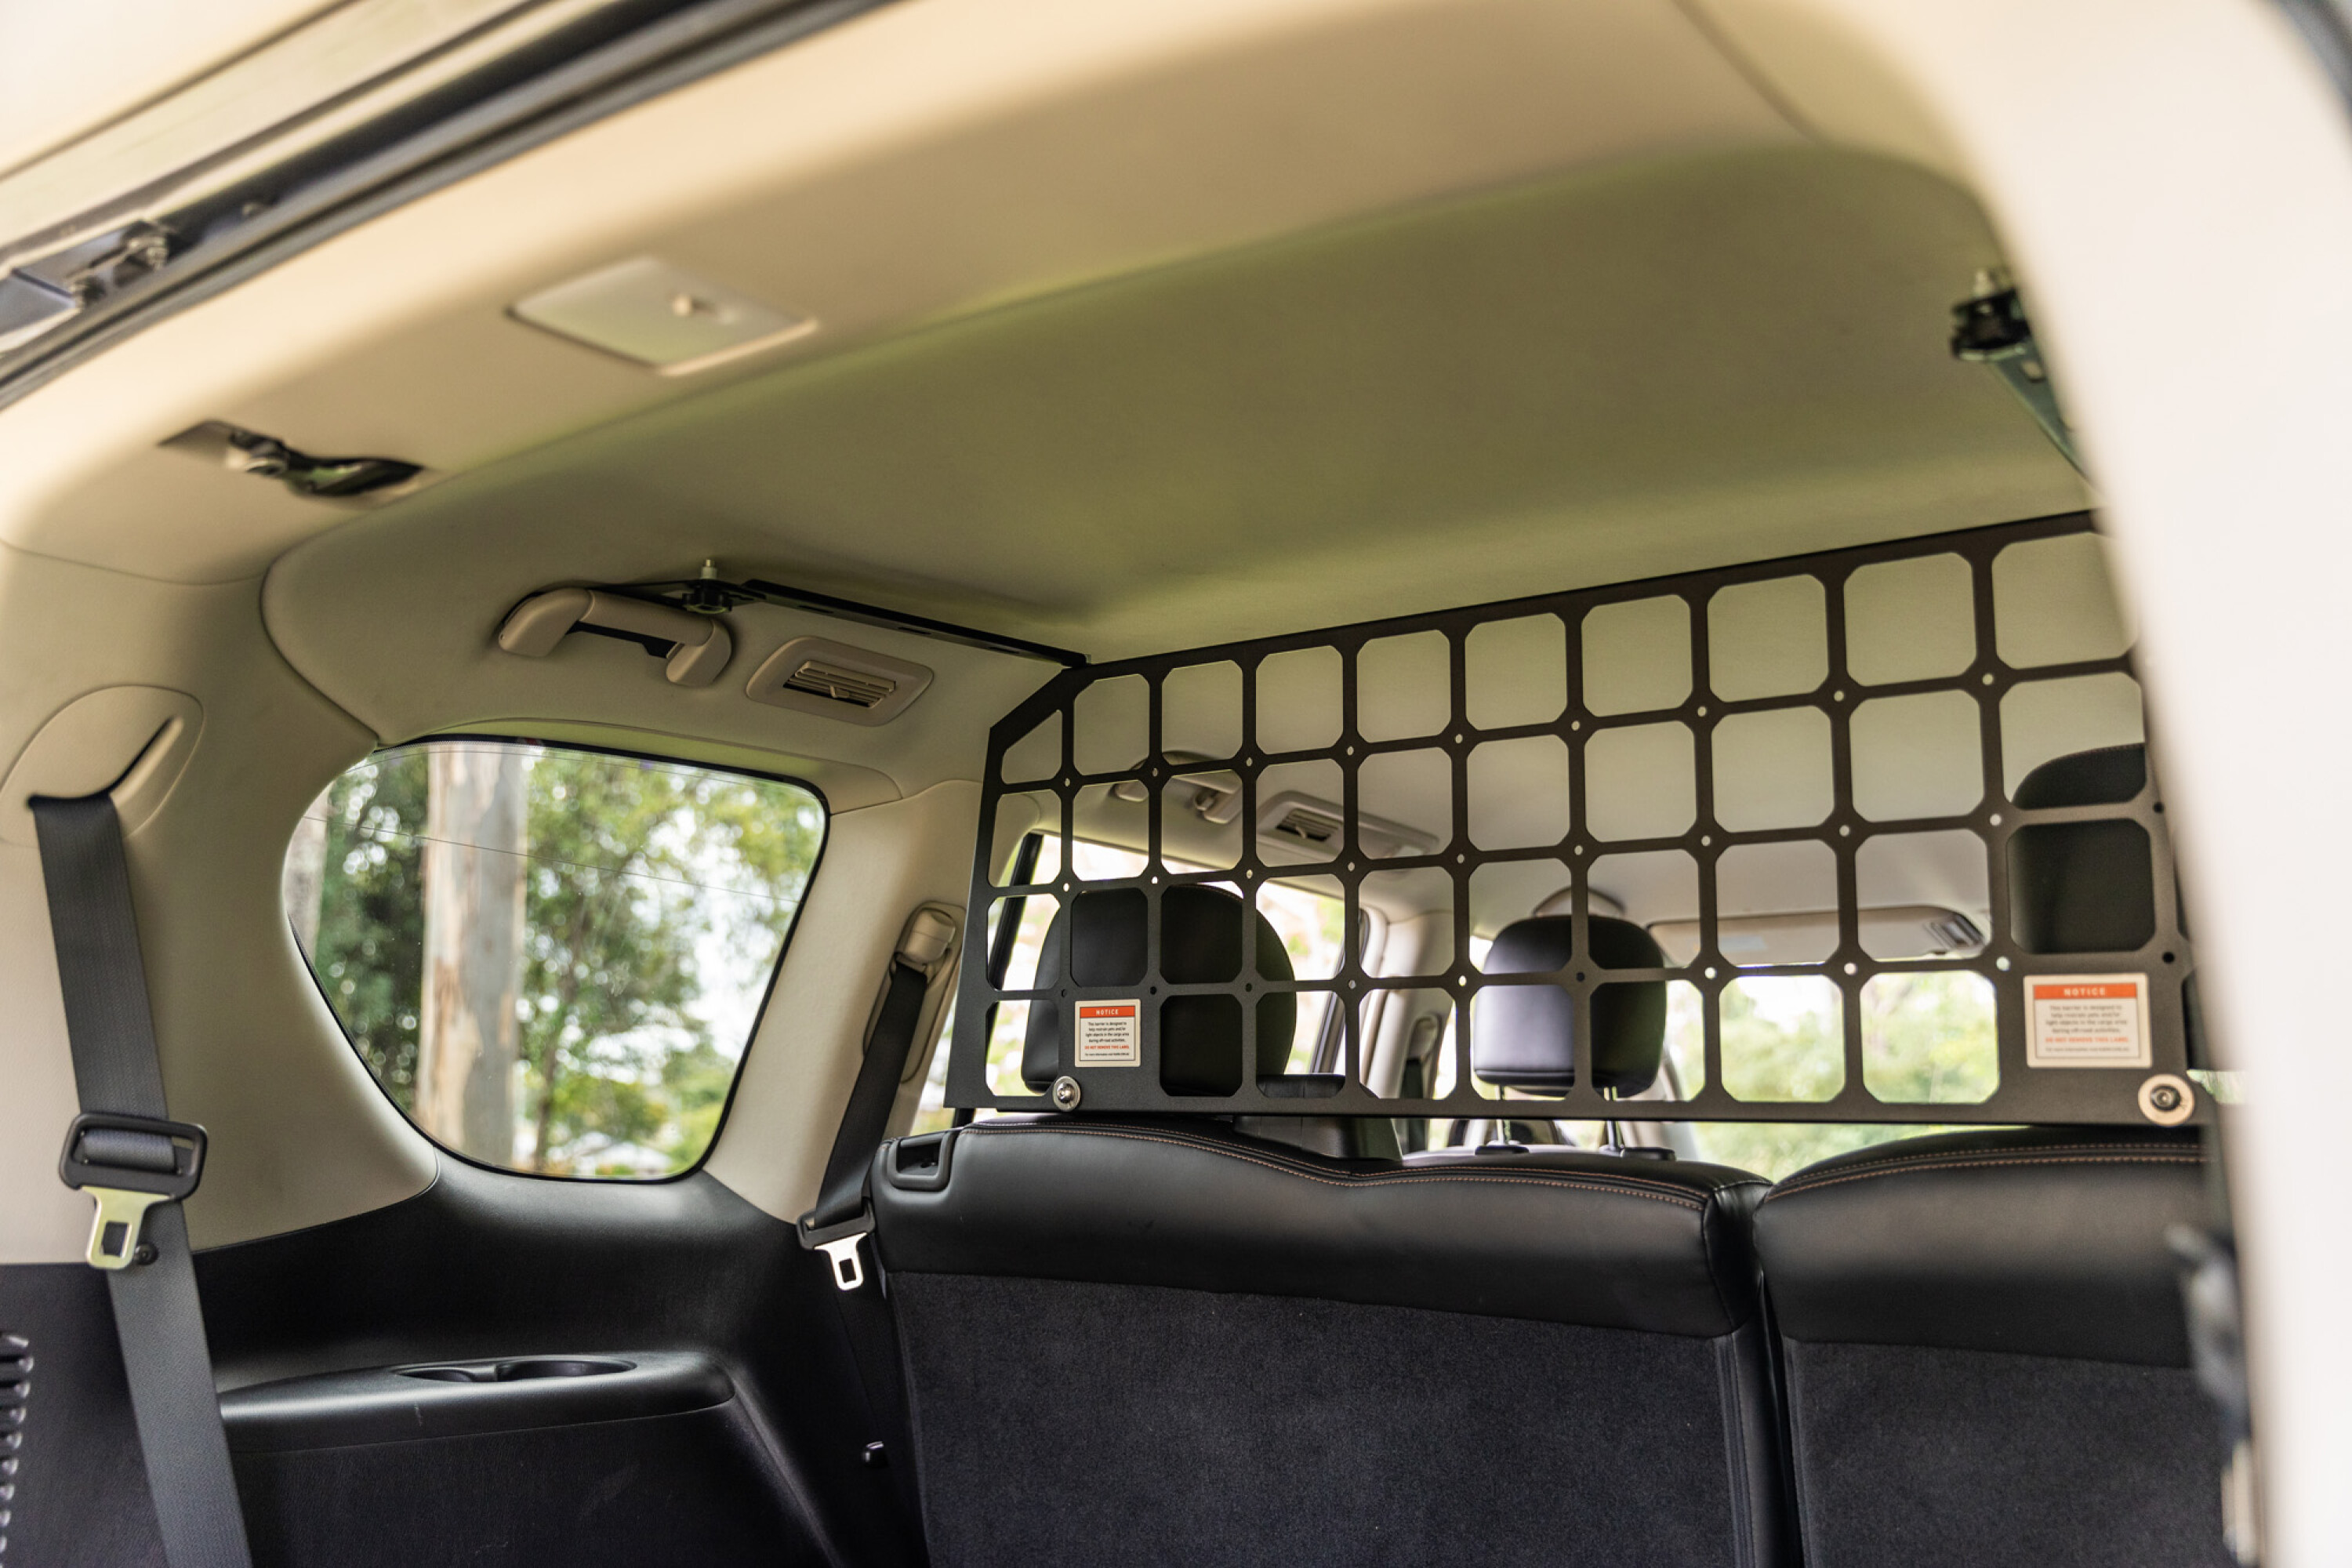
The barrier is compatible with most child restraints and baby car seats, and it comes with adjustable brackets to accommodate varying second-row seating positions.
It’s important to note that it has not been tested to the Australian Cargo Barrier Standards, and is intended for light cargo, as a pet barrier or for use when off-road. It’s available for many leading wagon models.
Side Molle Panels
The slimline profile of KAON’s range of Side Molle Panels allows tourers to personalise their interior storage and utilise what would essentially be wasted space.
Perfect for hanging and storing lightweight items, the panels allow the user to easily and quickly access items in a hurry.
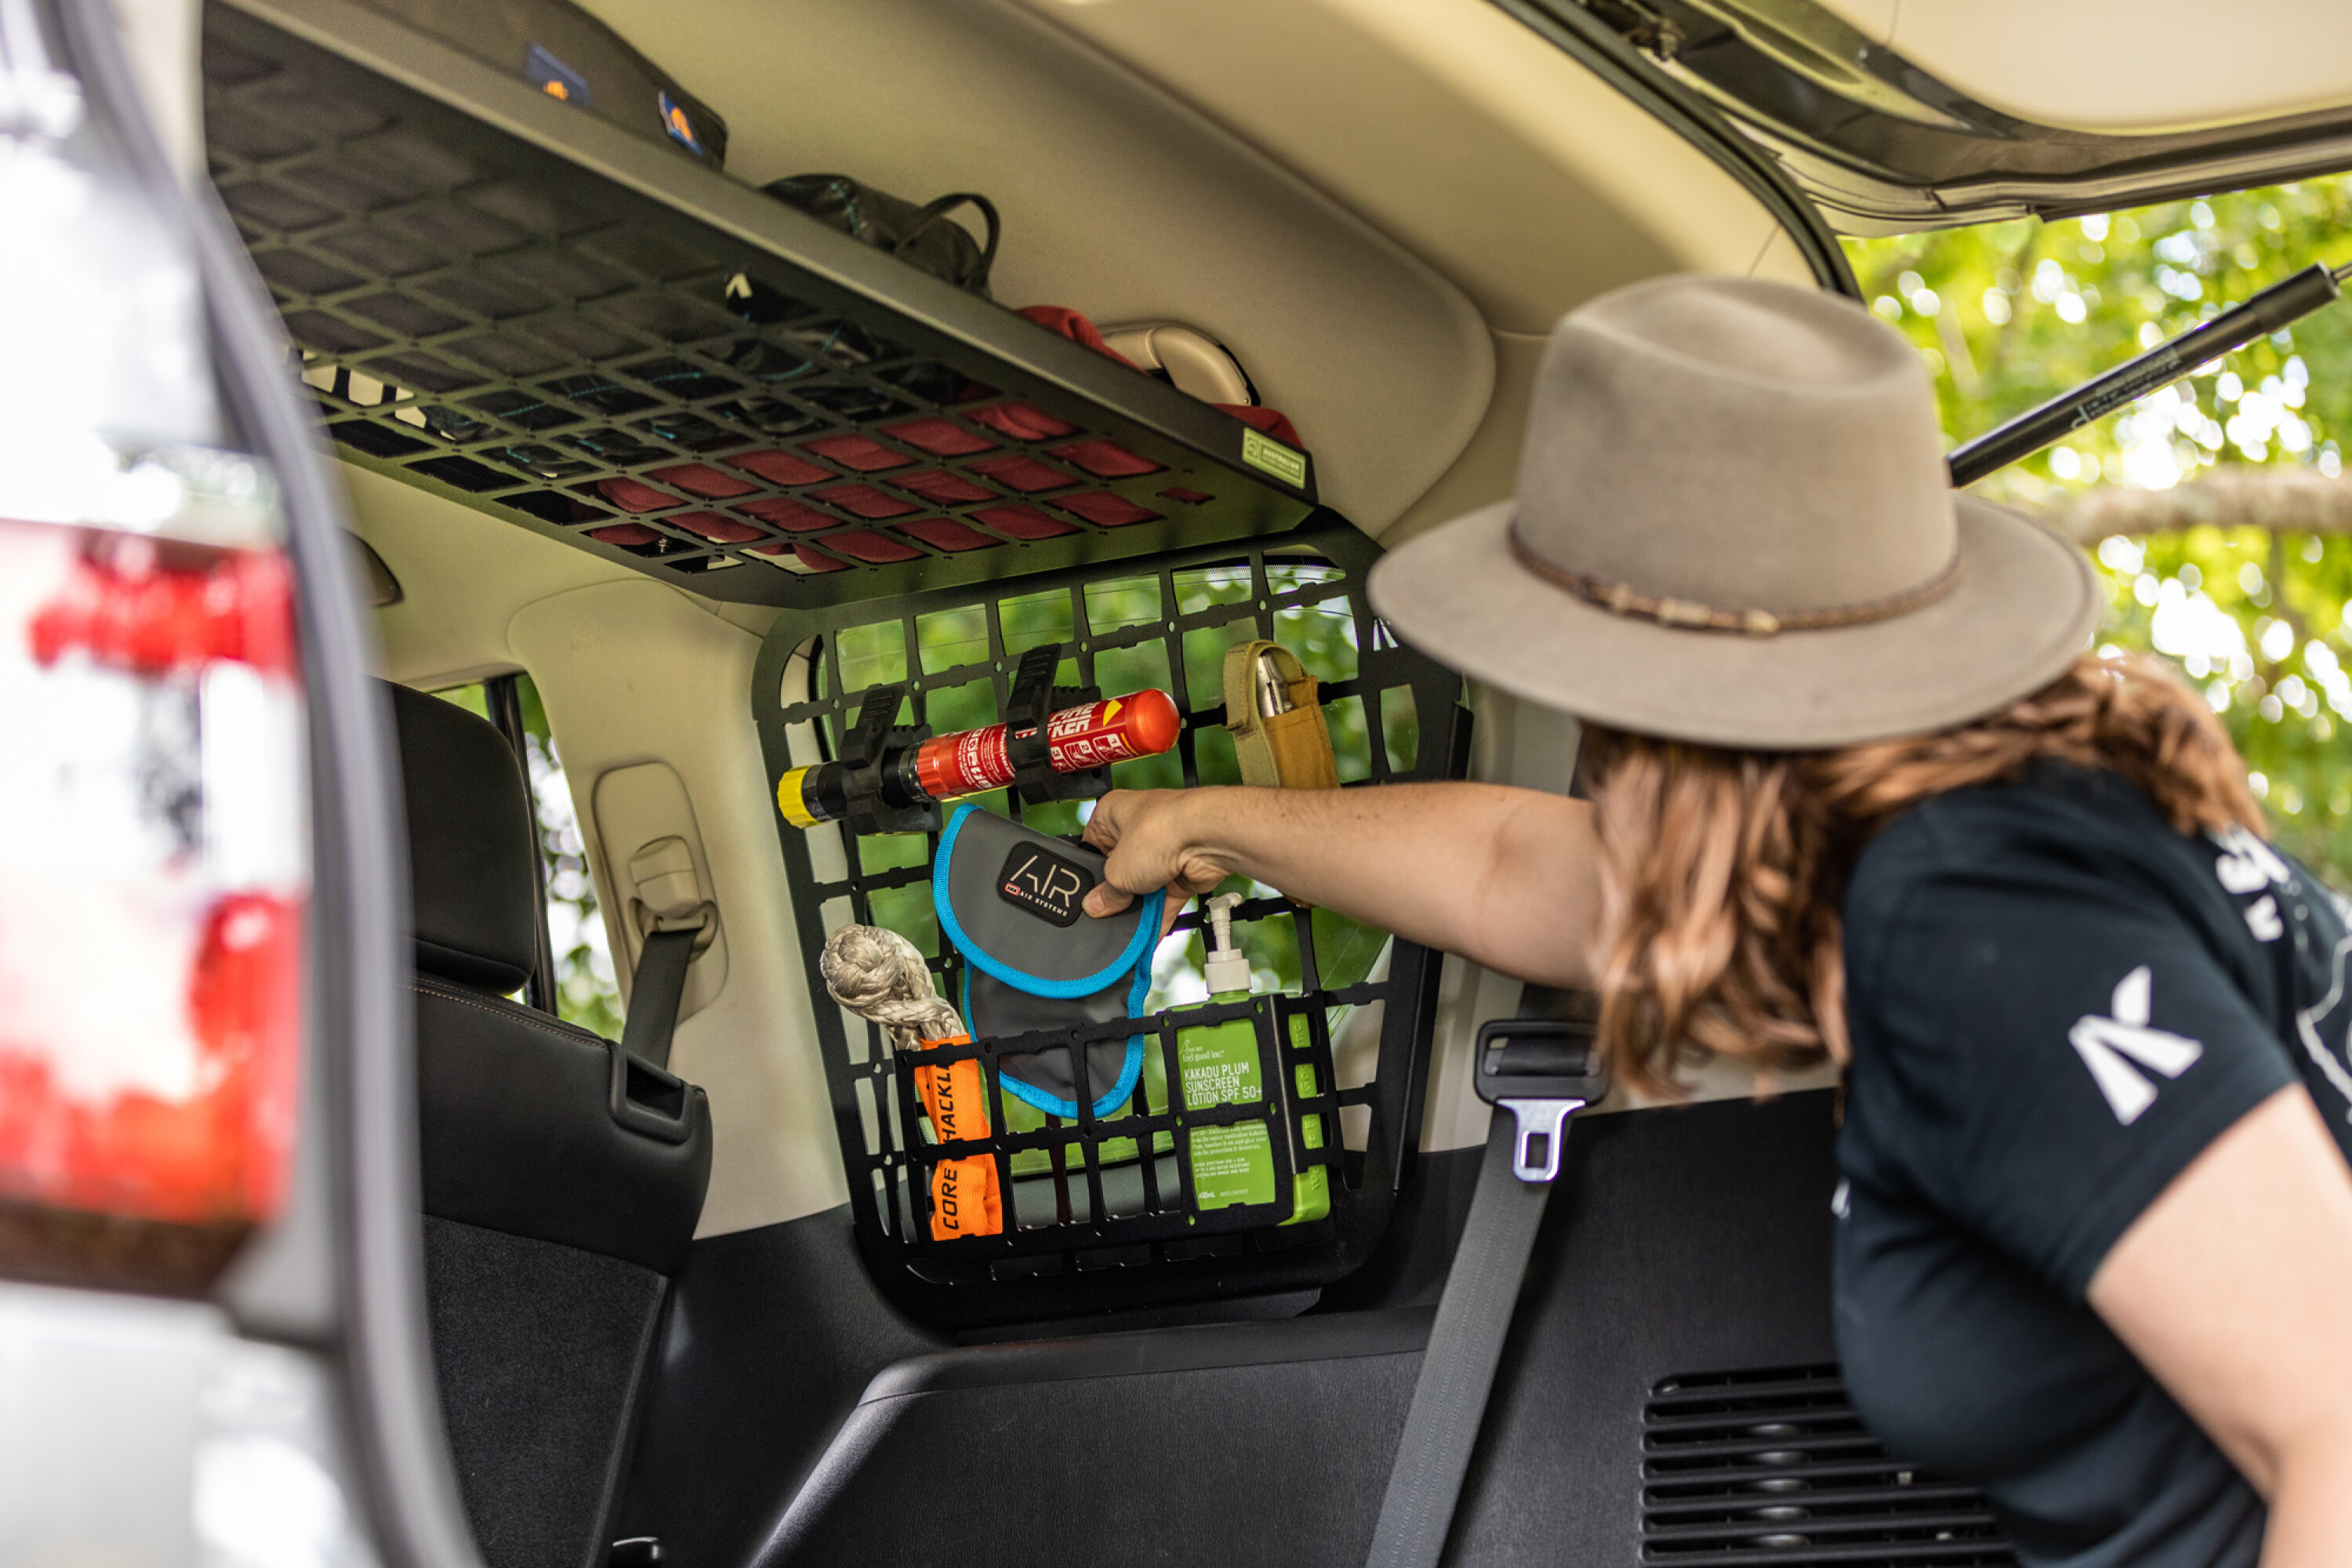
Much like the shelves, the panels are made using precision laser cut and pressed steel, and powder-coated in a hard-wearing matte black finish. The panels also feature M5 mounting holes and cutouts to suit Molle storage system products.
Cleverly, the panels are designed to be used in tandem with the Standalone Shelves – as well as KAON’s Light Cargo Barriers and Cargo Dividers – and they fit snugly in the rear-row window for a stealthy appearance.
Cargo/Fridge Dividers
KAON’s cargo dividers have been designed to secure to the underside of the brand’s range of roof shelves and on top of drawer systems, and they’re compatible with KAON Light Cargo Barriers.
Once installed KAON says the dividers are incredibly secure, with no rattles or noises, and the slimline design doesn’t hinder rearwards visibility.
Made using the same finish as the rest of the storage range, the dividers include both a bottle opener and a towel holder.
Storage Accessories
KAON also stocks a range of accessories that can be added to your storage set-up. These include storage pods, QuickFist clamps, and electrical panels and an electrical console for quick and easy access to all of your power needs.
The beauty of KAON’s range of modular storage solutions is that they can be used individually or combined together to create an unbeatable package that perfectly suits individual requirements.
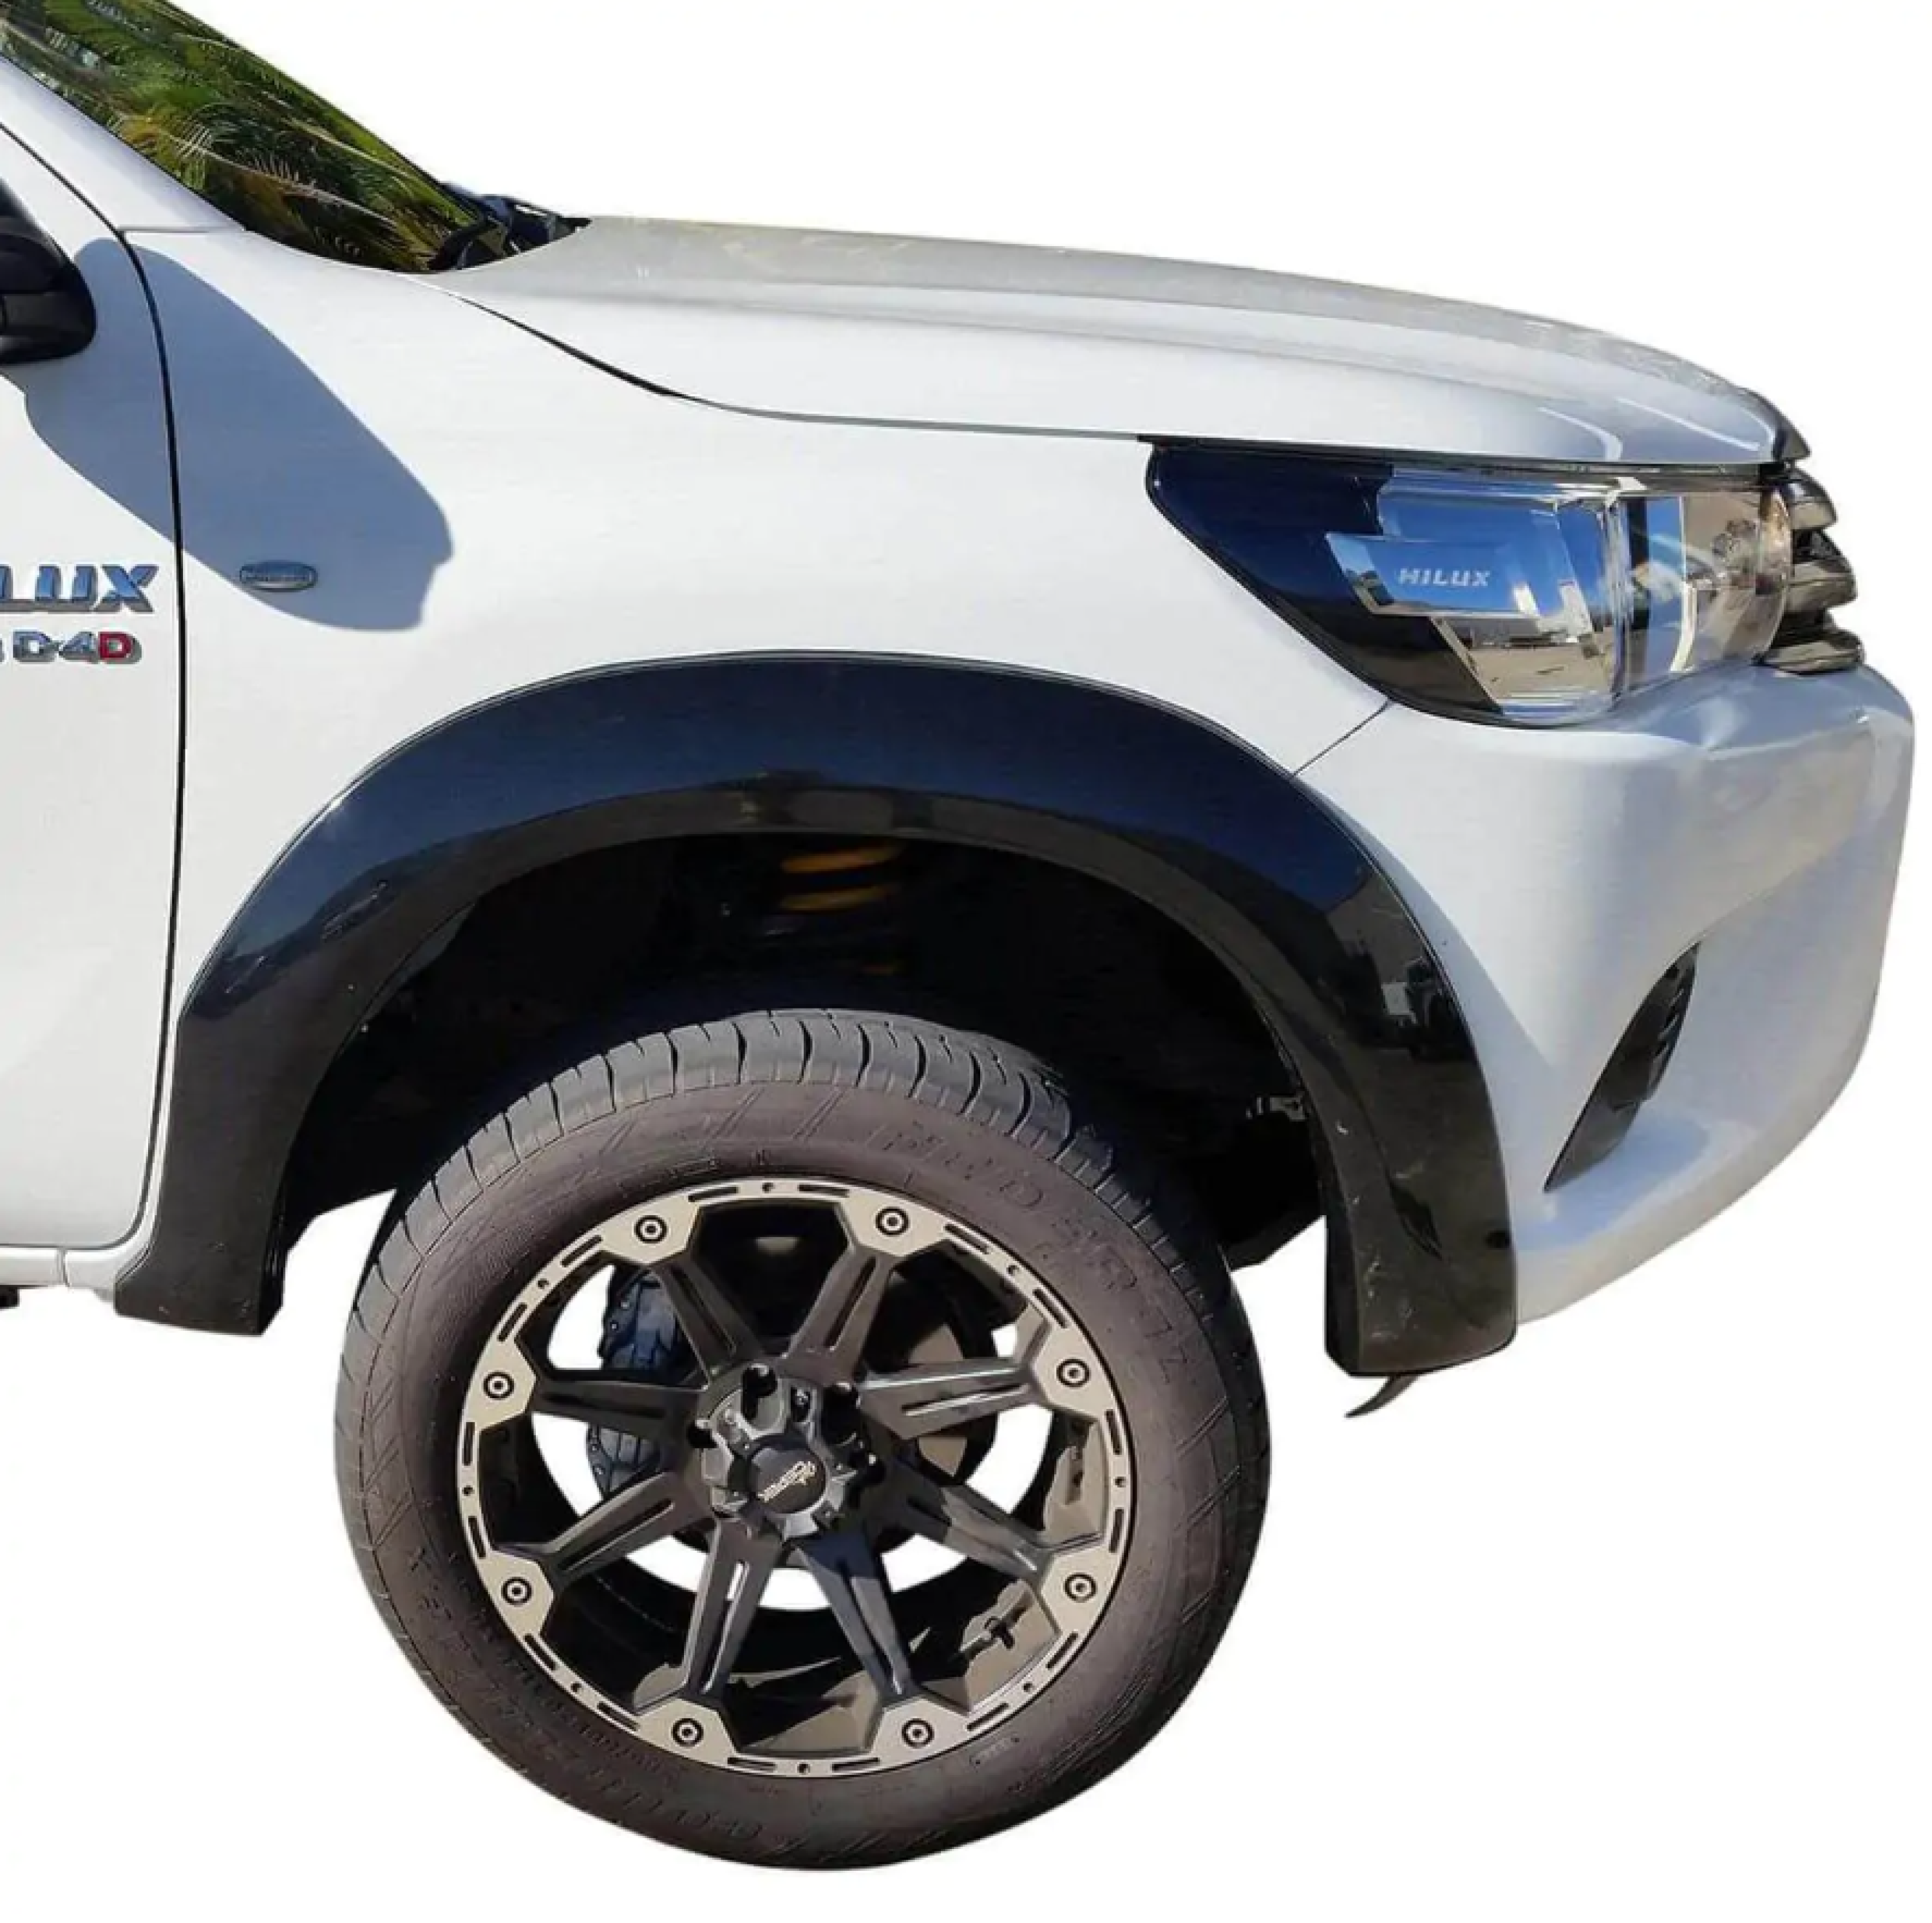
One of the very first additions to any 4WD that heads off-road is a set of tyres.
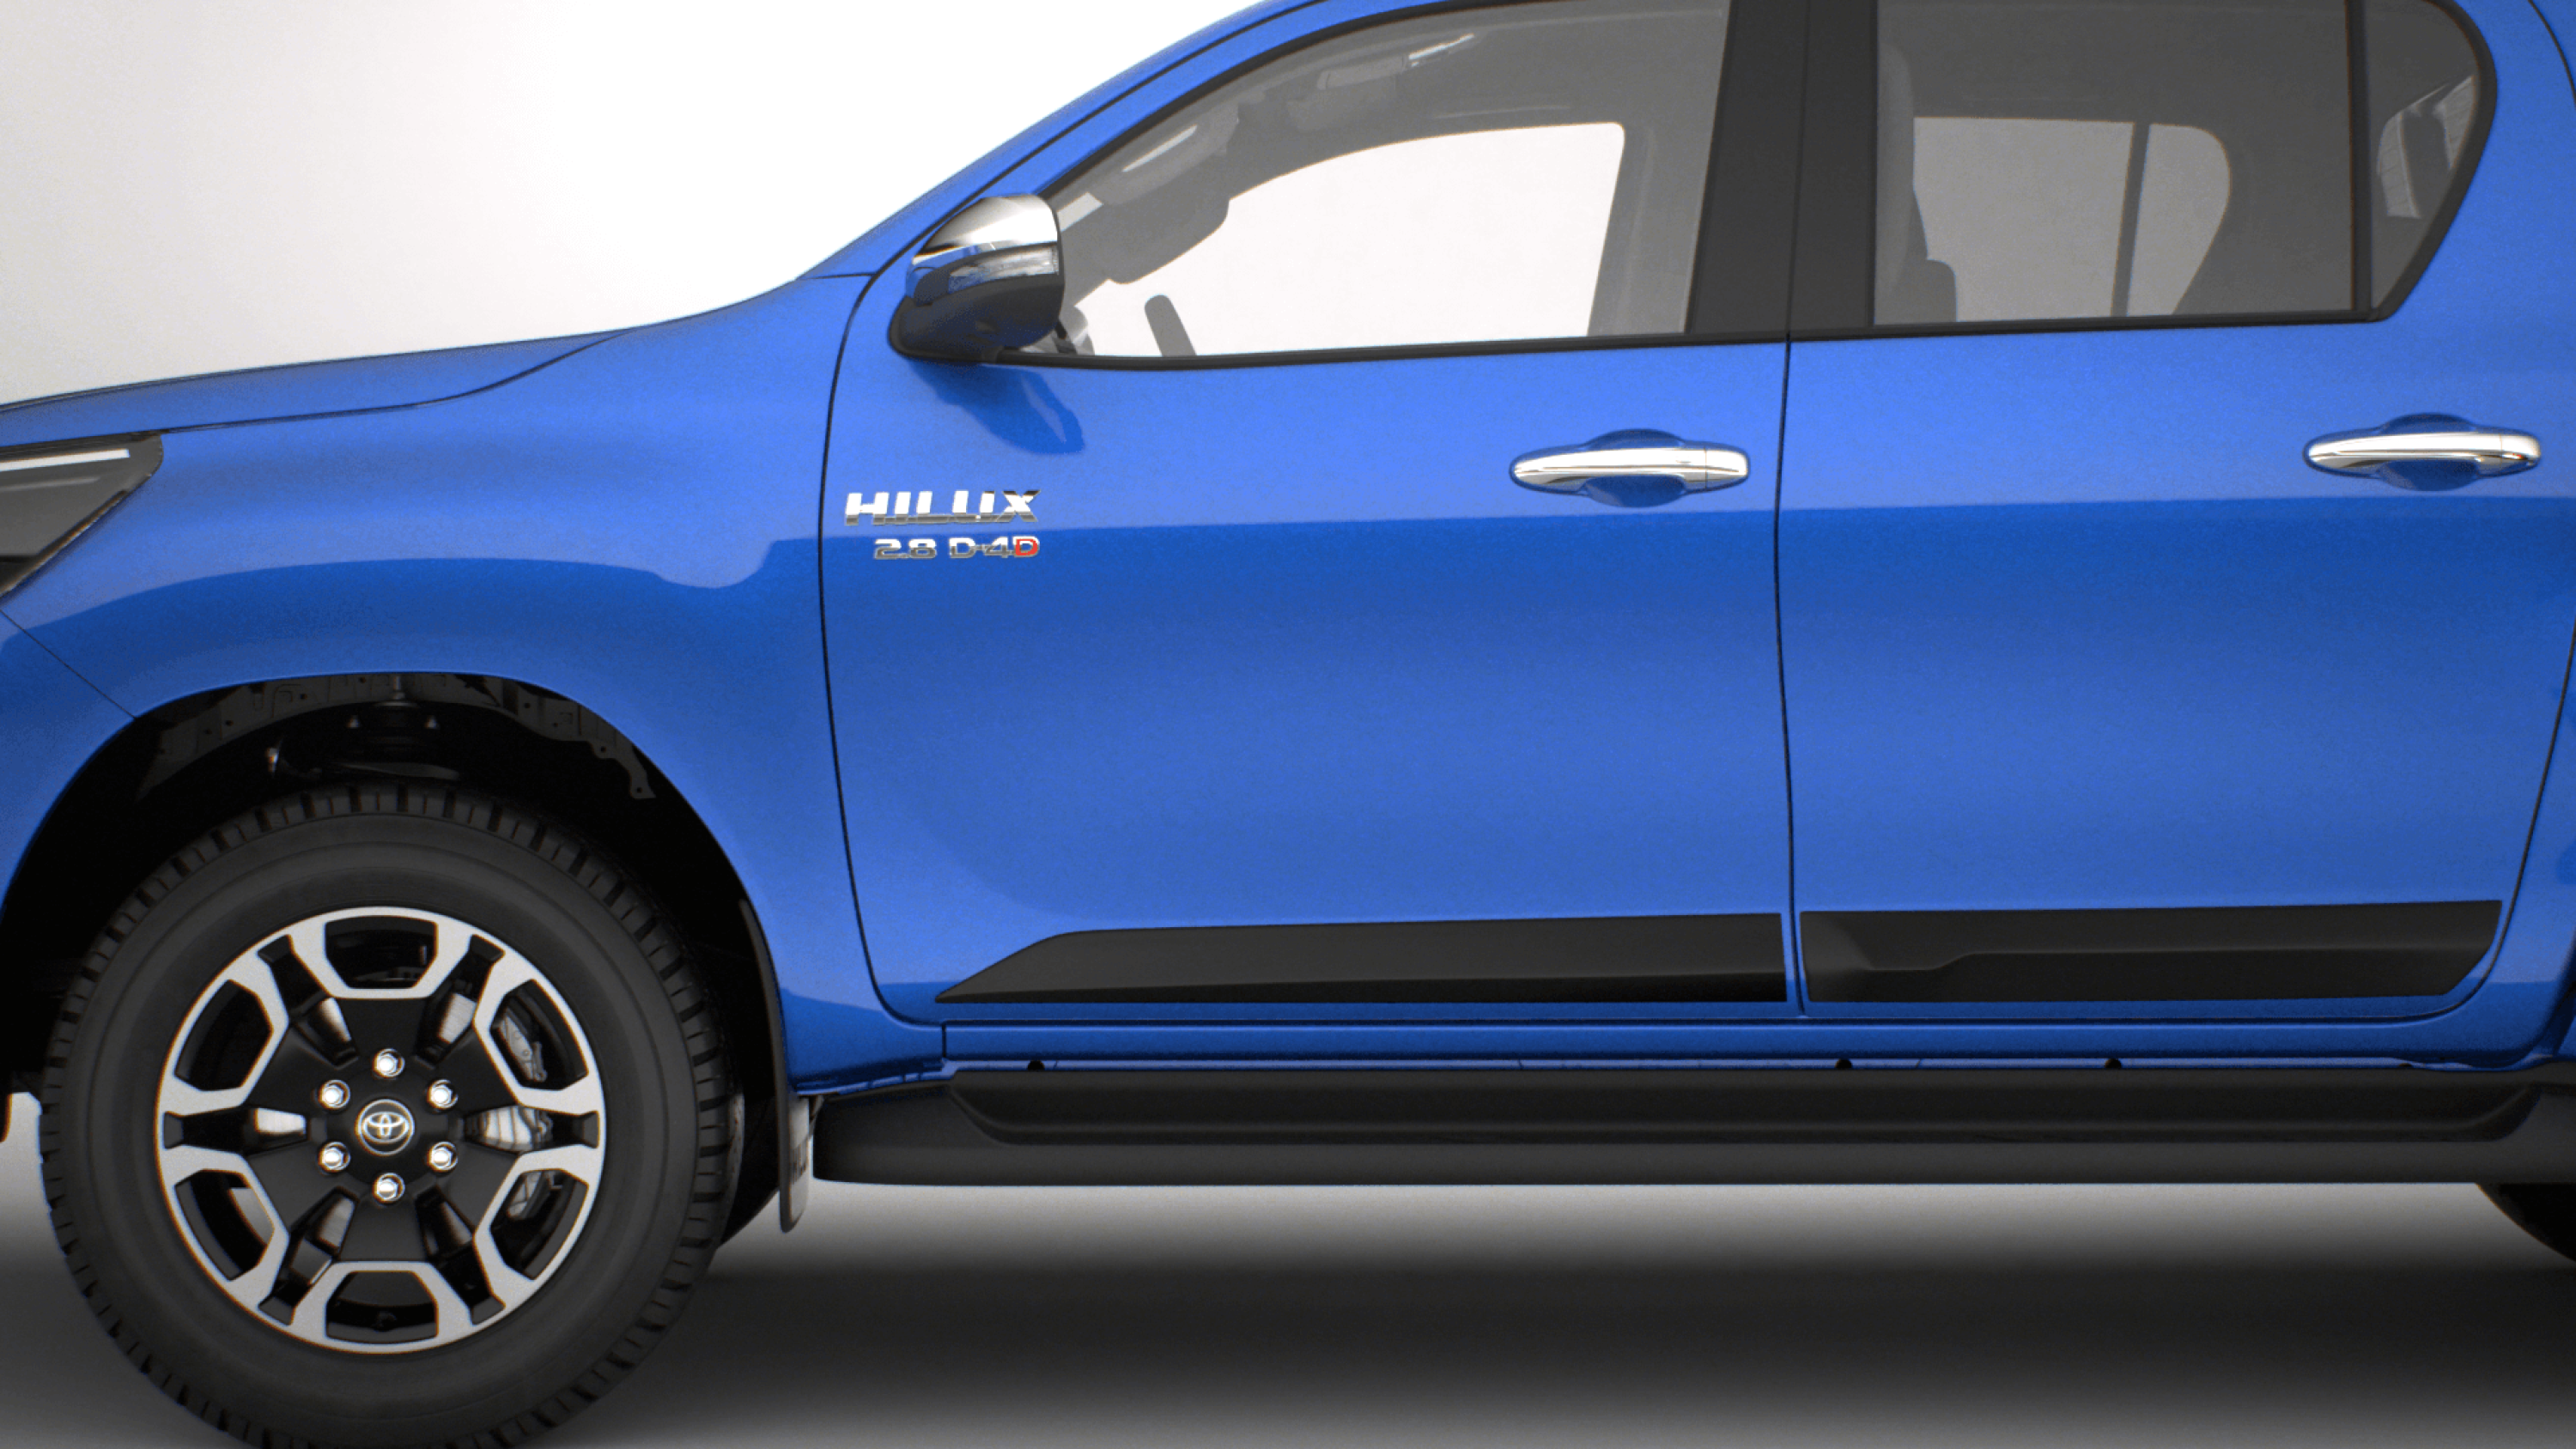
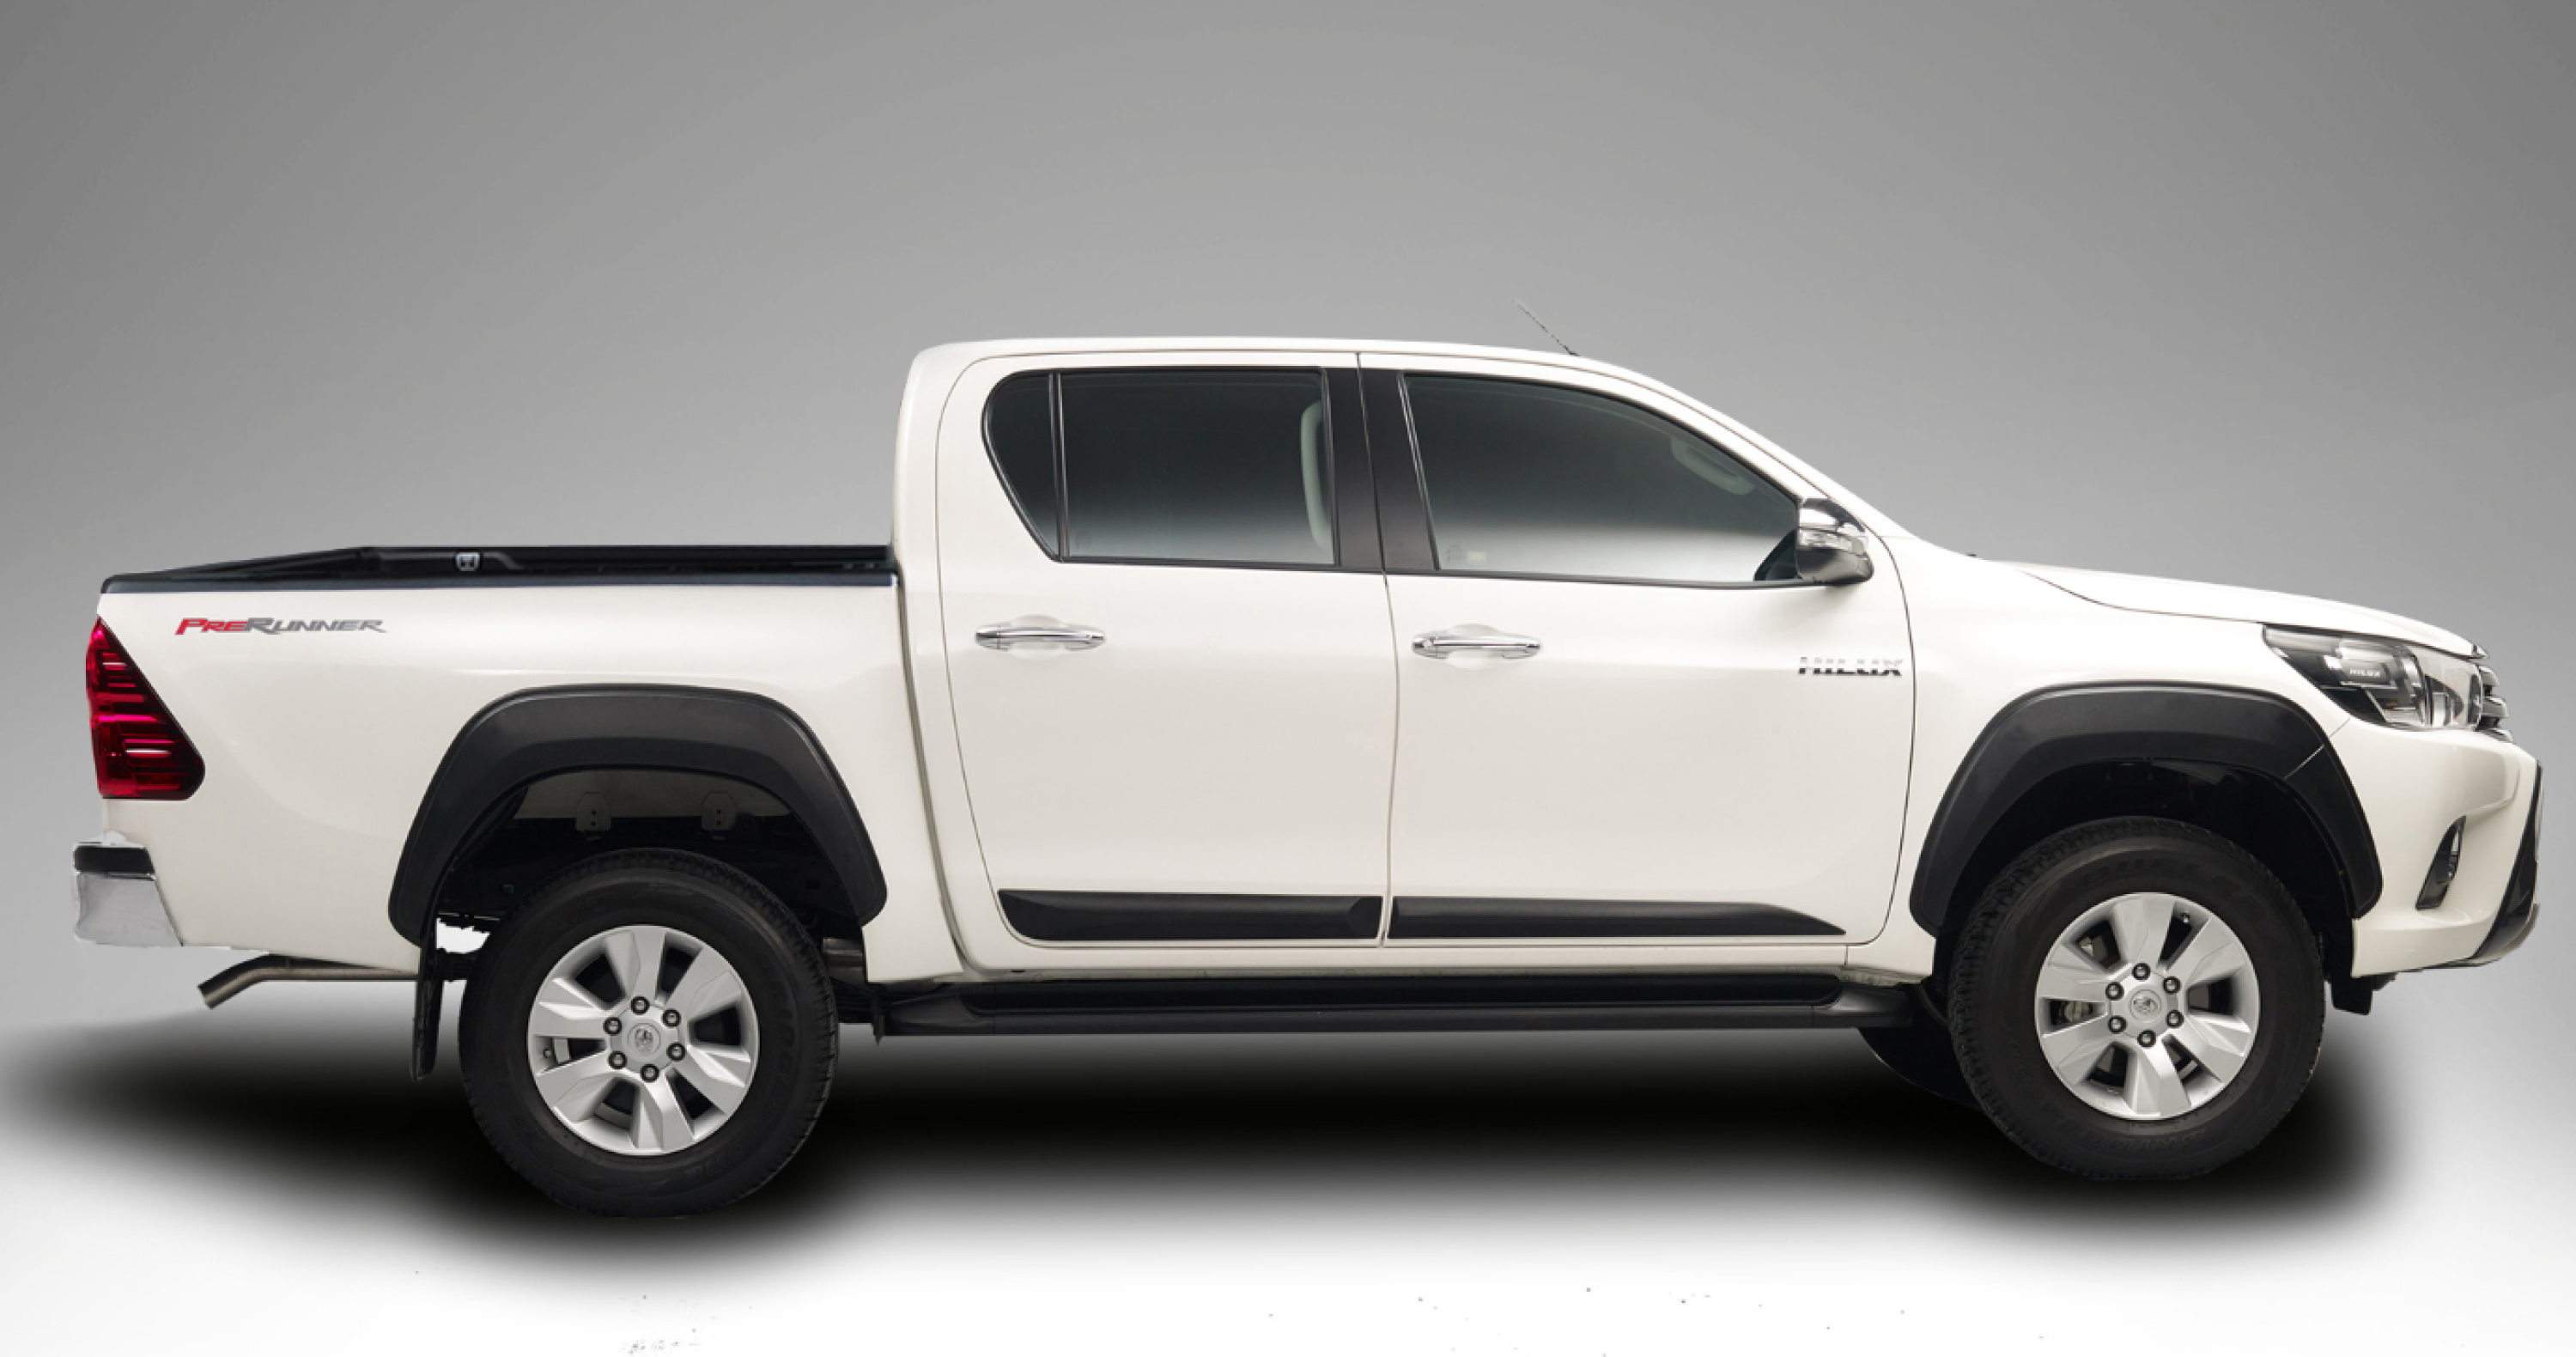
Typically, these are bigger than factory offerings and sit a little wider, and the problem this creates is twofold: Tyres must remain within wheel arches to be legal, and the wider the tyre sits the more mud and debris is going to flick up and potentially land on the paintwork of your shiny new HiLux.
The solution is to add mouldings or flares, to ensure you remain legal and to protect your investment and enhance its style. Even without larger tyres, these simple yet effective accessories provide protection from damage caused by debris on the road. Plus, they give your HiLux a more rugged look.
- What it is: A protective barrier that covers the edge of the car’s wheel arch or the lower portion of doors, which are common areas that can be struck by stones and debris that tyres can fling up.
- Why you need it: To provide a layer of protection to stop minor damage that can build over time and affect your vehicle’s resale.
- Buying tips: Body mouldings will help protect your doors from debris but won’t do anything to solve legality problems with wider tyres or larger offset. Wheel arch flares will do both.
Here are four products we recommend. Theyu2019re intended as a starting point to give you an idea of whatu2019s available.
JUMP AHEAD
| Material | No-drill | Flare or side moulding | |
|---|---|---|---|
| Toyota | Not specified | Yes | Side moulding |
| Maxliner | ABS Plastic | Yes | Flare |
| PDP Performance | ABS Plastic | Yes | Flare |
| TJM | Fibreglass | Yes | Flare |
Toyota OE body mouldings
Toyota body mouldings feature a sleek design and matte black finish. The mouldings will integrate seamlessly with the side of your vehicle, enhancing its profile and offering protection.
Specifications
- Material: Not specified
- No-drill: Yes
- Flare or side moulding: Side moulding
Pros
- The factory option that looks factory
- Matte black matches other mouldings on the vehicle
- Simple stick-on install
Cons
- Only protects the doors
Maxliner flares
Maxliner fender flares fit over the existing flares to provide extra protection against road debris and stone chips, making them ideal for off-roaders. The kit comes in a scratch-free ABS with a black texture.
Specifications
- Material: ABS plastic
- No-drill: Yes
- Flare or side moulding: Flare
Pros
- Fits over existing wheel-arch flares
- Matte black matches other mouldings on the vehicle
- Provides protection plus additional wheel-arch width
Cons
- Does not fit models after 2020
PDP Performance flares
These CAD-designed flares are a perfect fit, made from vacuum-formed, UV-stable ABS plastic. The flares are designed for an OEM-level fit, and they utilise the existing vehicle attachment points and specifically designed hardware. These flares will provide protection as well as the extra width required when fitting larger tyres.
Specifications
- Material: UV-stable ABS plastic
- No-drill: Yes
- Flare or side moulding: Flare
Pros
- Various colour options, plus unpainted
- Uses factory mounting points
- Two-year warranty
Cons
- Pricey but the clear quality leader
TJM flares
For those with a tray instead of tub, these deluxe flares have a black-gel coat finish and suit Toyota HiLux narrow body (09/2015+) vehicles. TJM flares feature fibreglass construction with a smooth gel coat finish, or they can be colour-matched as required. These under-lip single skin flares protect paint from debris, sand and mud thrown up by the tyres.
Specifications
- Material: Fibreglass
- No-drill: Yes
- Flare or side moulding: Flare
Pros
- Gloss finish really stands out
- Fibreglass construction provides a point of difference
- Uses factory mounting points
Cons
- Suits narrow body model only
How we review products
4X4 Australia has been reviewing four-wheel drive vehicles and aftermarket products for more than 40 years.
When looking for the best accessories for your make and model of 4WD, there are some things essential to making sure you have the best off-roading experience.
When we compare products, here are some of the things we consider:
- Warranty
- Build quality
- Value for money
- Time and ease to set-up/install
- Weight
- Fit and finish
- How well it gets the job done
- What materials they’re made from
- Corrosion/UV resistance
- Coatings
- Compatibility with other accessories
- Compliance with ADRs and vehicle safety systems
- Country of manufacture
- Load ratings, to determine what’s the best product across each price point.
We also consider user reviews and our own experience with these products to make sure our recommendations are for the best on the market.
Disclosure: When you buy through our links, we may earn a commission. We also include products that we do not earn a commission from.
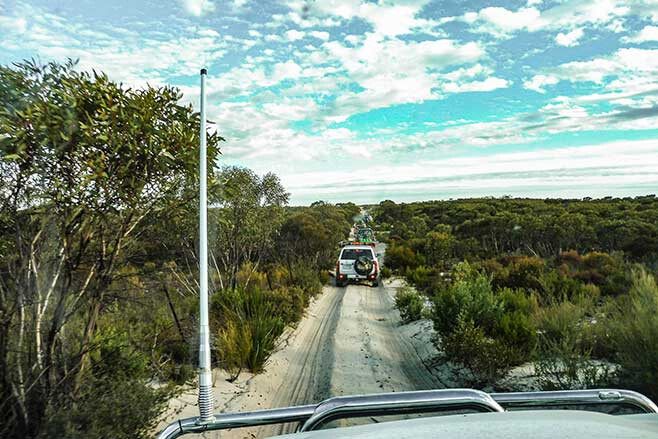
We present the Top 10 4×4 tracks in Australia to put on the bucket list, in no particular order.
With countless 4WD tracks scattered throughout Australia, no doubt we’ve had to omit a few worthy of this list – so please let us know what we’ve missed in the comments section below.
JUMP AHEAD
- Binns Track, NT
- Oodnadatta Track, SA
- Canning Stock Route, WA
- Birdsville Track, Queensland
- Madigan Line, NT
- Simpson QAA Line, NT
- Blue Rag Range Track, Victoria
- Border Track, Victoria/SA
- Old Telegraph Track, Queensland
- Climies Track, Tasmania
- State-by-state guide
Binns Track, NT
If a Northern Territory adventure is on the agenda, then the famous Binns Track should be at the very top of the itinerary.
Named after Bill Binns, a ranger with 32 years of experience in the NT, the track snakes from the north of South Australia, into Central Australia and then the NT, leading to a number of iconic – and not-so-iconic – spots.
The starting point for the track is at Mount Dare in SA, within the Simpson Desert, which itself is an adventure to reach. Pointing the bullbar north will cross over into the NT, where the Old Andado Road leads to Alice Springs, a poorly maintained route with several (usually dry) river crossings. From here, the track cuts through the East MacDonnell Ranges and works its way further north.
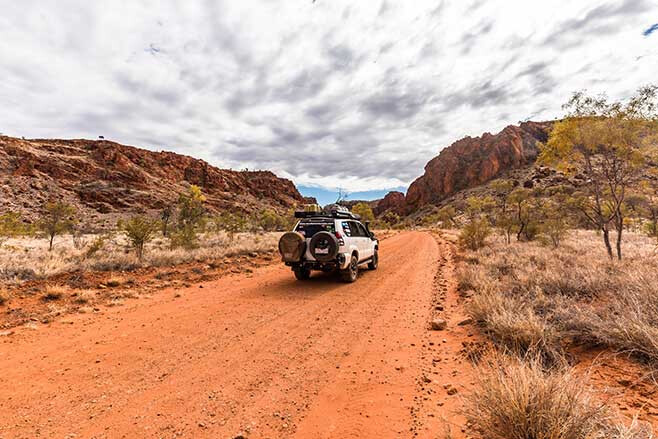
There are plenty of turn-offs scattered along the track that lead to many well-known locations including N’Dhala Gorge, Old Andando, the abandoned gold mines at Arltunga, Gemtree, Devils Marbles, the Boxhole Meteorite Crater, Tower Rock and Davenport Range. If tracking south-to-north, the township of Timber Creek in the NT completes the epic trip.
The majority of the track is gravel, with plenty of corrugations to rattle teeth and unsettle vertebrae, so it’s essential to have a 4WD-capable rig, a decent suspension setup, and good off-road/all-terrain tyres.
There are plenty of fuel stops along the route – Mount Dare, Santa Teresa, Alice Springs, Gemtree, Atitjere, Tennant Creek, Daly Waters, Mataranka, Katherine and Timber Creek – but it’s essential to be entirely self-sufficient.
Track length: 2230km Permits: A Simpson Desert Parks Pass is required to access Mt Dare.
Oodnadatta Track, SA
The Oodnadatta Track isn’t overly difficult, with the dirt road only challenging following an onslaught of rain – and the only real threat, a pierced sidewall from a wayward rock.
This makes it an ideal track for all 4WDers, with plenty to love about the route. Like most outback roads, The Track is usually closed following rain to protect its surface.
The track begins at Marree in the south, a quaint, historically significant town located 589km north of Adelaide in SA. Marree is actually at the junction of the Oodnadatta and the Birdsville Track (another track to make this list). It ends 405km later at Oodnadatta.
The track follows the Old Ghan Railway Line, which runs from Adelaide to Alice Springs, and for most of the way is within eyeshot. At about the halfway point between Maree and Oodnadatta you’ll arrive at William Creek, and it’s the perfect spot to refuel and have a feed at the hotel – plus, there’s a well-maintained camping ground.
Lake Eyre is another landmark en route, with the Oodnadatta Track skirting the majestic lake’s southern edge. Lake Eyre is one of the world’s largest internally-draining freshwater systems, and its pink hue is worth stopping for.
Then there’s the famous Pink Roadhouse in Oodnadatta, an ideal spot to end your adventure with air-conditioned cabins, warm showers and a hearty meal on the cards.
Track length: 405km Permits: Not required
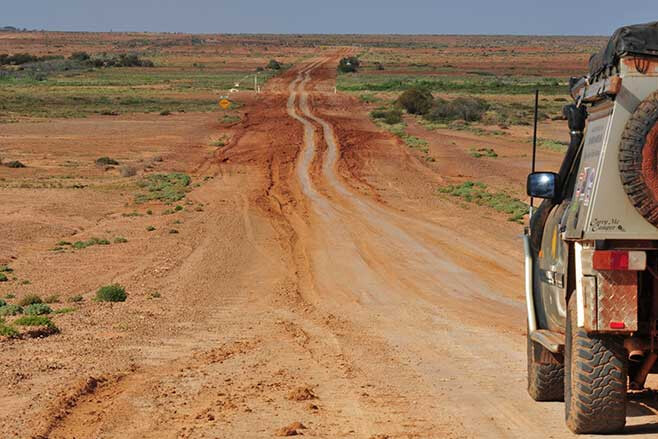
Canning Stock Route, WA
When the topic of Australia’s most famous tracks enters the campfire conversation, there’s one track that’s guaranteed to get a mention: the Canning Stock Route (CSR) in Western Australia.
The tough outback slog isn’t for the fainthearted, with the long-distance journey right up there as one of Australia’s (if not the world’s) most challenging tracks. The remoteness of the track means you’ll need a well-prepared vehicle, with adequate suspension and a tray-full of spares and supplies. Experienced 4x4ers need only apply.
Cutting through WA’s vast outback, the CSR runs from Wiluna in the south to Halls Creek in the north and passes through the Gibson, Great Sandy and Tanami deserts. Stretching close to 1800km, the track comprises extremely difficult ruts, as well as hundreds of sand dunes, making it a multi-week adventure.
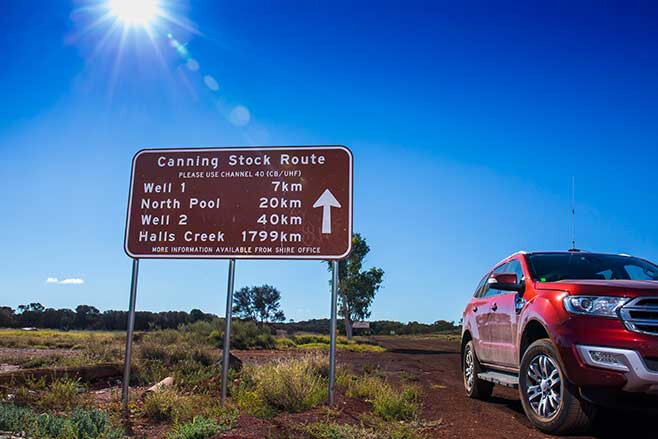
The start of the track can be reached via Tanami Road from the Bililuna turn-off, and its origins date back to 1910 when it was used to connect 51 wells that watered the stock travelling to market. Stopping at a number of these well-known wells along the way is an essential part of the adventure.
Remember, only travel this route if you have plenty of off-road experience and your vehicle is properly set up. And it’s better to travel with others in a convoy. If you don’t have a buddy willing to join you on the adventure, there are 4WD tours you can sign up to that run throughout the year.
Track length: 1850km Permits: A CSR permit is required to travel between Wells 5 to 51.
Birdsville Track, Queensland
If you want to tick off an outback 4×4 adventure, the Birdsville Track is an ideal option.
Much like the Oodnadatta Track, the Birdsville Track begins at the small town of Marree in SA. However, unlike the Oodnadatta Track, the Birdsville Track heads in a north-easterly direction towards the famous outback Queensland town of Birdsville.
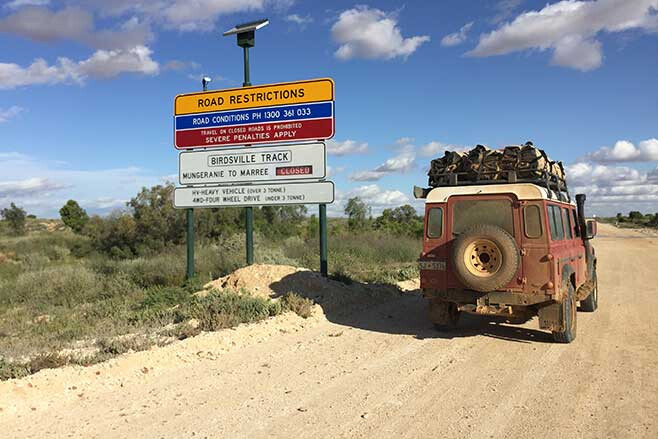
Developed way back in the 1860s as a cattle/stock route from Queensland and the NT to Port Augusta, the Birdsville Track has become a popular track for 4x4ers as they head for Birdsville.
Due to the track’s popularity in recent times, it’s not as difficult a trip as it once was; now a graded dirt track where previously only high-clearance 4WDs were recommended. Still, the track runs through some of the driest and most-barren regions of the country, so it’s essential to always carry spare water and to ensure your vehicle is properly prepared.
Track highlights include camping at Kalamurina Station Camping, exploring the Mulka Ruins, and having a brew and warm food at the Mungerannie Hotel. The eastern edge of Lake Eyre is also only a quick detour away.
Track length: 517km Permits: Not required
Madigan Line, NT
Desert driving is popular with Aussie tourers, with another Simpson Desert track – the Madigan Line – making this list.
The track begins north of Old Andado Station, a cattle station located approximately 360km south-east of Alice Springs, and strikes east into Queensland, eventually meeting up with another track on this list, the QAA Line, to complete your desert exploration.
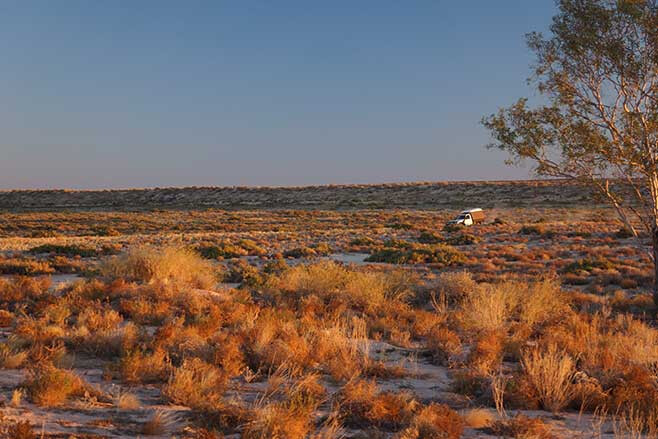
As expected, prepare to cross a gauntlet of sand dunes on this trip, and prepare to be challenged. The track should only be attempted by those with plenty of experience 4x4ing on desert sand, as it’s extremely remote and recovery can be very expensive. As always, your 4×4 needs to be tailored for desert exploration
The track was named after Cecil Madigan, who blazed the route through the desert back in 1939 with a convoy of camels. These days, signposted camps along the route make it easier for travellers to find their way – a highlight is Camp 16, were a gum tree blazed by Madigan still stands.
Track length: 500km Permits: A CLC permit is required to travel the NT section.
Simpson QAA Line, NT
A more challenging Simpson Desert trek is to follow the QAA Line from Big Red near Birdsville all the way to just across the NT border, to the junction of the K1 Line near Poeppel Corner.
We recommend beginning the adventure at Big Red, located just 35km from the popular outback town of Birdsville. Big Red is an iconic 40m-tall sand dune and a worthy adversary of many a four-wheeler – it’s also one of the best spots in the country to watch a sunset. Cresting Big Red as your bullbar points west provides a brilliant view of the desert and countless dunes on the horizon, and where your journey lies.
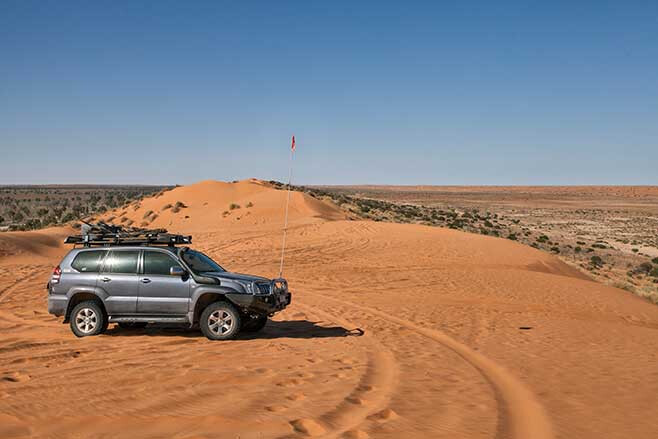
The high amount of traffic that utilises this route means the sand dunes are fairly churned up, so it’ll be a chore overcoming the track’s relatively short distance. Ensure your vehicle is adequately prepared – a sand flag is essential – and that you’re entirely self-sufficient.
The challenging, soft tracks are well worth the effort once you set-up camp for the night beneath the wide expanse of stars, with no distractions.
At the junction in the NT, travels through the Simpson Desert can continue via the French Line, the Rig Road and/or the WAA Line, all varying in length and difficulty. The short but challenging QAA Line, in particular, provides a great taste of desert driving.
Track length: 122km Permits: Camping permit required at Munga-Thirri.
Blue Rag Range Track, Victoria
Arguably one of the most scenic tracks in the Victorian High Country, Blue Rag provides breathtaking views across Alpine National Park.
Rated as a difficult track, a low-range 4×4 with good suspension is non-negotiable. With extremely steep (especially following rain) climbs, tight turns, as well as very steep drop-offs on either side of the track, it’ll definitely get the heart rate ticking. Still, people with off-road experience – and no fear of heights – shouldn’t encounter too many stressful situations.
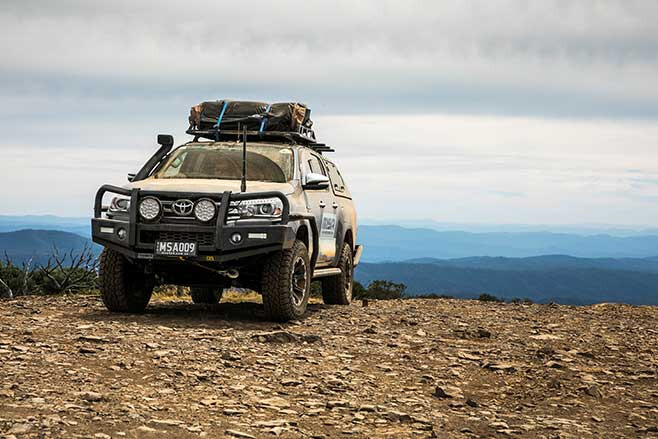
At 1600m above sea level, snow is prone to fall in the region; hence why the track is subject to closure during the cooler months between May and November. Still, snow has been known to fall outside of these times, so keep an eye on park and track notices.
The track’s greatest challenge is just prior to the highest peak, but it’s this main climb to Mount Blue Rag and its trig point which provides the best photo opportunities.
There’s only one way in and out of the remote track, and that entry point can be found along Dargo High Plains Road between Dargo and Bright. The small town of Bright, about four hours’ drive from Melbourne, is a great base to refuel and prepare for the trip.
Track length: 6.9km each way Permits: Not required
Border Track, Victoria/SA
The Border Track is aptly named, as certain sections of the route run along the border between Victoria and South Australia.
Your journey to the Border Track can begin in Hopetoun, Victoria, cutting west through Wyperfeld National Park followed by a jaunt through the Big Desert National Park. The Border Track itself begins once you’ve entered the sandy landscape known as the Ngharkat Conservation Park.
The Border Track runs through quintessential mallee country, with soft sand typically underfoot – so always remember to air down. The relatively short track – only around 50 clicks or so – encompasses a bounty of challenging driving conditions including a handful of imposing sand dunes. There are chicken routes to bypass some of the steeper dunes, but the track is nonetheless classified as difficult.
To access all the track has to offer, a vehicle with high clearance and low range is essential. It’s also remote country, so have a well set-up rig and appropriate recovery gear.
Track length: 50km (approx.) Permits: Not required
Old Telegraph Track, Queensland
The iconic Old Telegraph Track in Cape York is a no-brainer for this list.
Leading to ‘the tip’, the track is awash with water crossings, slippery terrain and plenty of spots to get stuck axles deep. While arguably not as challenging as Cape York’s Old Coach Road, the OTT is not without risk.
With limited passing opportunities, travelling in a northerly direction is the popular choice. It’s not advised to travel the route in a southerly direction, although it is possible.
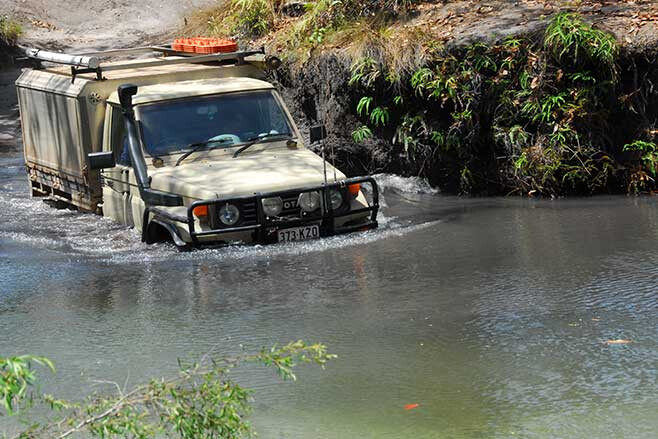
Perhaps the most memorable section of the track is the infamous Gunshot Creek, located just past the crossing of the Bertie River. No doubt you’ve seen countless photos of 4x4s sliding over the steep drop, which will undeniably get the sweat glands pumping.
The going doesn’t get much easier farther north either, with the northern section of the OTT considerably more challenging than the southern stint. However, there are bypass routes if you’re not up to the challenge.
Another must-do is to camp on the river at the Jardine National Park. But remember, this is croc country, so only swim in places that have been designated safe to do so.
Still, the area’s many waterholes make the OTT and Cape York a cornerstone of Australian 4×4 expedition.
Track length: 350km Permits: Permit required to camp in Jardine River National Park at the Jardine River and Eliot Falls sites.
Climies Track, Tasmania
Climies Track, on the wild west coast of Tasmania, is an ocean-side track littered with difficult obstacles.
With deep ruts, scrambly climbs, knee-deep mud and deep water crossings, it requires precise wheel control to be beaten. Hence why it’s recommended for highly experienced steerers only.
A capable 4×4 with low-range is a requirement, as well as appropriate rubber. Also, it’s a smart move to travel with friends, as you’ll need some winch support more than once to get out of trouble.
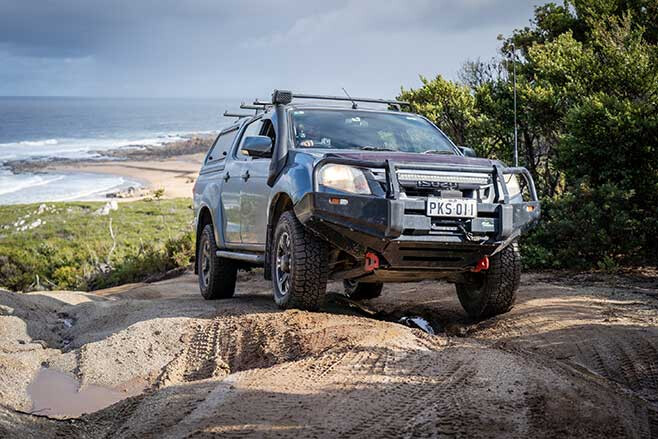
The rewards are well worth it, though, with a sense of accomplishment accompanied by trance-like views overlooking the freezing blue seas washing in from Antarctica.
The northern end of the track can be reached via Granville Harbour Road, which is about 26km from the town of Zeehan. The track’s southern end can be reached en route to Zeehan, by taking the turnoff onto Trial Harbour Road.
The track was once used as a major route between two shack towns at Granville Harbour and Trial Harbour, but neglect has resulted in a twisted maze of deep gullies and wild boulders the size of cars.
Climies is an unforgiving track, and its 20km length can take more than 10 hours – so be prepared to be in for the long haul if you want to tick it off the bucket list.
Track length: 20km Permits: Not required
Explore by state


I took the high-lift jack off the Patrol the other day, after returning from a long desert and Cape York jaunt. It’s the first time I’ve removed the jack from its roof-rack mount in a year or two, maybe even more.
It’s not that I’m fed up with carrying it and not using it much (a typical lament about high-lift jacks from many I’ve heard), it’s just that I’ve come across a couple of better pieces of kit. But anyway, for a start, let’s go back to the basics.
JUMP AHEAD
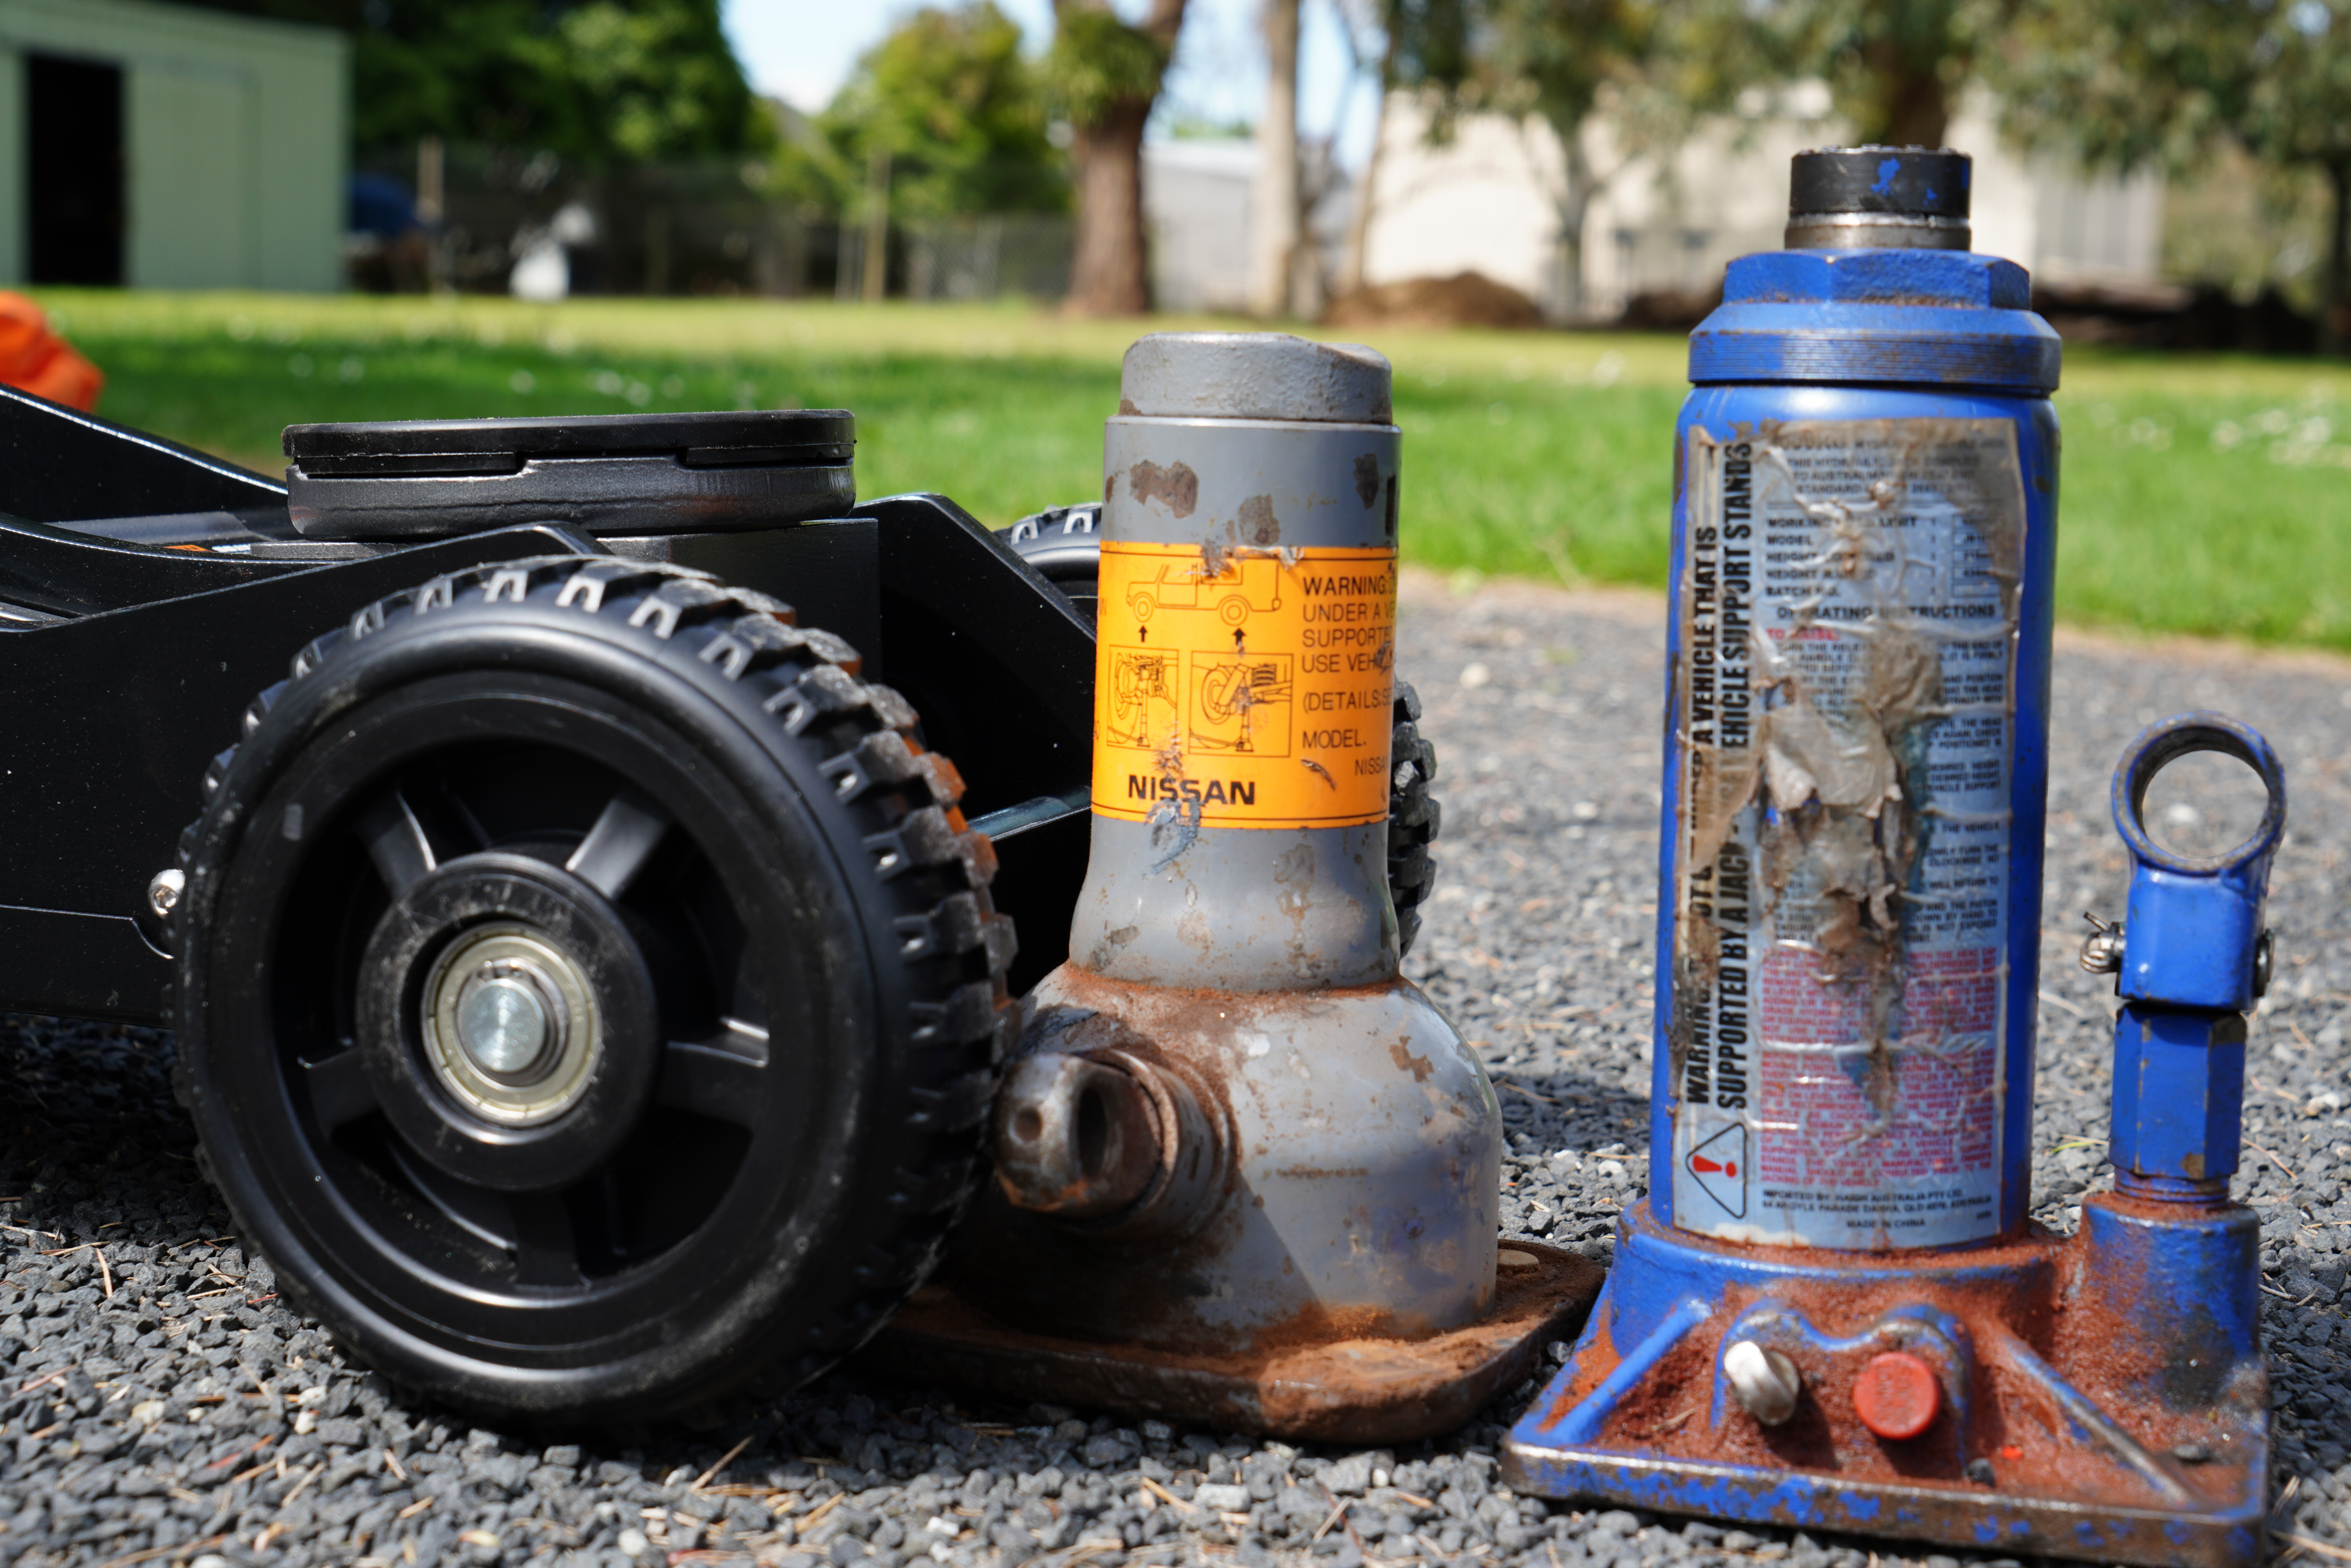
Bottle jack
Most good 4WD vehicles come with a bottle jack for lifting a vehicle to change a tyre, and in most cases they are the basic screw-type jack that are simple, strong and reliable.
They aren’t particularly user friendly and the fold-in-half or two-piece handle that comes with them can be frustrating to use. Most people, from the short survey I did, carry more than one.
Still, they have a place in our tool kit even though one of the major disadvantages of a bottle jack – whether screw or hydraulic – is their height when depressed. They are often too tall to slide under an axle at the preferred spot when you have a flat tyre. At the other end of the game, their fully extended height often isn’t high enough to remove a flat tyre or fit a fully inflated tyre.
One thing you really need for a jack (of near any sort), for those situations off-road, is a jacking plate, which can be as simple as a piece of milled timber – say about 300 x 200mm and 15mm or so thick. Or you can buy a custom-made base plate that a bottle jack can lock in to. For years, I’ve just carried a piece of wood and it works fine.
Latest Gear Guides

A lot of people (from the survey I carried out), myself included, have added a hydraulic bottle jack to their jacking repertoire. These jacks are easier to use than the screw-type jacks but after a few years use, they can leak fluid to the stage they can’t lift any heavy weights.
For the last few years, I’ve also carried a supplementary kit for my bottle jacks: a Safe Jack Bottle Jack Recovery Kit. These are available through Pro-Quip International in Melbourne. An American sourced kit, it comes complete with a six-tonne bottle jack, a six-inch (15cm) extension, a three-inch extension, an 8.5- to 12-inch (21.6-30cm) extension, a flat jack pad and an axle jack pad (the most handy of all the items), all in a heavy-duty Husky bag.
I opted for everything but the bottle jack itself, as I had a few of these at home. Mind you, a couple of the jacks weren’t suitable for the other accessories as their lifting ram was not the right size – 18mm is the magical diameter of the ram.
Price wise you’ll pay between $40 and $150 for a good four- to eight-tonne bottle jack. If you are adding an hydraulic to what you already have, get one with a different profile and minimum height; you’ll find that offers flexibility when the time comes to sliding it under an axle to change a tyre.
Some vehicles come with a scissor-type jack. They are not my favourite, as they are unstable at the best of times. My advice is to replace them with a bottle jack, at least.
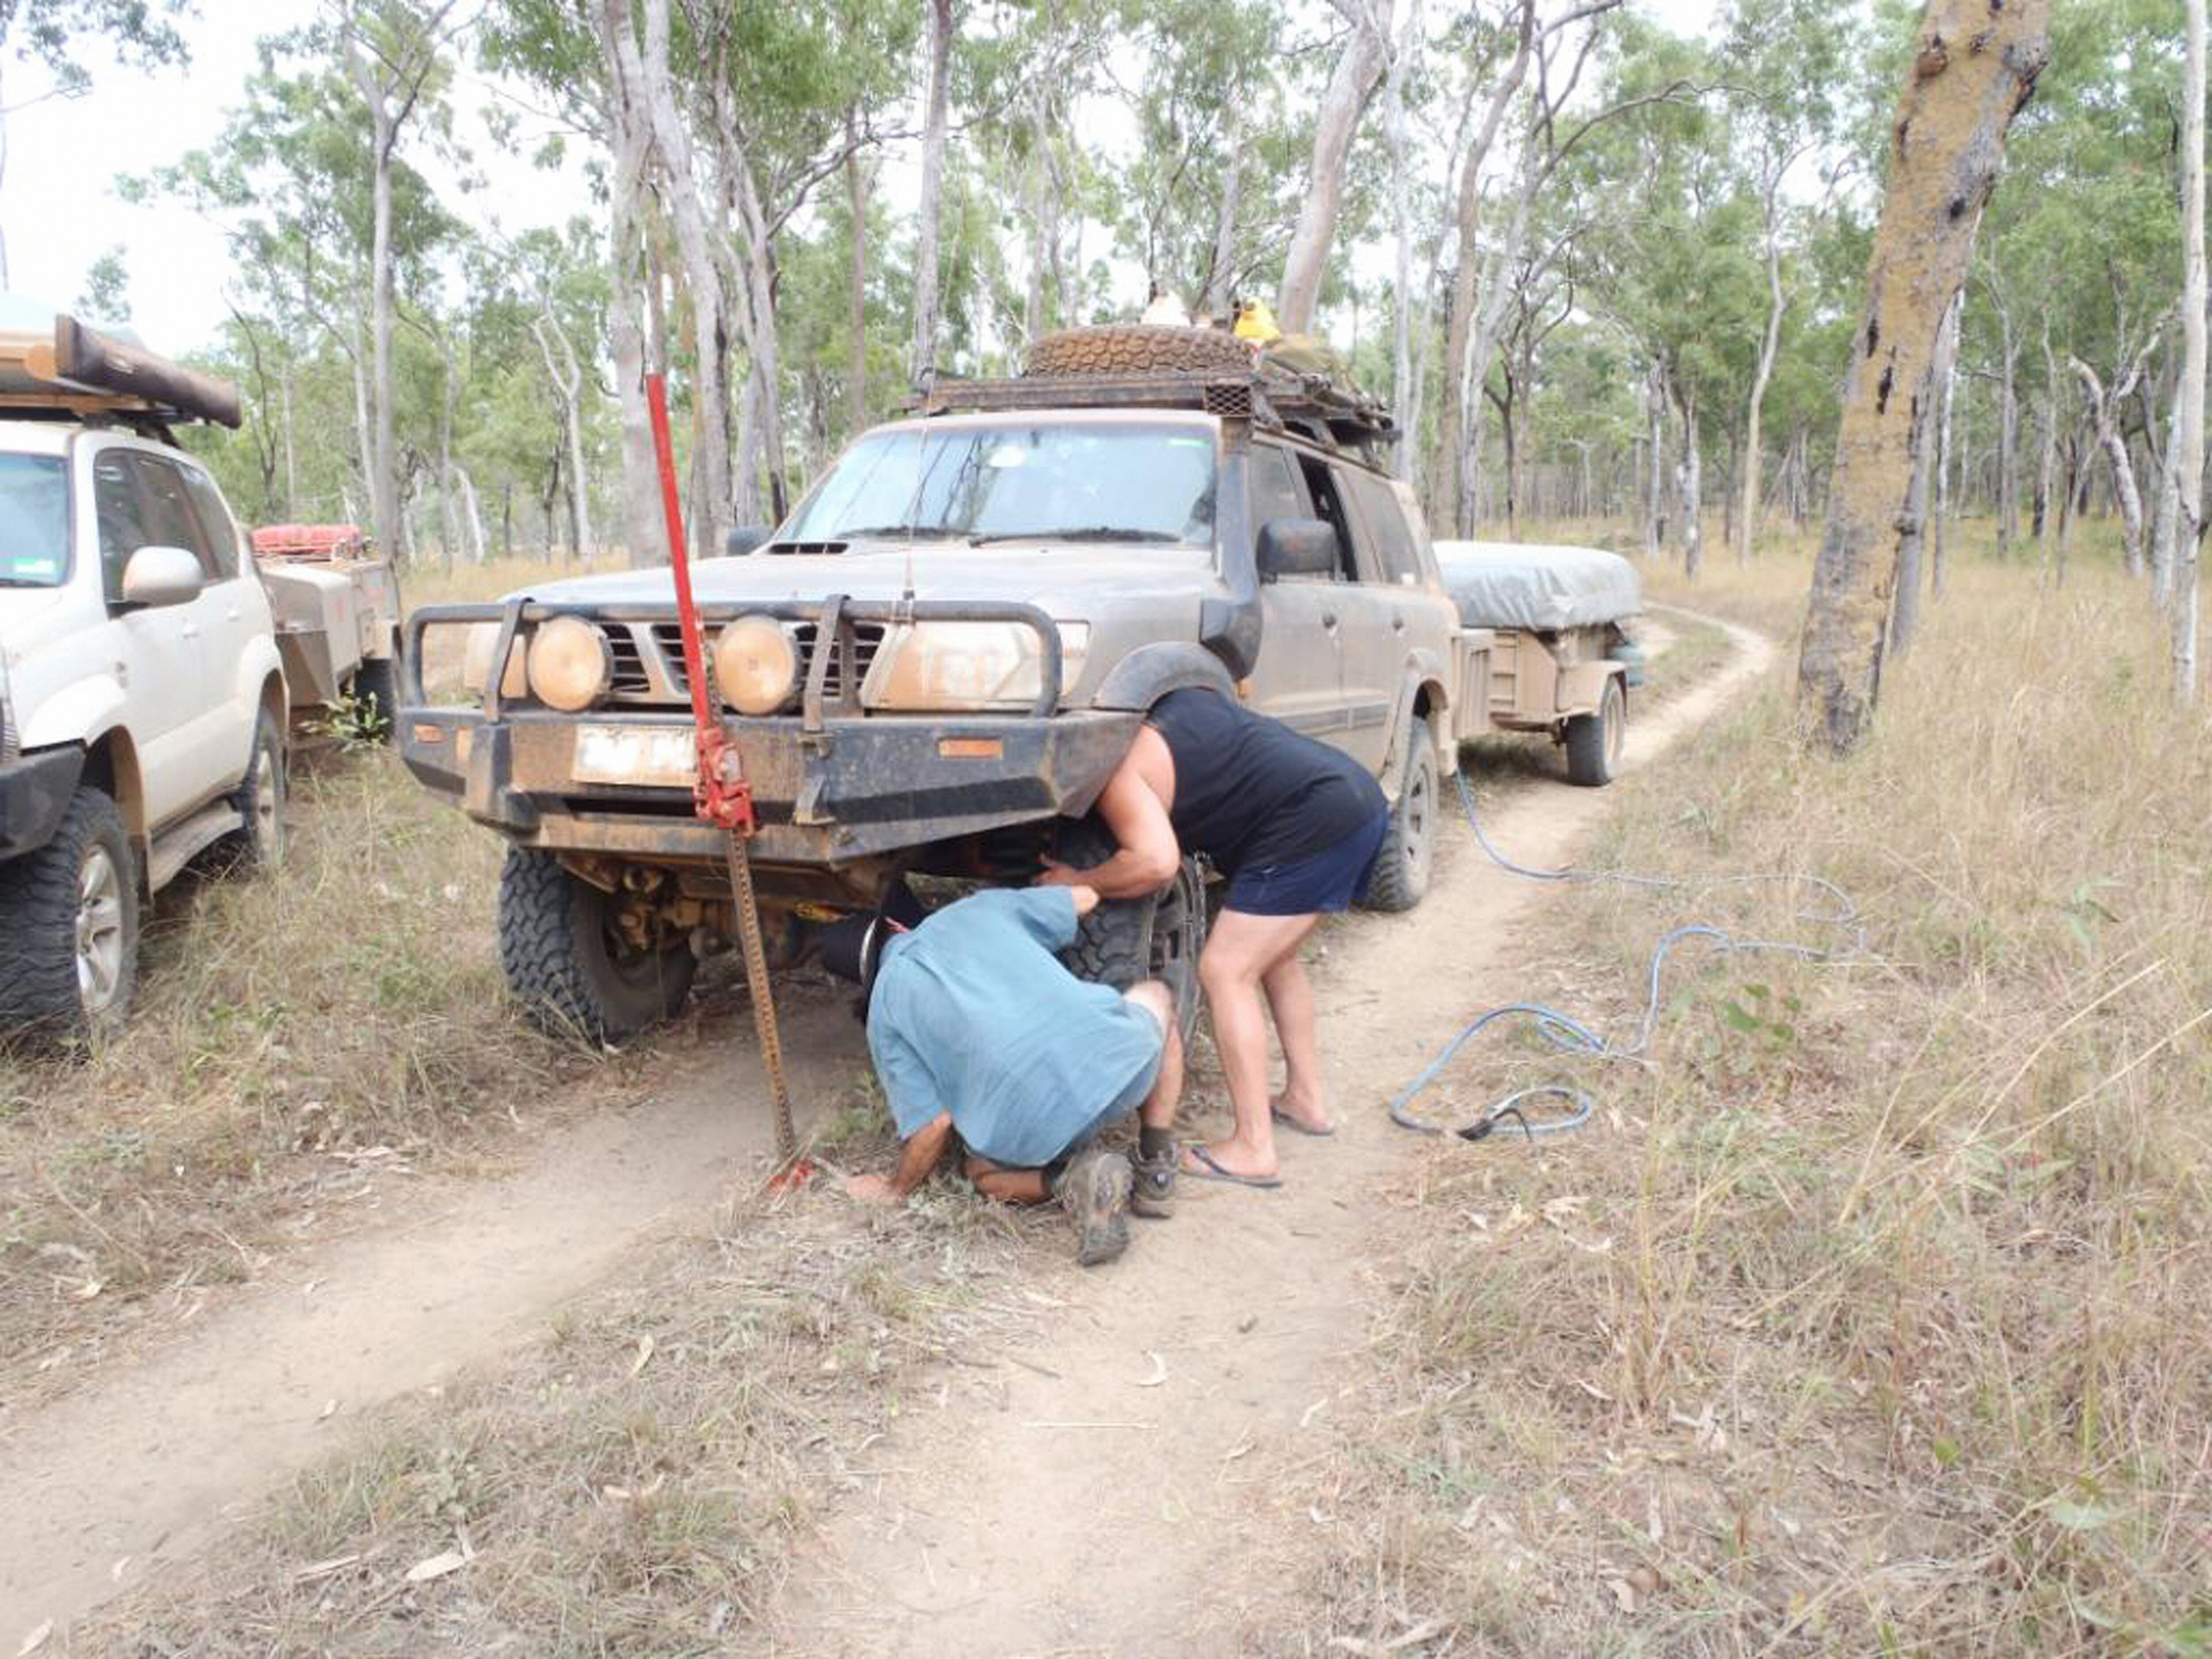
High-lift jack
The high-lift jack (‘Hi-Lift’ being a brand as well as now a style of jack) was the second most common jack mentioned and used by my fellow four wheelers in my survey.
A couple of people reckoned that’s all they carried, but most people who had a high-lift also carried a bottle jack of some sort, or maybe two or three. Certainly, my preferred jacking equipment has, for a long time, consisted of a screw-type bottle jack, at least one hydraulic bottle jack and a high-lift jack.
The high-lift jack is a pretty flexible piece of gear – for not only jacking but winching and spreading – but it demands a lot of respect, as any careless misuse can result in somebody getting hurt … or worse. As well, modern vehicles don’t lend themselves to being jacked up with a high-lift jack. At the very least you’ll need side rails, aftermarket rear steps and a bullbar – all with provision to take the tongue of the jack – to make full use of its lifting potential.
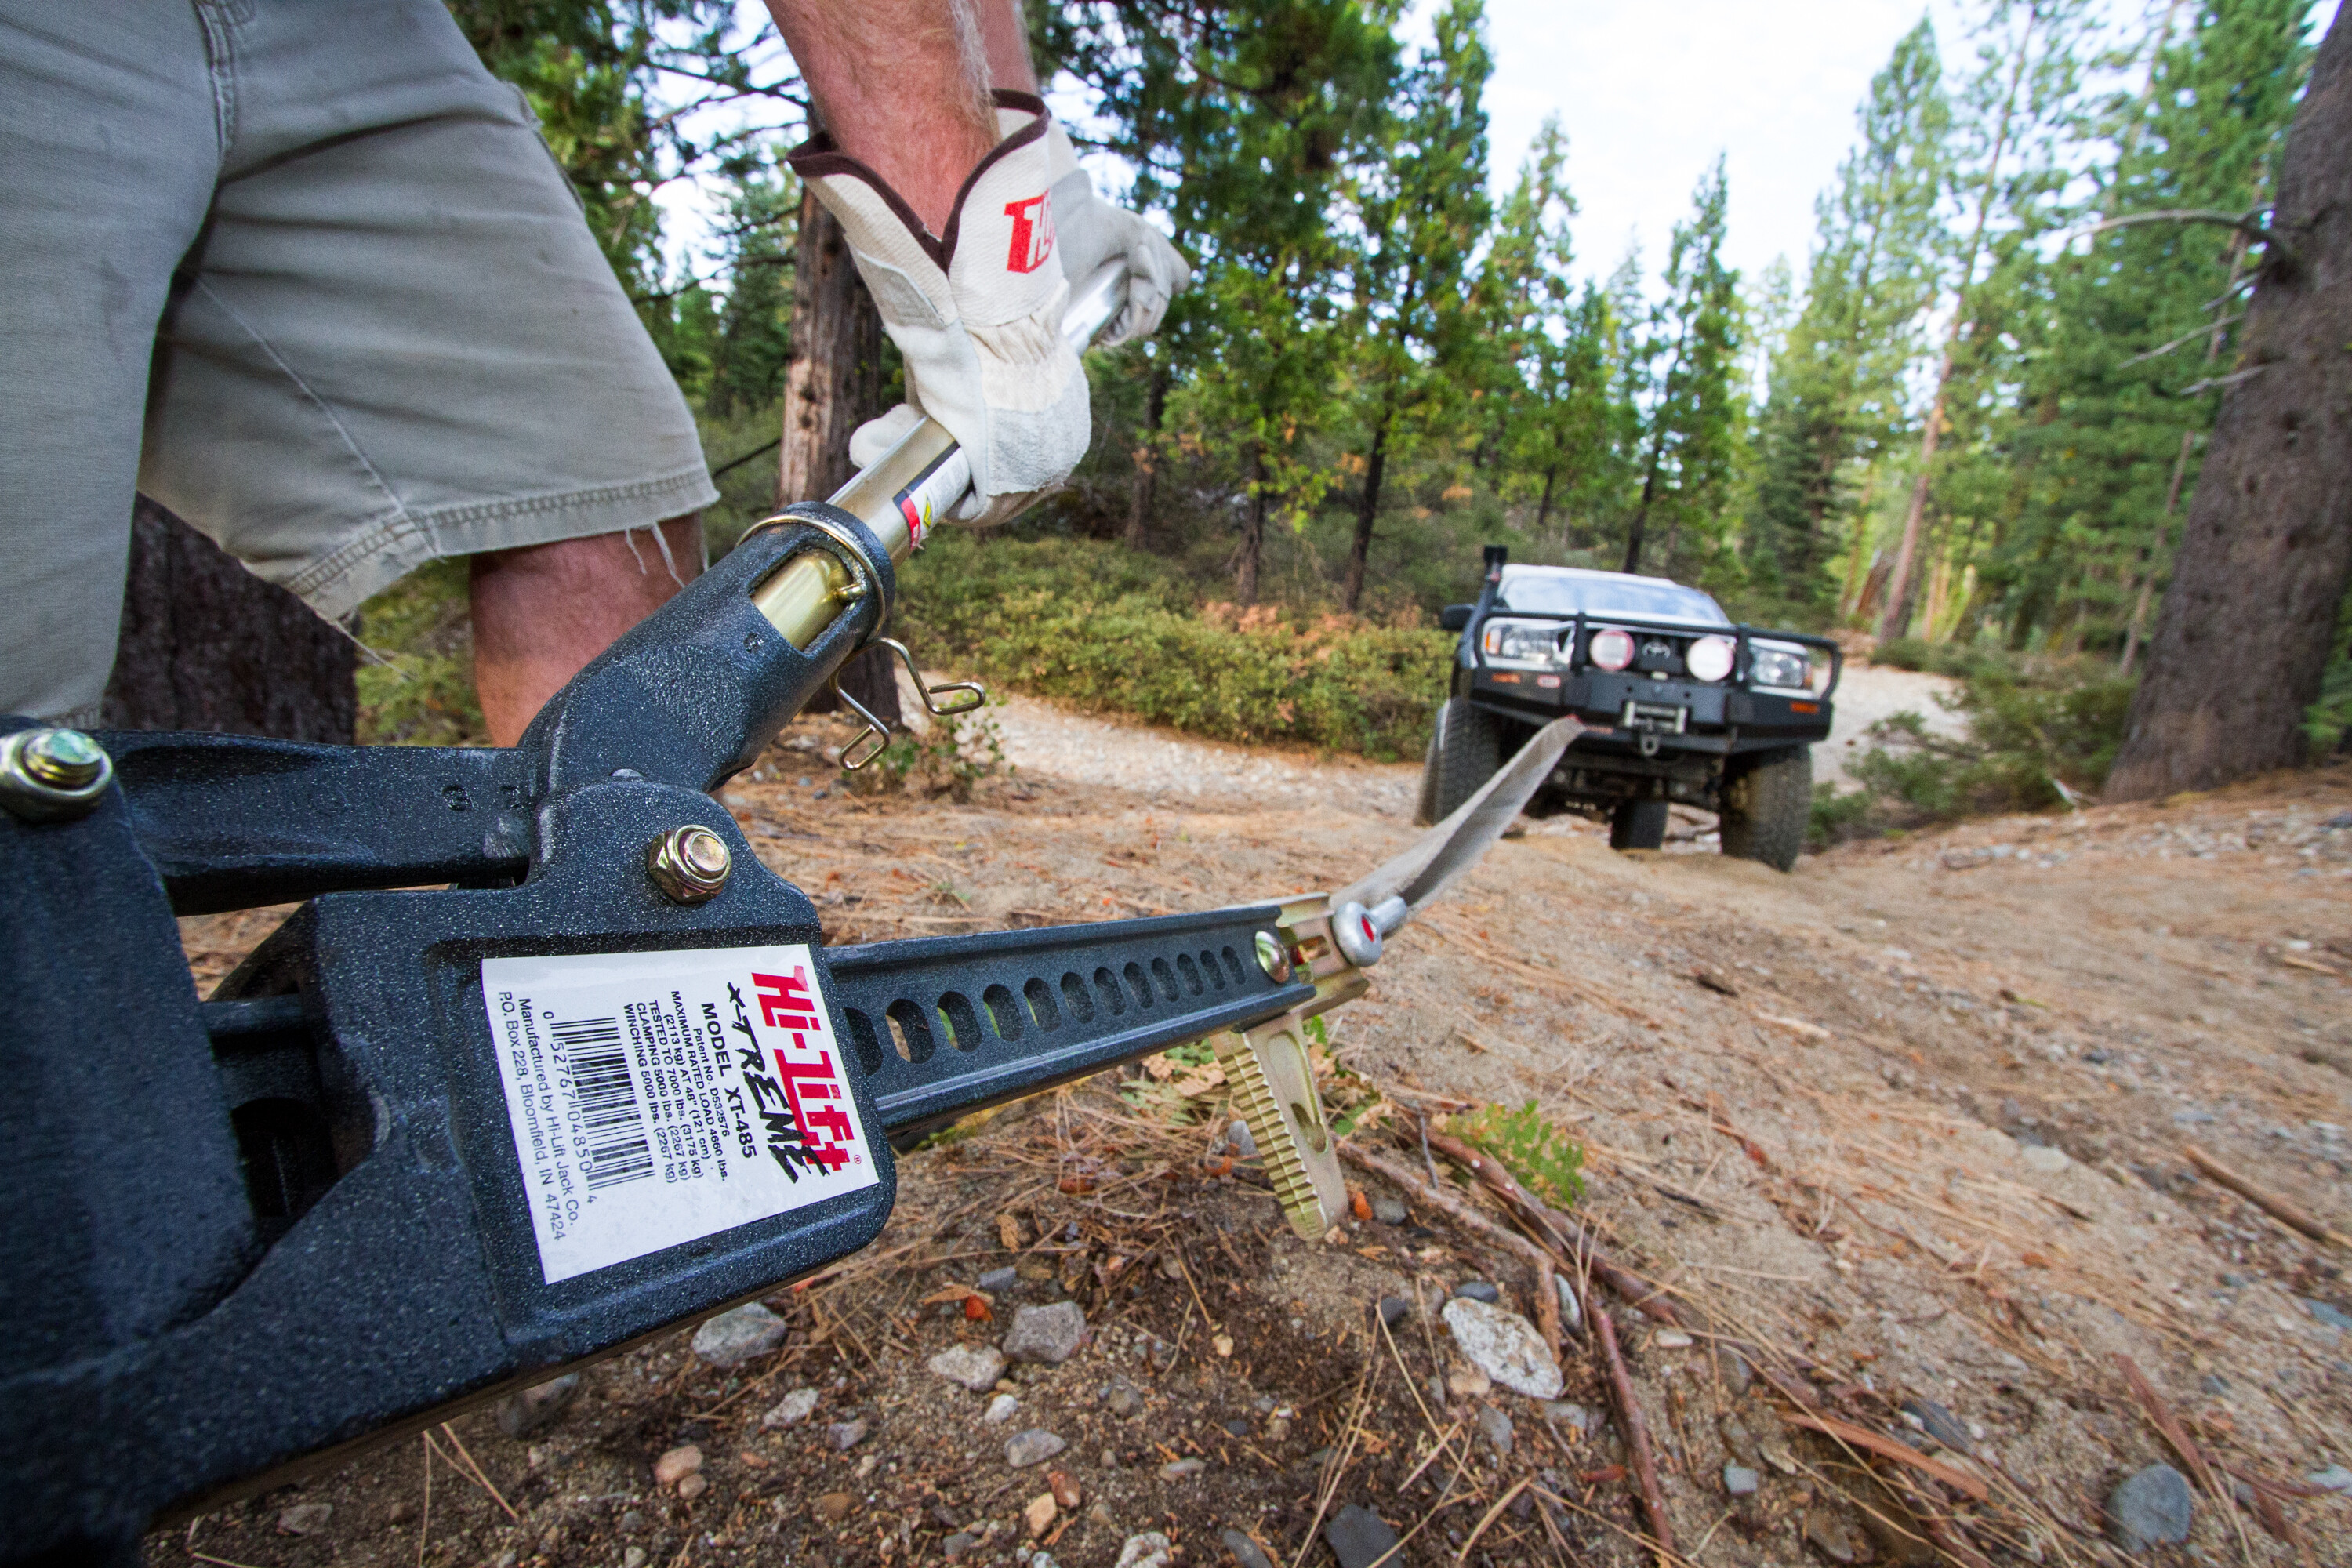
High-lift jacks are pretty unstable and need a bit of muscle power, especially when jacking a fully loaded vehicle. Pro-Quip has a stabiliser system and base plate that makes the high-lift jack safer to use when jacking, while ARB has a range of custom accessories to make the jack safer and more usable in a number of roles. They are worth checking out if the high-lift jack is your preferred piece of jacking equipment.
One thing I noticed when researching for this article is the wide disparity of pricing when it comes to high-lift jacks, with prices ranging from $90 to well over $300, for something that looks very similar. Something used for jacking a vehicle up, itself fraught with danger, demands equipment that is made to the highest standard, which by its very nature would exclude the cheapest brands on the market.
Exhaust jack
Before we move on to some of the later players in the jacking field, we’ll mention exhaust jacks here.
I’ve used a number of brands on numerous occasions and in many different situations. I’ve found they work best in sandy situations, but, even at the best of times, they can be fiddly and frustrating.
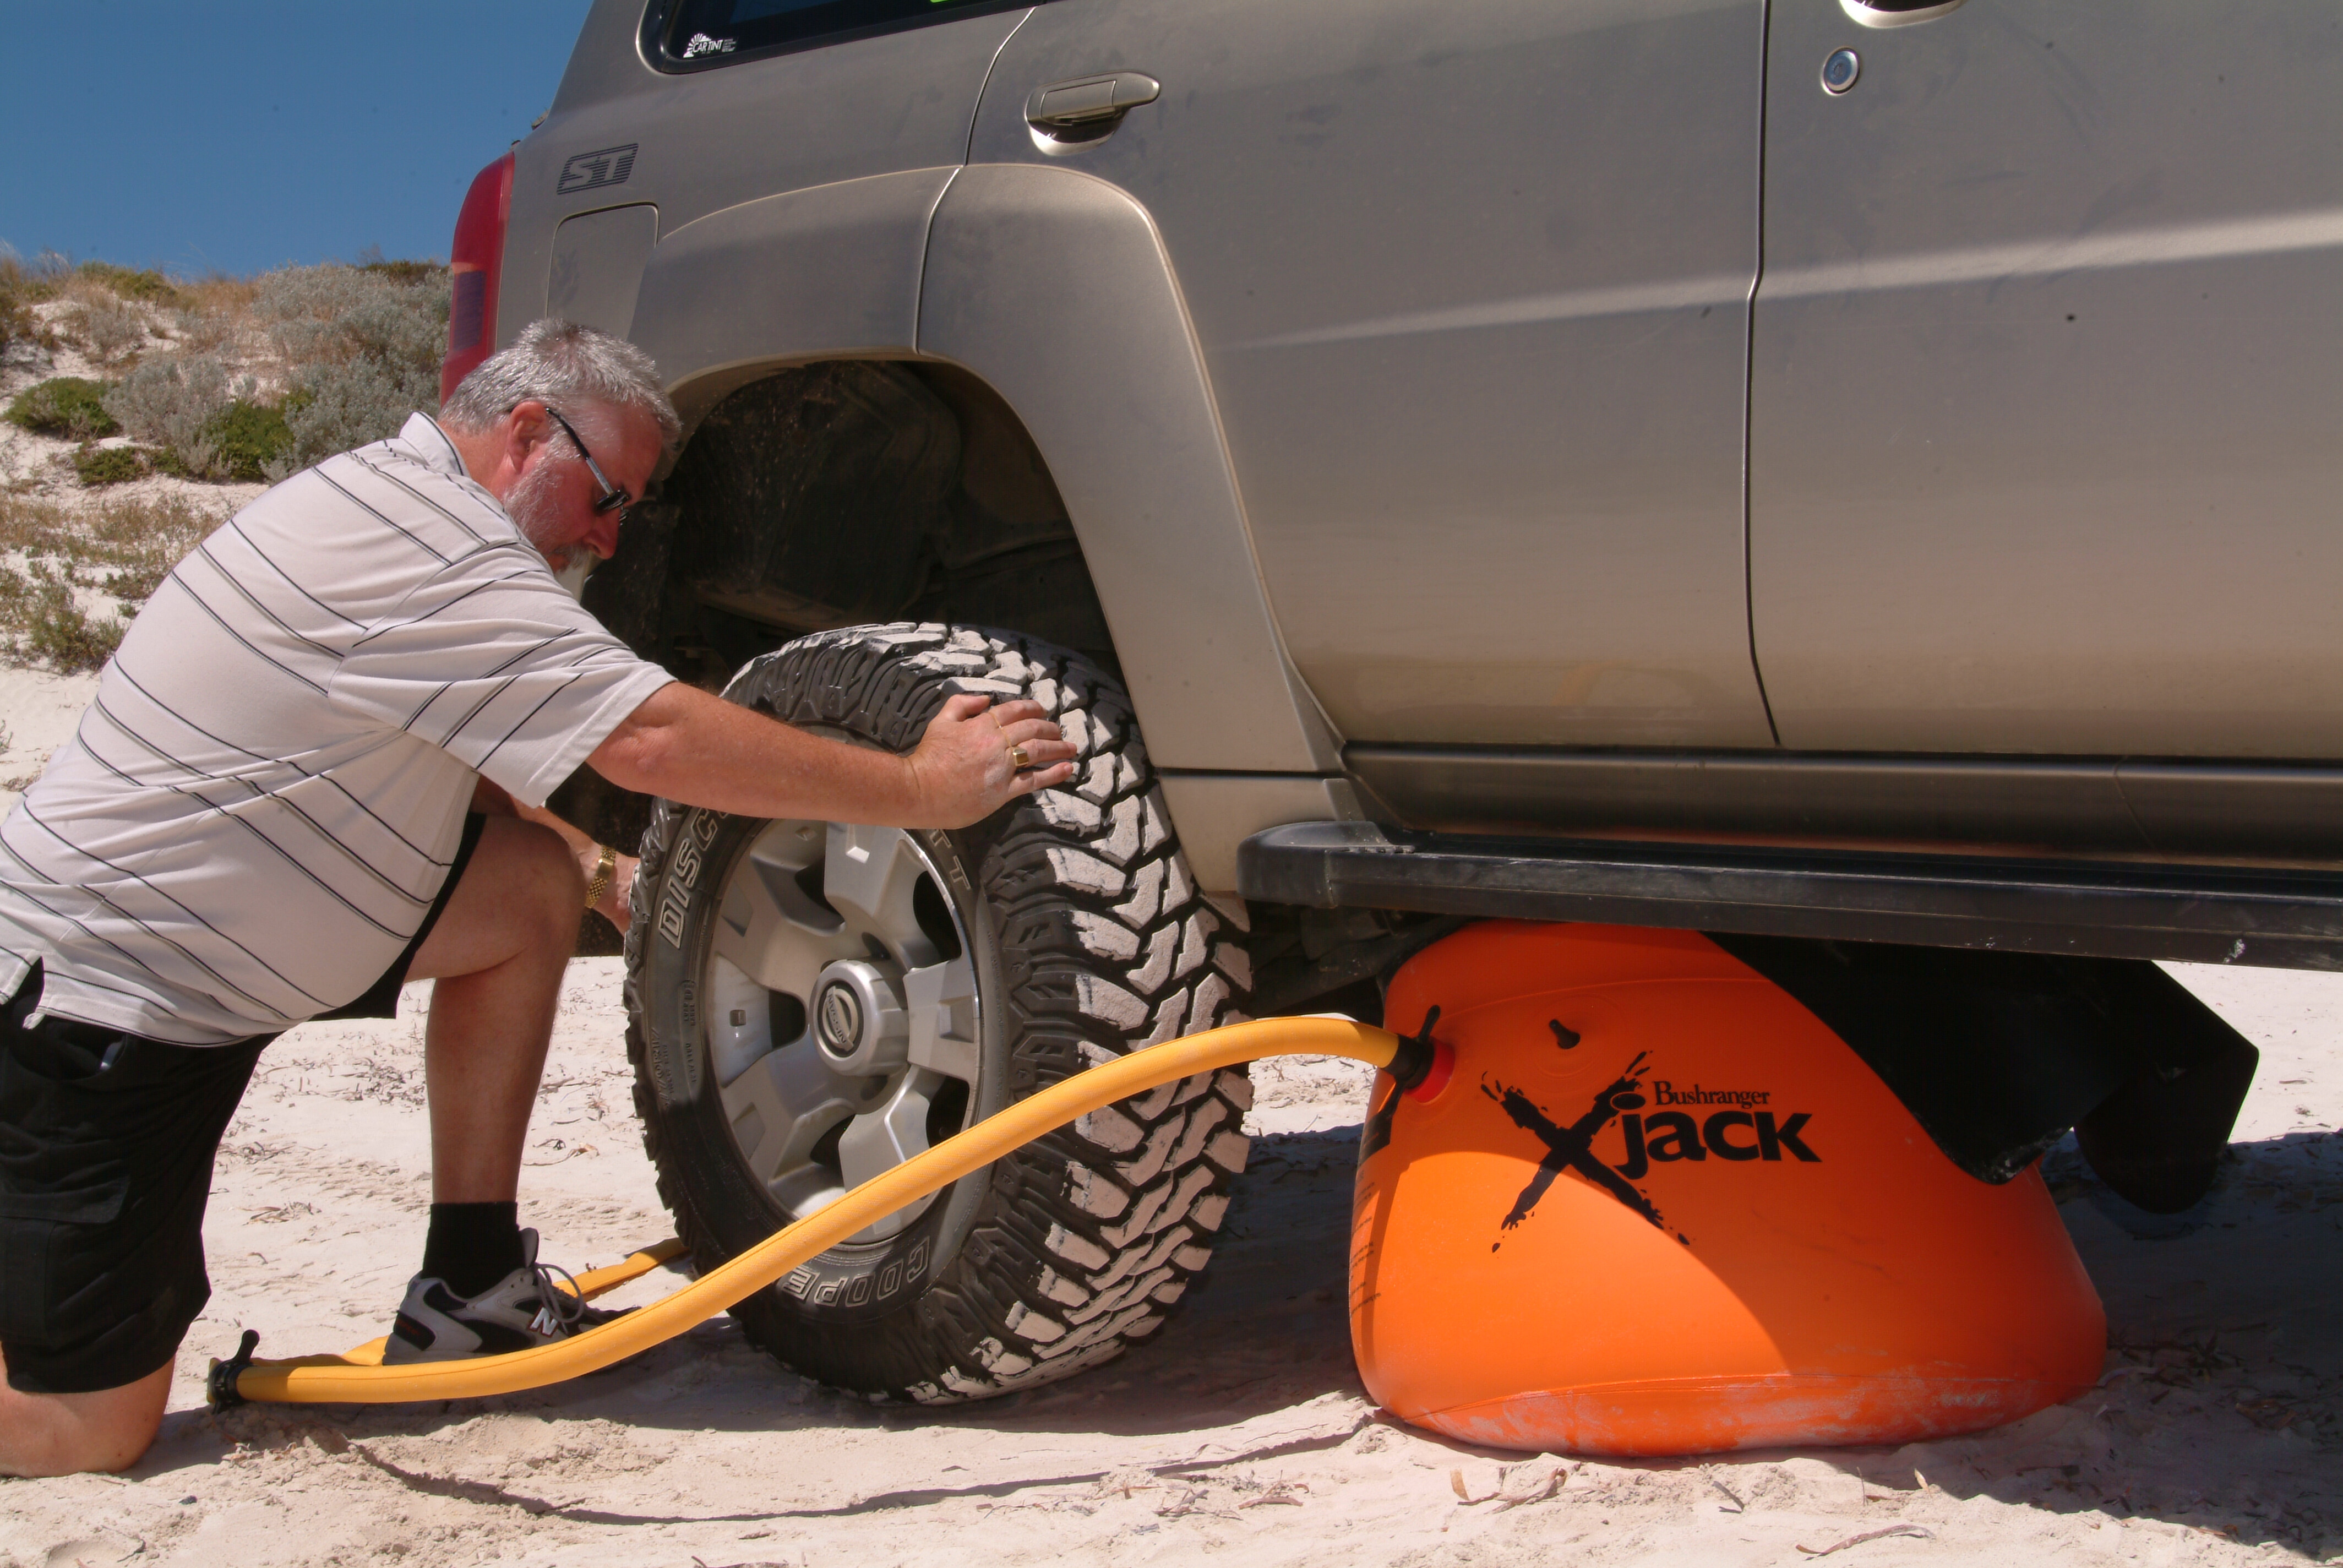
You need to be very careful where you fit them and what you lay them on as they are easily punctured which results in rapid – very rapid – deflation. Once punctured, they are irreparable and over the years I’ve thrown a number away. In recent times, I’ve basically given up carrying them, even on beach trips, even though I have a near brand-new one in the shed. You’ll pay $250 and up for a quality exhaust jack, but are they really worth it?
ARB jack
That brings us to some of the later players in the jacking arena … and the most expensive.
A few years back ARB came out with its jacking masterpiece, simply called, Jack, when it released its all-new hydraulic version of what is essentially a high-lift jack. With a body made from aircraft-grade T6 aluminium, this unit is capable of lifting two tonnes from a minimum lift height of 160mm to a maximum height of over a metre.
The all-up weight of Jack is 10.5kg, while the hydraulics allow easy and controllable lifting and lowering without many of the hassles or dangers lurking with a normal high-lift jack. Still, to make it more stable on rough ground, there is a plastic jack base to suit it and, once again, like any high-lift jack, you really require side rails, bullbars, etc, to make the most of its capability.
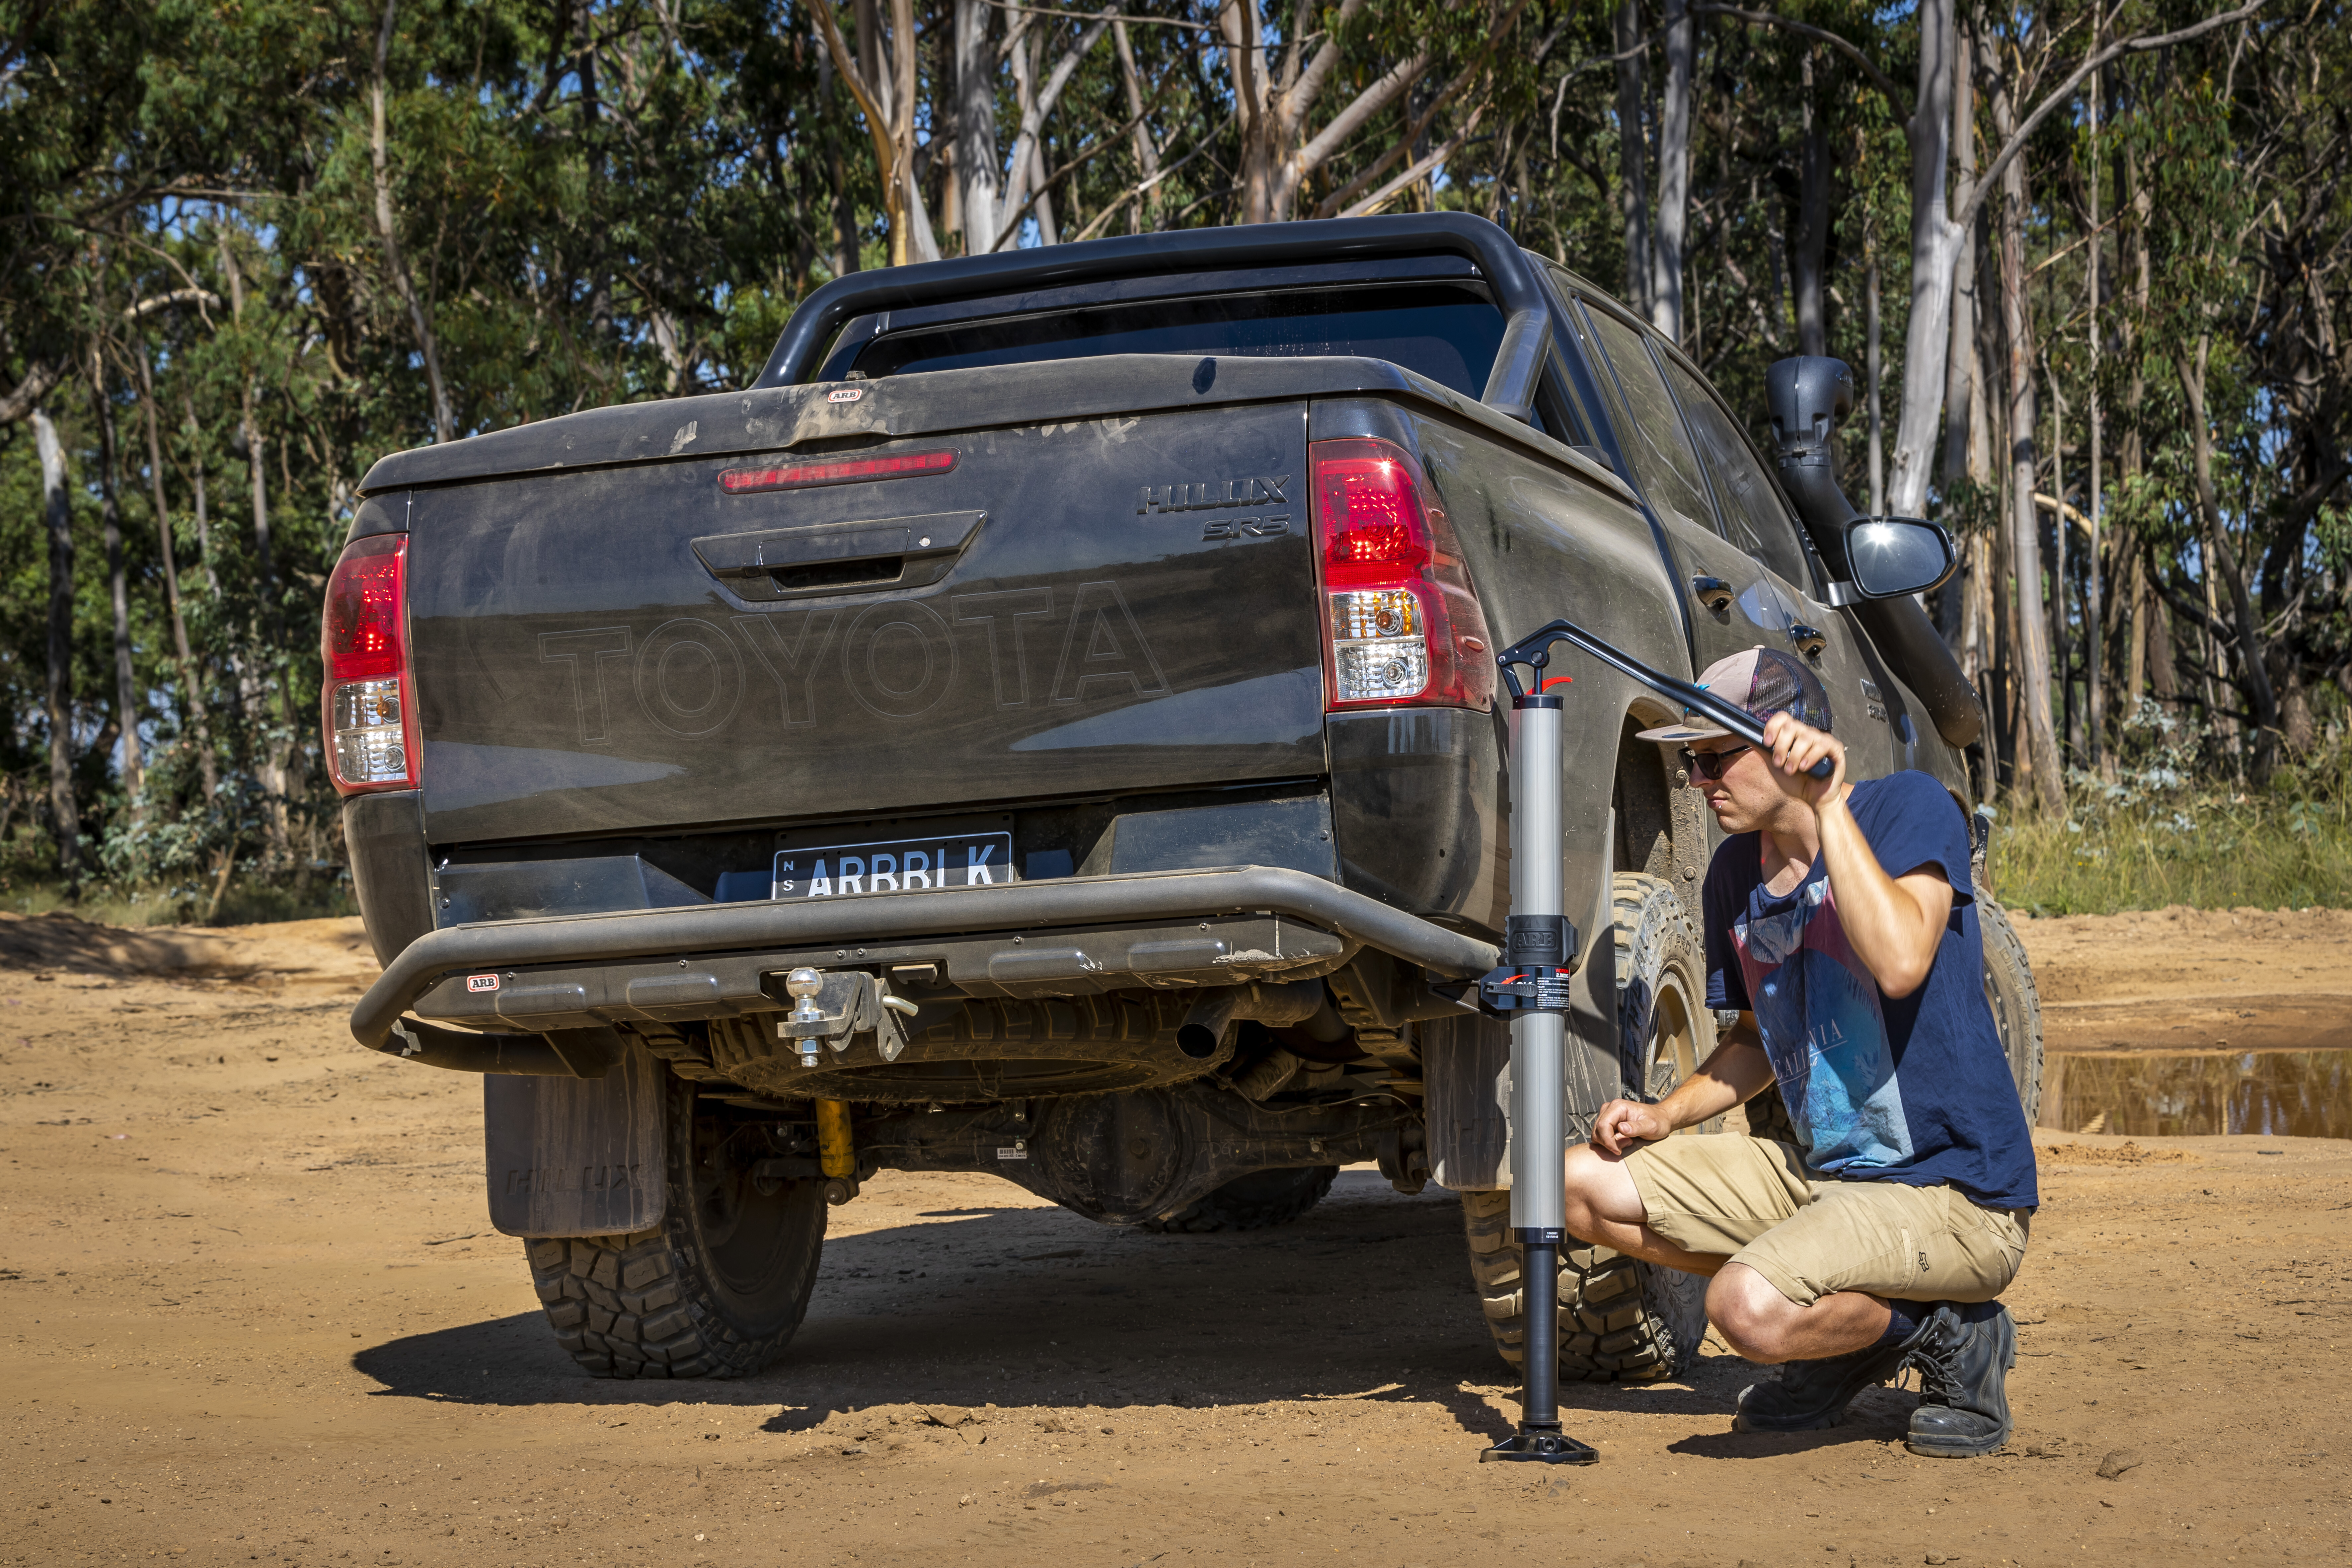
When I first saw this unit, priced at over $1000, I was sceptical about how good it could be and whether I’d trade my old high-lift for it.
Over the last four months, I’ve been away with my son on his Moon Toursa expeditions wandering the Simpson Desert, Central Australia, the western deserts and Cape York, and we’ve used Jack quite a few times in different situations. I’m now impressed with its ease of use, its jacking ability, the amount of control you have when lifting and lowering, along with its inherent safety compared to a normal high-lift jack. Is it worth its grand price tag? I’ve gotta say, yes!
Pro Eagle trolley jack
The last jack is the trolley jack from Pro Eagle Australia. I’d never heard of one of these units until one of Trent’s clients rolled one out for a repair job on his Cruiser while on our Cape York jaunt.
Now don’t compare the Pro Eagle with your normal trolley jack from Autobarn or Supercheap, which I have a couple in my shed. Some (many) years ago, we took one of these trolley jacks on an off-road trip, but they were so difficult to handle they never went on another.
The Pro Eagle is a different can of capabilities. Made in the good ol’ US of A, it exudes precision and quality and comes in three different models and lifting capabilities up to three-tonne; I bought the big-un. Priced at just under a grand for this top-of-the-line model, it’s not cheap and if you need a custom mounting kit, or the tool kit (aka, a wheel-nut socket set) you’ll add a few more hundred to the bill. If there is a drawback to the Pro Eagle, it is its weight, with the three-tonne unit I have weighing in at 27kg.
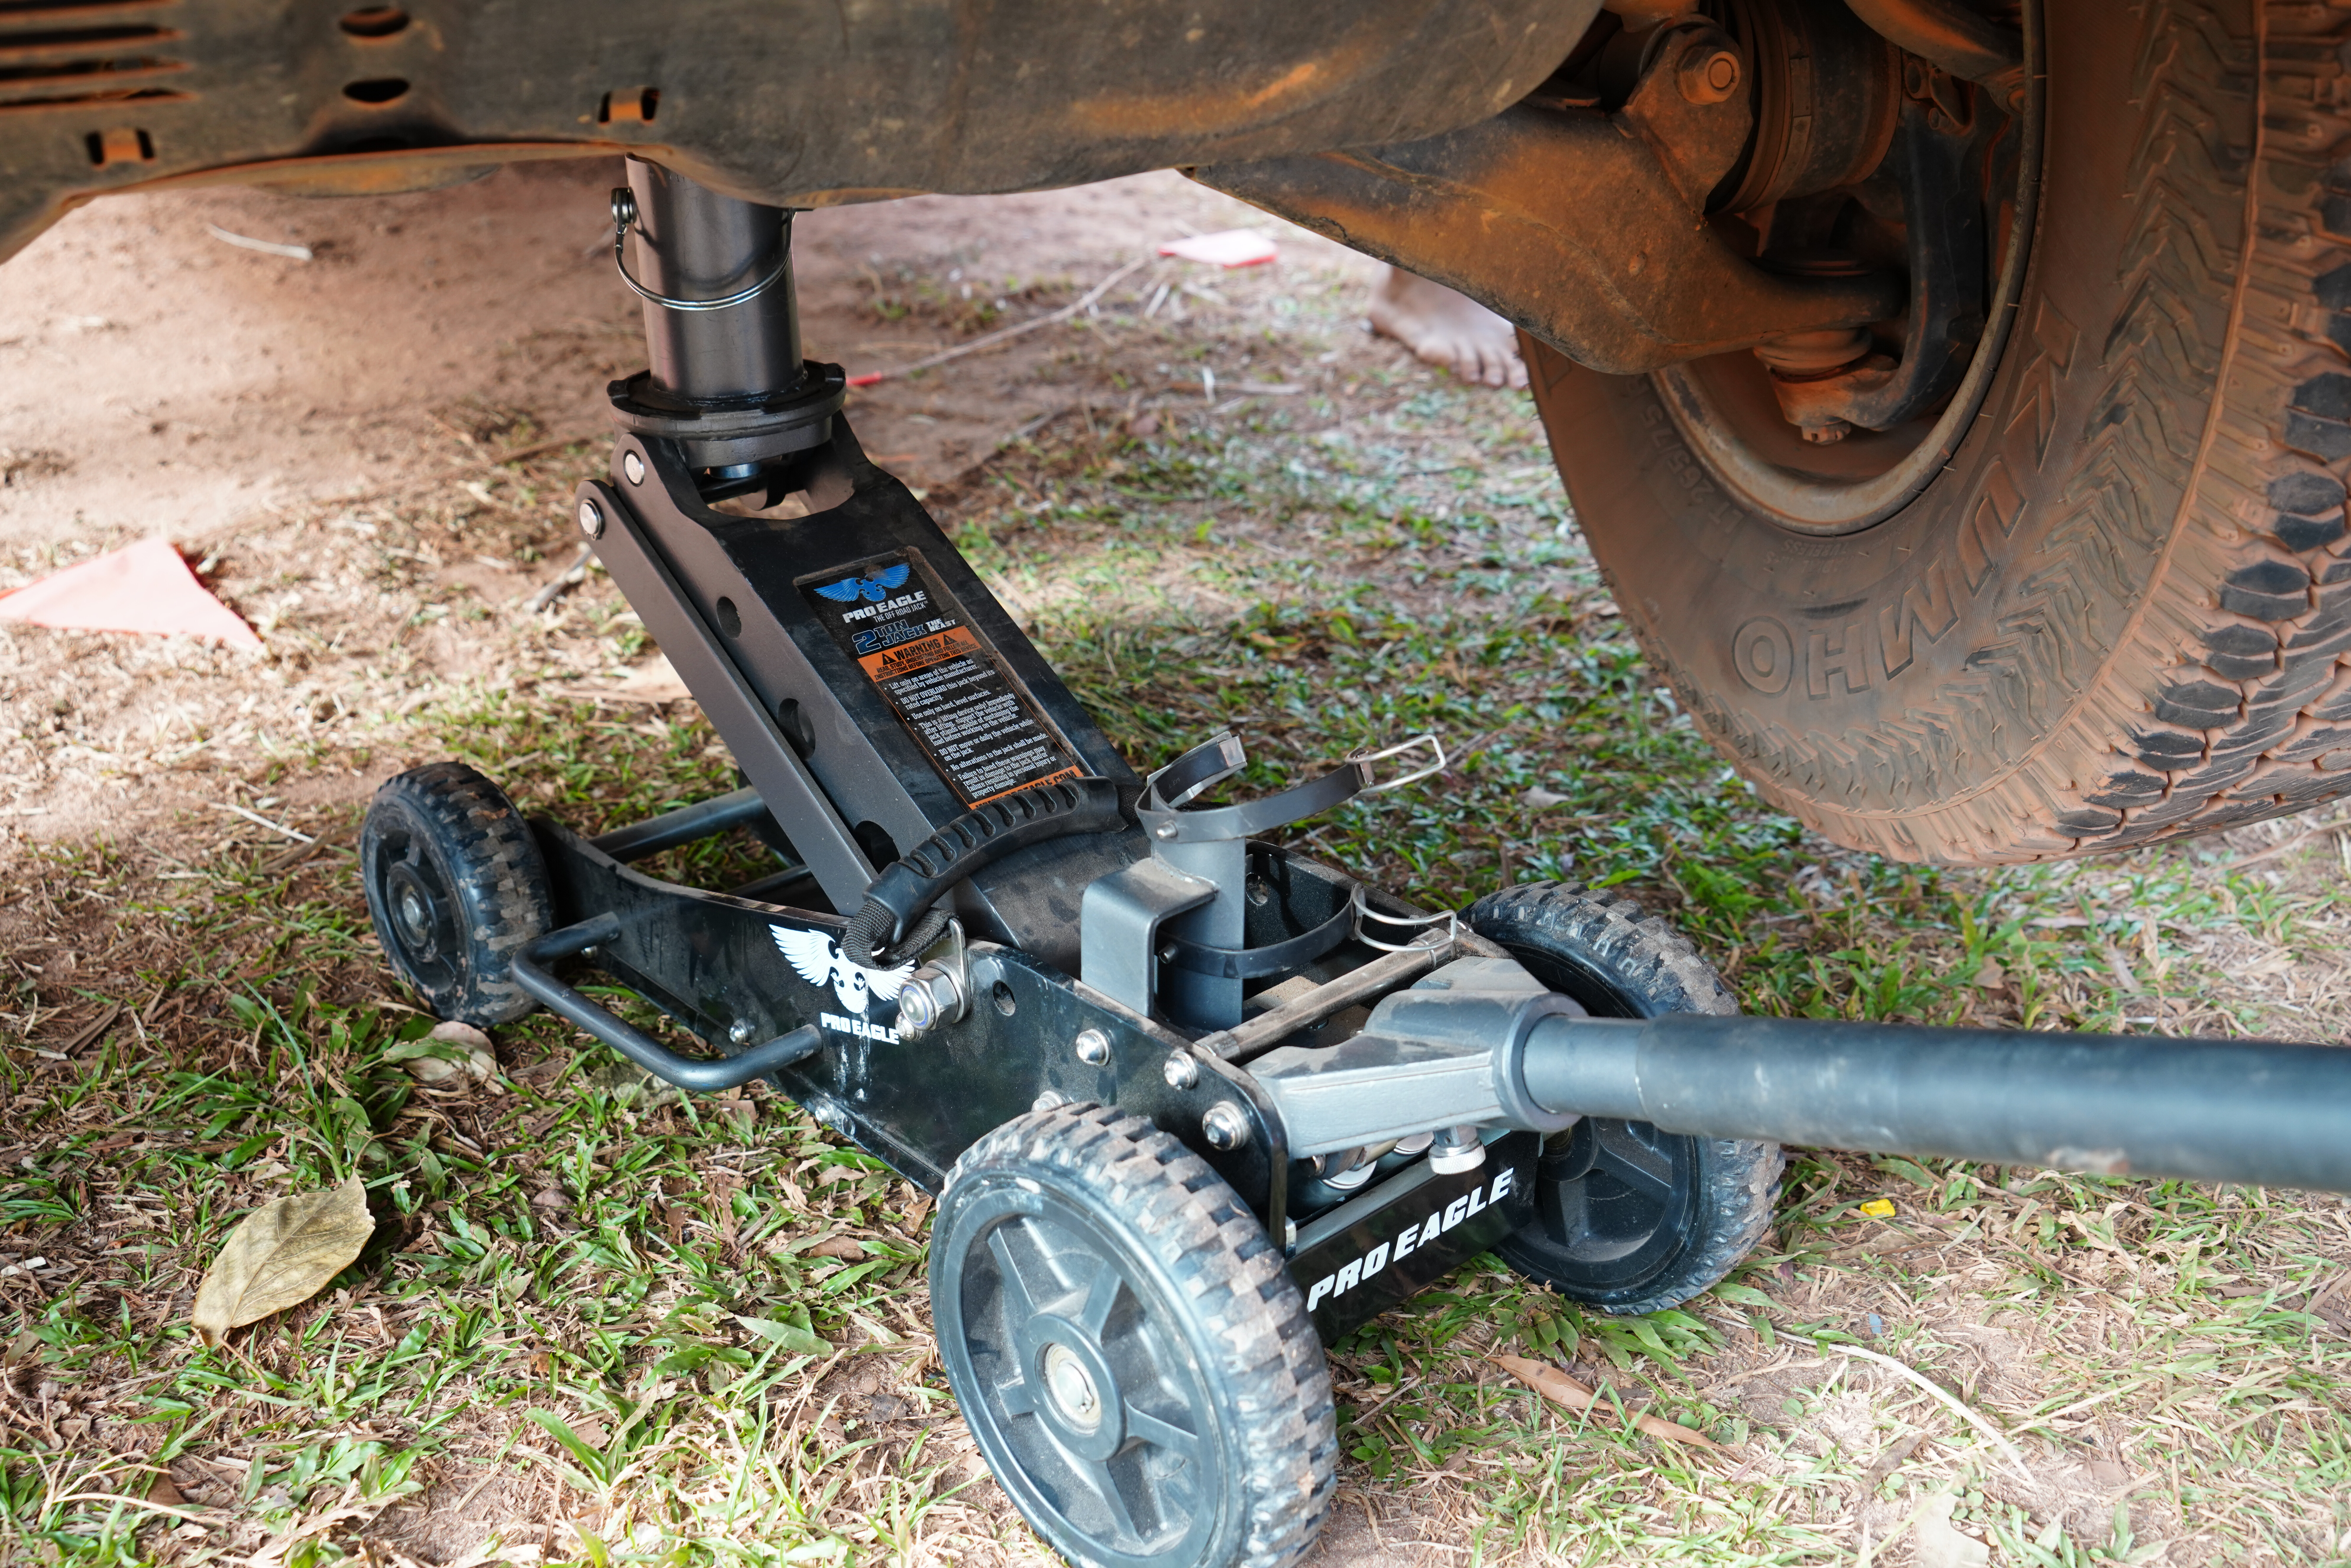
The Pro Eagle, though, is designed for off-road work and its big wheels make it easy to use in rough terrain, while its belly plate gives it a huge flat base that doesn’t sink in to sand or mud, even if the wheels tend to. It makes lifting, even the back end of my Patrol or a 2500 Ram, a cinch, and it can slip under an axle even easier than any of my bottle jacks – and lift the vehicle higher. The Pro Eagle comes with a standard eight-inch extension for those vehicles that sit on portals or the like.
The lifting and the lowering of the jack, even when fully loaded, is easy and well-controlled with the hydraulics. What is also a great safety point is that, even when it’s at its highest jacking position, it is much more stable than any of the units mentioned earlier.
As a relative newcomer to the Aussie market, my survey only turned up a couple of people who have the Pro Eagle jack, but, like me, they are rapt in the unit, its capability and how easy they are to use.
Finally, whenever and with whatever jack you are using, make sure you play it safe (see below for safety tips). The last thing you need is a jack slipping and falling and hurting or trapping someone!
10 steps to minimise the risks
Research by the ACCC has shown that more than 120 Australians have died as a result of DIY car maintenance accidents in the last 20 years, while hundreds have been hospitalised due to injuries.
Most of these incidents happen when working under a vehicle and using gear incorrectly, with many of the fatalities involving vehicle jacks.
The risks of jacking and working under a vehicle in the bush and on uneven surfaces are greatly increased, so you need to take extra care.
- Never get under a car that is only supported by a jack.
- Always place safety stands, or at the very least, a spare tyre under the axle or chassis.
- Apply the handbrake, with the vehicle in gear or Park.
- Always ‘chock’ the wheels on a raised vehicle.
- Never place any part of your body under a vehicle unless it is sitting securely on some form of safety stand.
- Never allow a person or pet to remain in the vehicle.
- Never exceed the weight capacity of the jack.
- On sand, mud or soft surfaces, use a jacking plate.
- Always perform jacking, where possible, on steady ground. If on rocky, rough ground, level the ground before placing the jacking plate and jack in position.
- If using makeshift supports in the bush, such as blocks of wood, rocks or a spare tyre, be extremely careful and ensure their stability.
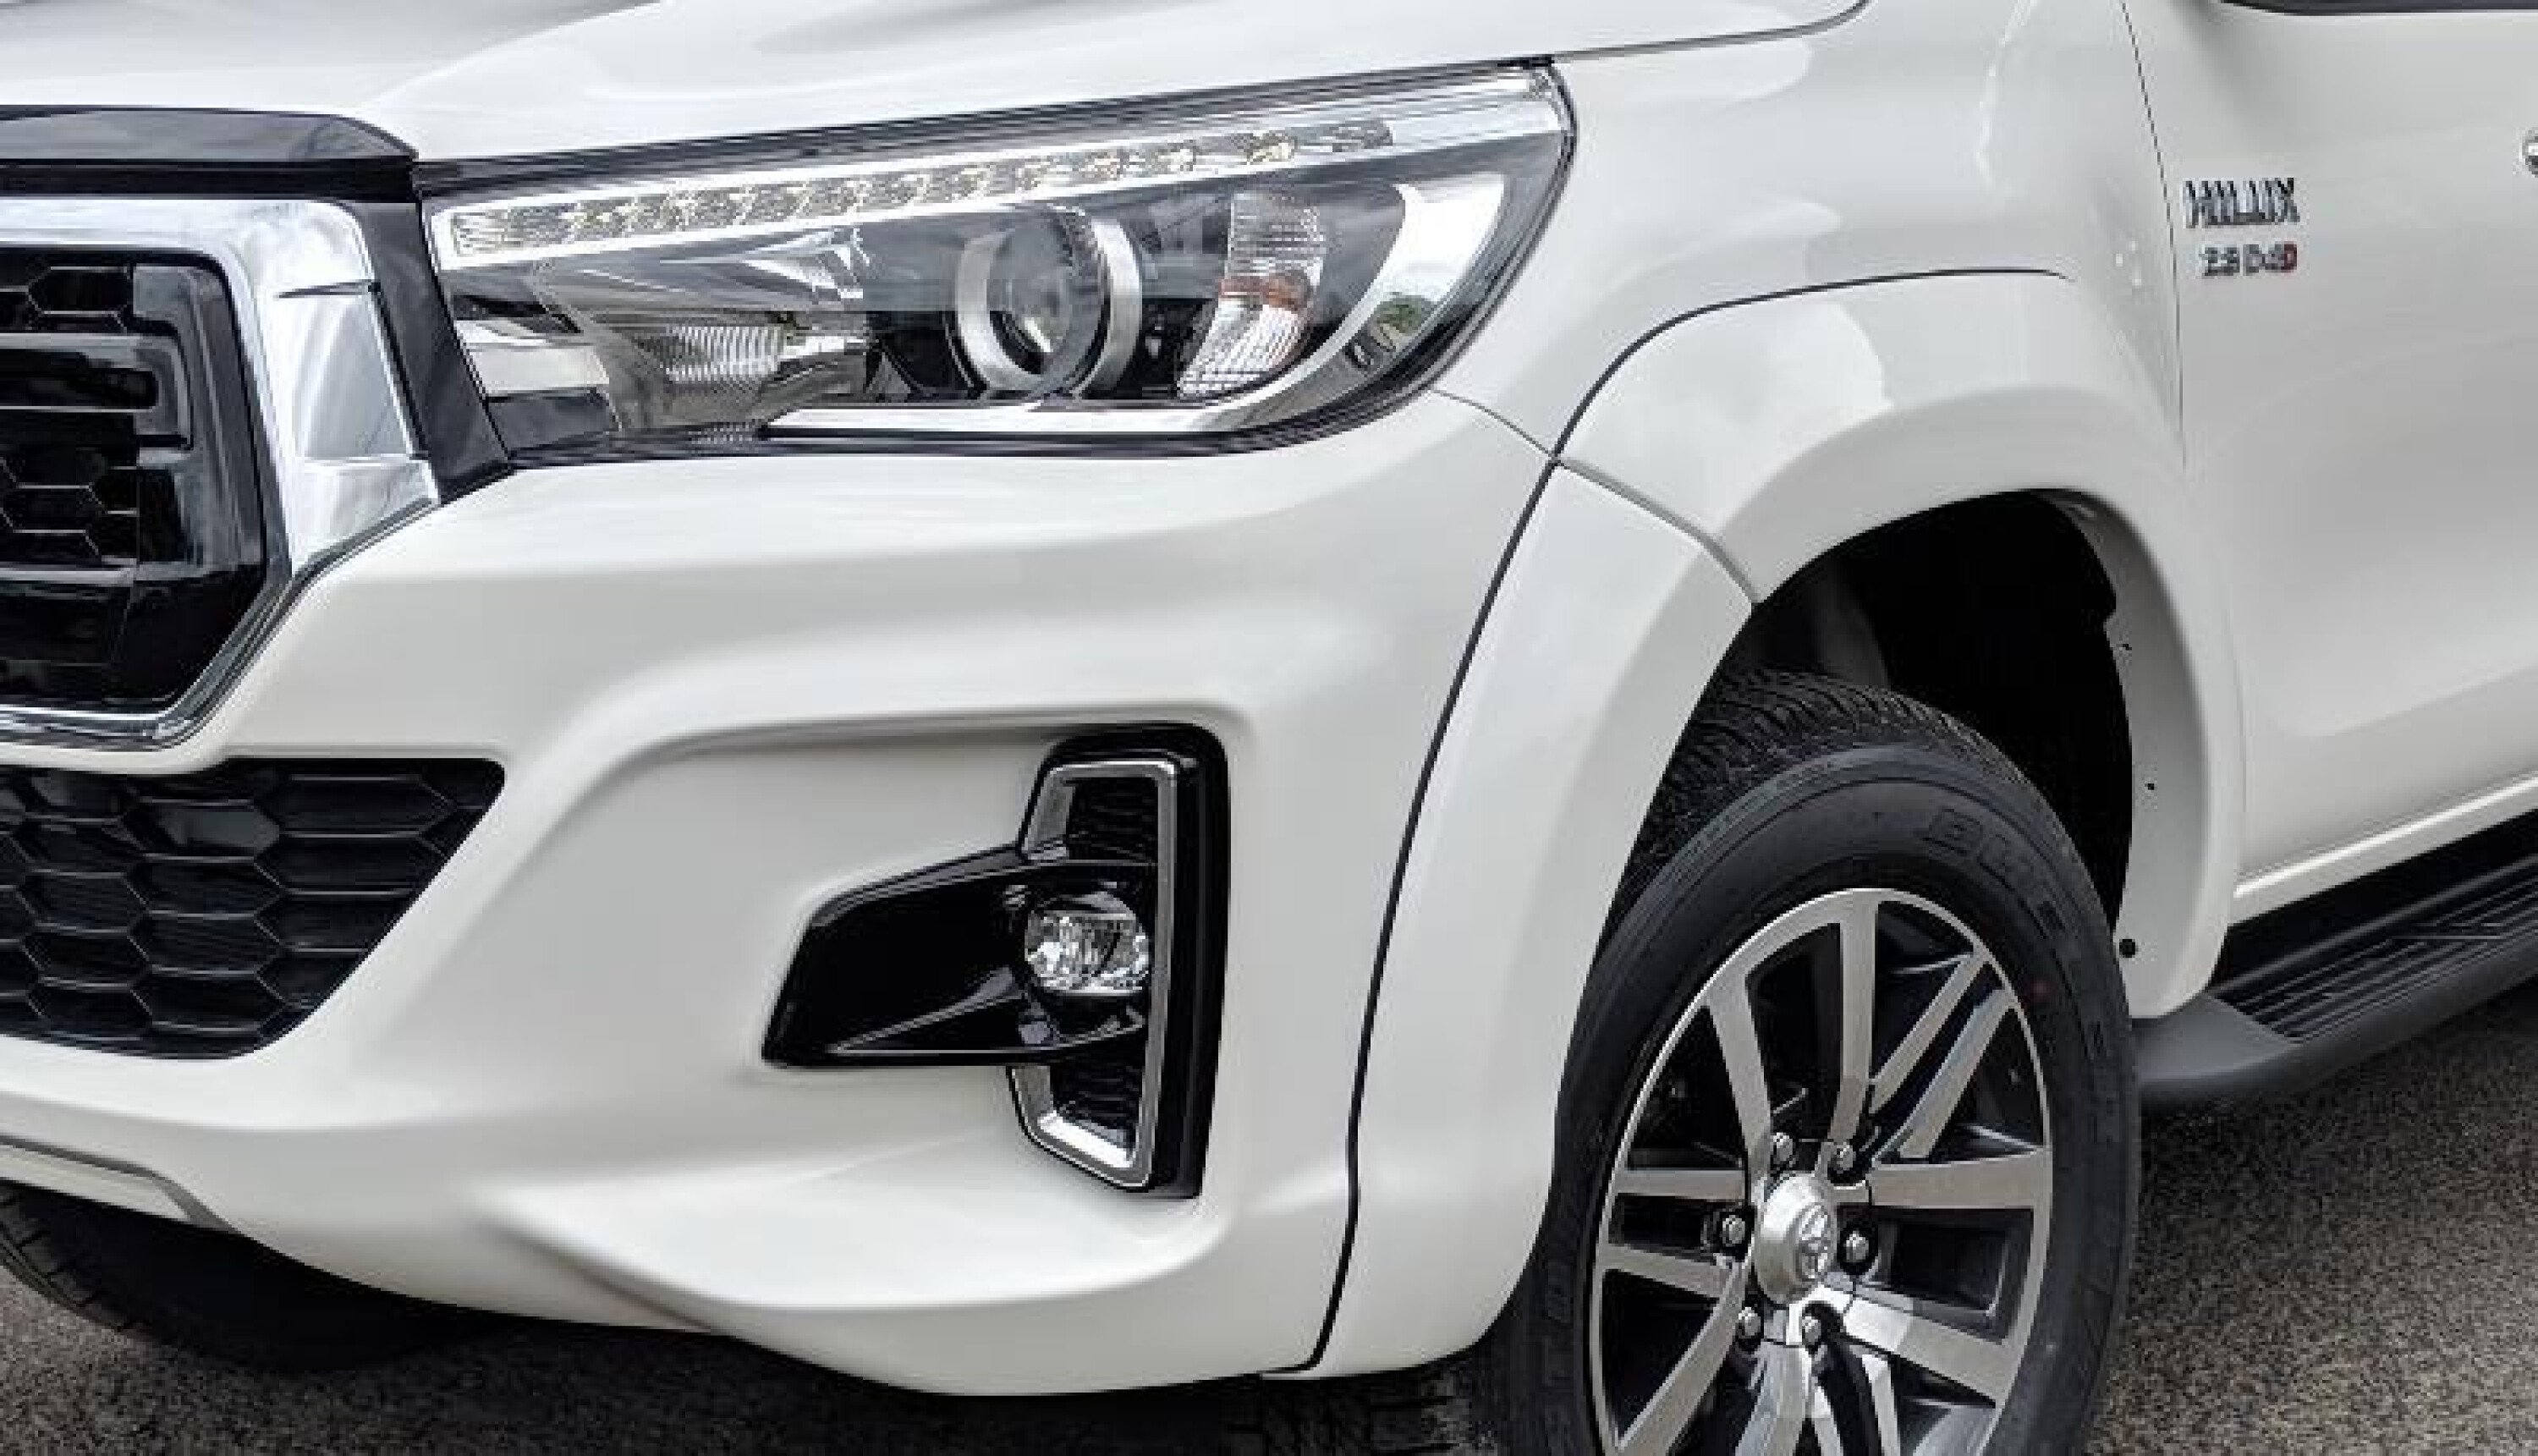
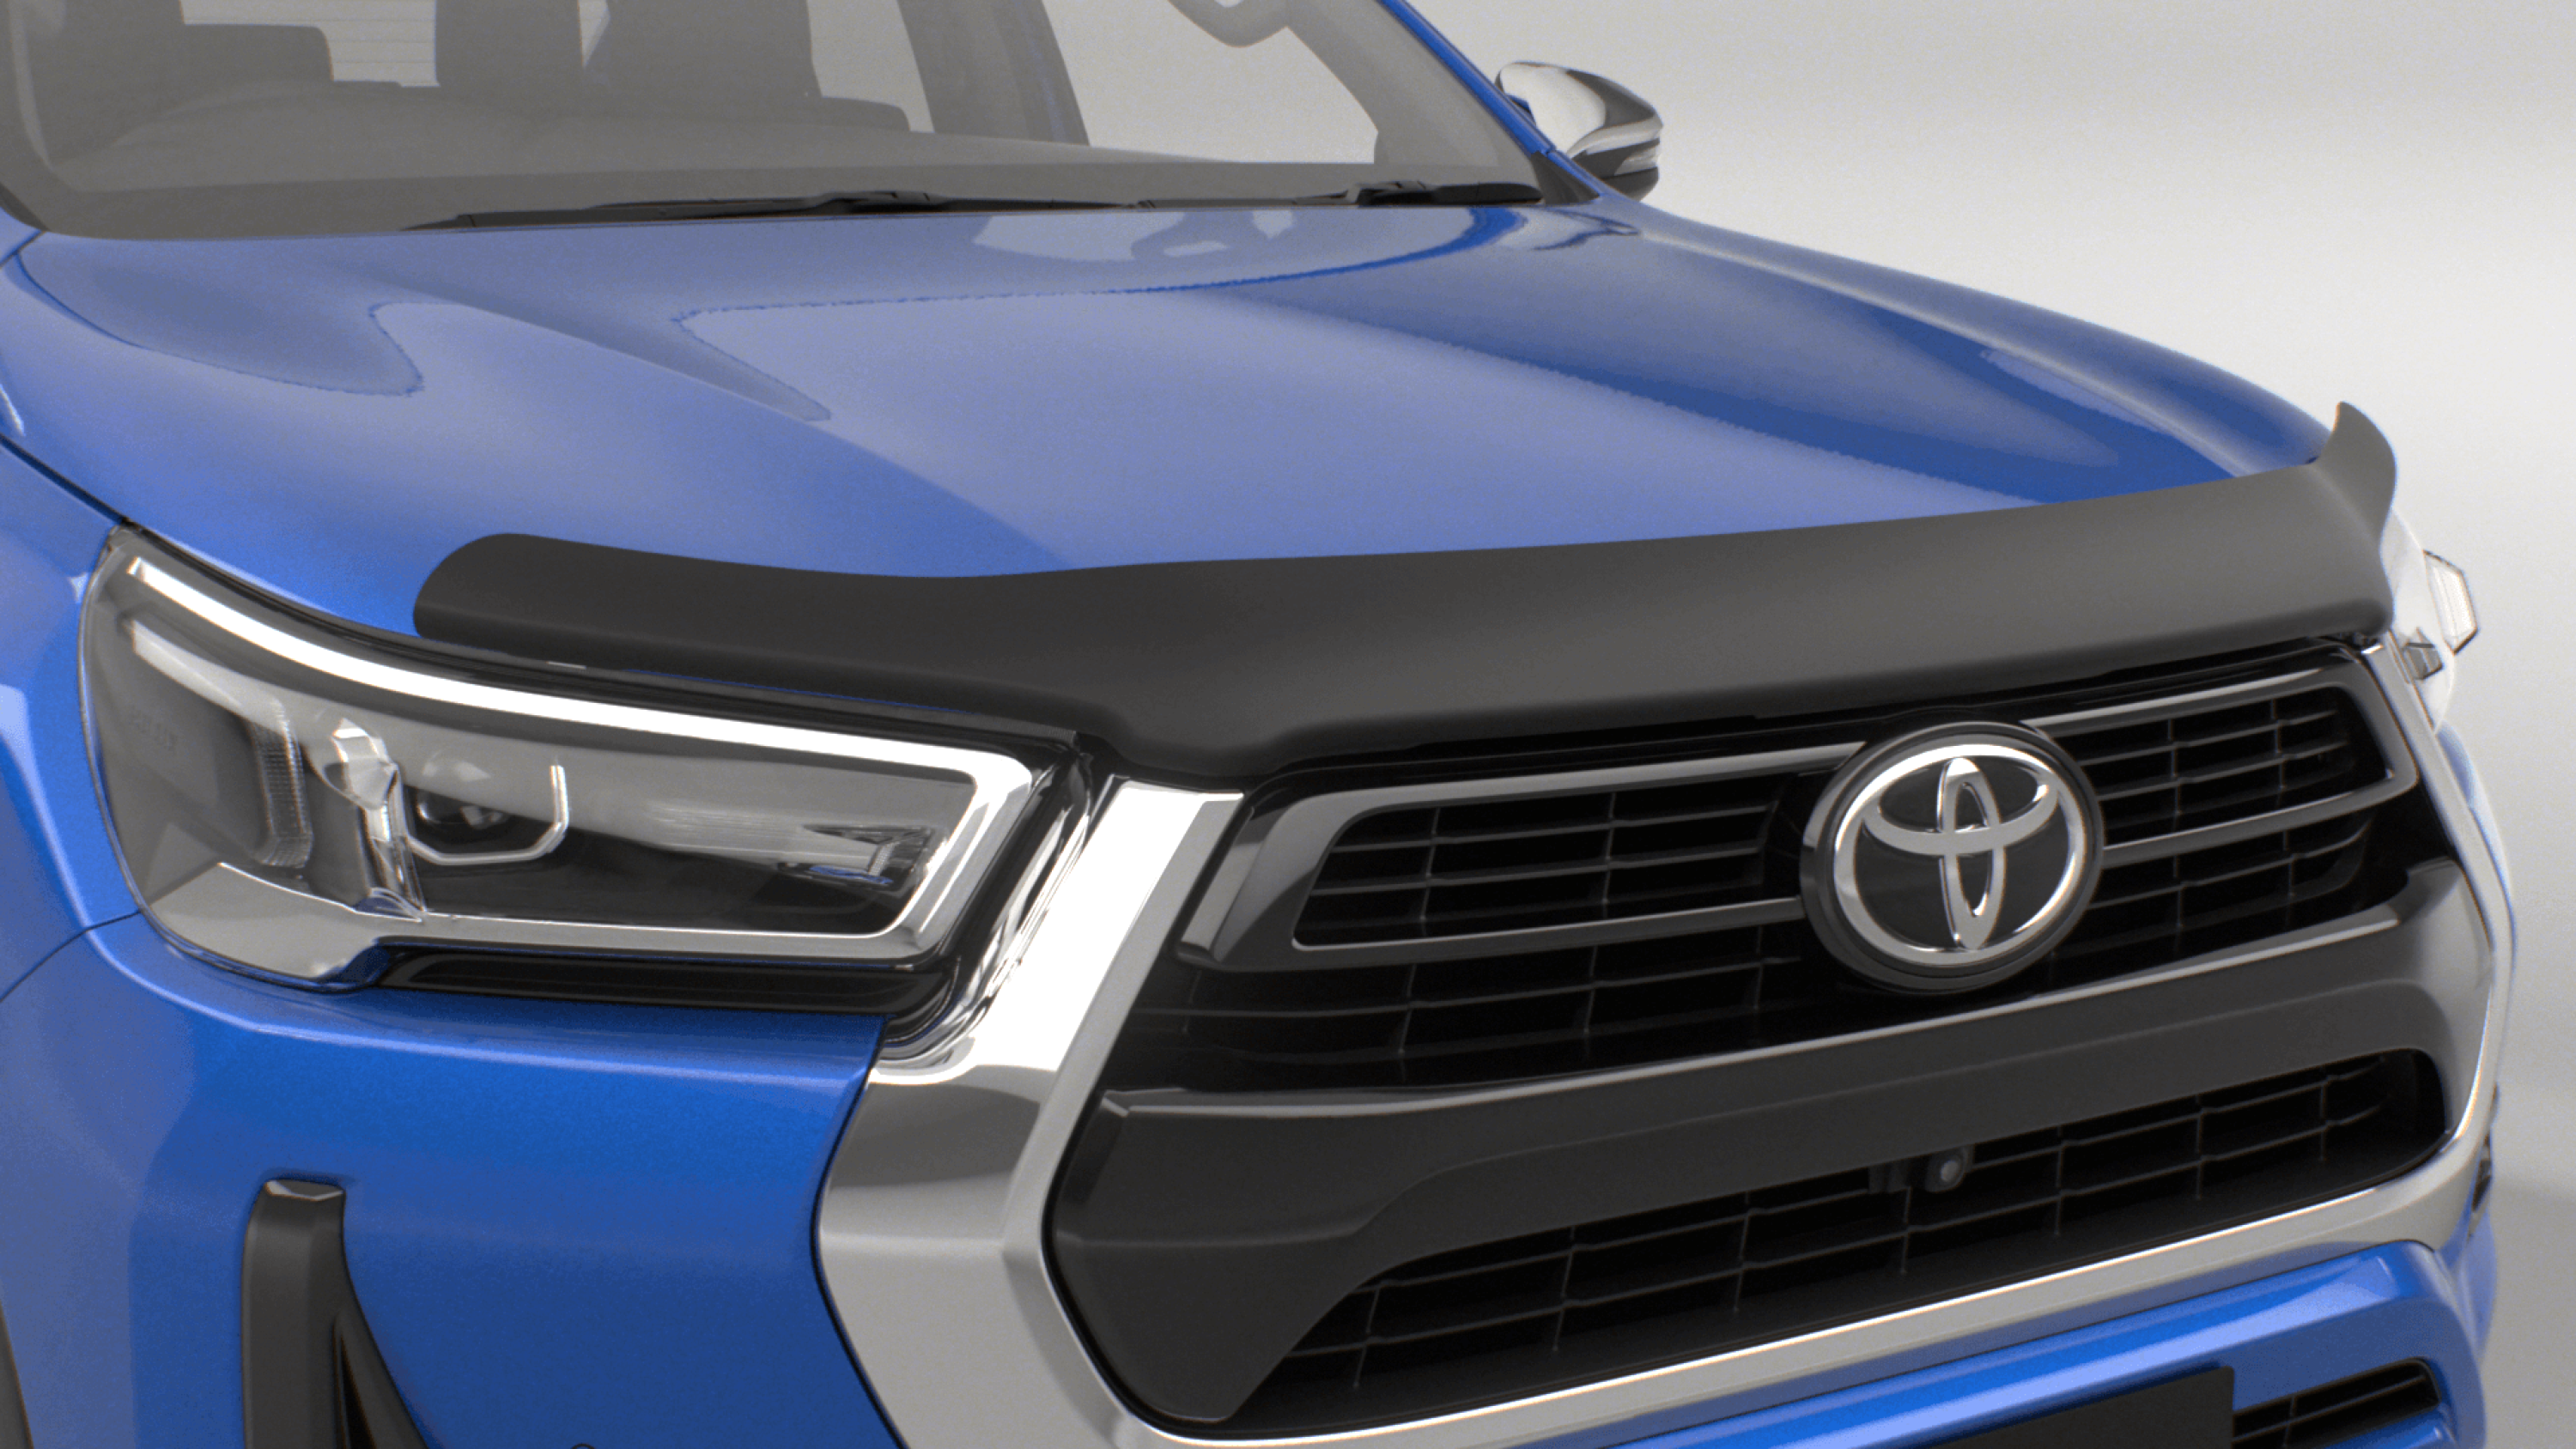
Those angular lines of the HiLux certainly look tough, but that does leave the bonnet especially vulnerable to damage.
Little stones can chip the paint, and the first time you get caught driving in the country at night you will wish you had something to deflect all those pesky bugs. That’s where a bonnet protector becomes a wise investment.
We’ve taken a closer look at the different types of bonnet protectors available for the HiLux, as well as dissect their features, benefits and drawbacks, to help you choose the right one for your needs.
- What it is: A protective barrier that covers the front lip of the bonnet, which is a common area struck by stones or covered in bugs.
- Why you need it: To provide a layer of protection to stop minor damage that can build over time and affect your vehicle’s resale.
- Buying tips: There’s plastic and then there’s plastic. Remember, these things are designed to deflect rocks and sit in the sun.
JUMP AHEAD
| Material | Tinted | UV-resistant | |
|---|---|---|---|
| Toyota | Acrylic | Yes | Yes |
| OCAM 4×4 | Acrylic | Yes | Yes |
| BushWrapz | Optically clear protective film | No | Yes |
| Bossco | Acrylic | Yes | Yes |
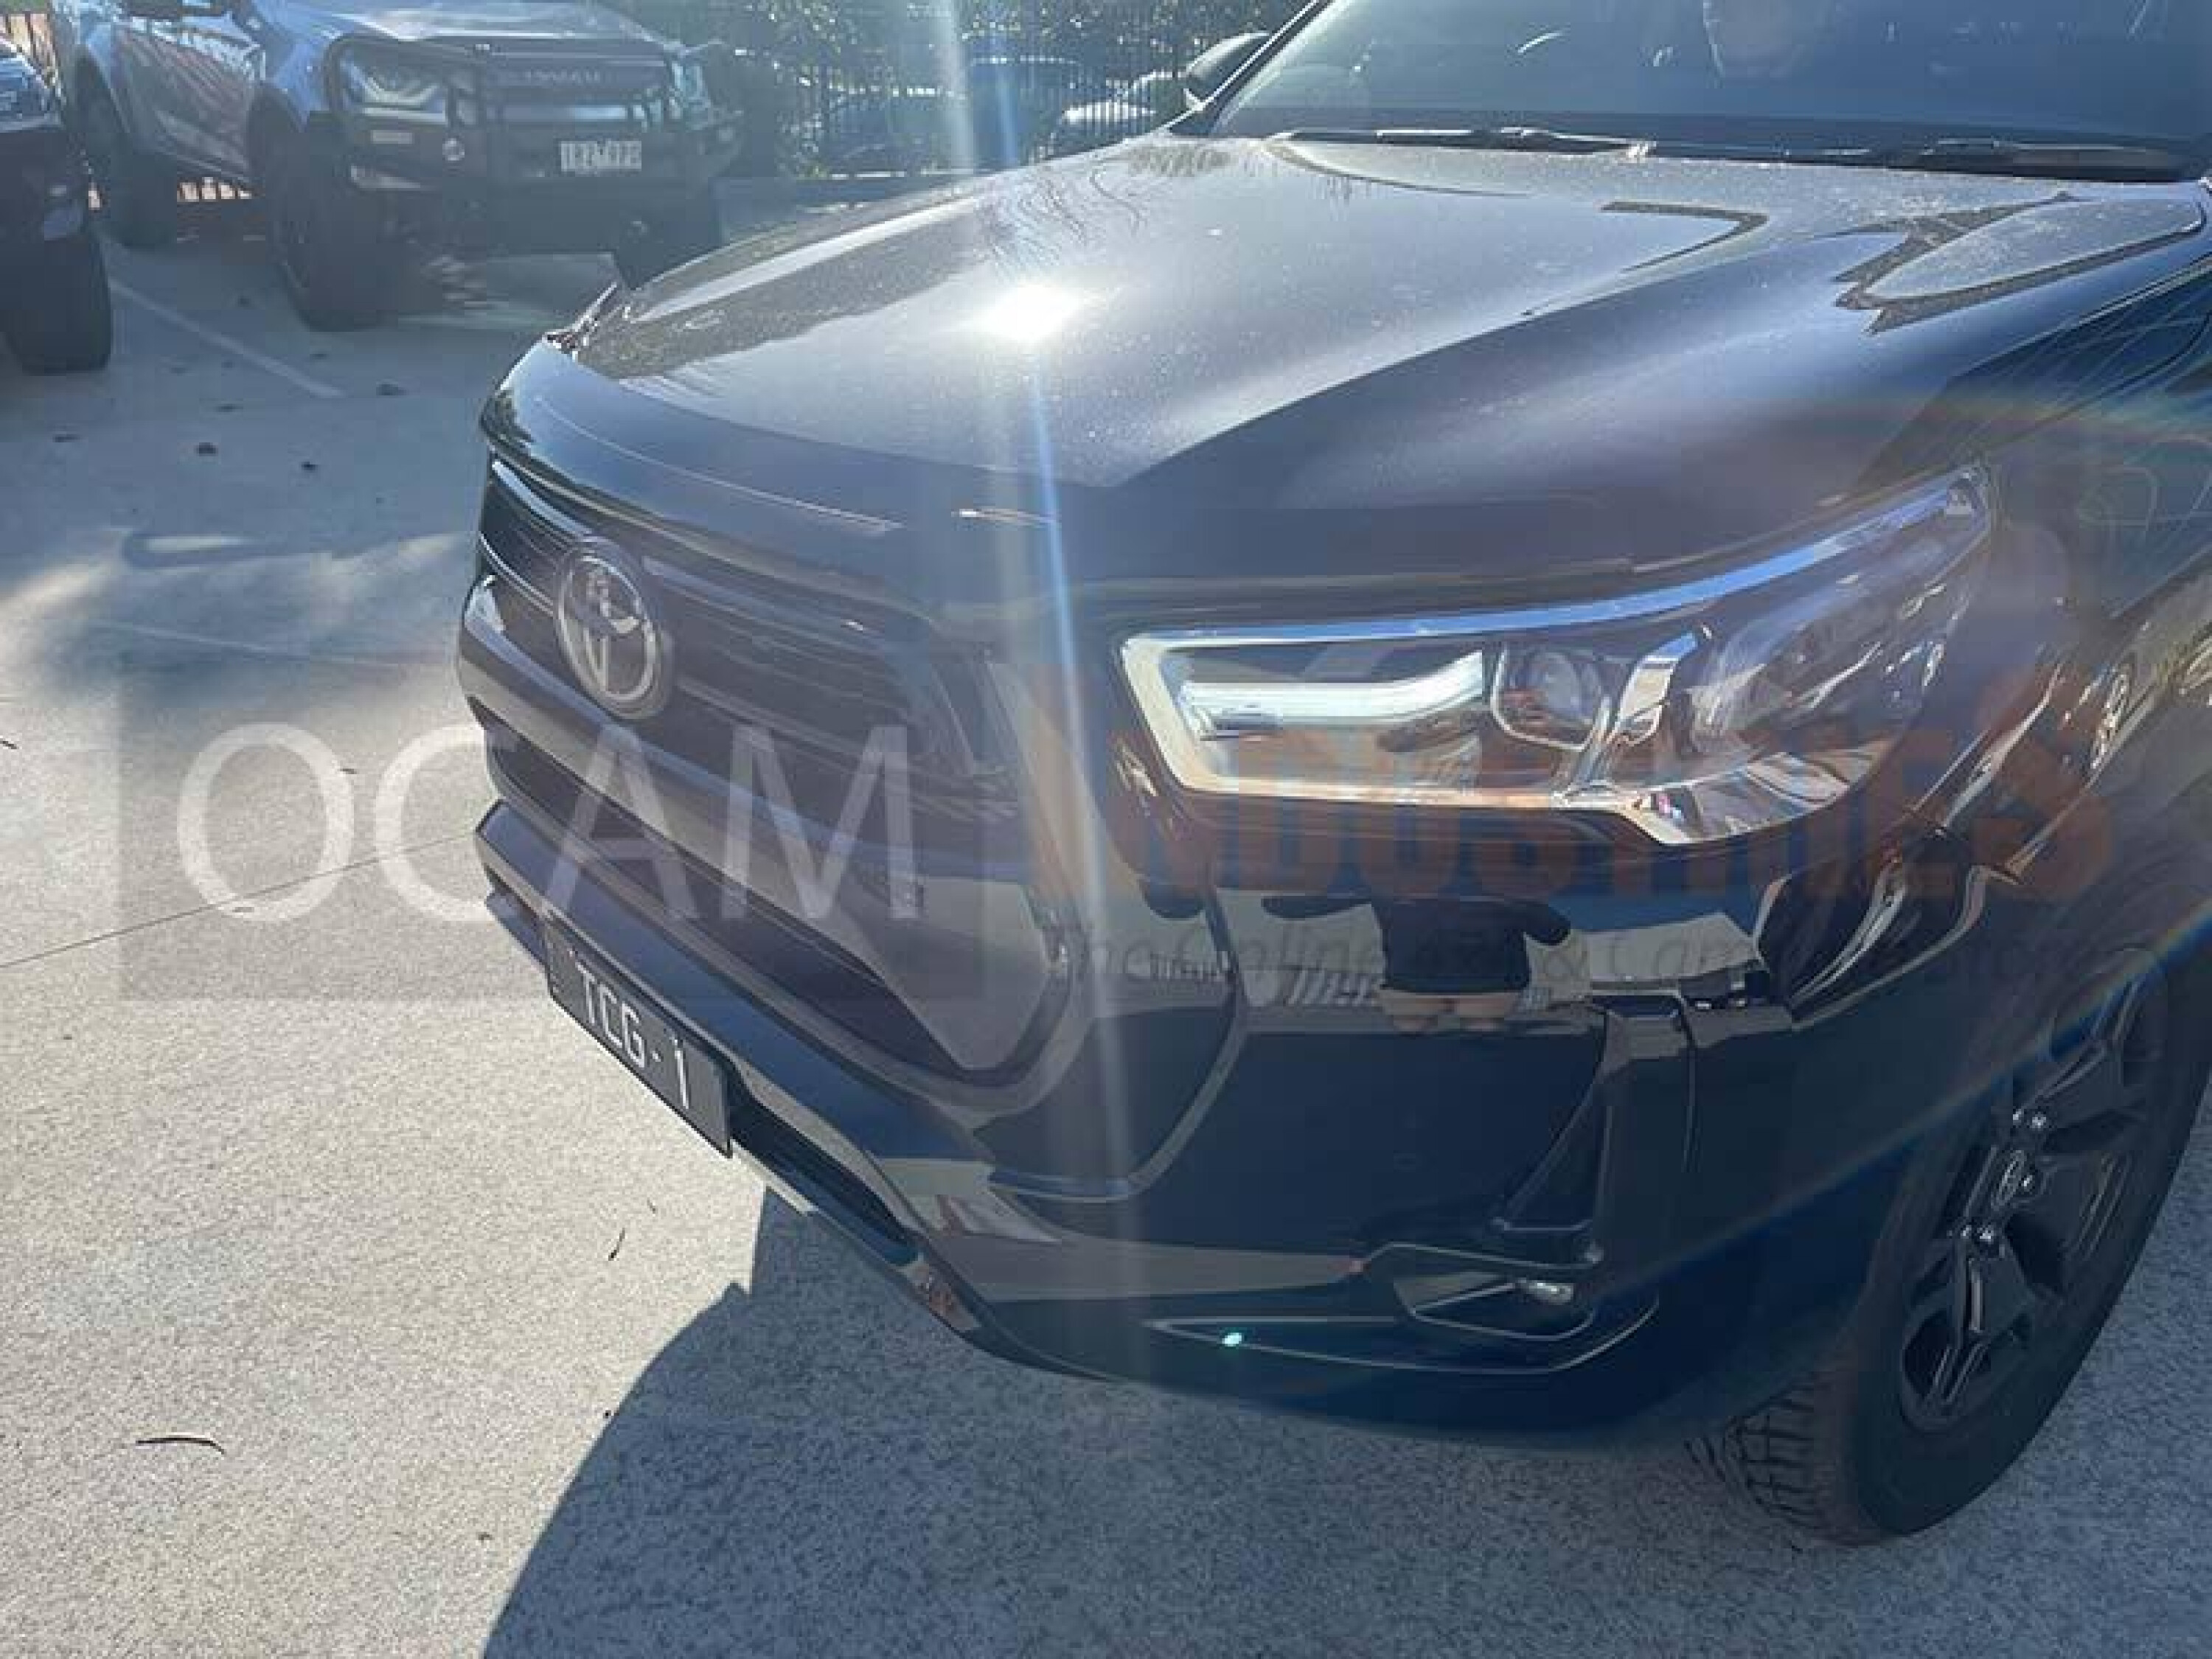
Toyota OE bonnet protectors
With clear, matte black or tinted options, this factory bonnet protector certainly looks the part. Constructed with high-strength acrylic, this bonnet protector is resistant to cracking and UV discolouration, and easily removable for cleaning.
Specifications
- Material: Acrylic
- Tinted: Yes, with clear or matte black options
- UV-resistant: Yes
Pros
- Looks factory because it is
- UV-resistant and designed to last
- Removable for cleaning
Cons
- N/A
OCAM 4×4 bonnet protectors
This OCAM Industries bonnet protector guards the leading edge of your hood from stones and other airborne debris. It’s made from 2.5mm acrylic for long-lasting durability. This bonnet protector is carwash-safe and designed for easy cleaning, but brush-style car washes are not recommended.
Specifications
- Material: Acrylic
- Tinted: Yes
- UV-resistant: Yes
Pros
- No drilling required
- UV-resistant and designed to last
- Elevated design allows cleaning underneath
Cons
- Only the one colour option
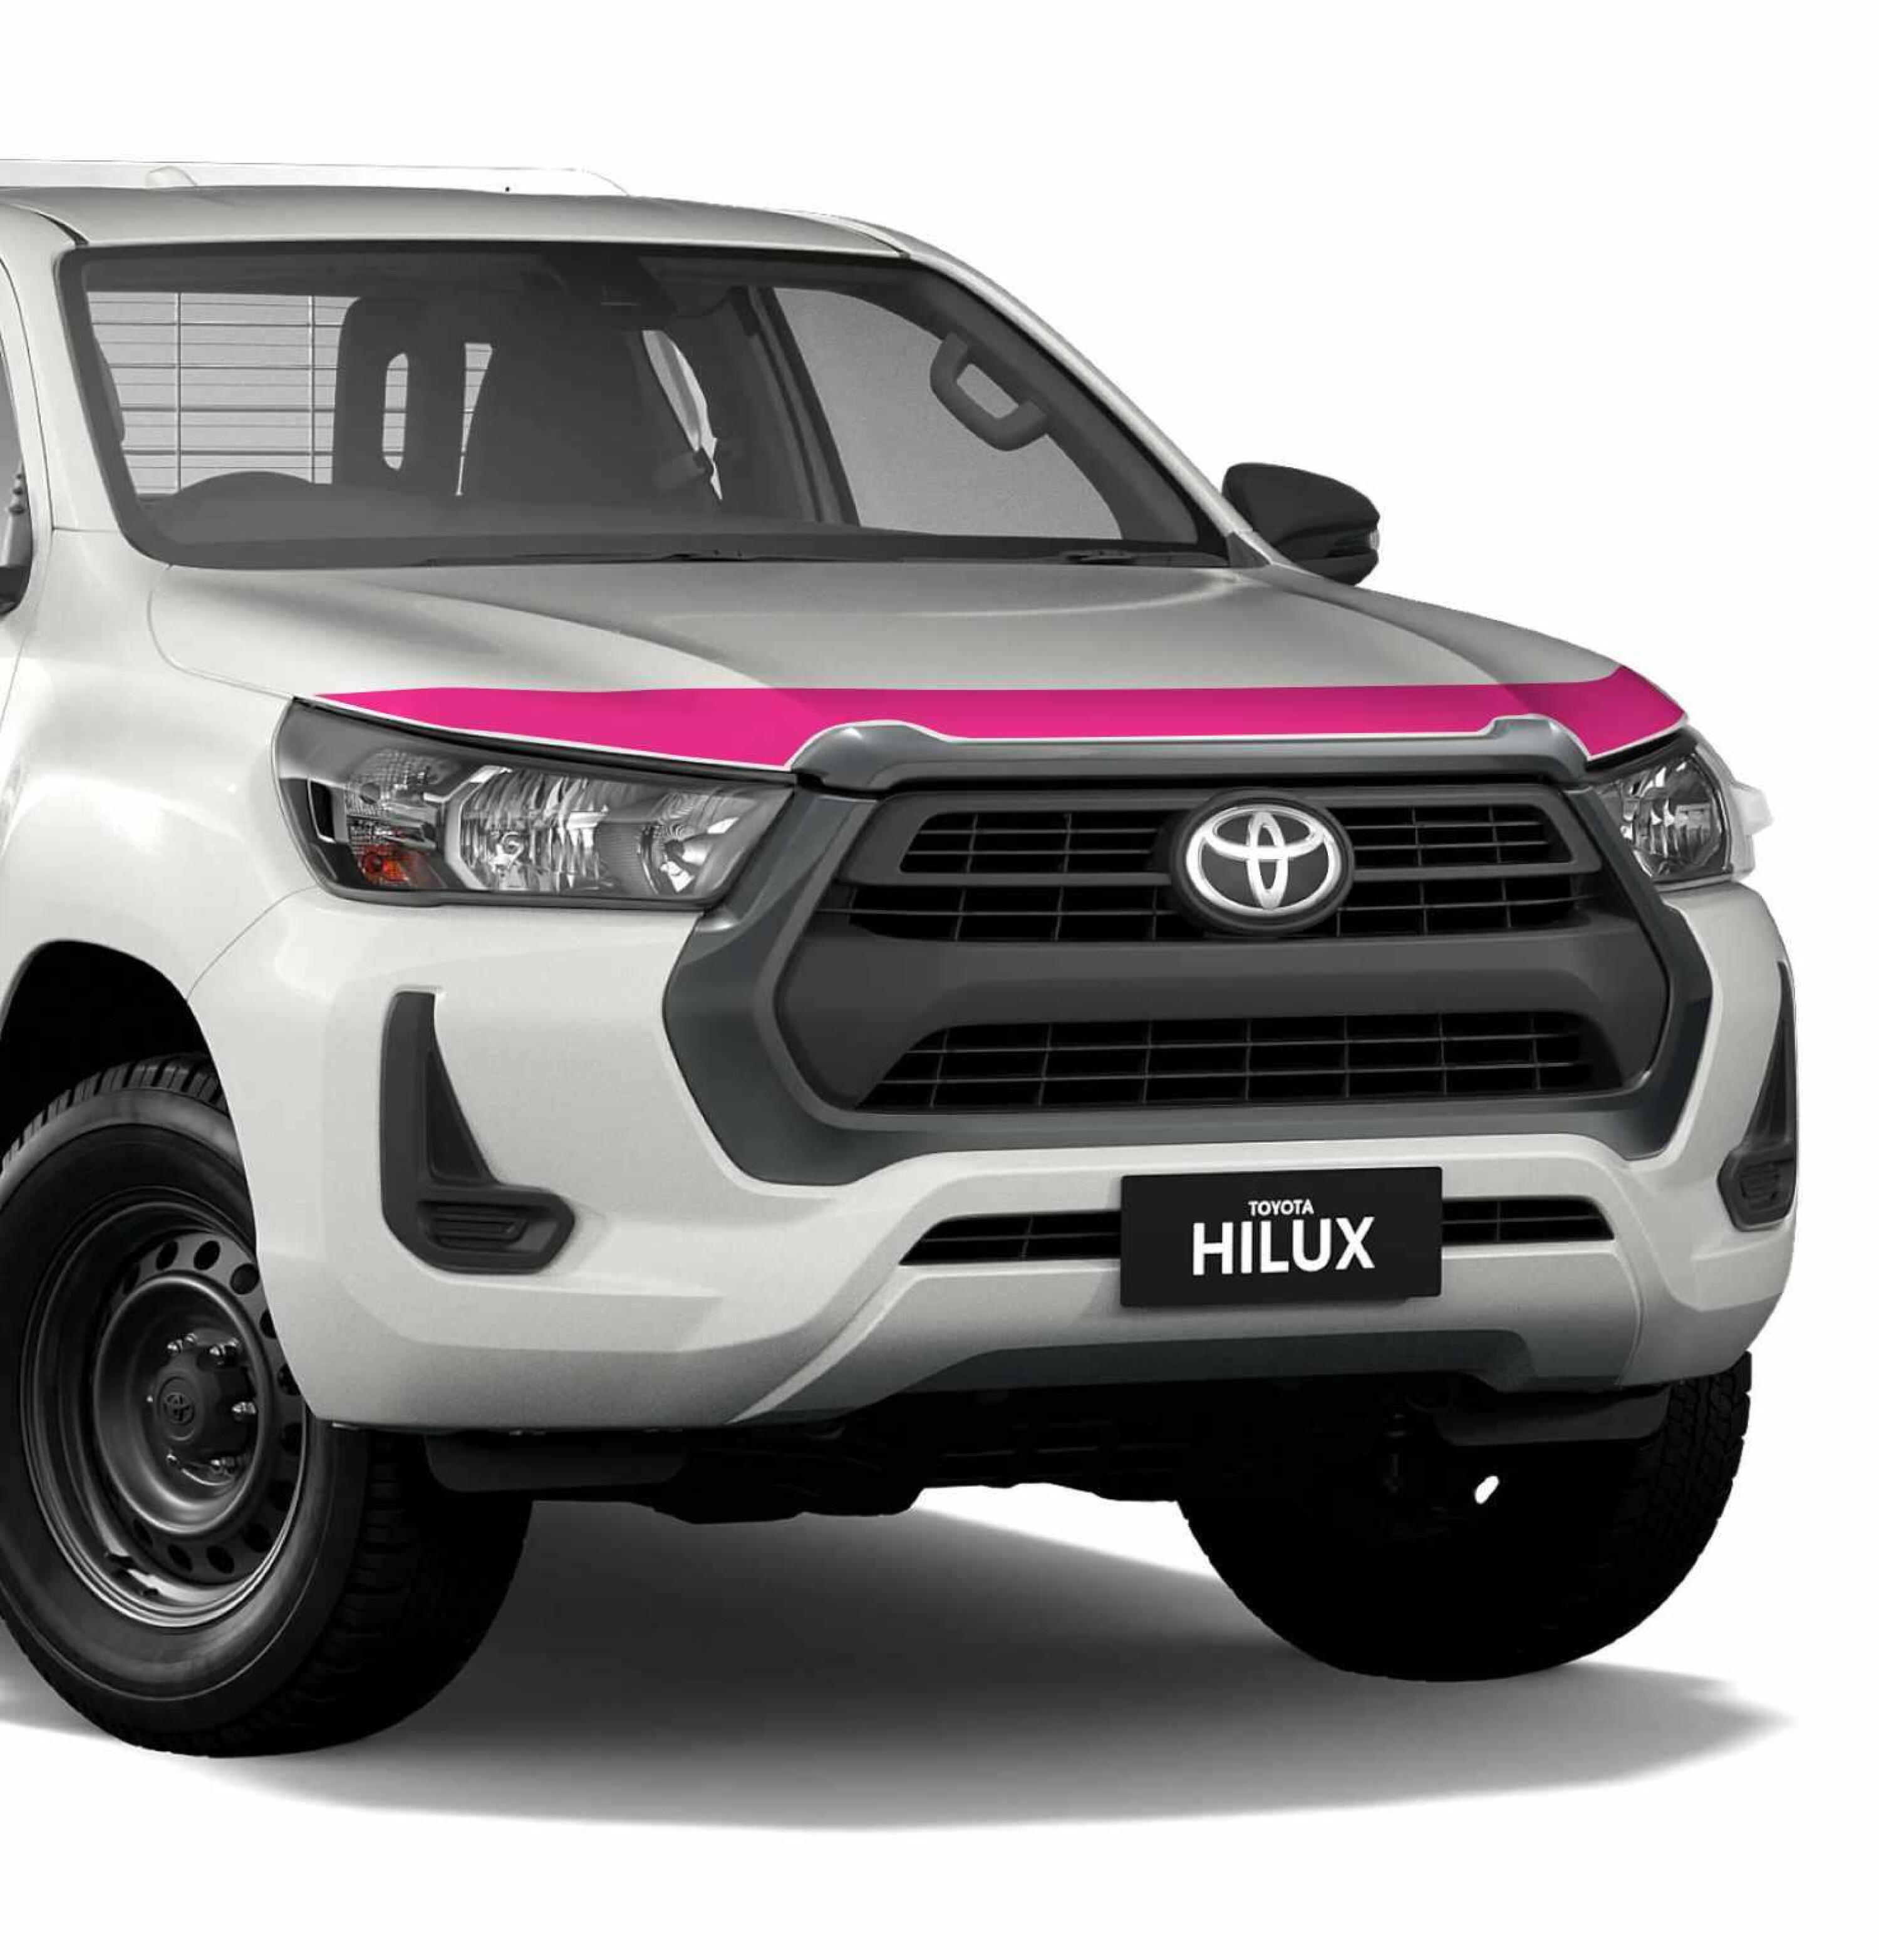
BushWrapz bonnet protectors
This is not a clip-on or bolt-on bonnet protector; rather, think of it as a tough piece of tape designed specifically for the front of your HiLux bonnet. More aerodynamic and less obtrusive than your standard bonnet protector, this wrap provides a real alternative for those that don’t like the look of bonnet protectors.
Specifications
- Material: Optically clear protective film
- Tinted: No
- UV-resistant: Yes
Pros
- Flush finish that you wouldnu2019t even notice is there
- By far the easiest to clean
- Five-year warranty
Cons
- As tough as this film is, itu2019s not going to compete with elevated acrylic for protection
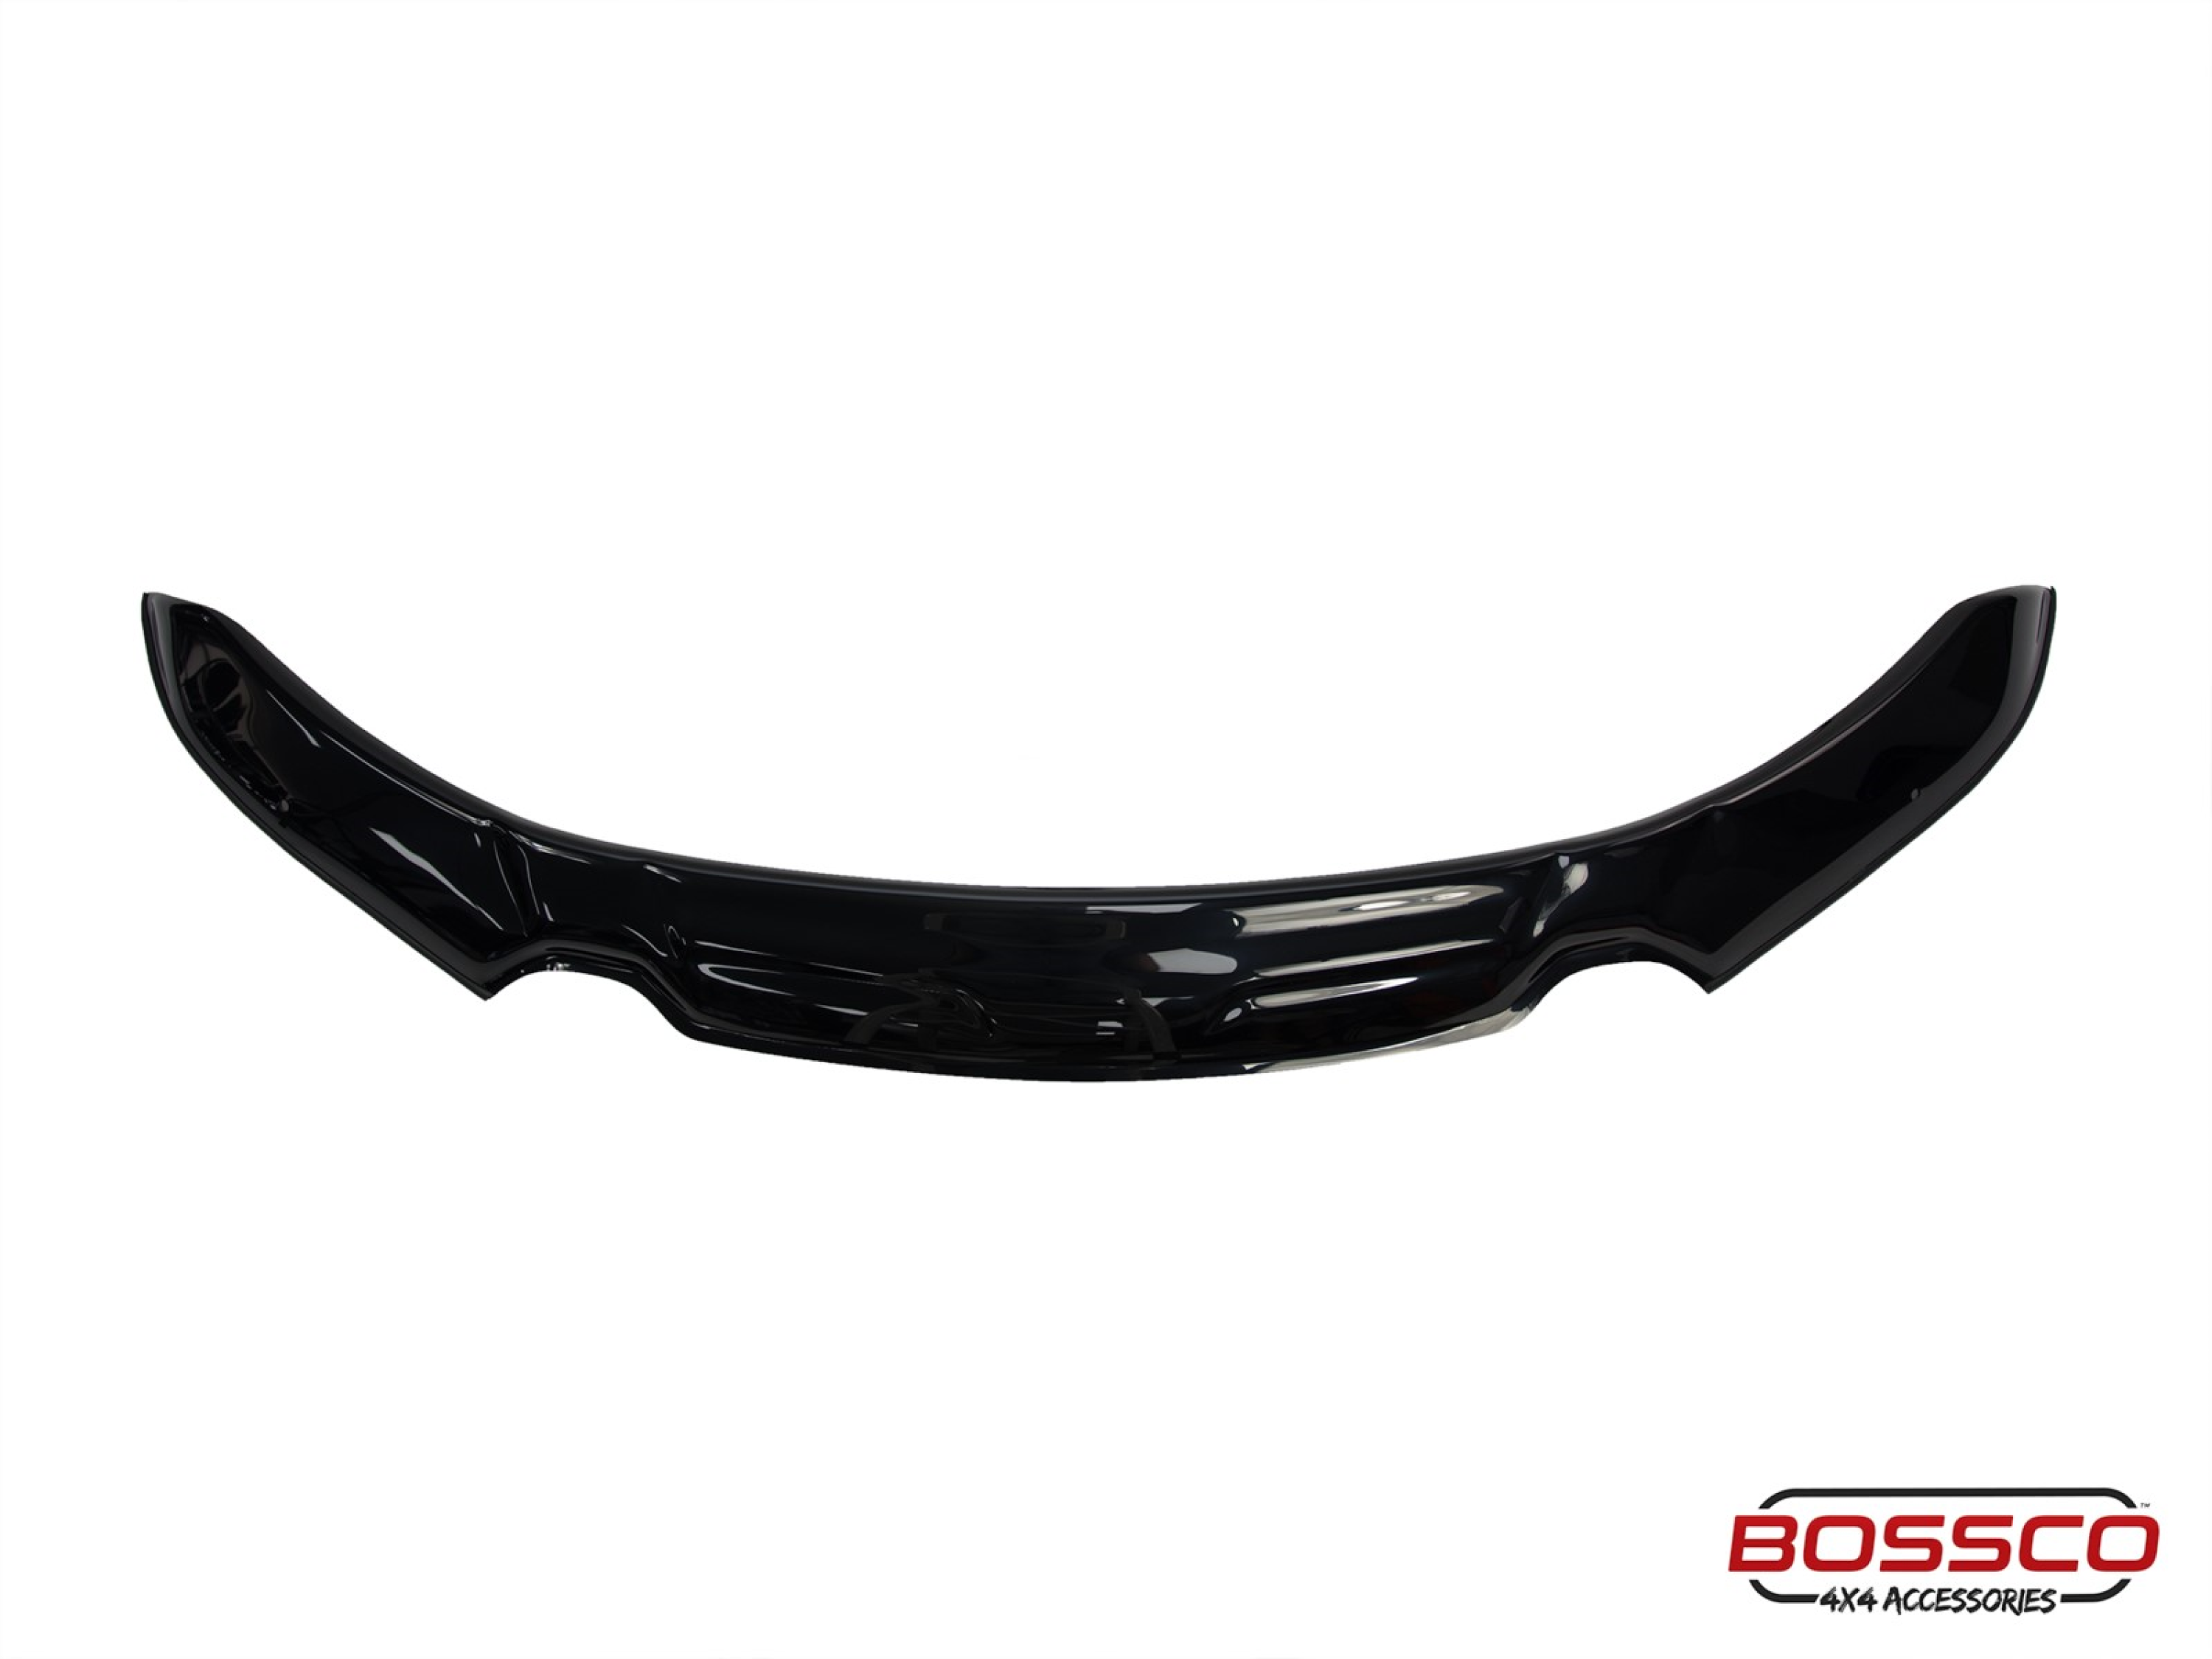
Bossco bonnet protectors
Constructed with 2.5mm acrylic, this bonnet protector from Bossco is UV-resistant and built to protect your HiLux bonnet for years to come. It features a dark tint colour and no drilling is required during installation.
Specifications
- Material: Acrylic
- Tinted: Yes
- UV-resistant: Yes
Pros
- One of the cheaper options
- UV-resistant and designed to last
- Clips on and off for cleaning
Cons
- If you have headlight protectors fitted, this product may not fit
How we review products
4X4 Australia has been reviewing four-wheel drive vehicles and aftermarket products for more than 40 years. When looking for the best accessories for your make and model of 4WD, there are some things essential to making sure you have the best off-roading experience.
When we compare products, here are some of the things we consider:
- Warranty
- Build quality
- Value for money
- Time and ease to set-up/install
- Weight
- Fit and finish
- How well it gets the job done
- What materials they’re made from
- Corrosion/UV resistance
- Coatings
- Compatibility with other accessories
- Compliance with ADRs and vehicle safety systems
- Country of manufacture
- Load ratings, to determine what’s the best product across each price point.
Disclosure: When you buy through our links, we may earn a commission. We also include products that we do not earn a commission from.
Load a 4×4 for trips and then bolt on accessories like bull bars and winches and you will quickly use up the HiLux‘s available payload.
The two options to overcome this scenario are to either reduce the amount of gear you’re carrying or increase the vehicle’s GVM. Apart from the legalities, a GVM upgrade will also allow you to carry heavy loads more comfortably and safely.
GVM upgrades typically involve reworking the suspension by fitting stronger springs and upgraded shock absorbers, and it may even include upgrading the brakes to ensure the vehicle can safely handle the increased load capacity.
- What it is: Increases the available carrying capacity (payload) of your HiLux.
- Why you need it: To stay legal and safe, as well as keep your insurance valid. Vehicles that exceed their GVM limit may be deemed unroadworthy.
- Buying tips: Obviously the key parts in a GVM upgrade are suspension components, so consider your lift requirements and get a lift and GVM upgrade done simultaneously.
Here are some products we recommend. Theyu2019re intended as a starting point, to give you an idea of whatu2019s available.
JUMP AHEAD
| Upgraded GVM | Increased payload | Pre- or post-rego | |
|---|---|---|---|
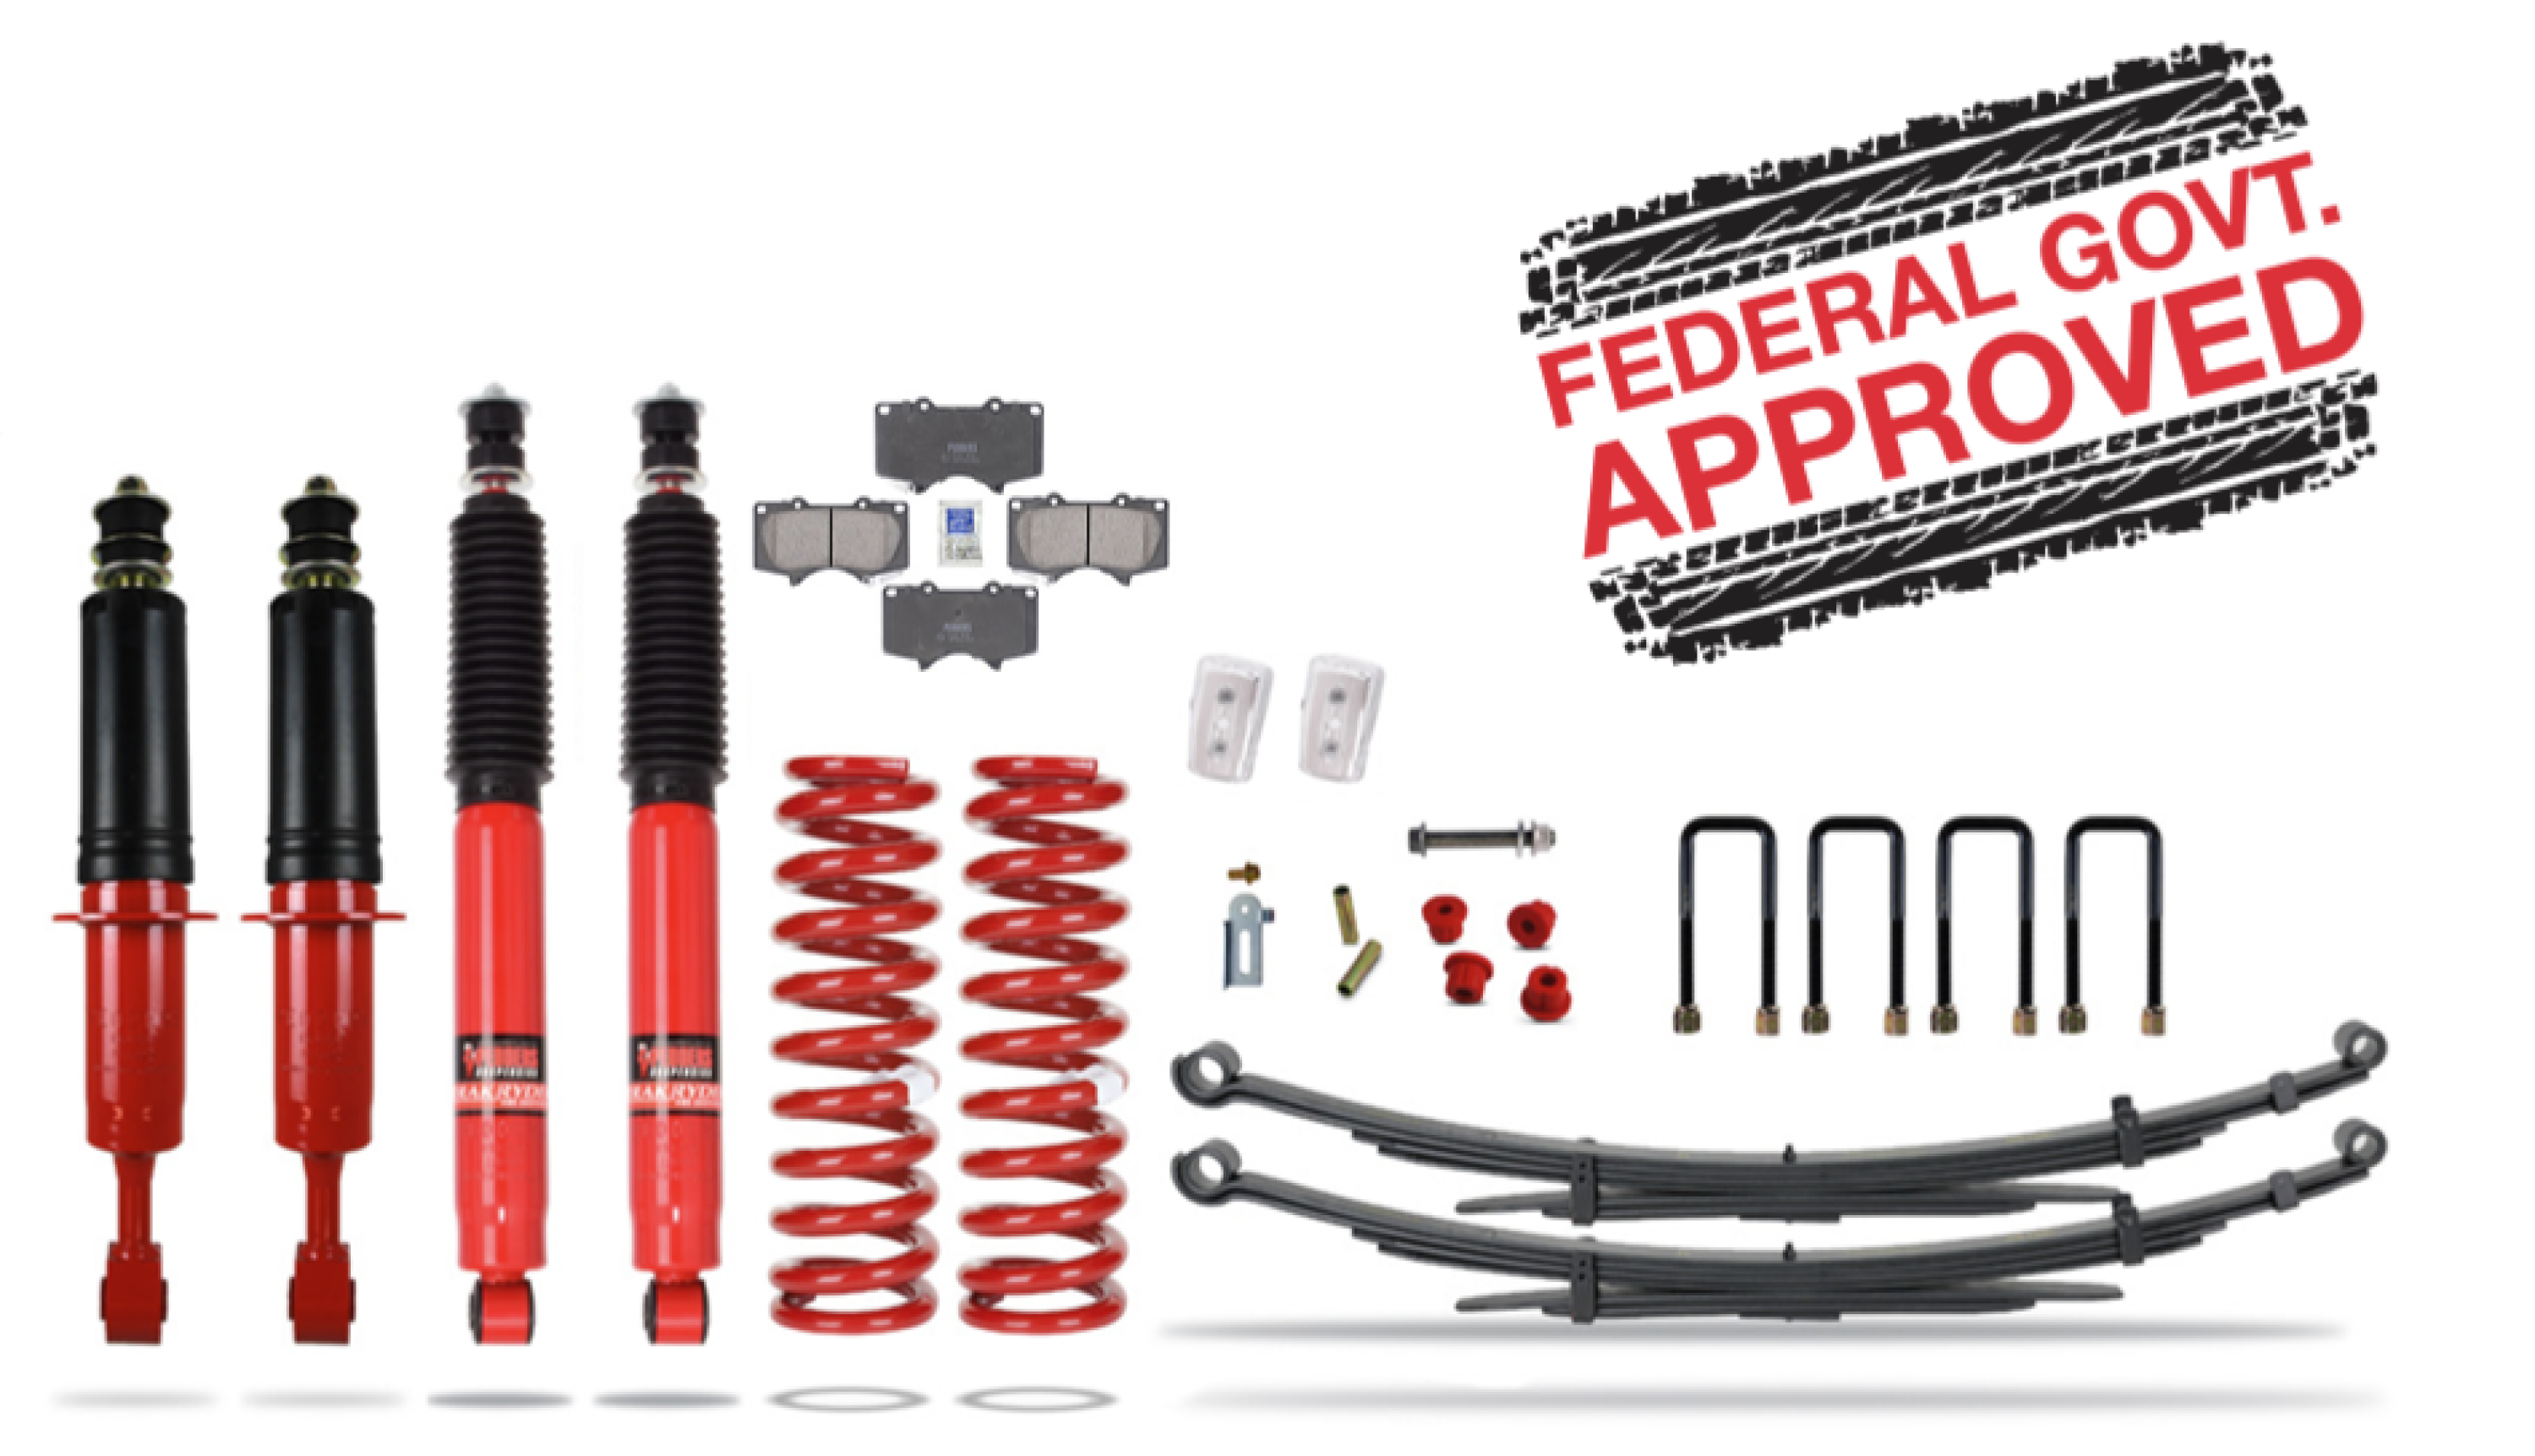
| Pedders | 3500-3620kg | 500-690kg | Either |
| ARB | 3150-3465kg | 150-465kg | Either |
| Terrain Tamer | 3150-3465kg | 150-465kg | Either |
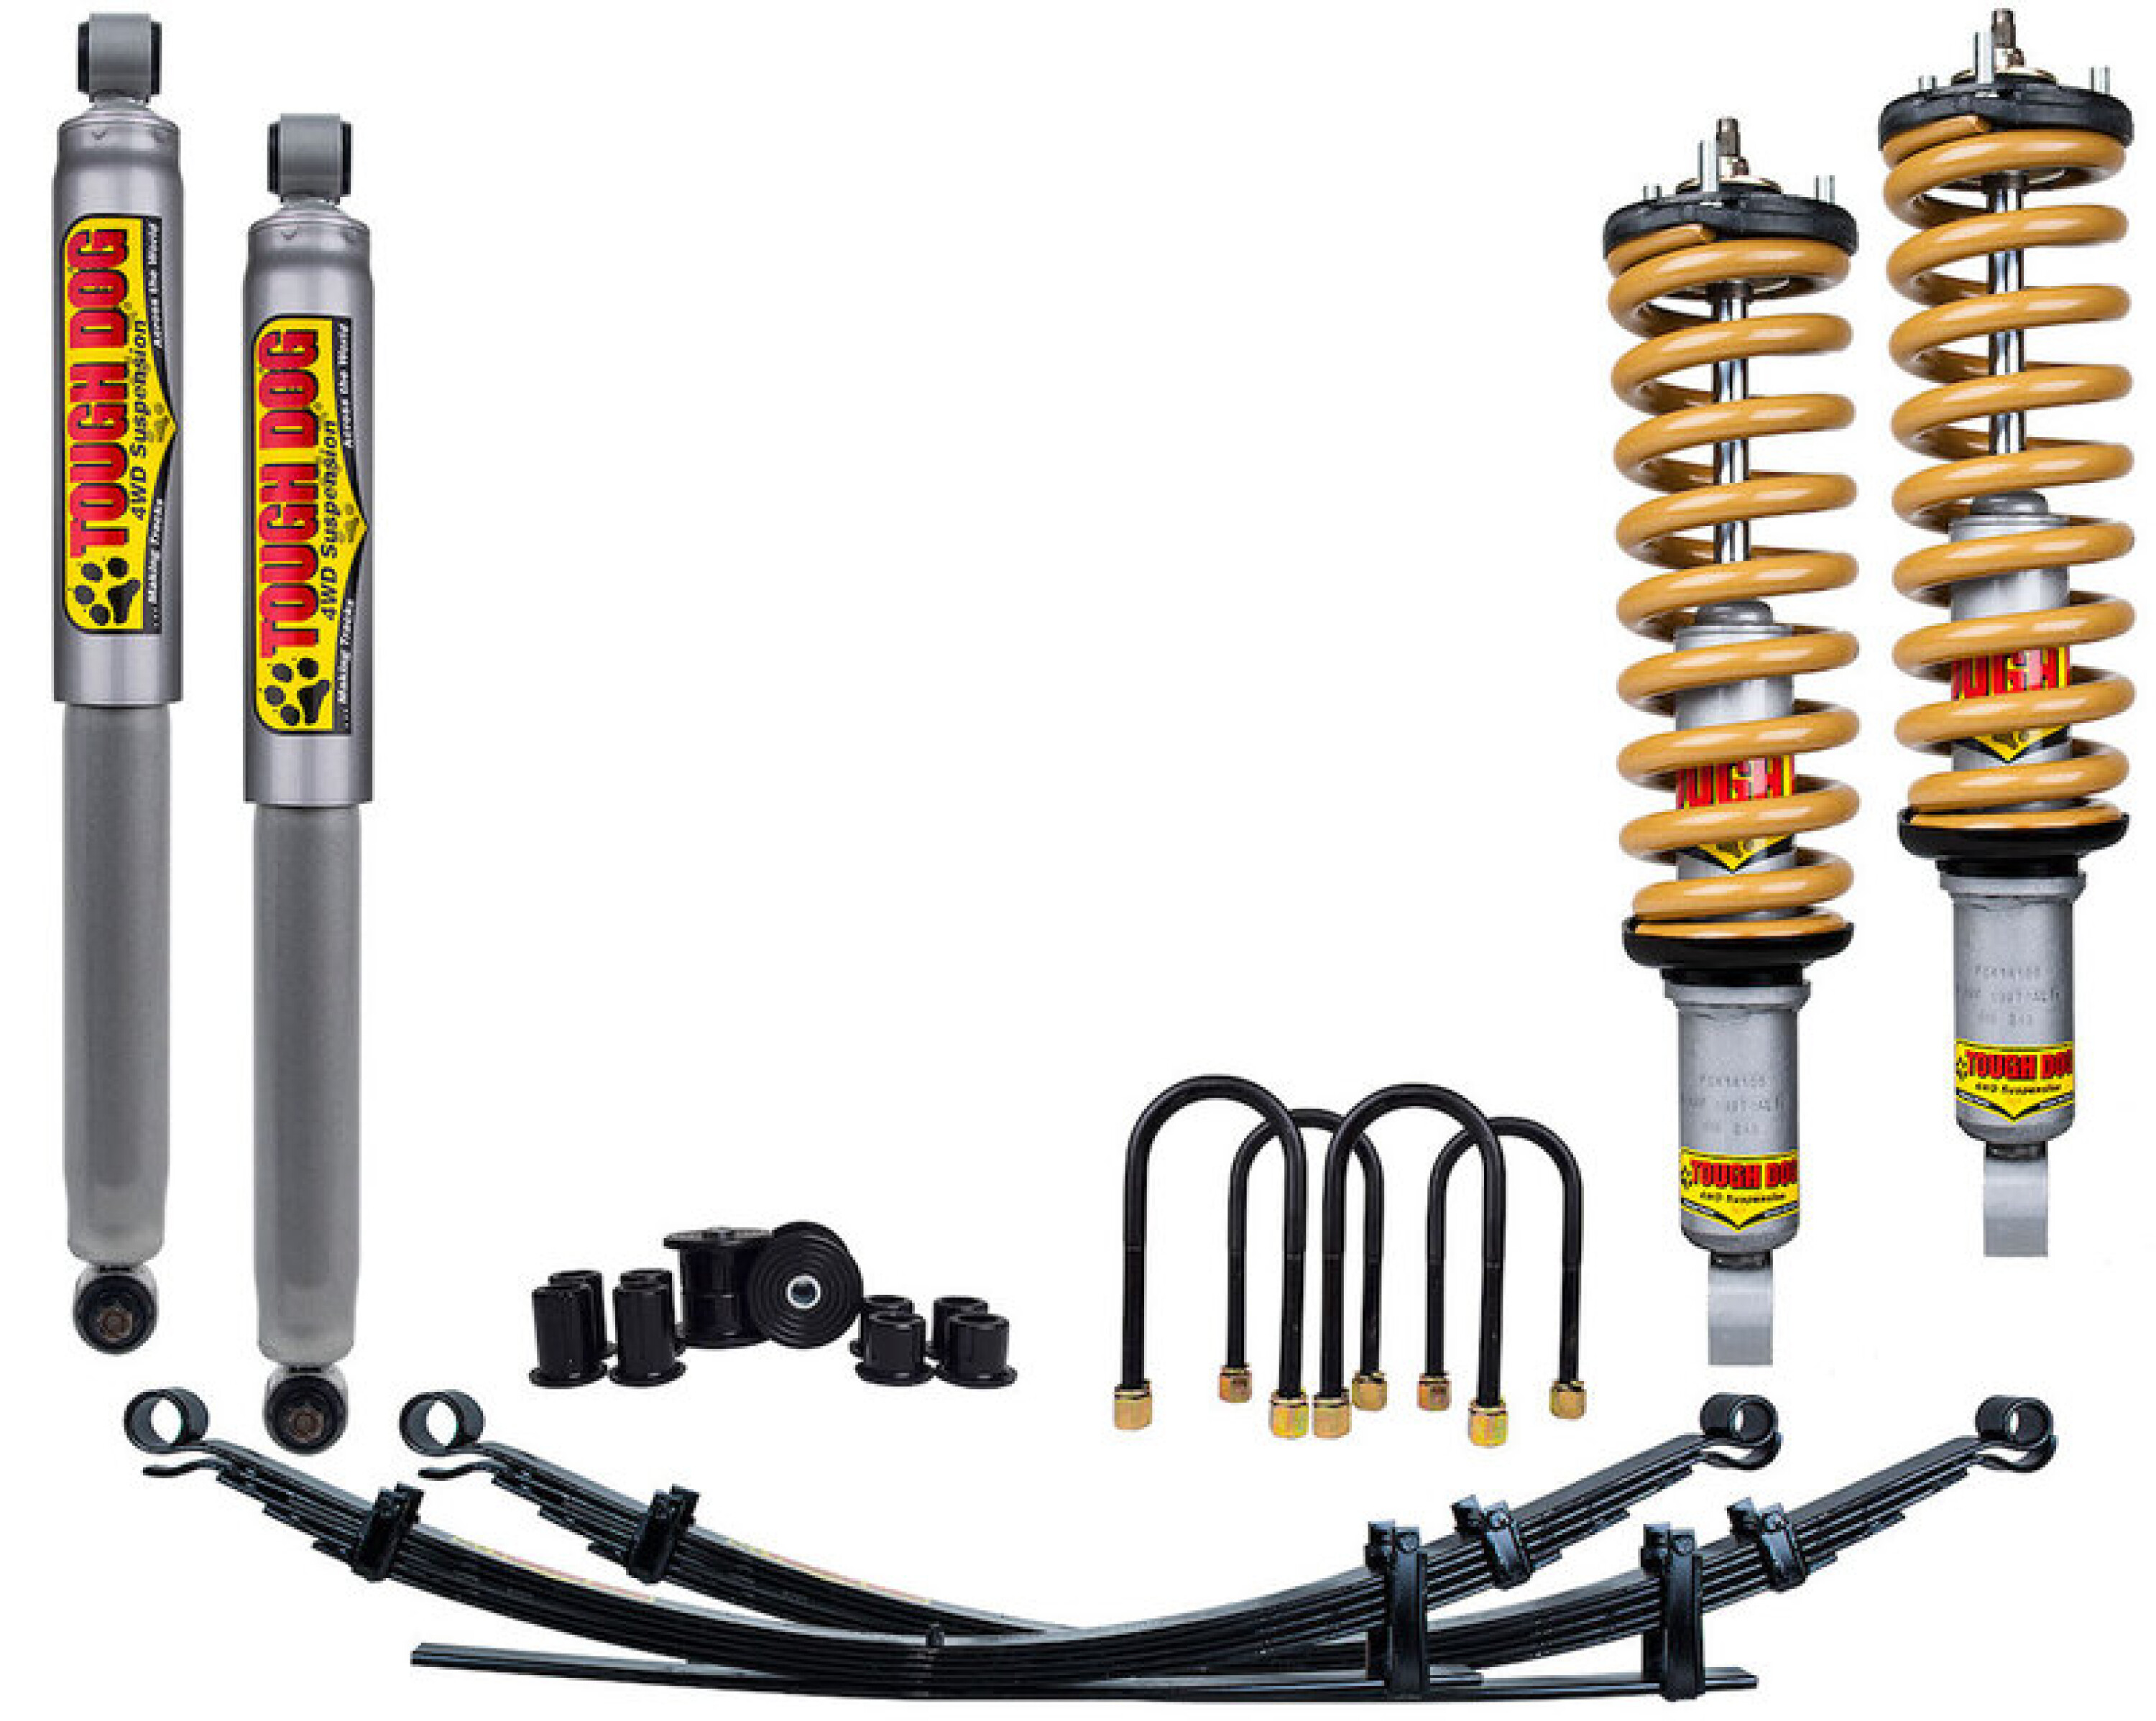
| Tough Dog | 3510kg | 510kg | Either |
Pedders GVM upgrade
Pedders has two GVM upgrade kits, with either 500kg or 690kg increase over the factory GVM. The 500kg kit includes suspension upgrades plus headlight angle adjustment and a front brake pad upgrade. The 690kg kit includes the obvious suspension upgrades plus headlight angle adjustment, indicator upgrade and a front brake pad upgrade.
Specifications
- Upgraded GVM: 3500-3620kg
- Payload increase: 500-620kg
- Pre- or post-registration: Either, but post-registration will require engineering certification
Pros
- Options available depending on your load requirements
- Support network of more than 120 outlets Australia-wide
- Two-year/40,000km warranty
Cons
- Brake pads are part of the upgrade, which means youu2019re locked into those particular pads
ARB GVM upgrade
ARB has two upgrade options available to cater for different applications. A Stage 1 upgrade will increase the HiLux’s GVM to 3150kg, and a Stage 2 will increase the GVM to 3465kg.
However, there is a special condition that comes with the heavier GVM upgrade: a minimum of 600kg must be permanently carried in or on the vehicle at all times. This requirement is part of the ARB approval when fitting a Stage 2 upgrade and is essential to maintain the vehicle’s handling performance.
Specifications
- Upgraded GVM: 3150-3465kg
- Payload increase: 150-465kg
- Pre- or post-registration: Either, but post-registration will require engineering certification

Pros
- Options available depending on your load requirements
- Utilises quality Old Man Emu components
- Stage 1 offers a mild upgrade when only a slight increase is needed
Cons
- Stage 2 upgrade requires 600kg of constant load
Terrain Tamer GVM upgrade
Consisting of exclusive Terrain Tamer suspension components, these HiLux GVM upgrade options have been thoroughly tested and analysed to reach Secondary Stage Manufacturer’s approval and can be installed either prior to registration or on existing registered vehicles at approved workshops, and following state-level modification processes.
Specifications
- Upgraded GVM: 3150-3465kg
- Payload increase: 150-465kg
- Pre- or post-registration: Either, but post-registration will require engineering certification

Pros
- Parabolic spring options for extra comfort
- Backed by years of research and development
Cons
- Not a one-stop shop like some others, so you need to locate an installer
Tough Dog GVM upgrade
Tough Dog GVM upgrades allow a vehicle to be certified to carry a greater amount than the original manufacturer, without breaching applicable ADRs or laws. You can upgrade the GVM of a vehicle using either Federal approval or State-based approval, depending on whether the vehicle has been registered or not.
Specifications
- Upgraded GVM: 3510kg
- Payload increase: 510kg
- Pre- or post-registration: Either, but post-registration will require engineering certification
Pros
- Solid payload increase
- Quality foam cell shocks
- Can be done in conjunction with your suspension lift
Cons
- Very basic option, although thatu2019s probably an advantage to most
How we review products
4X4 Australia has been reviewing four-wheel drive vehicles and aftermarket products for more than 40 years.
When looking for the best accessories for your make and model of 4WD, there are some things essential to making sure you have the best off-roading experience.
When we compare products, here are some of the things we consider:
- Warranty
- Build quality
- Value for money
- Time and ease to set-up/install
- Weight
- Fit and finish
- How well it gets the job done
- What materials they’re made from
- Corrosion/UV resistance
- Coatings
- Compatibility with other accessories
- Compliance with ADRs and vehicle safety systems
- Country of manufacture
- Load ratings, to determine what’s the best product across each price point.
We also consider user reviews and our own experience with these products to make sure our recommendations are for the best on the market.
Disclosure: When you buy through our links, we may earn a commission. We also include products that we do not earn a commission from.
With an all-new frame beneath the Triton ute, surely a Pajero Sport follow-up is on the way?
Snapshot
- Next-gen Pajero Sport imagined! Could be revealed next year
- Wider tracks and longer wheelbase bring tougher proportions
- Details influenced by Mitsubishi’s current design language
Mitsubishi has all but confirmed a new Pajero Sport is likely to launch next year or in early 2025, so we asked rendering guru Theottle [↗] to have a stab at imagining a next-gen Pajero Sport – these are the results.
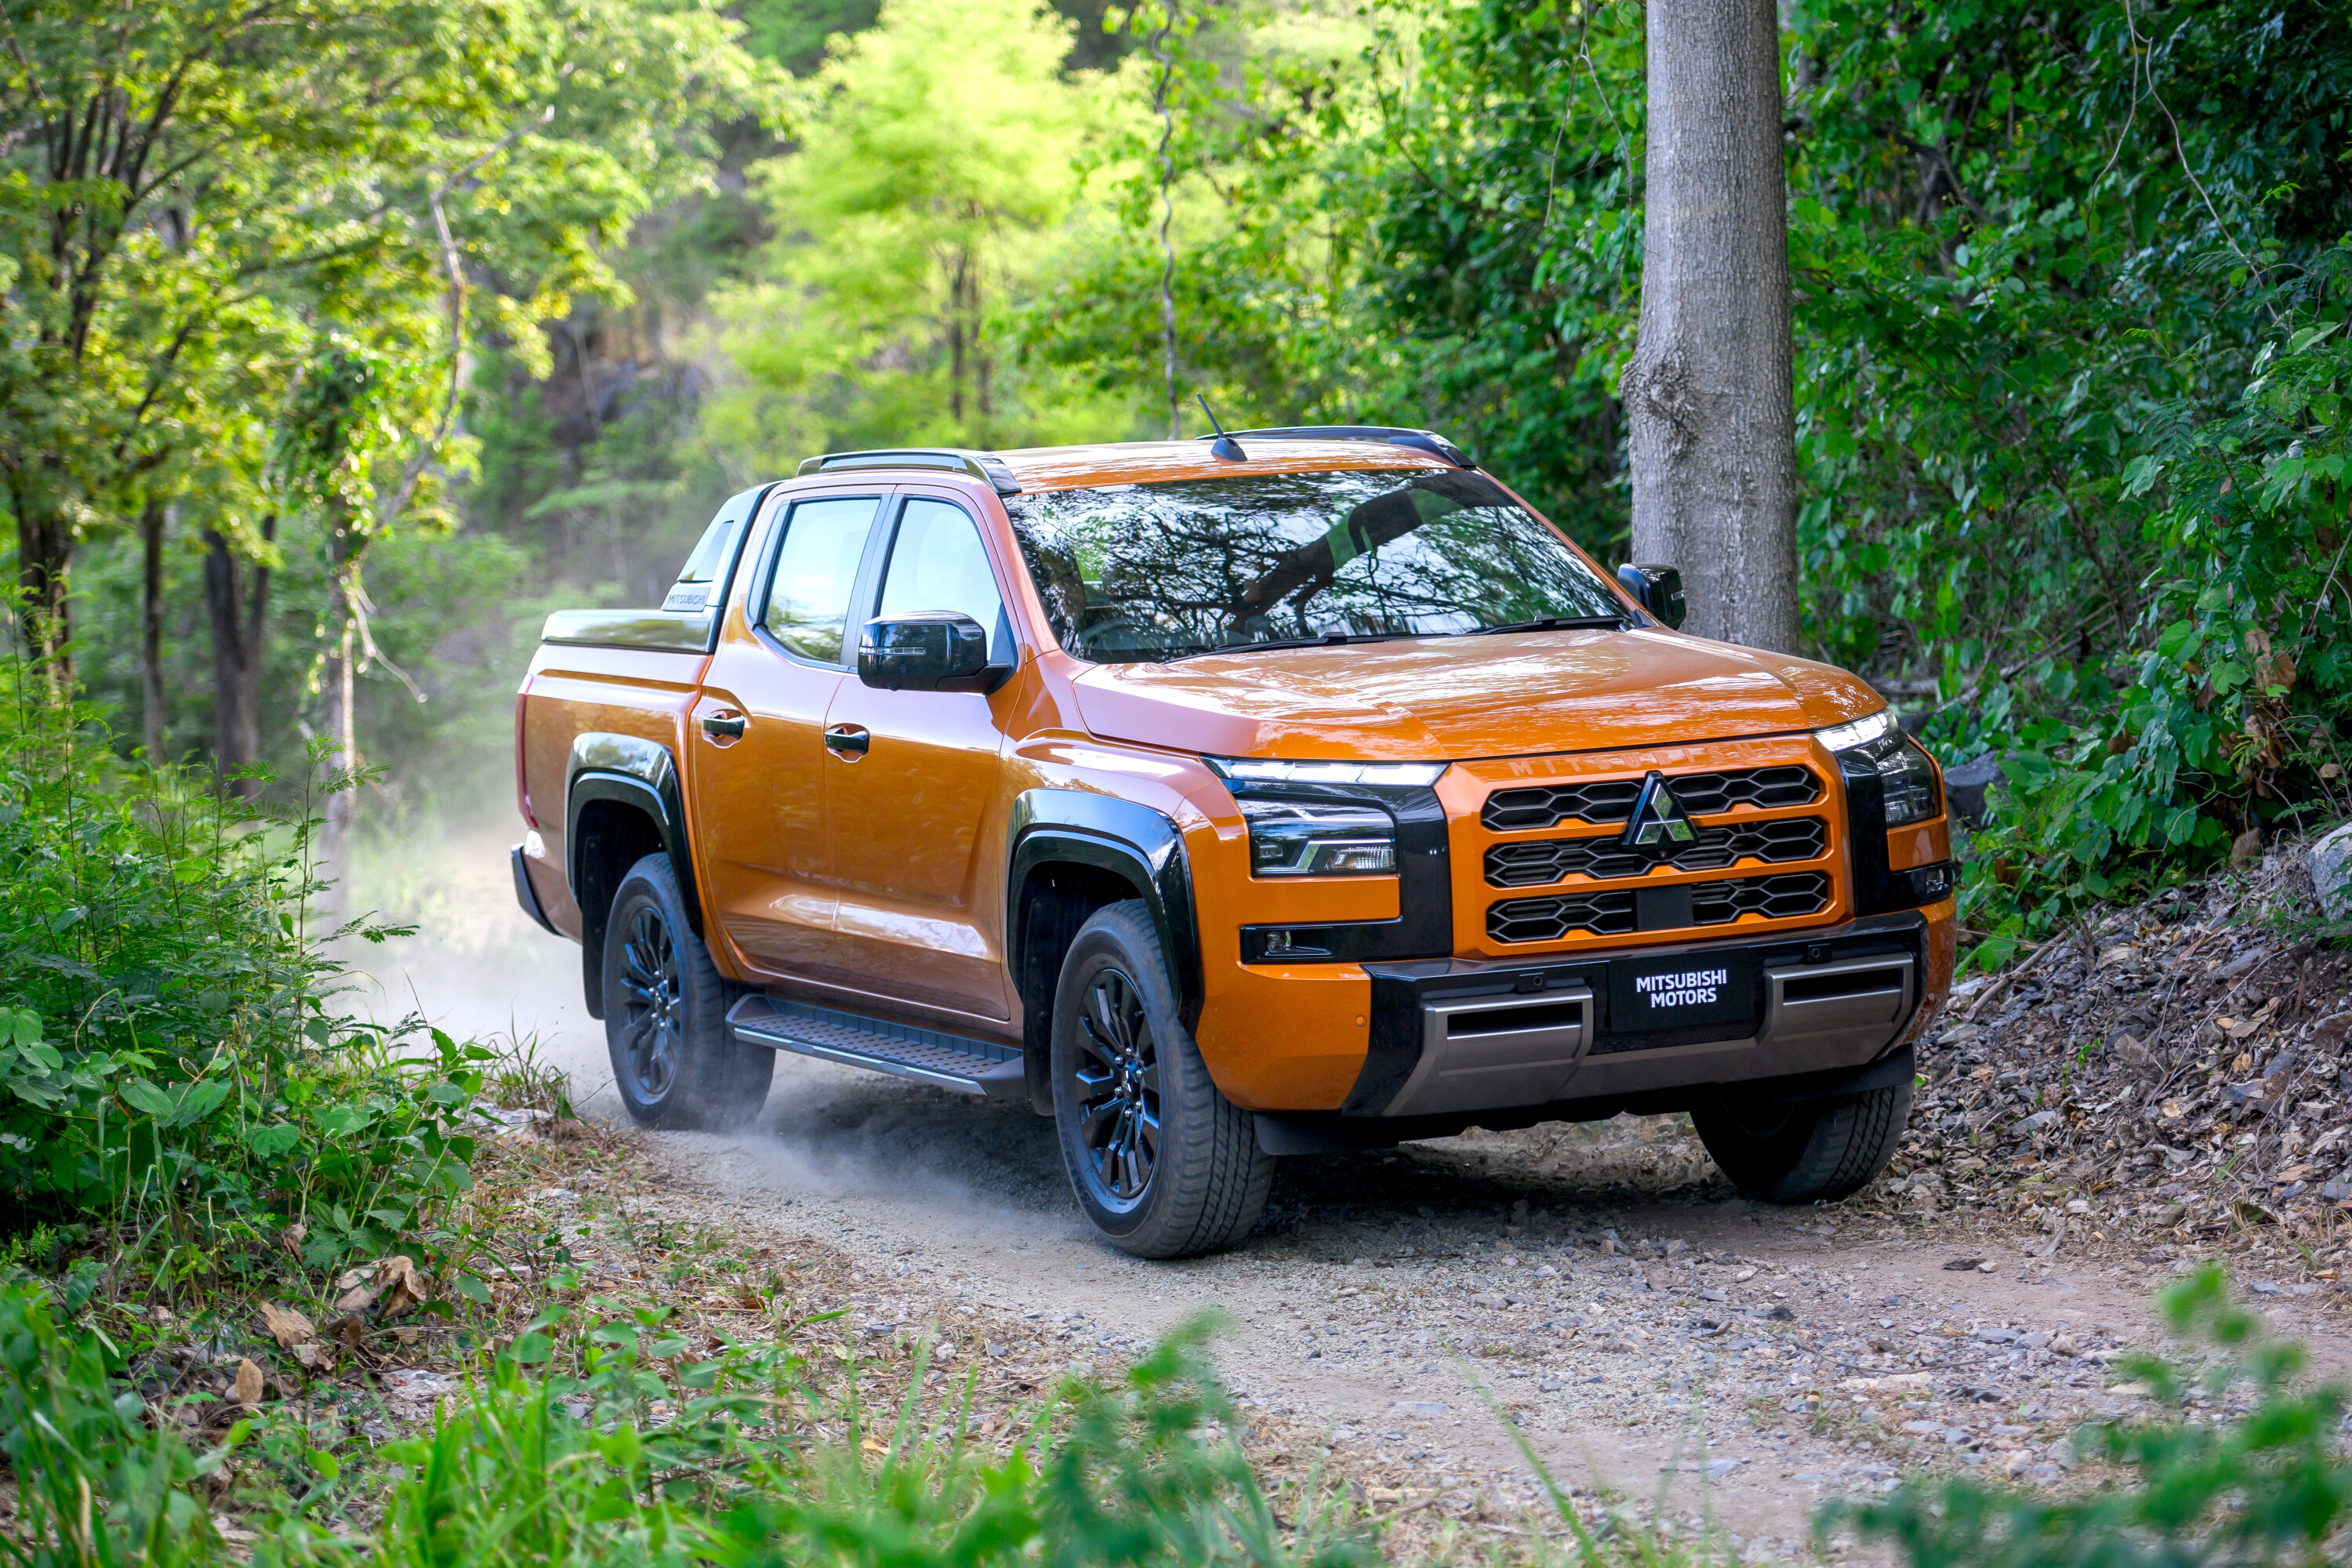
Utilising the Triton ute’s new interpretation of the ‘Dynamic Shield’ front grille and wide-track frame, our imagineered Pajero Sport is much more imposing than the slightly awkward current model.
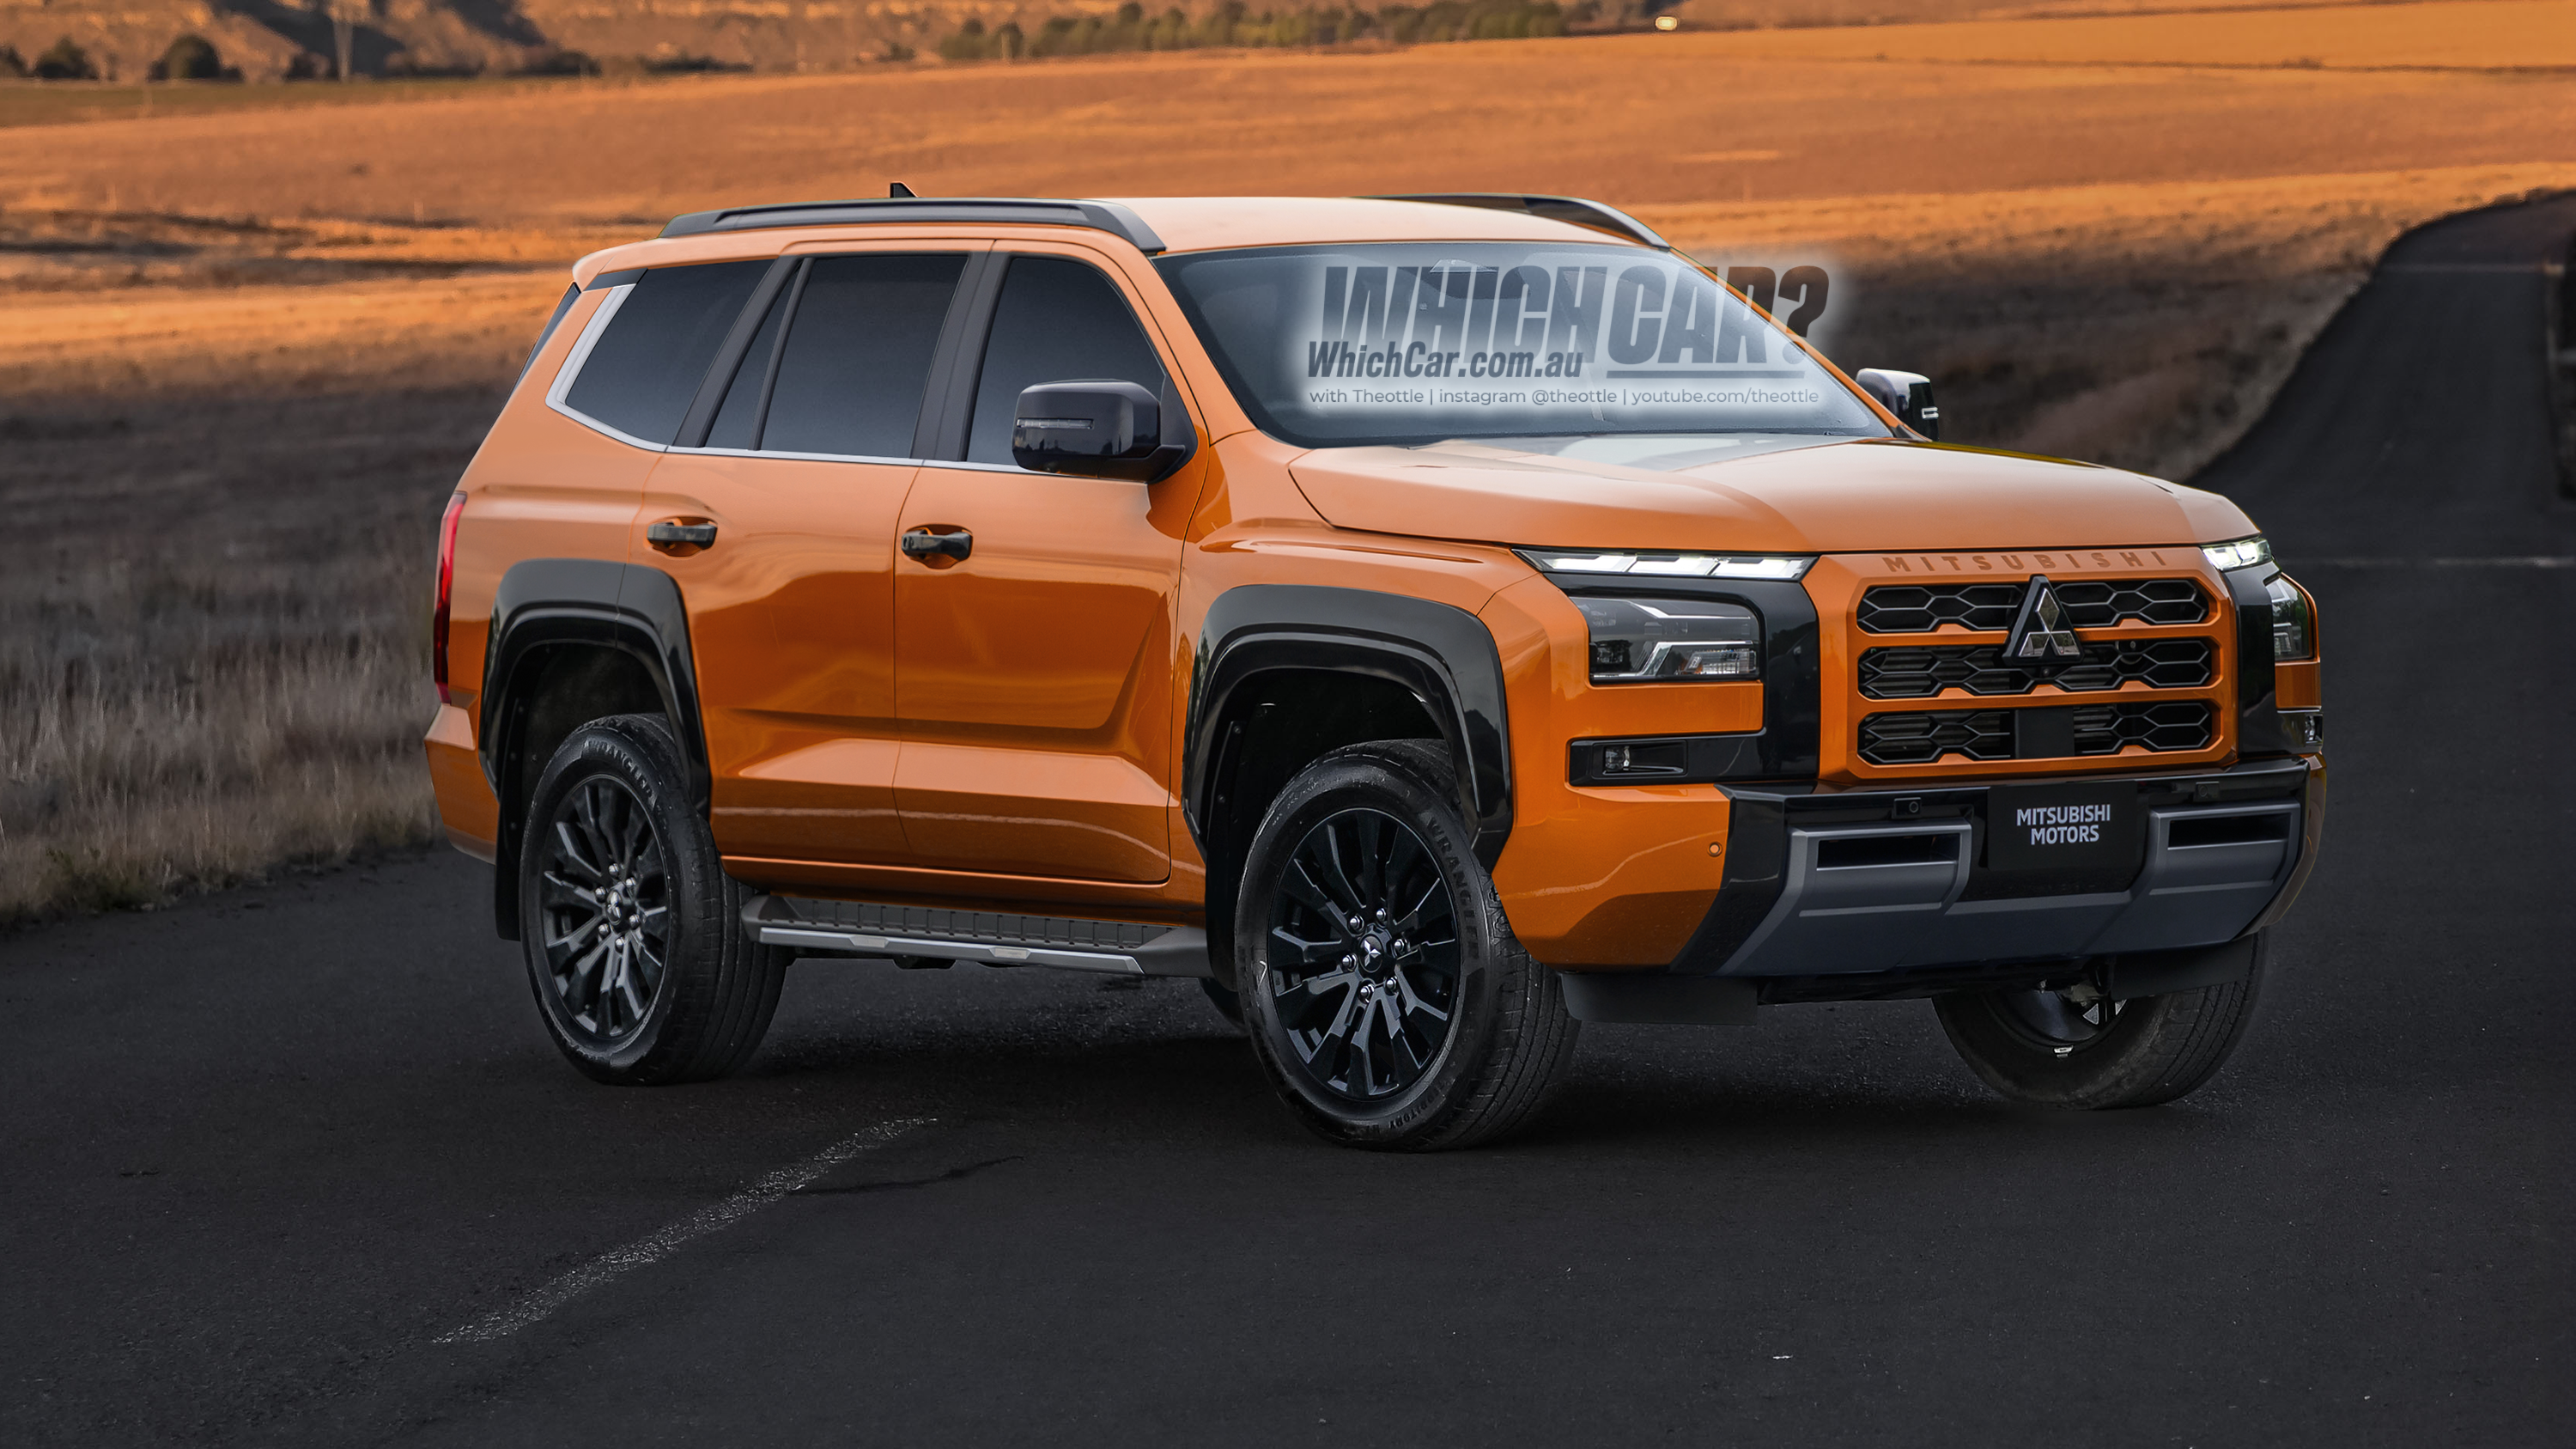
It’ll be bigger, too. Mitsubishi pushed the Triton’s wheels out 50mm compared to the outgoing model and gave it a 130mm longer wheelbase.
Expect a new Pajero Sport to benefit from the extra track and wheelbase. This will aid control and stability both on and off-road – and it certainly doesn’t hurt the looks.
At the rear, Theo has integrated details from the Outlander SUV’s tailgate and the new Triton’s lighting signature, while the overall shape is influenced by the Ford Everest’s rear end – one of the Pajero Sport’s key rivals.
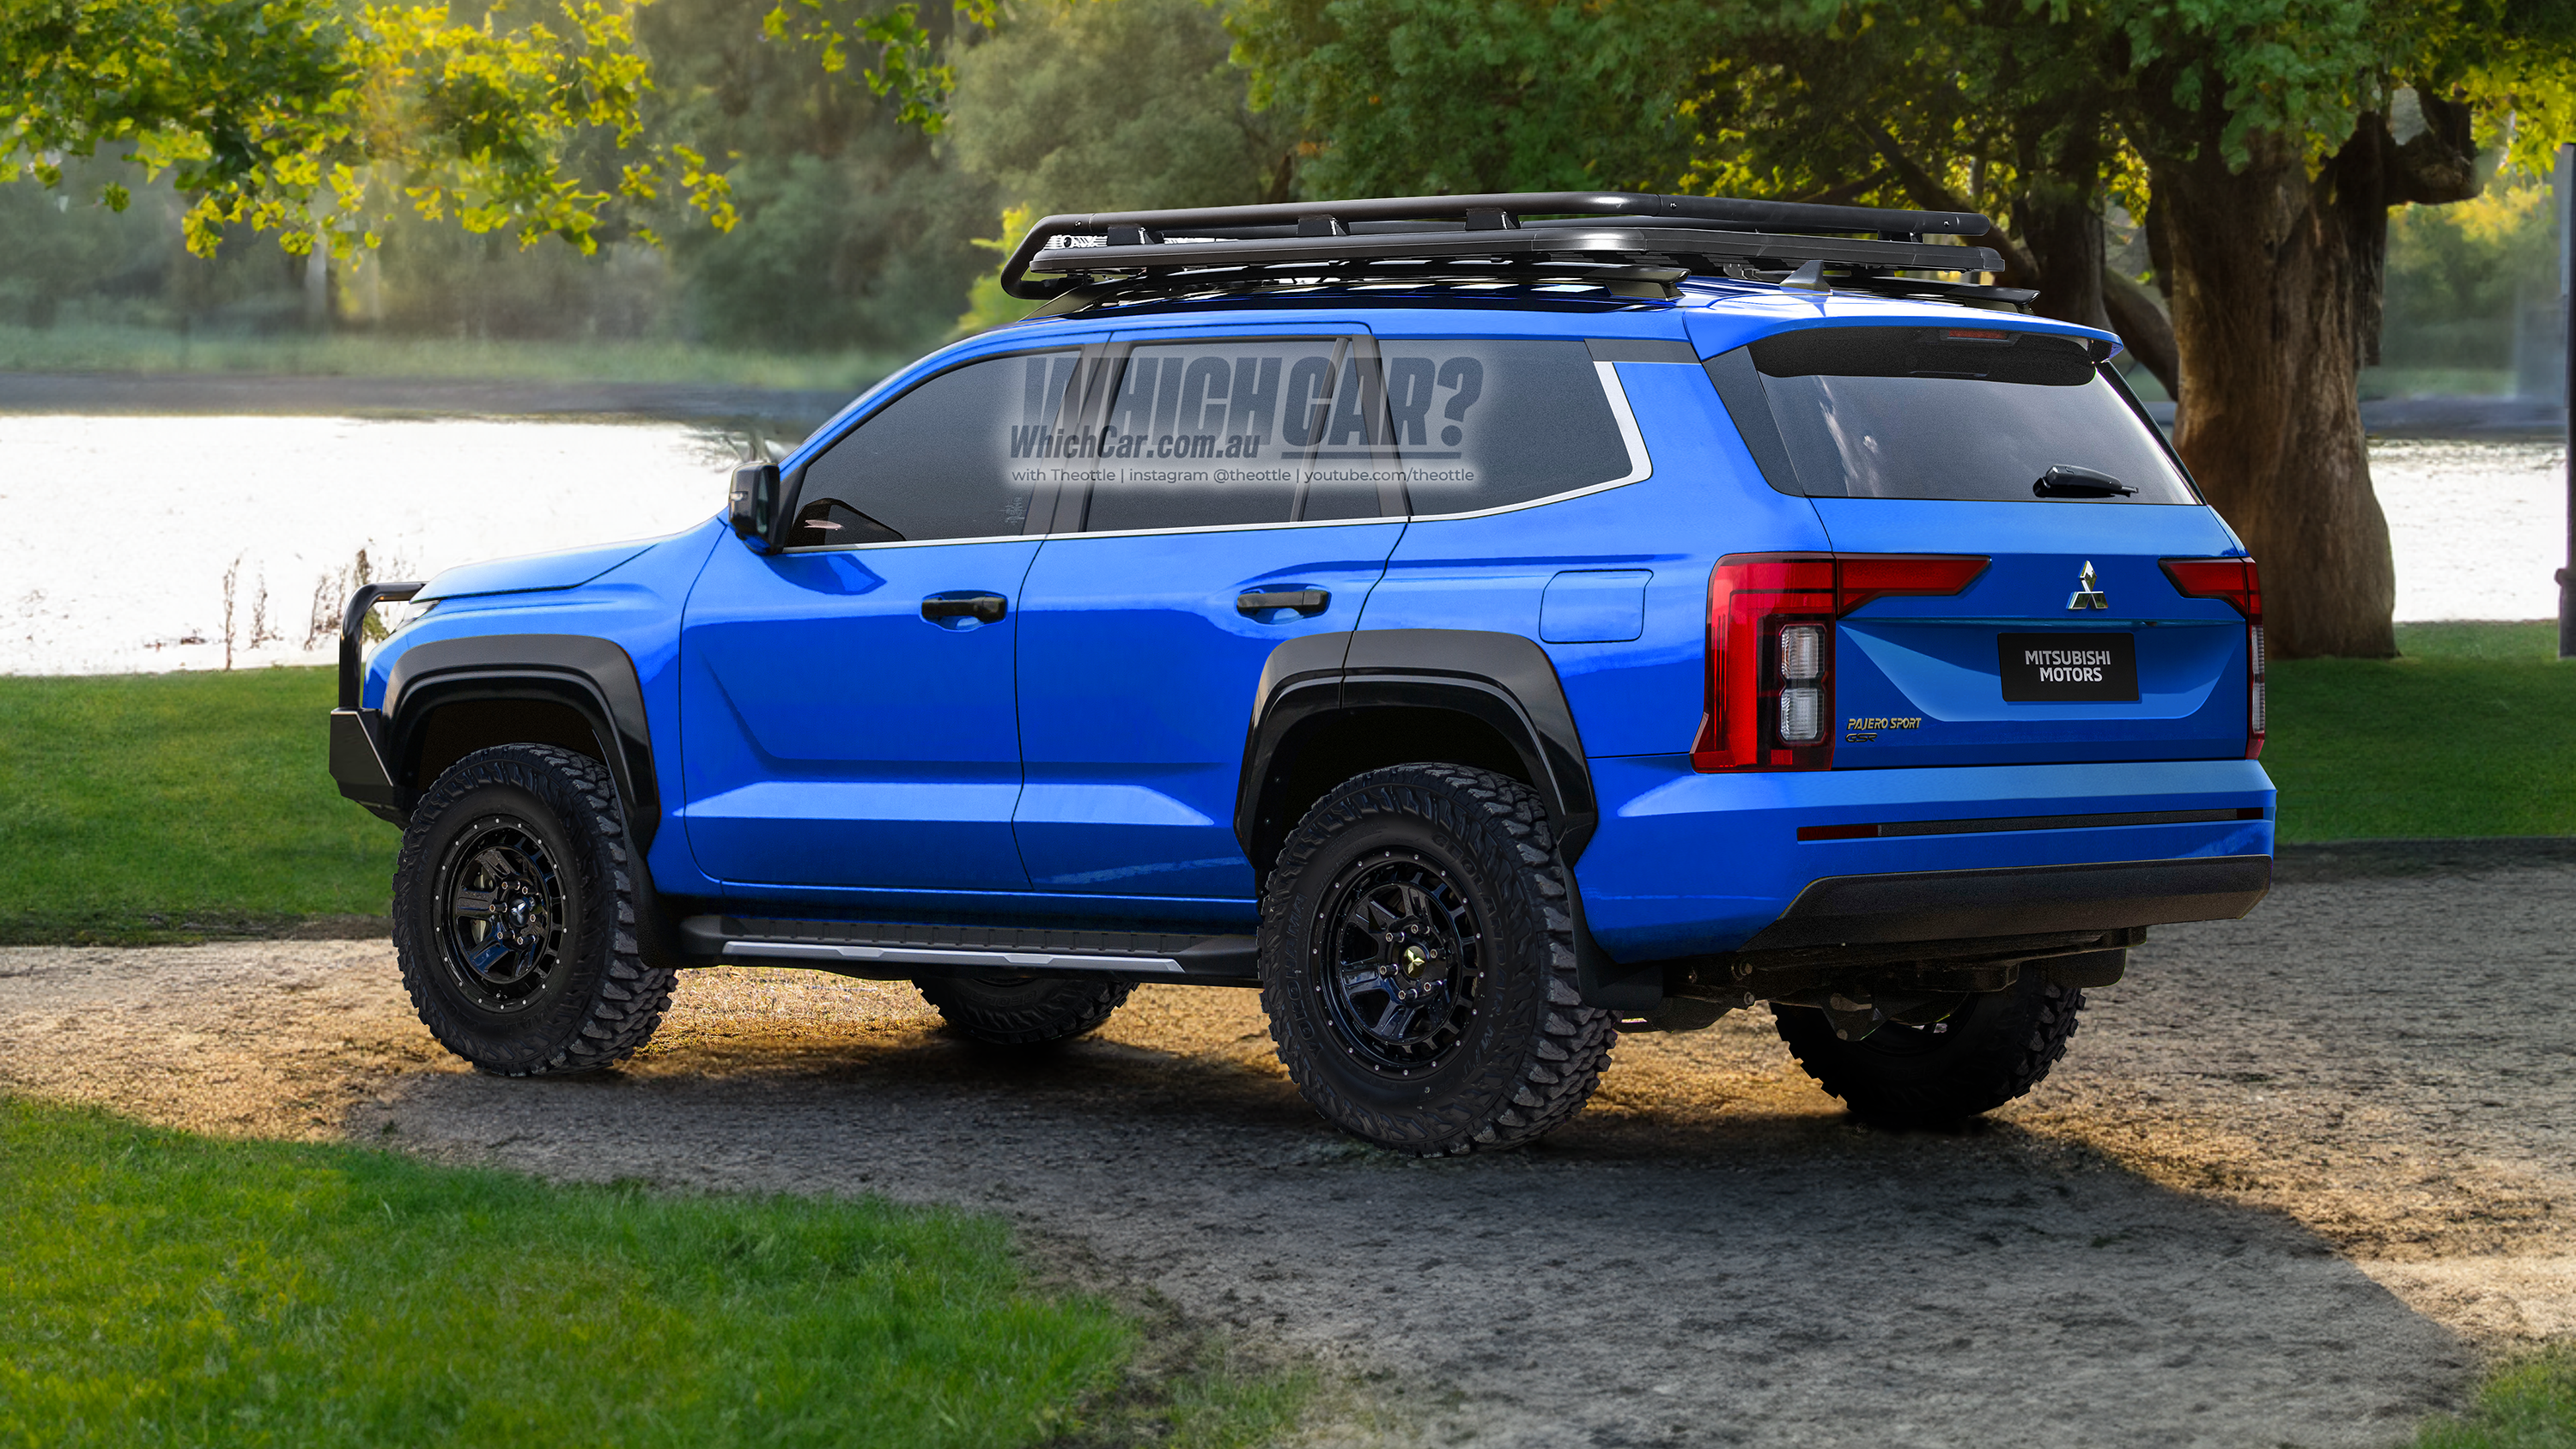
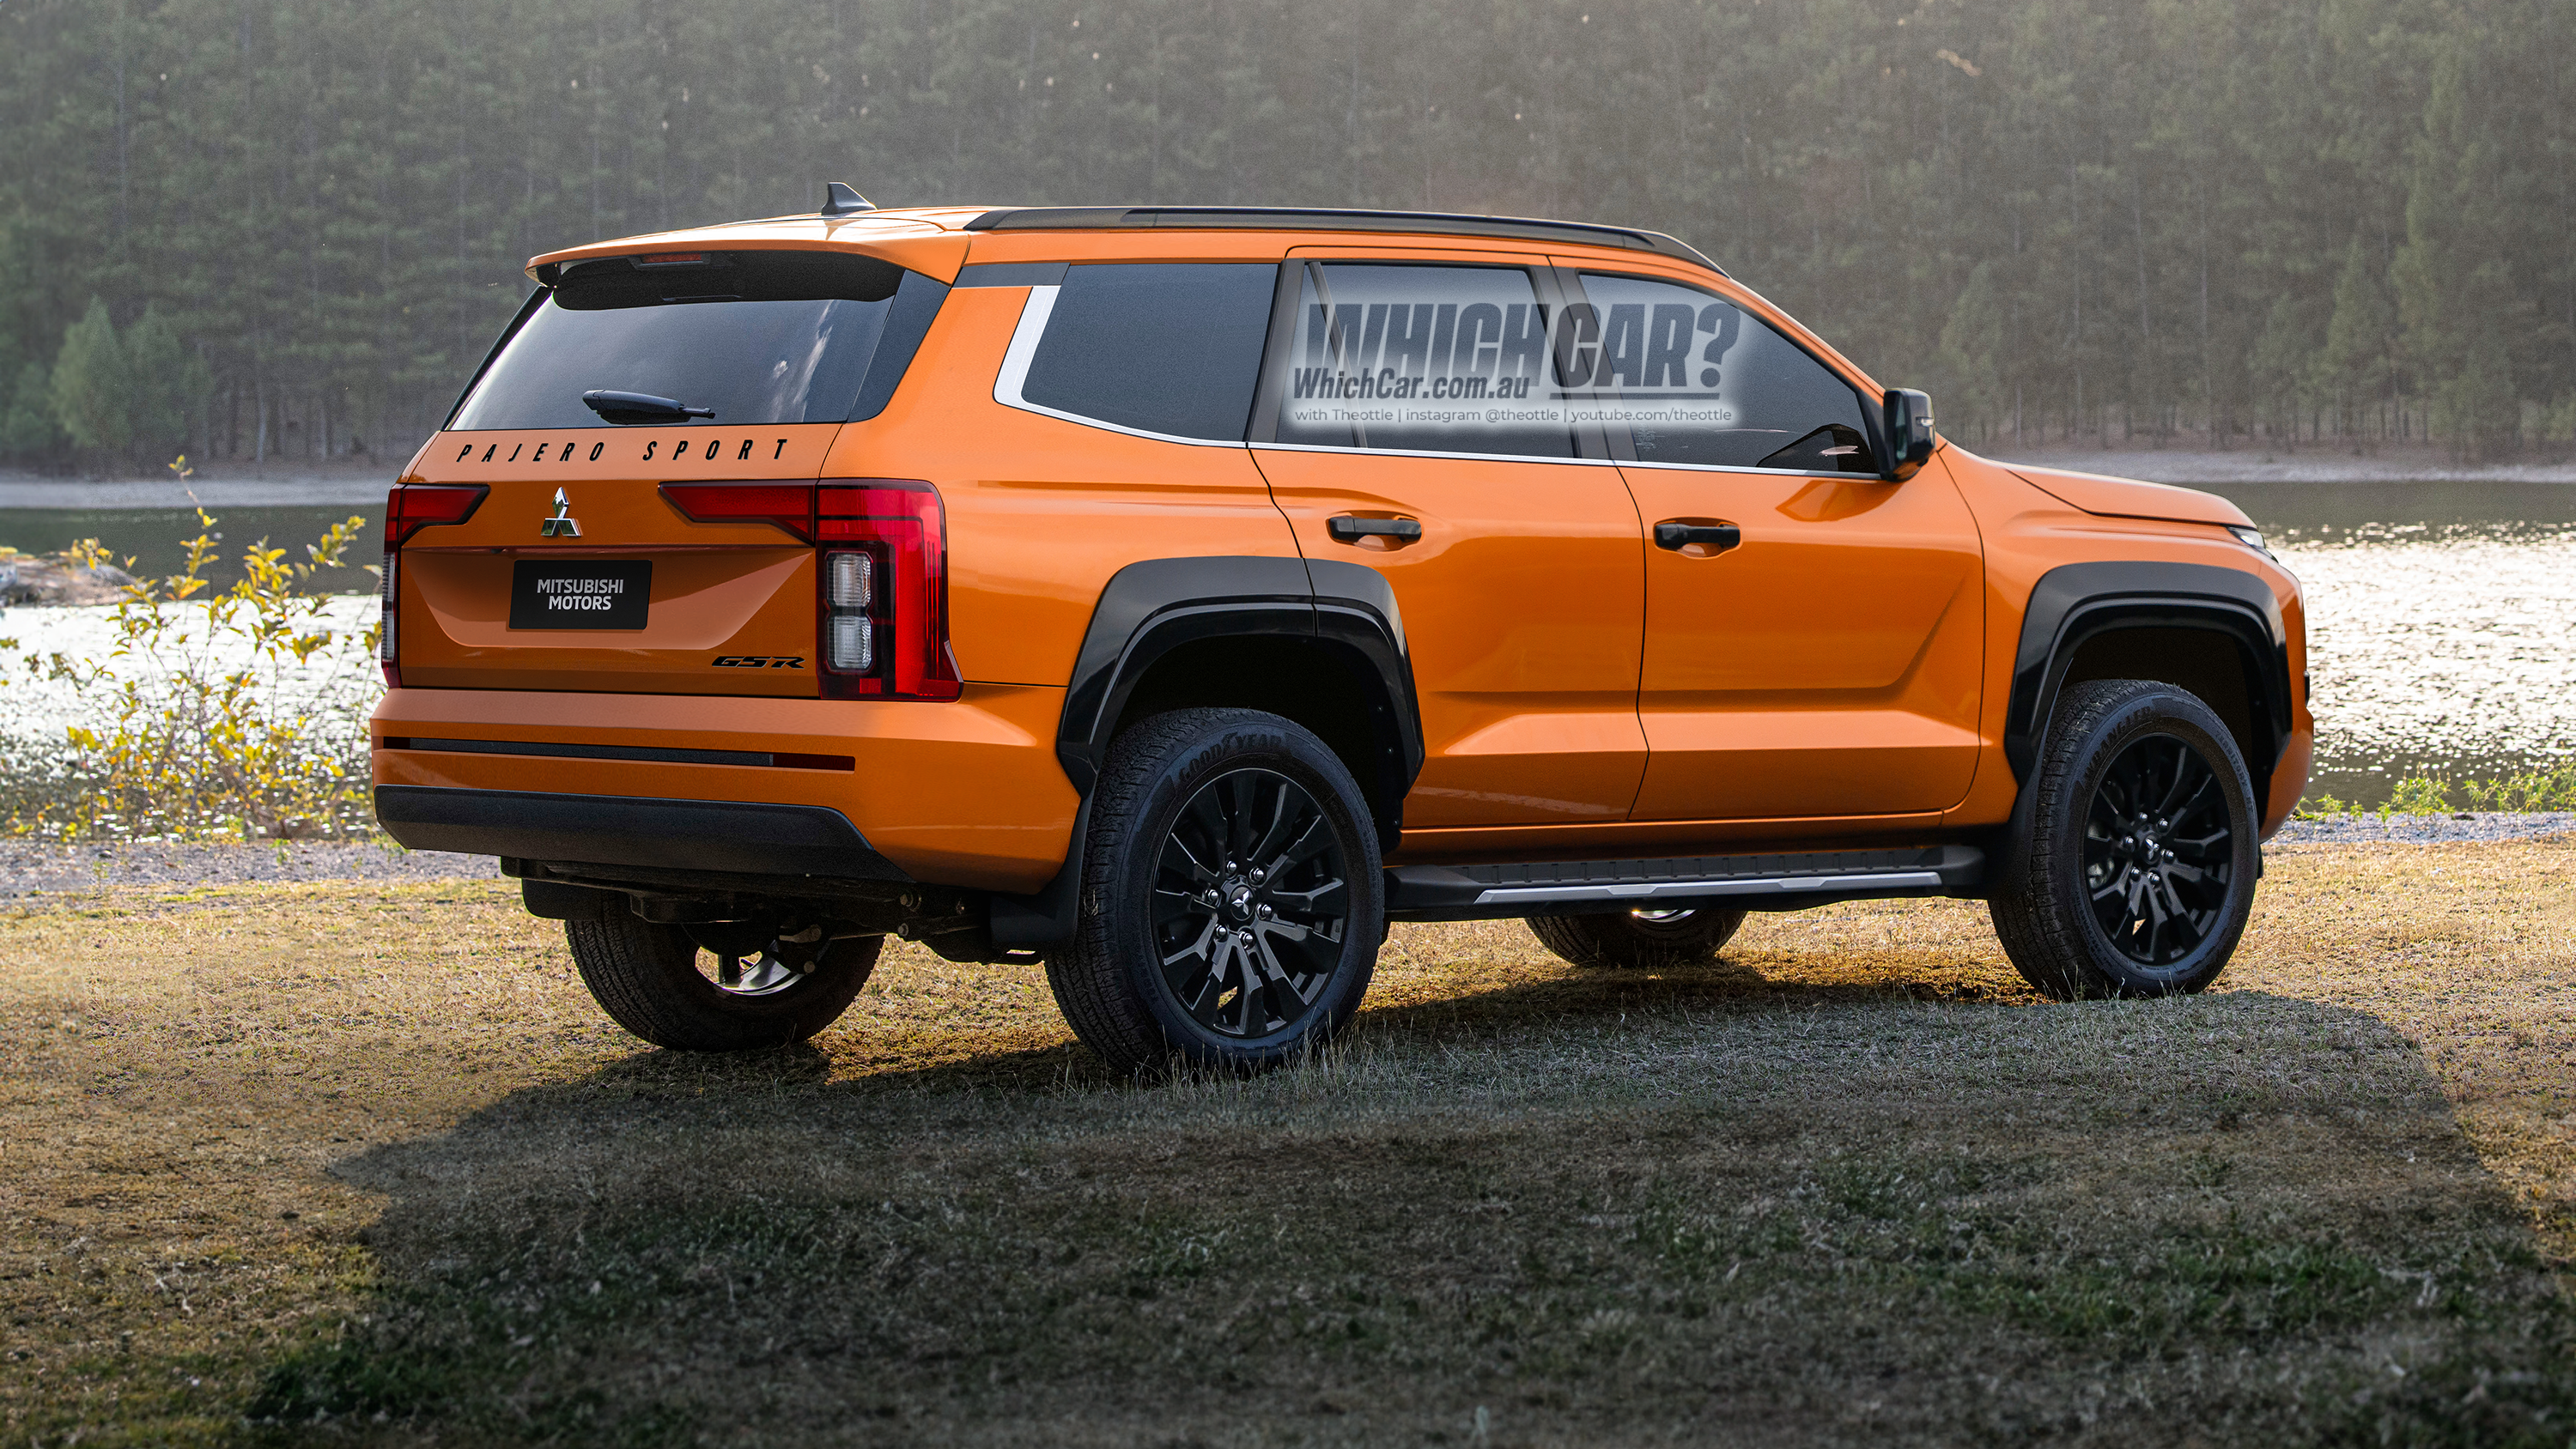
Broad shoulders and defined wheel arches give our Pajero Sport an imposing stance in what we’re imagining in two forms: One as a top-level off-road focused ‘GSR’ trim that would likely cost a little over $60K in Australia, the other as a GLS with off-road accessories bolted on.
We expect the new Pajero Sport to employ the upgraded twin-turbo 2.4-litre diesel four-cylinder that appears in the Triton ute. There, it’s paired with a six-speed automatic and develops 150kW and 470Nm.
As with the current Pajero Sport, we can expect an eight-speed automatic in place of the Triton’s six-speed unit.
Expect improvements in braked towing capacity (from 3100kg to 3500kg, just like the Triton) and higher payload figures thanks to the stronger frame.
As it does currently, the next-gen Pajero Sport will likely ditch the Triton’s rear leaf springs in favour of coils for better occupant comfort.
In March, Mitsubishi hinted at another generation of Pajero Sport when it detailed a mid-term plan with vehicle silhouettes and category names.
The Triton ute was an obvious move, but in the plan, there’s also a ‘PPV’, the ASEAN region’s name for pick-up-based passenger vehicles such as the existing Pajero Sport.
Mitsubishi executives are also interested in developing a new monocoque Pajero off-roader as a flagship for the brand. However, there’s clearly an awareness that any follow-up to the hallowed nameplate needs to be a serious performance machine.
Previous discussions with Mitsubishi indicate that the Pajero Sport (or whatever the new PPV will be called) was developed – like Triton – with the Australian market in mind, and should pass ADRs and safety testing with no major issues.
Is our next-gen Pajero Sport on the money? Share your thoughts in the comments below!
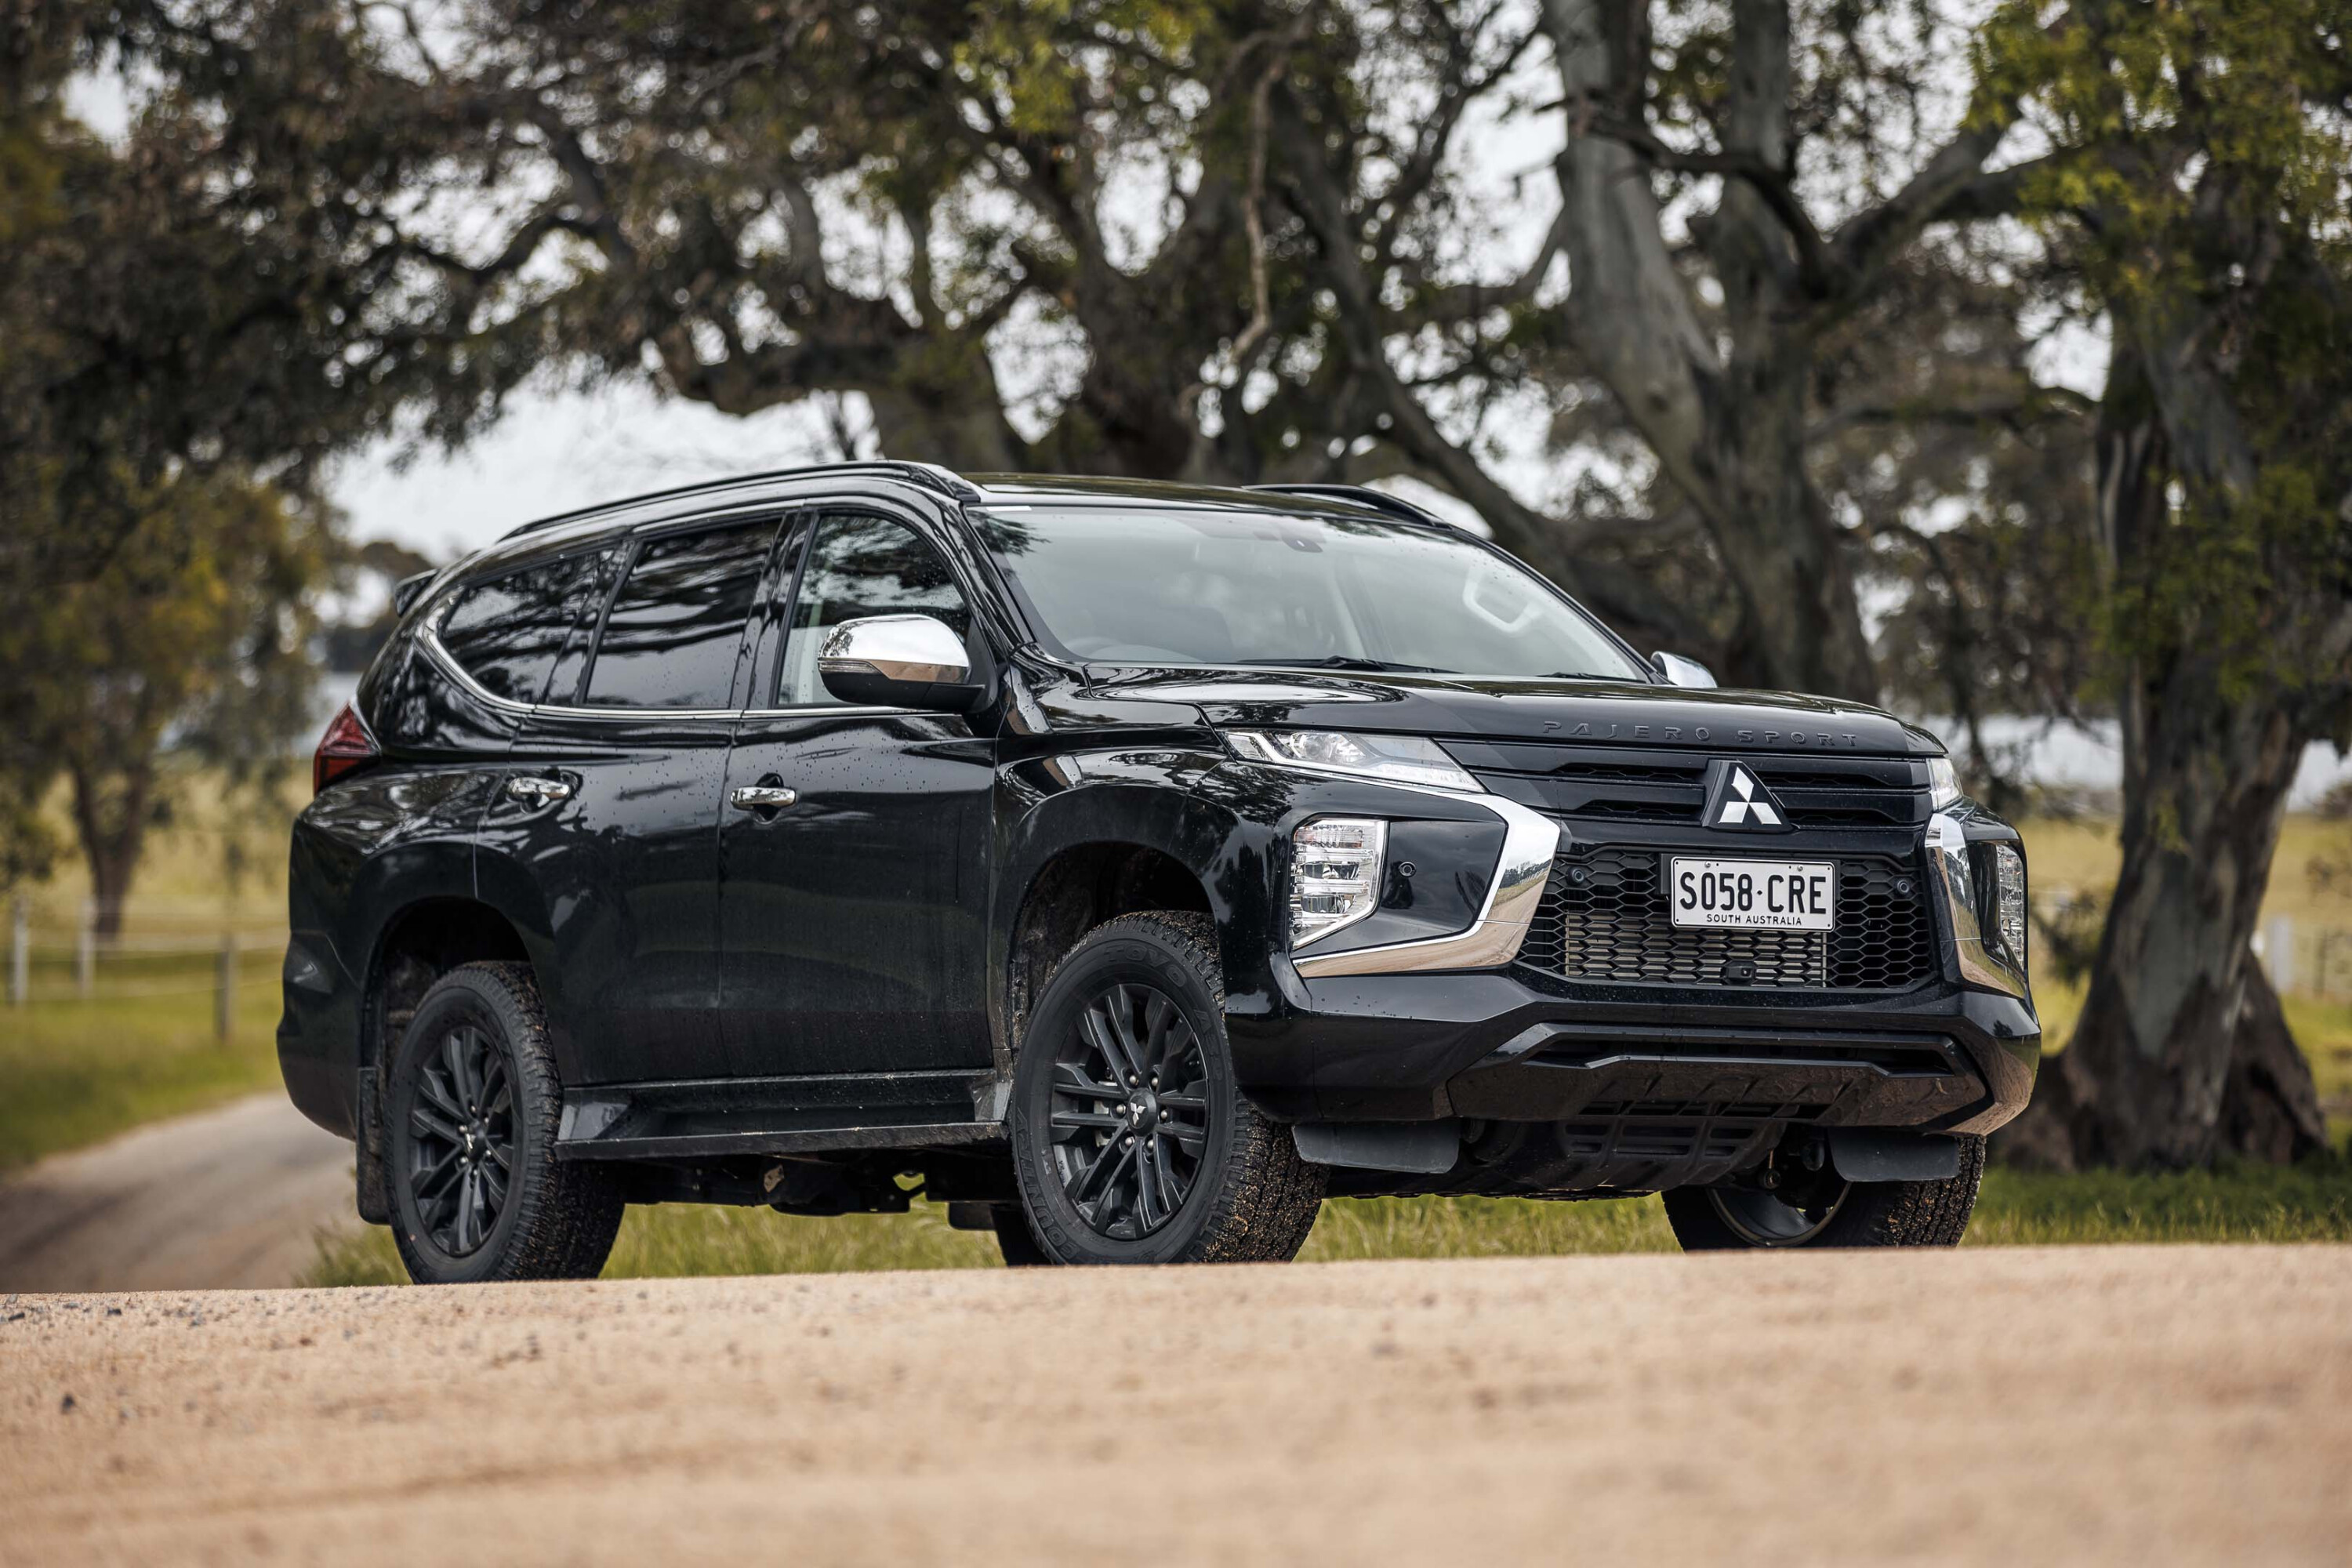
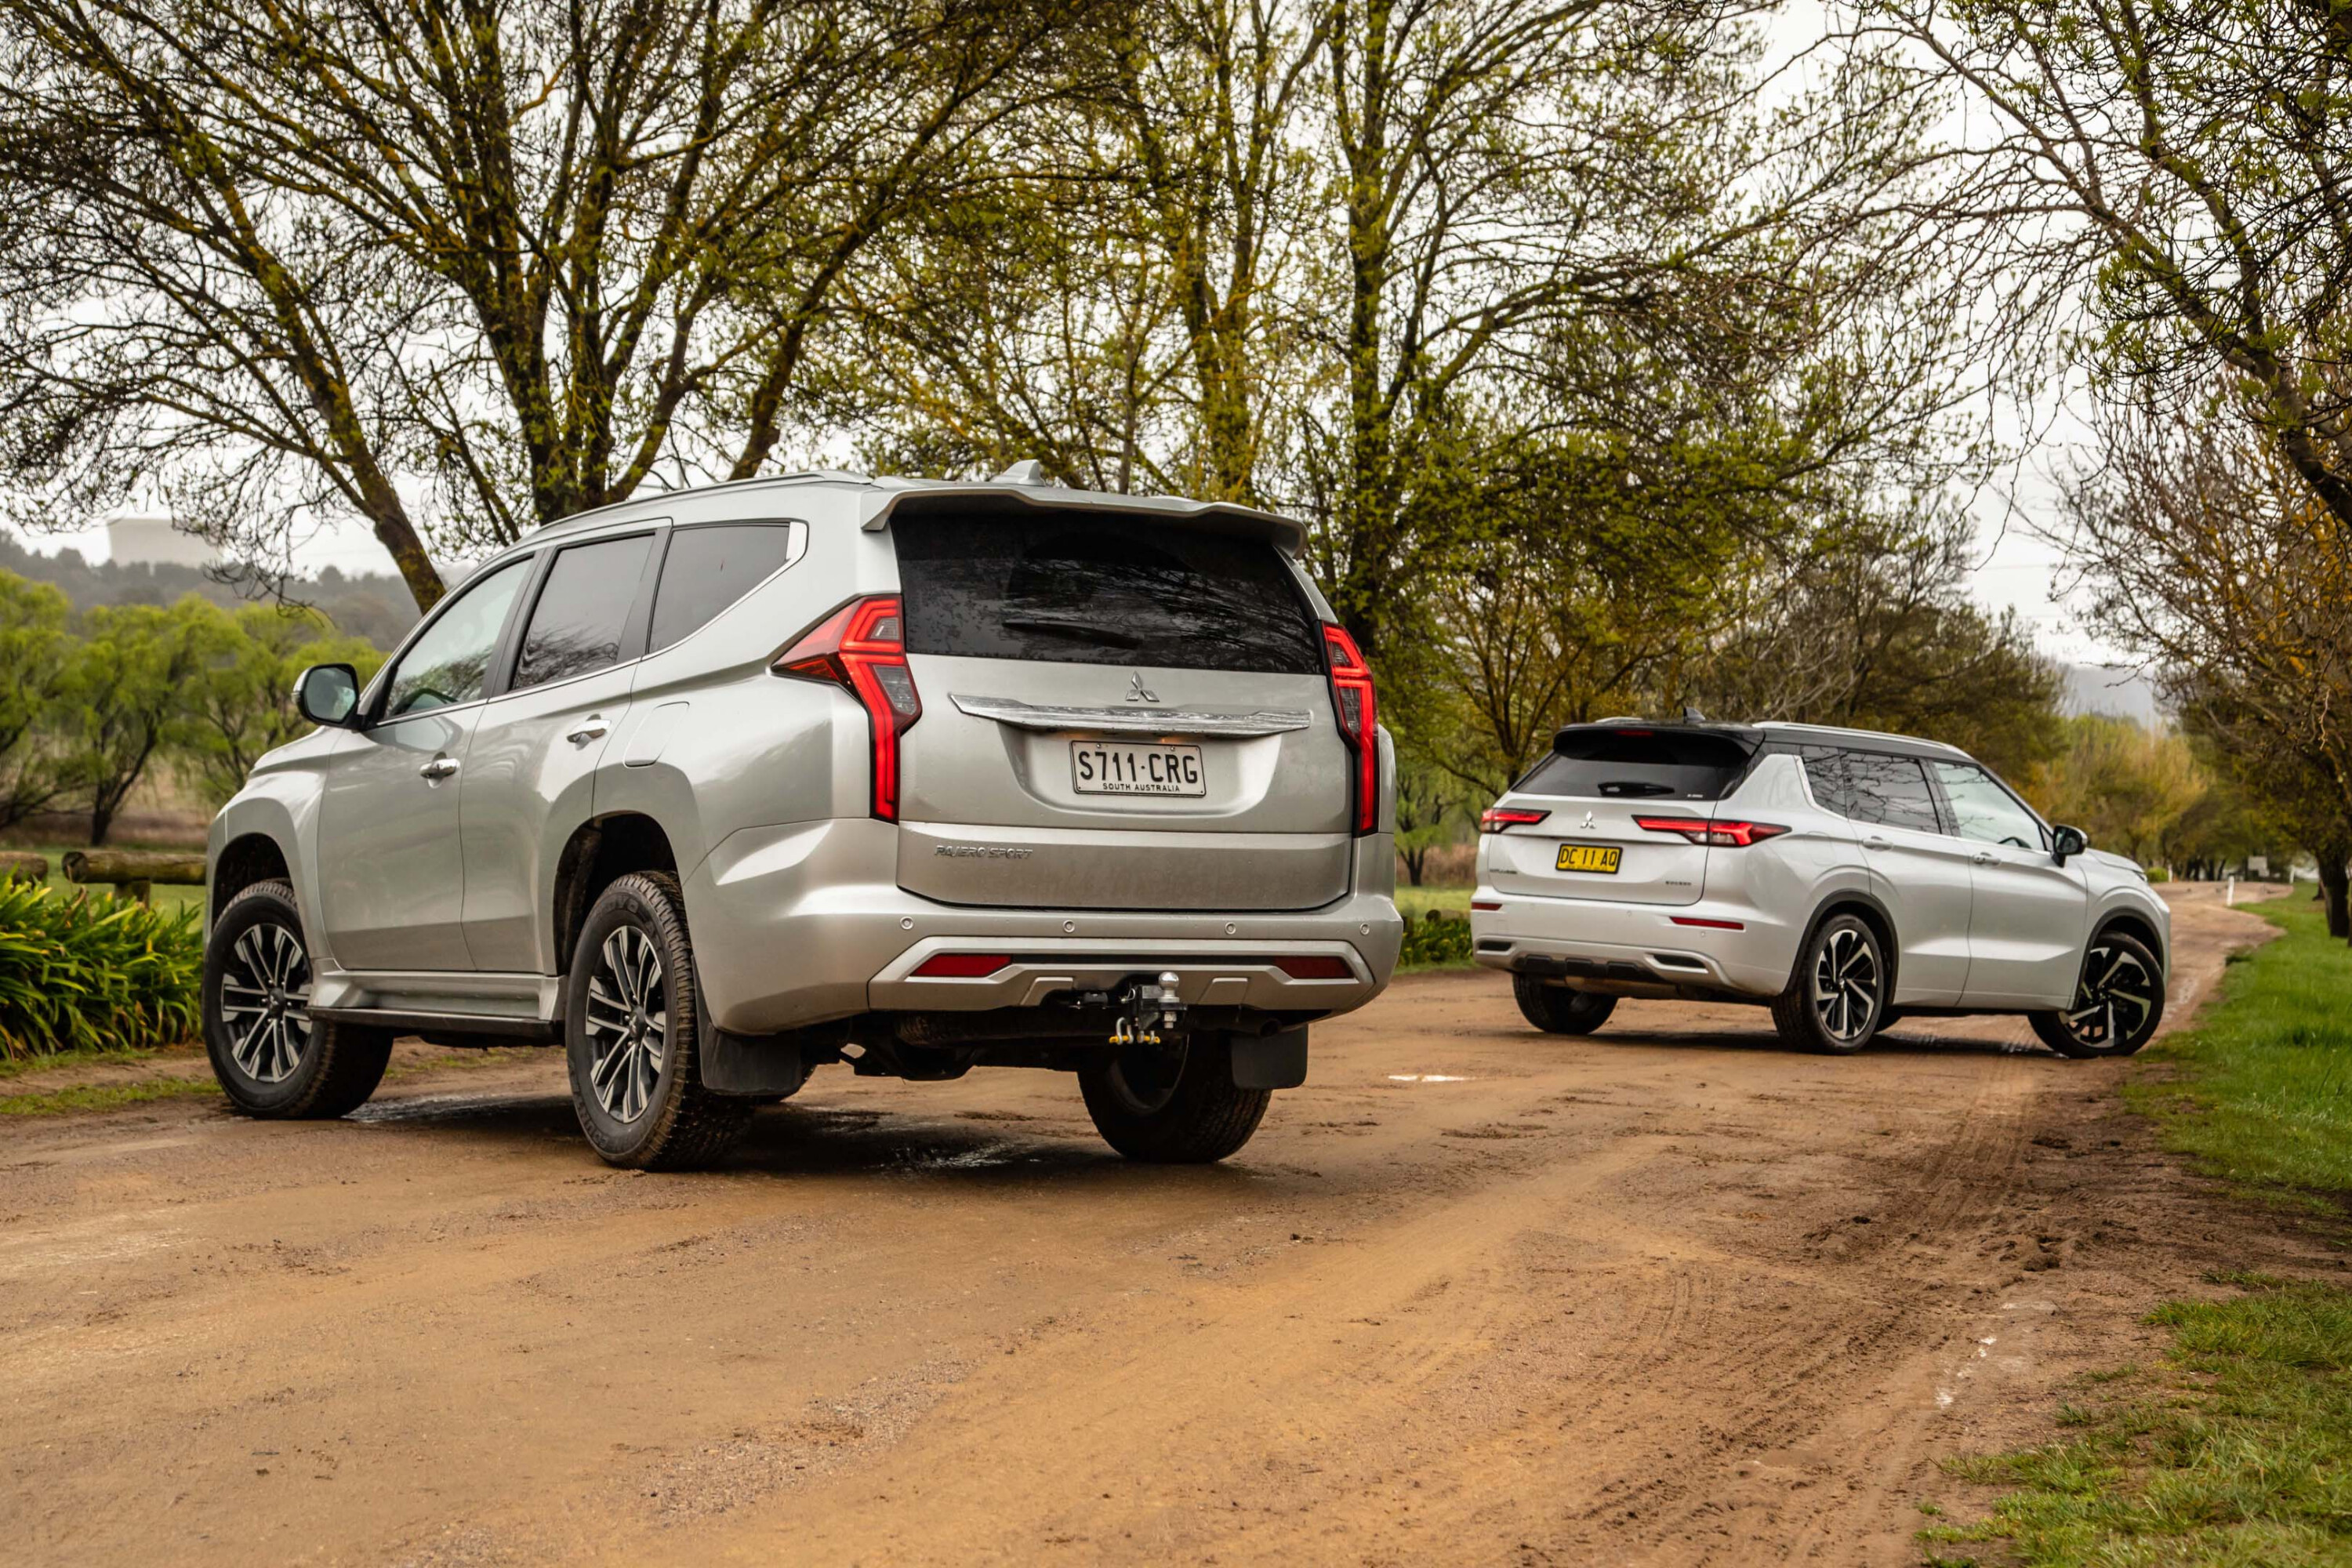
The Pajero Sport in its current form
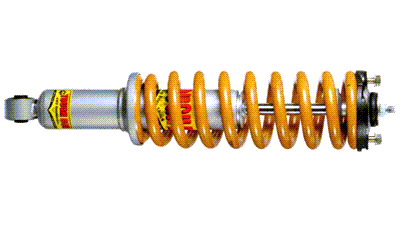
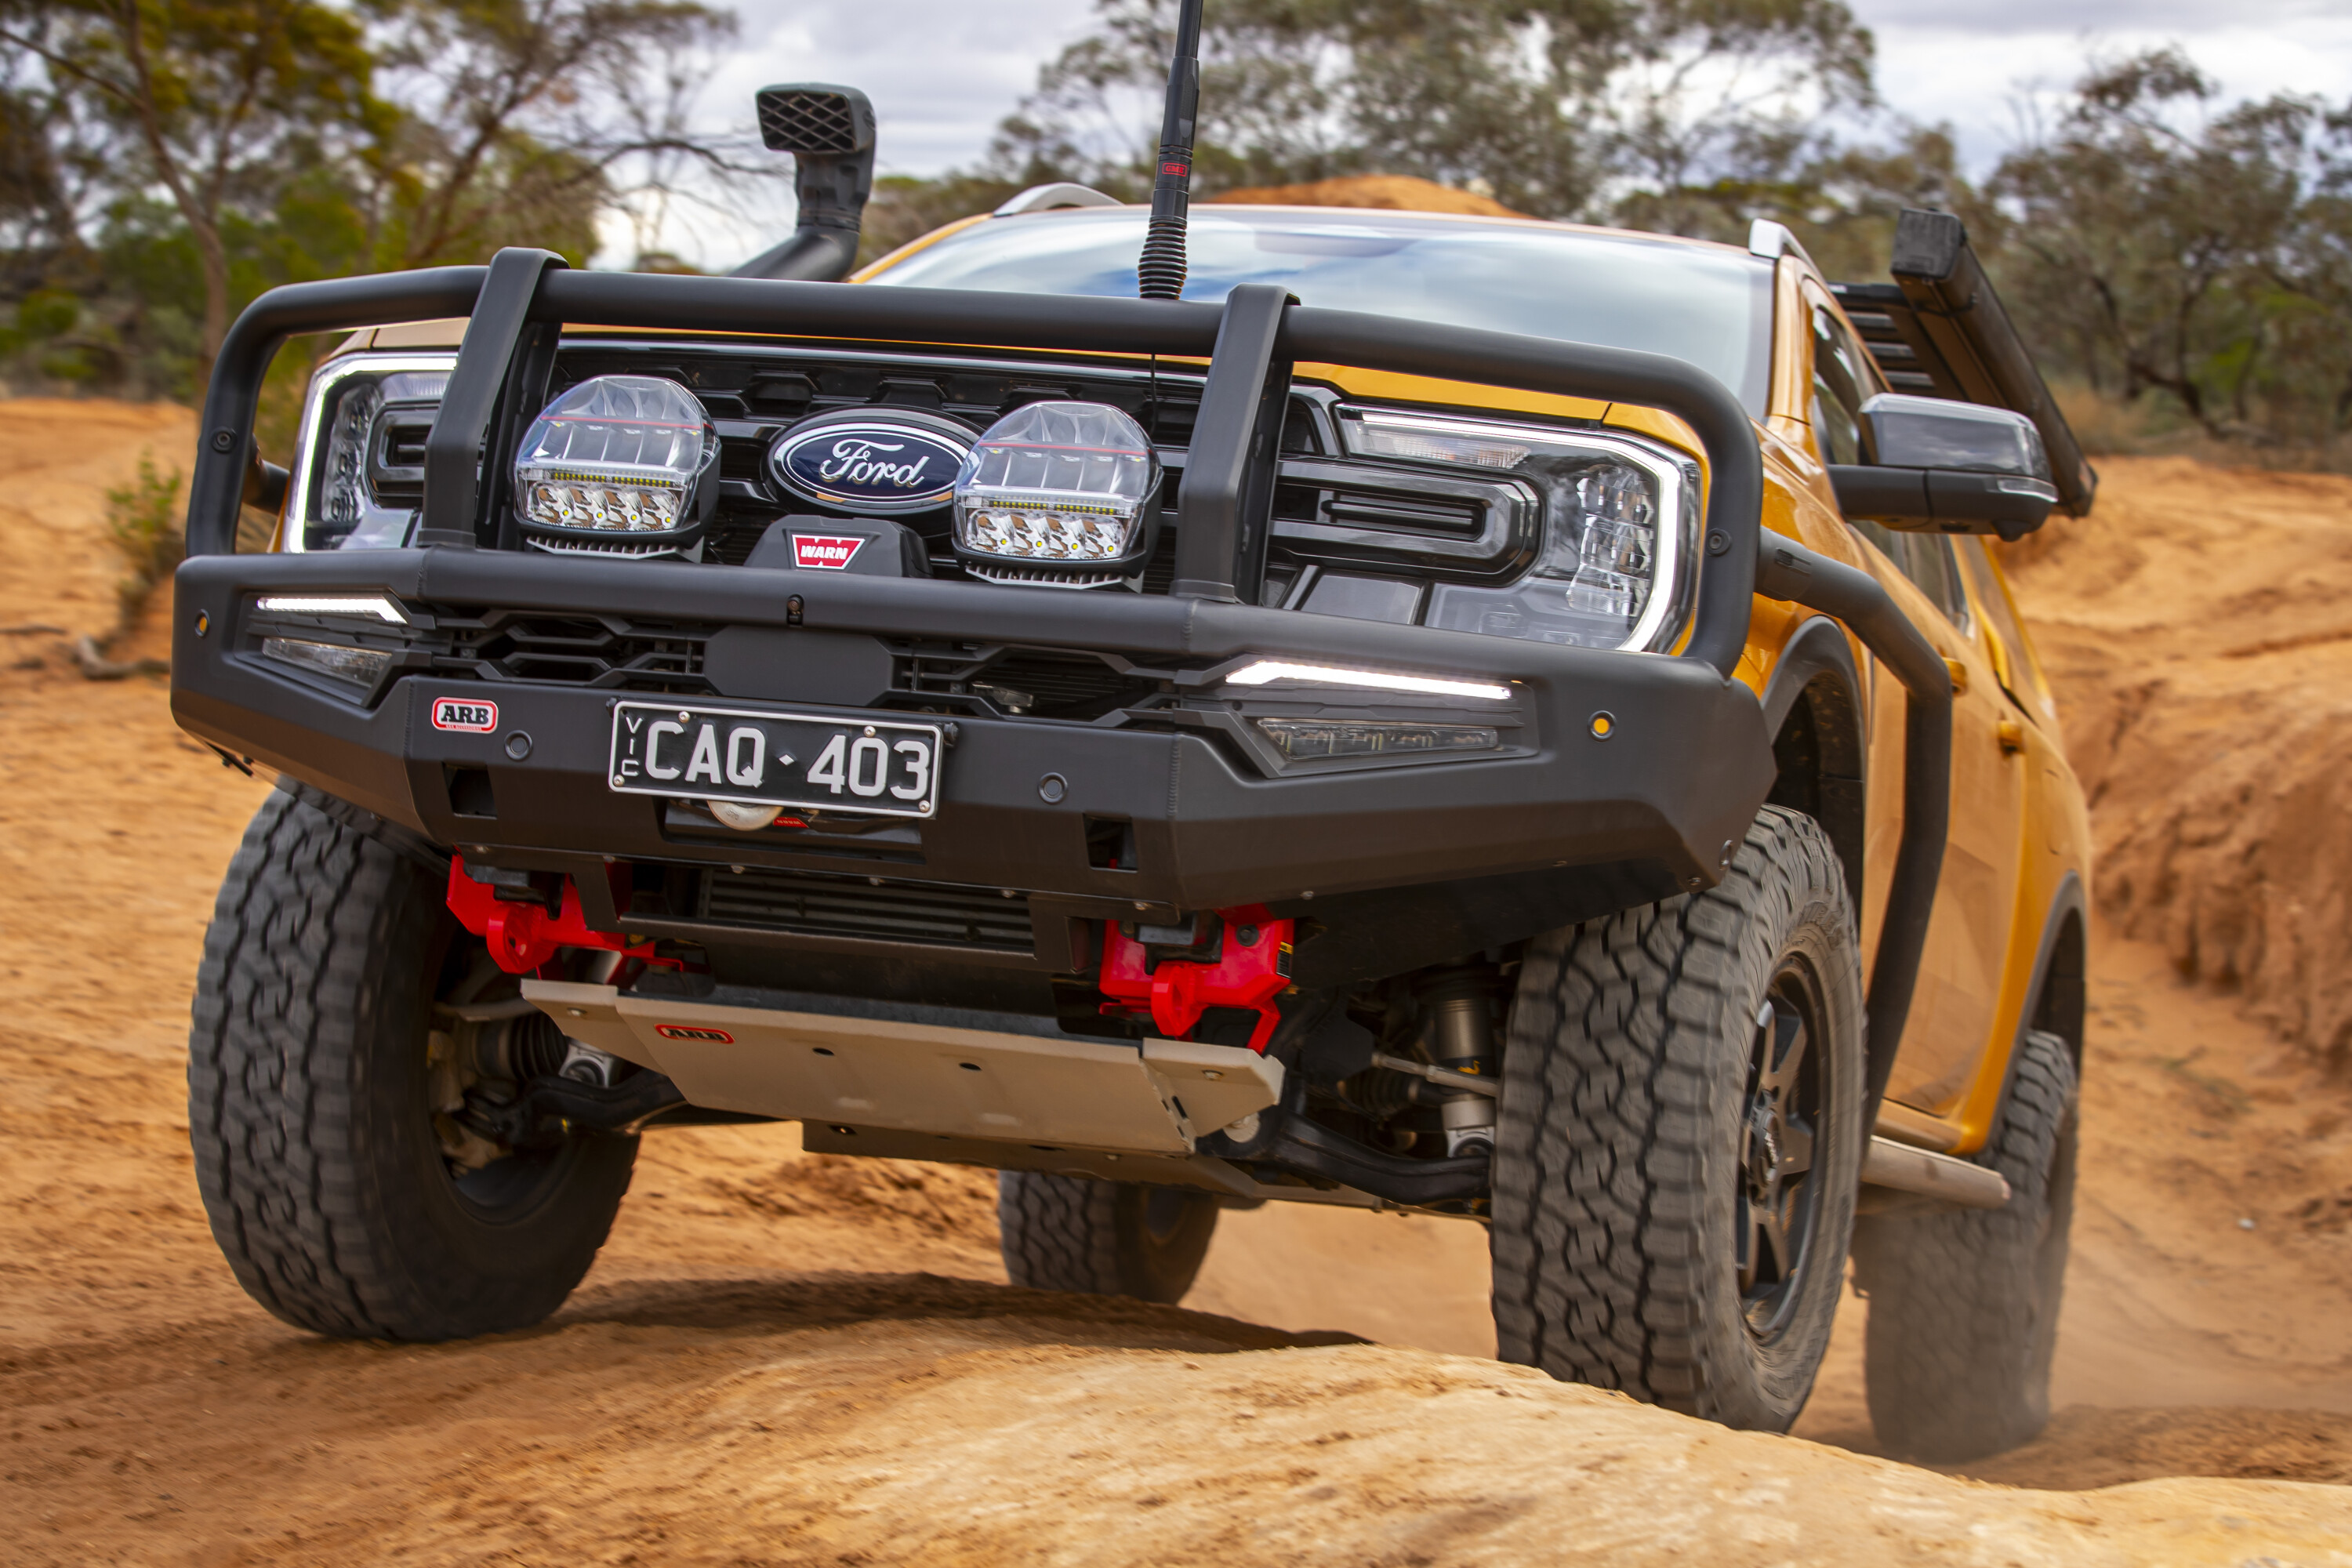
ARB’s suspension brand, Old Man Emu, has released a new shock absorber line that has been designed specifically for the demands of off-road travel.
The MT64 slots perfectly between the brand’s iconic Nitrocharger and the ultra-high-performance BP-51.
Touring the expanses of Australia often means covering long distances and carrying heavier loads, so Old Man Emu has taken features from 45 years of Nitrocharger manufacturing and 10 years of high-performance BP-51 production and combined them into the MT64.
By taking attributes from both and combining them into a single monotube shock absorber, the MT64 has reset the bar on everyday comfort and provided exceptional responsiveness whether towing on the blacktop or tackling tough terrain.
The development of the MT64 included extensive off-road simulation using Finite Element Analysis on a computer. This highlighted any weak points so that the design could include maximum strength and durability from the beginning.
A wide range of data was also collected during field testing and testing of prototype shock absorbers, which ran through millions of cycles to simulate real-world scenarios.
Latest Gear Guides
“This shock is suited to the daily driver that doesn’t have lots of accessories, and we’ve tuned it specifically for that, but it will also suit the guys that are fully loaded up with all the accessories and all the gear who want to spend days or even months away in the 4WD,” said Stuart Fooks, OME Head Engineer.
“That’s the really big advantage of this shock, you can spend all day in the 4WD, just eating up the kilometres comfortably,” Fooks added.
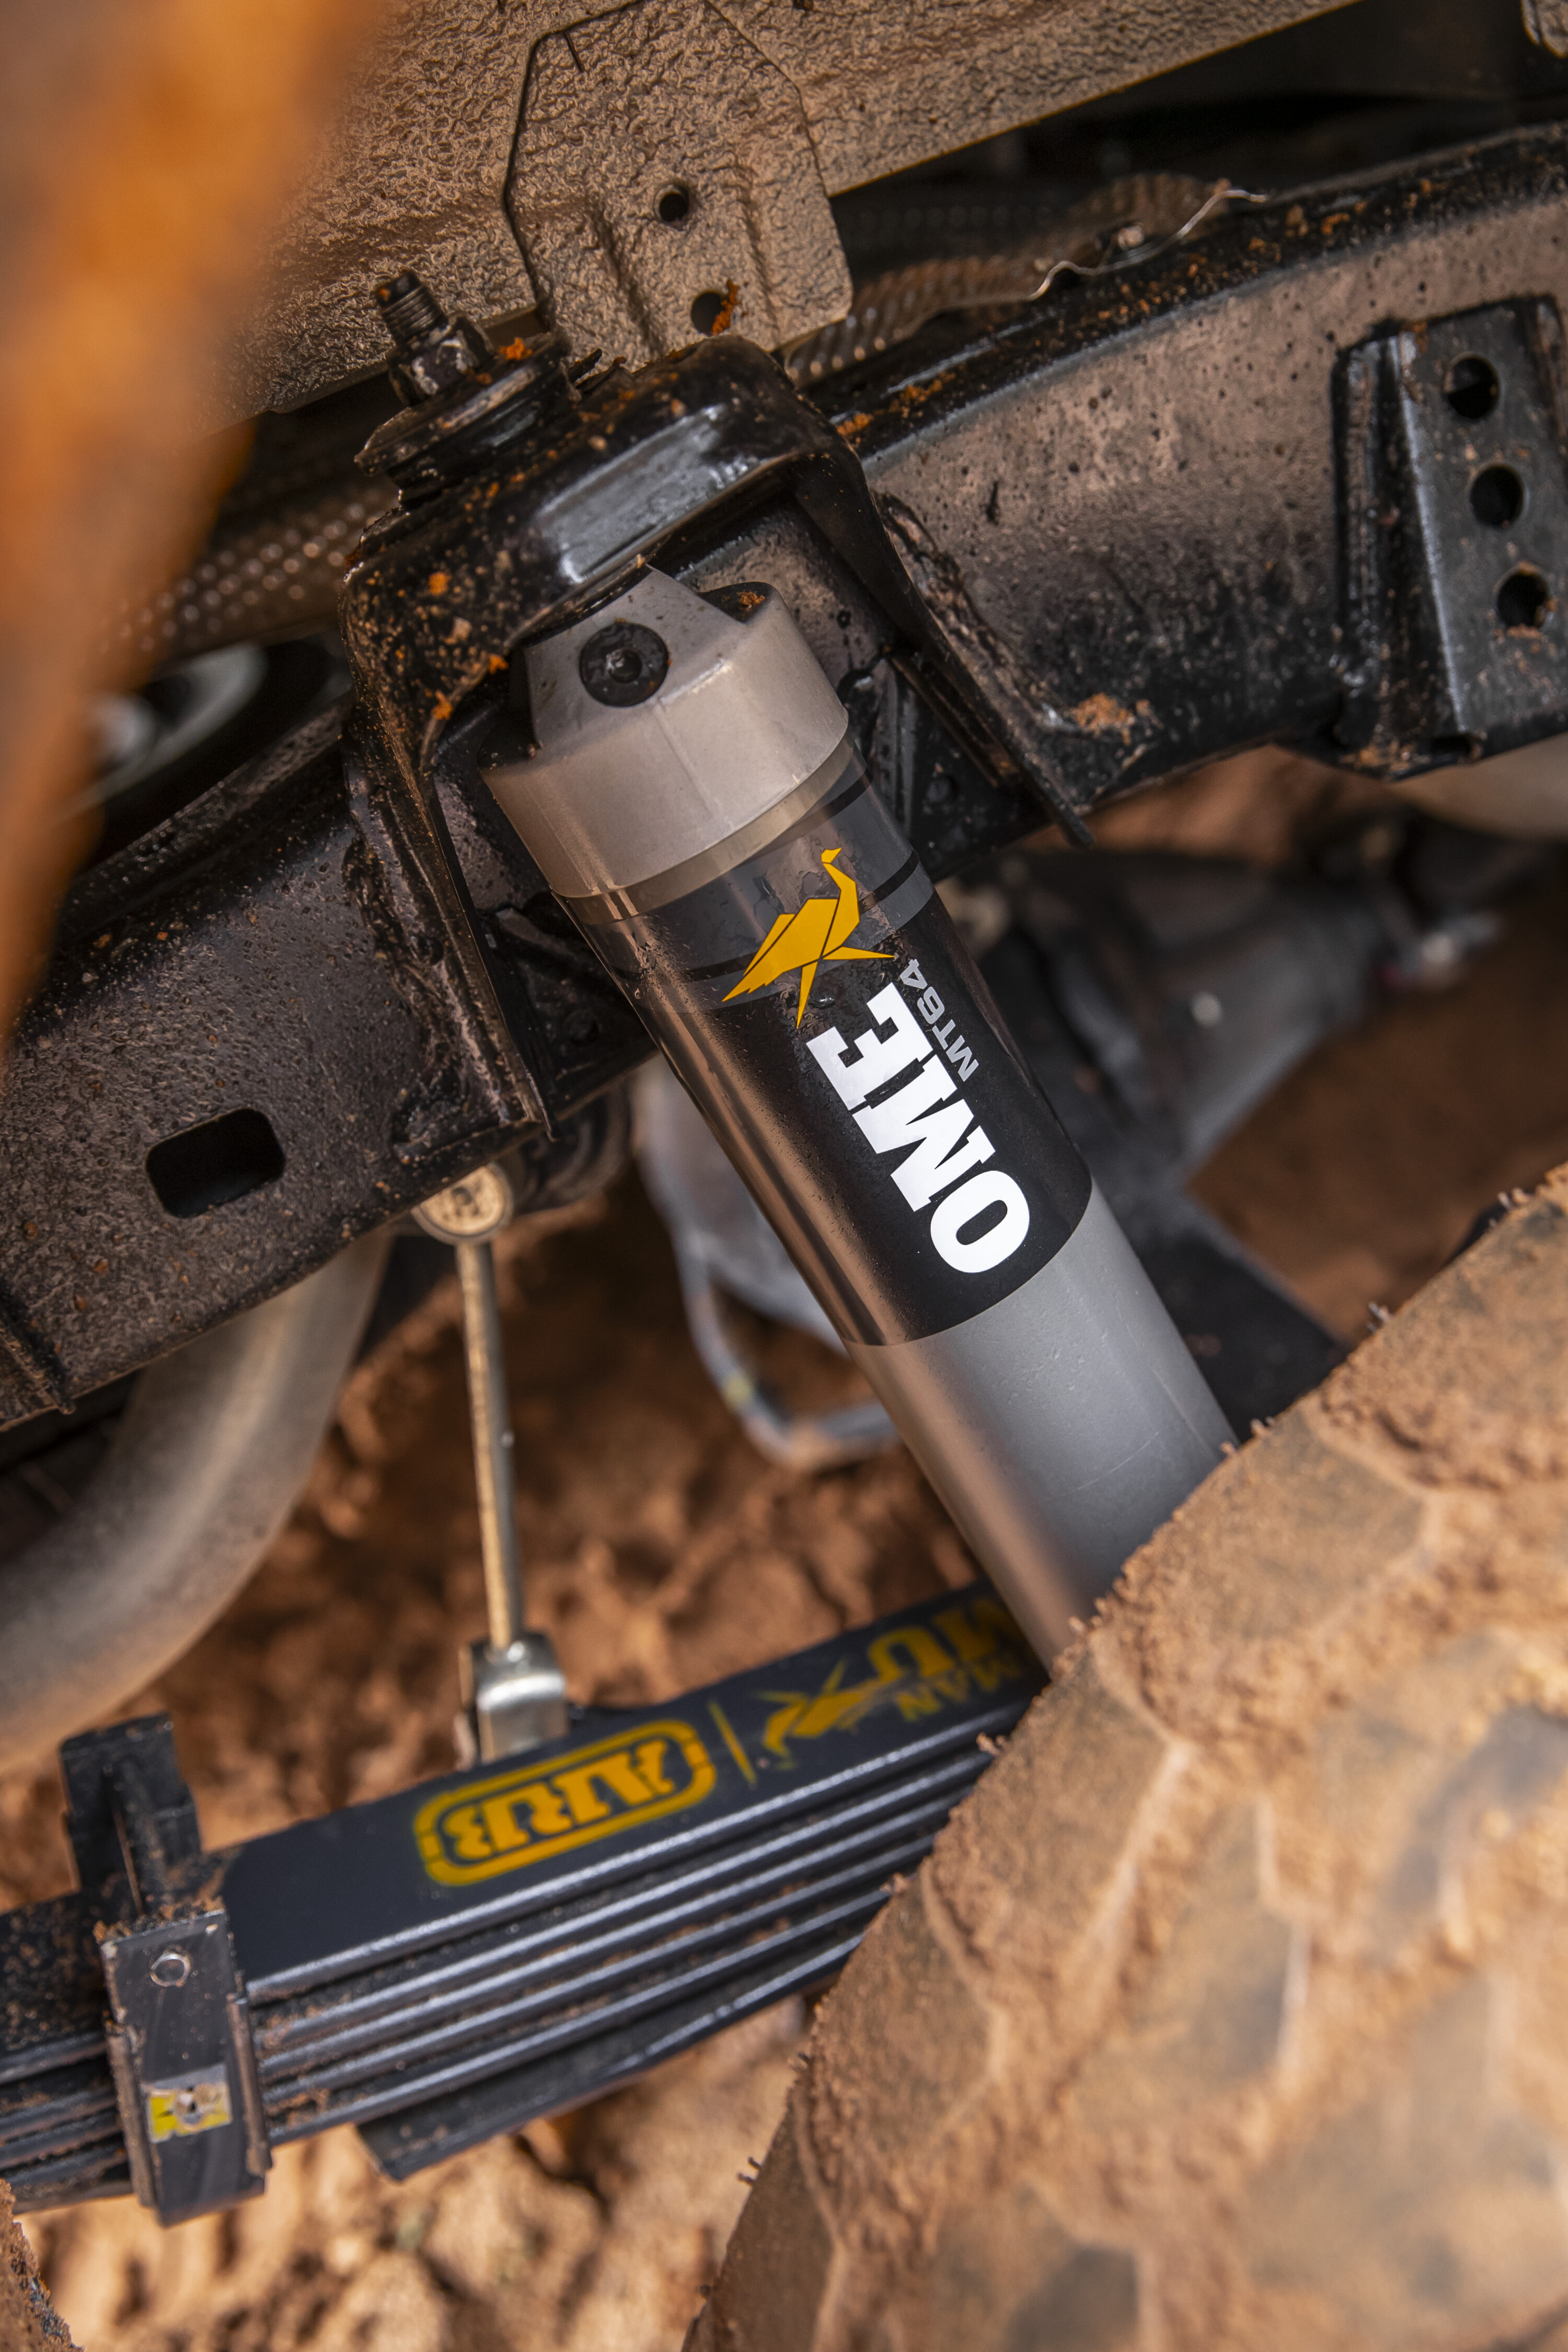
Showcasing the same solid 6061 aluminium construction as the BP-51, as well as a hard-anodised finish to protect the shock’s surface, these monotube shocks have 72mm bodies and 64mm internal bores. The larger bores allow more oil in the shock which increases heat dissipation and responsiveness, perfect for severe corrugations and desert driving.
With unmatched comfort and reliability, MT64s will keep performing as the road gets rough and the tracks get tough. The MT64 is also designed with a hydraulic end zone top-out, which provides added padding at their shock’s full extension, to compensate for any unexpected bumps. For $500 per shock, this is good value for money.
The MT64s are height-adjustable using sap-ring grooves in the body that allow different spring seat positions. Lifts up to 50mm can be achieved where the geometry allows and adjusts lift to suit models that suffer from droop. The spring seat is made from ultra-strong forged aluminium for maximum durability.
The MT64 features an adjustable snap ring which allows installers to pre-load the spring for heavier applications while still achieving the same advertised lift. This makes stocking far easier with only one spring part number, and it means if a customer changes their setup all they have to do is adjust the preload to suit, not buy a new spring.
This also means the groove of the MT64 can be used for height trimming without the need for a separate trim packer where required. If necessary, the MT64 is rebuildable.
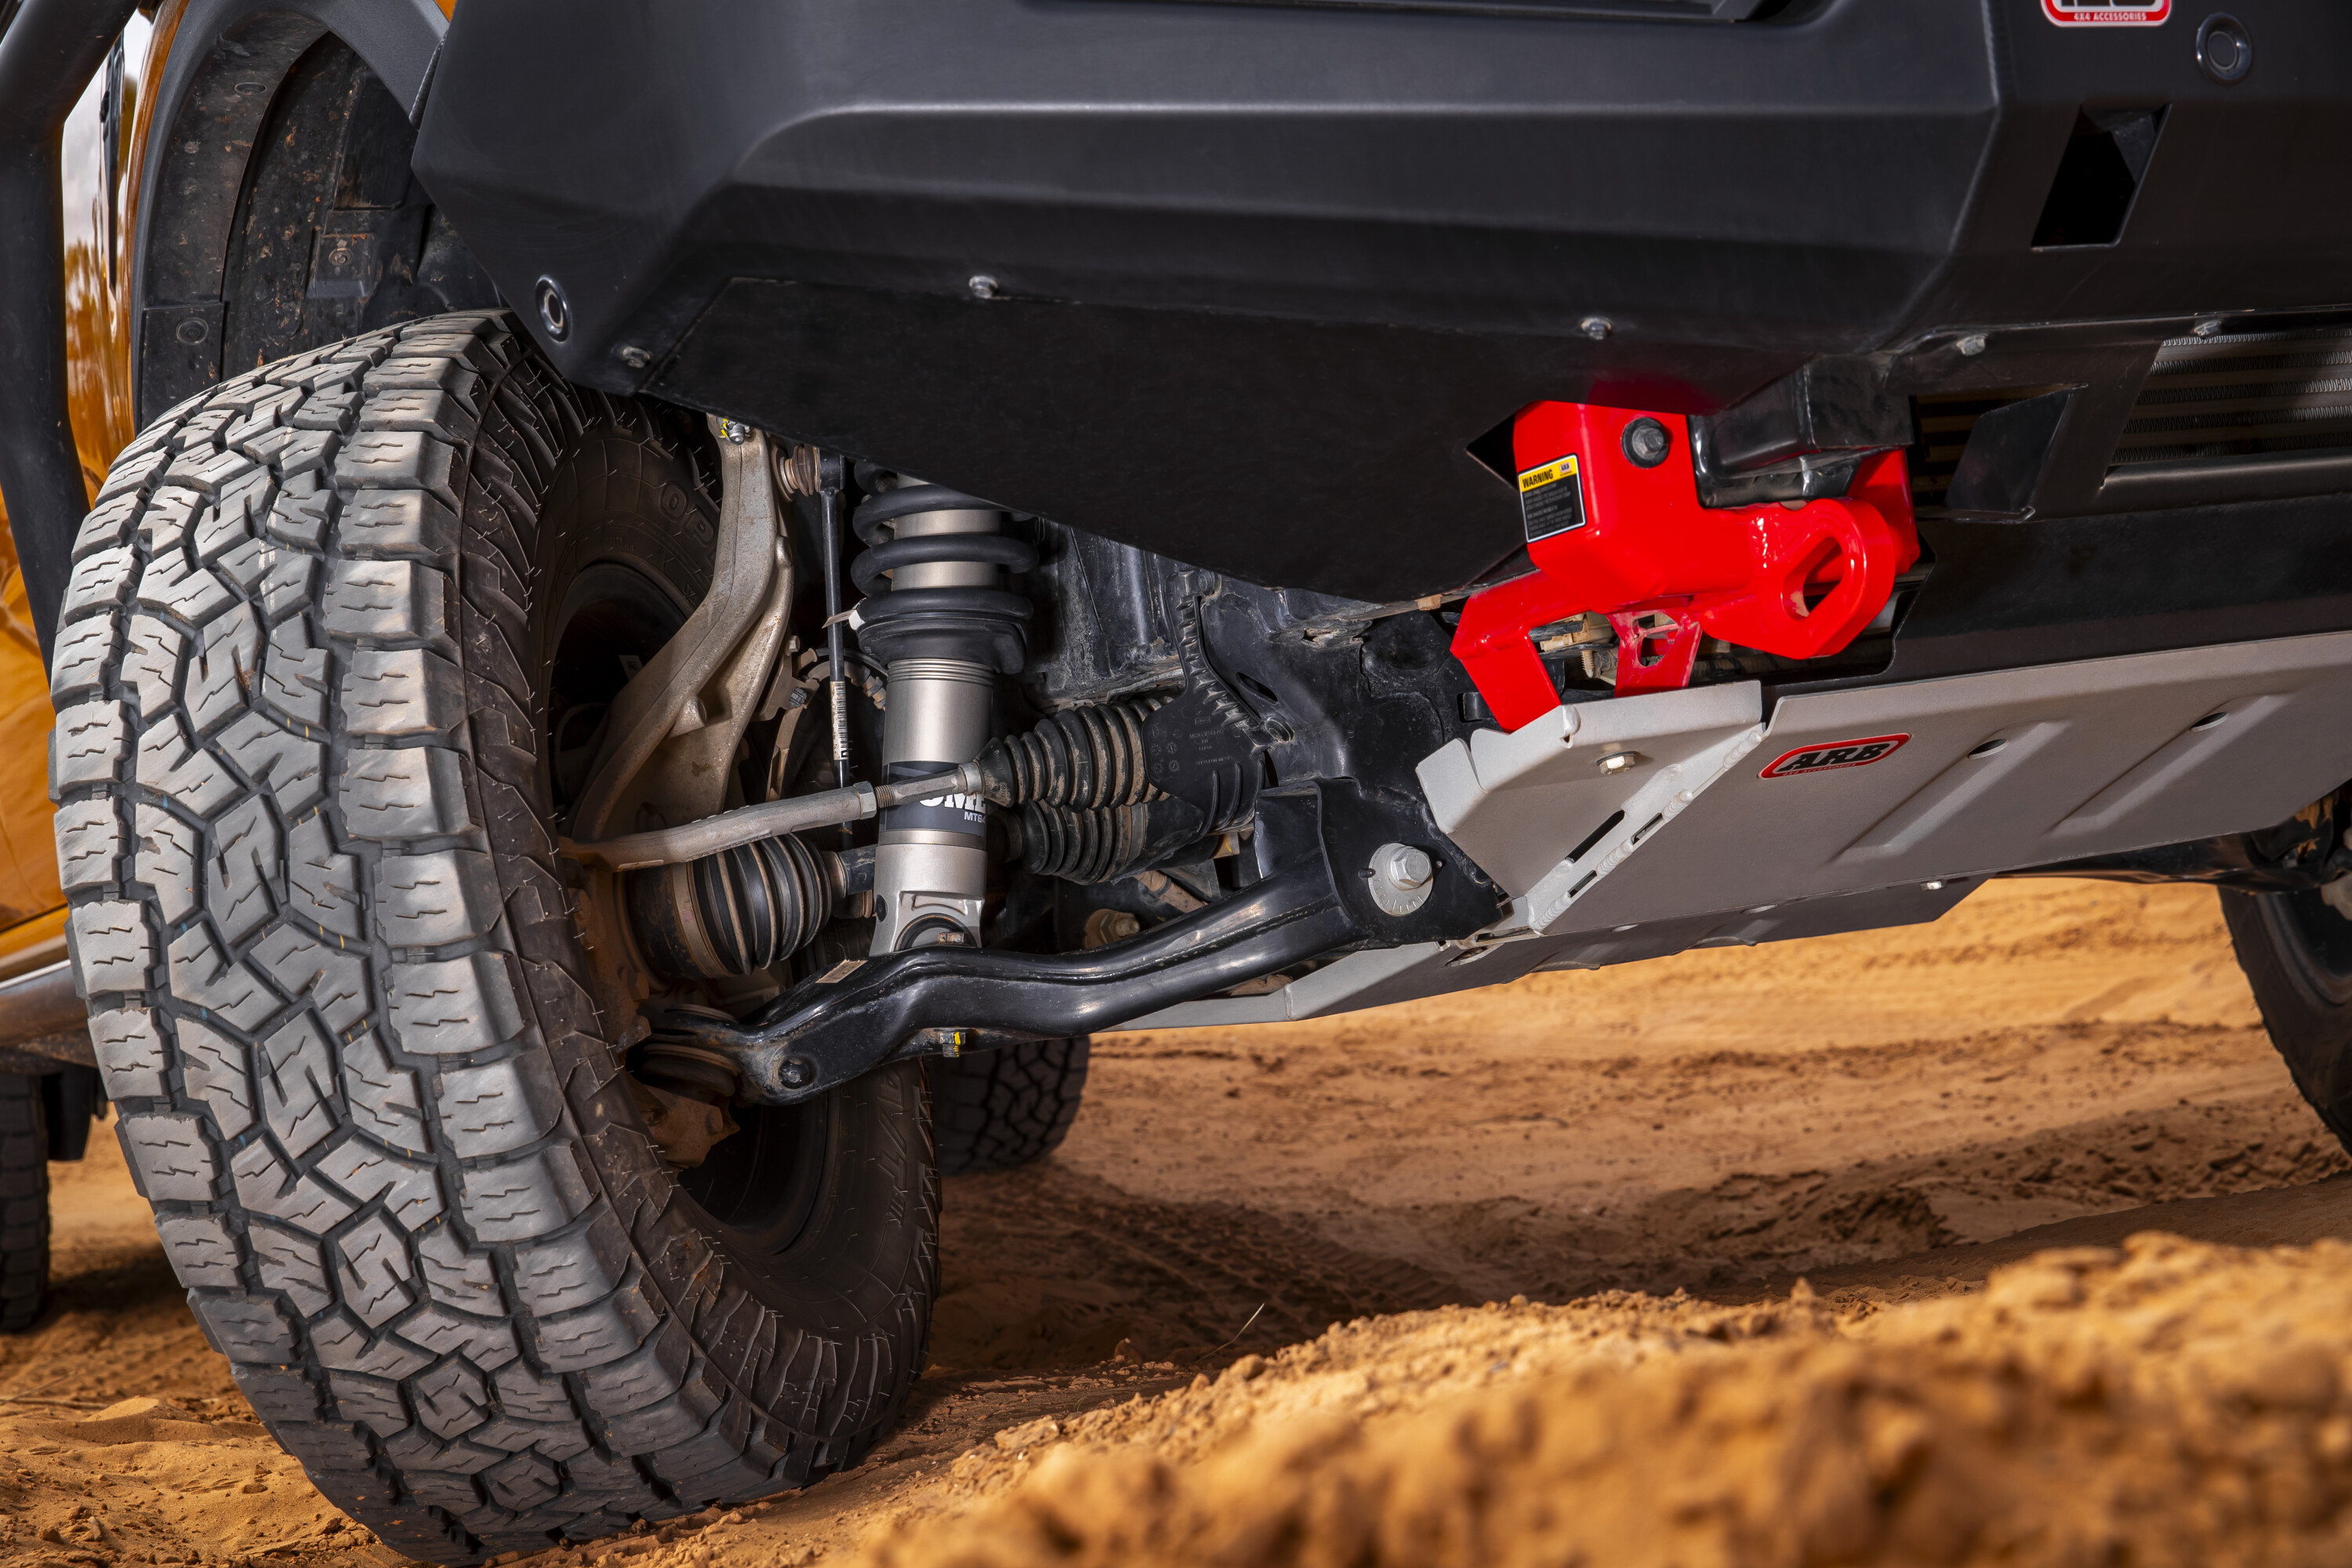
The MT64 dampers are engineered to handle heavy loads, long distances, rough roads and heat, which makes them ideal for off-road adventures.
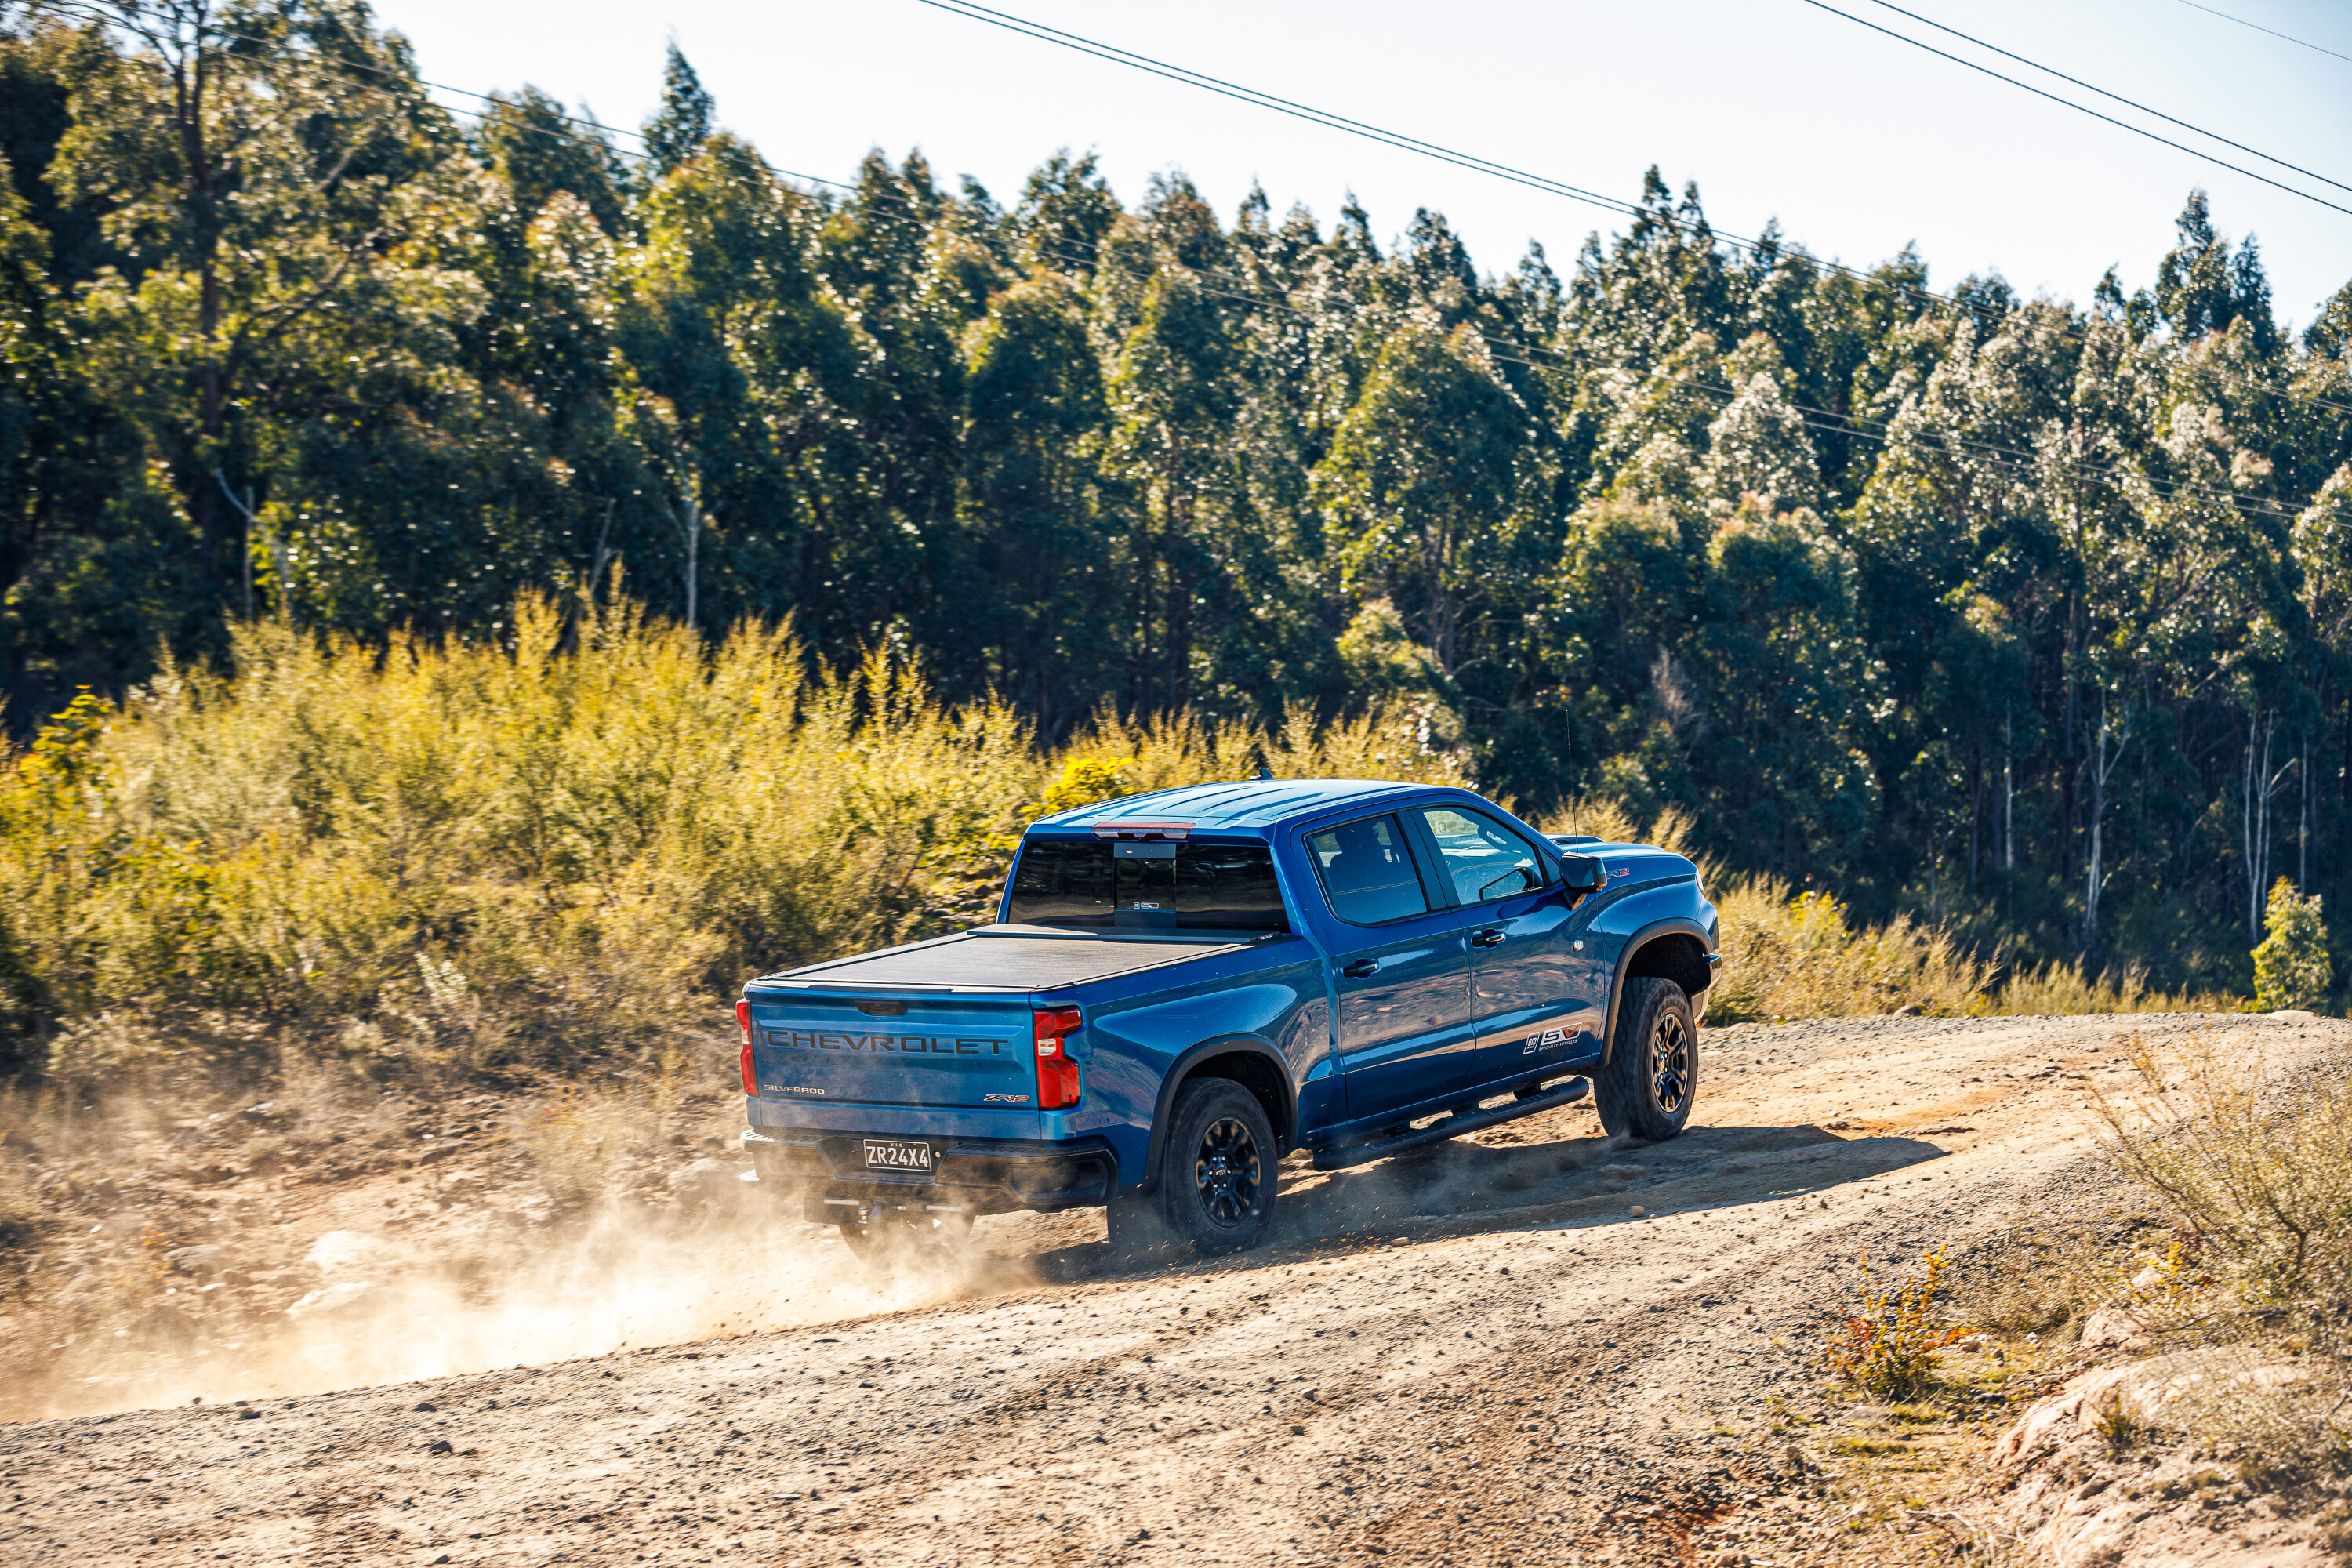
The Chevrolet Silverado full-size pick-up has been coming into Australia via GMSV for a couple of years now and while not matching the sales of the RAM 1500 with its more extensive model range, its sales have been ticking along solidly.
For 2023 the Silverado has received a minor refresh with a new-look front-end and bigger changes inside that bring the tech up to expected levels.
The local model line-up has also been adjusted with the previous entry-level LT Trail Boss axed from the range and the higher-performance ZR2 added alongside the LTZ Premium model. These two models are now much closer in price with the LTZ Premium opening at $128,000 and the ZR2 starting at $133,000.
For this test we’re focusing on the ZR2 as it is the newest variant but we also nabbed an LTZ to see how well these trucks tow a trailer.
JUMP AHEAD
- How much is it, and what do you get?
- Interior
- Safety
- Powertrain and suspension
- A week in the ZR2
- LTZ Premium tow test
- Weights and payloads
- Specs
How much is it, and what do you get?
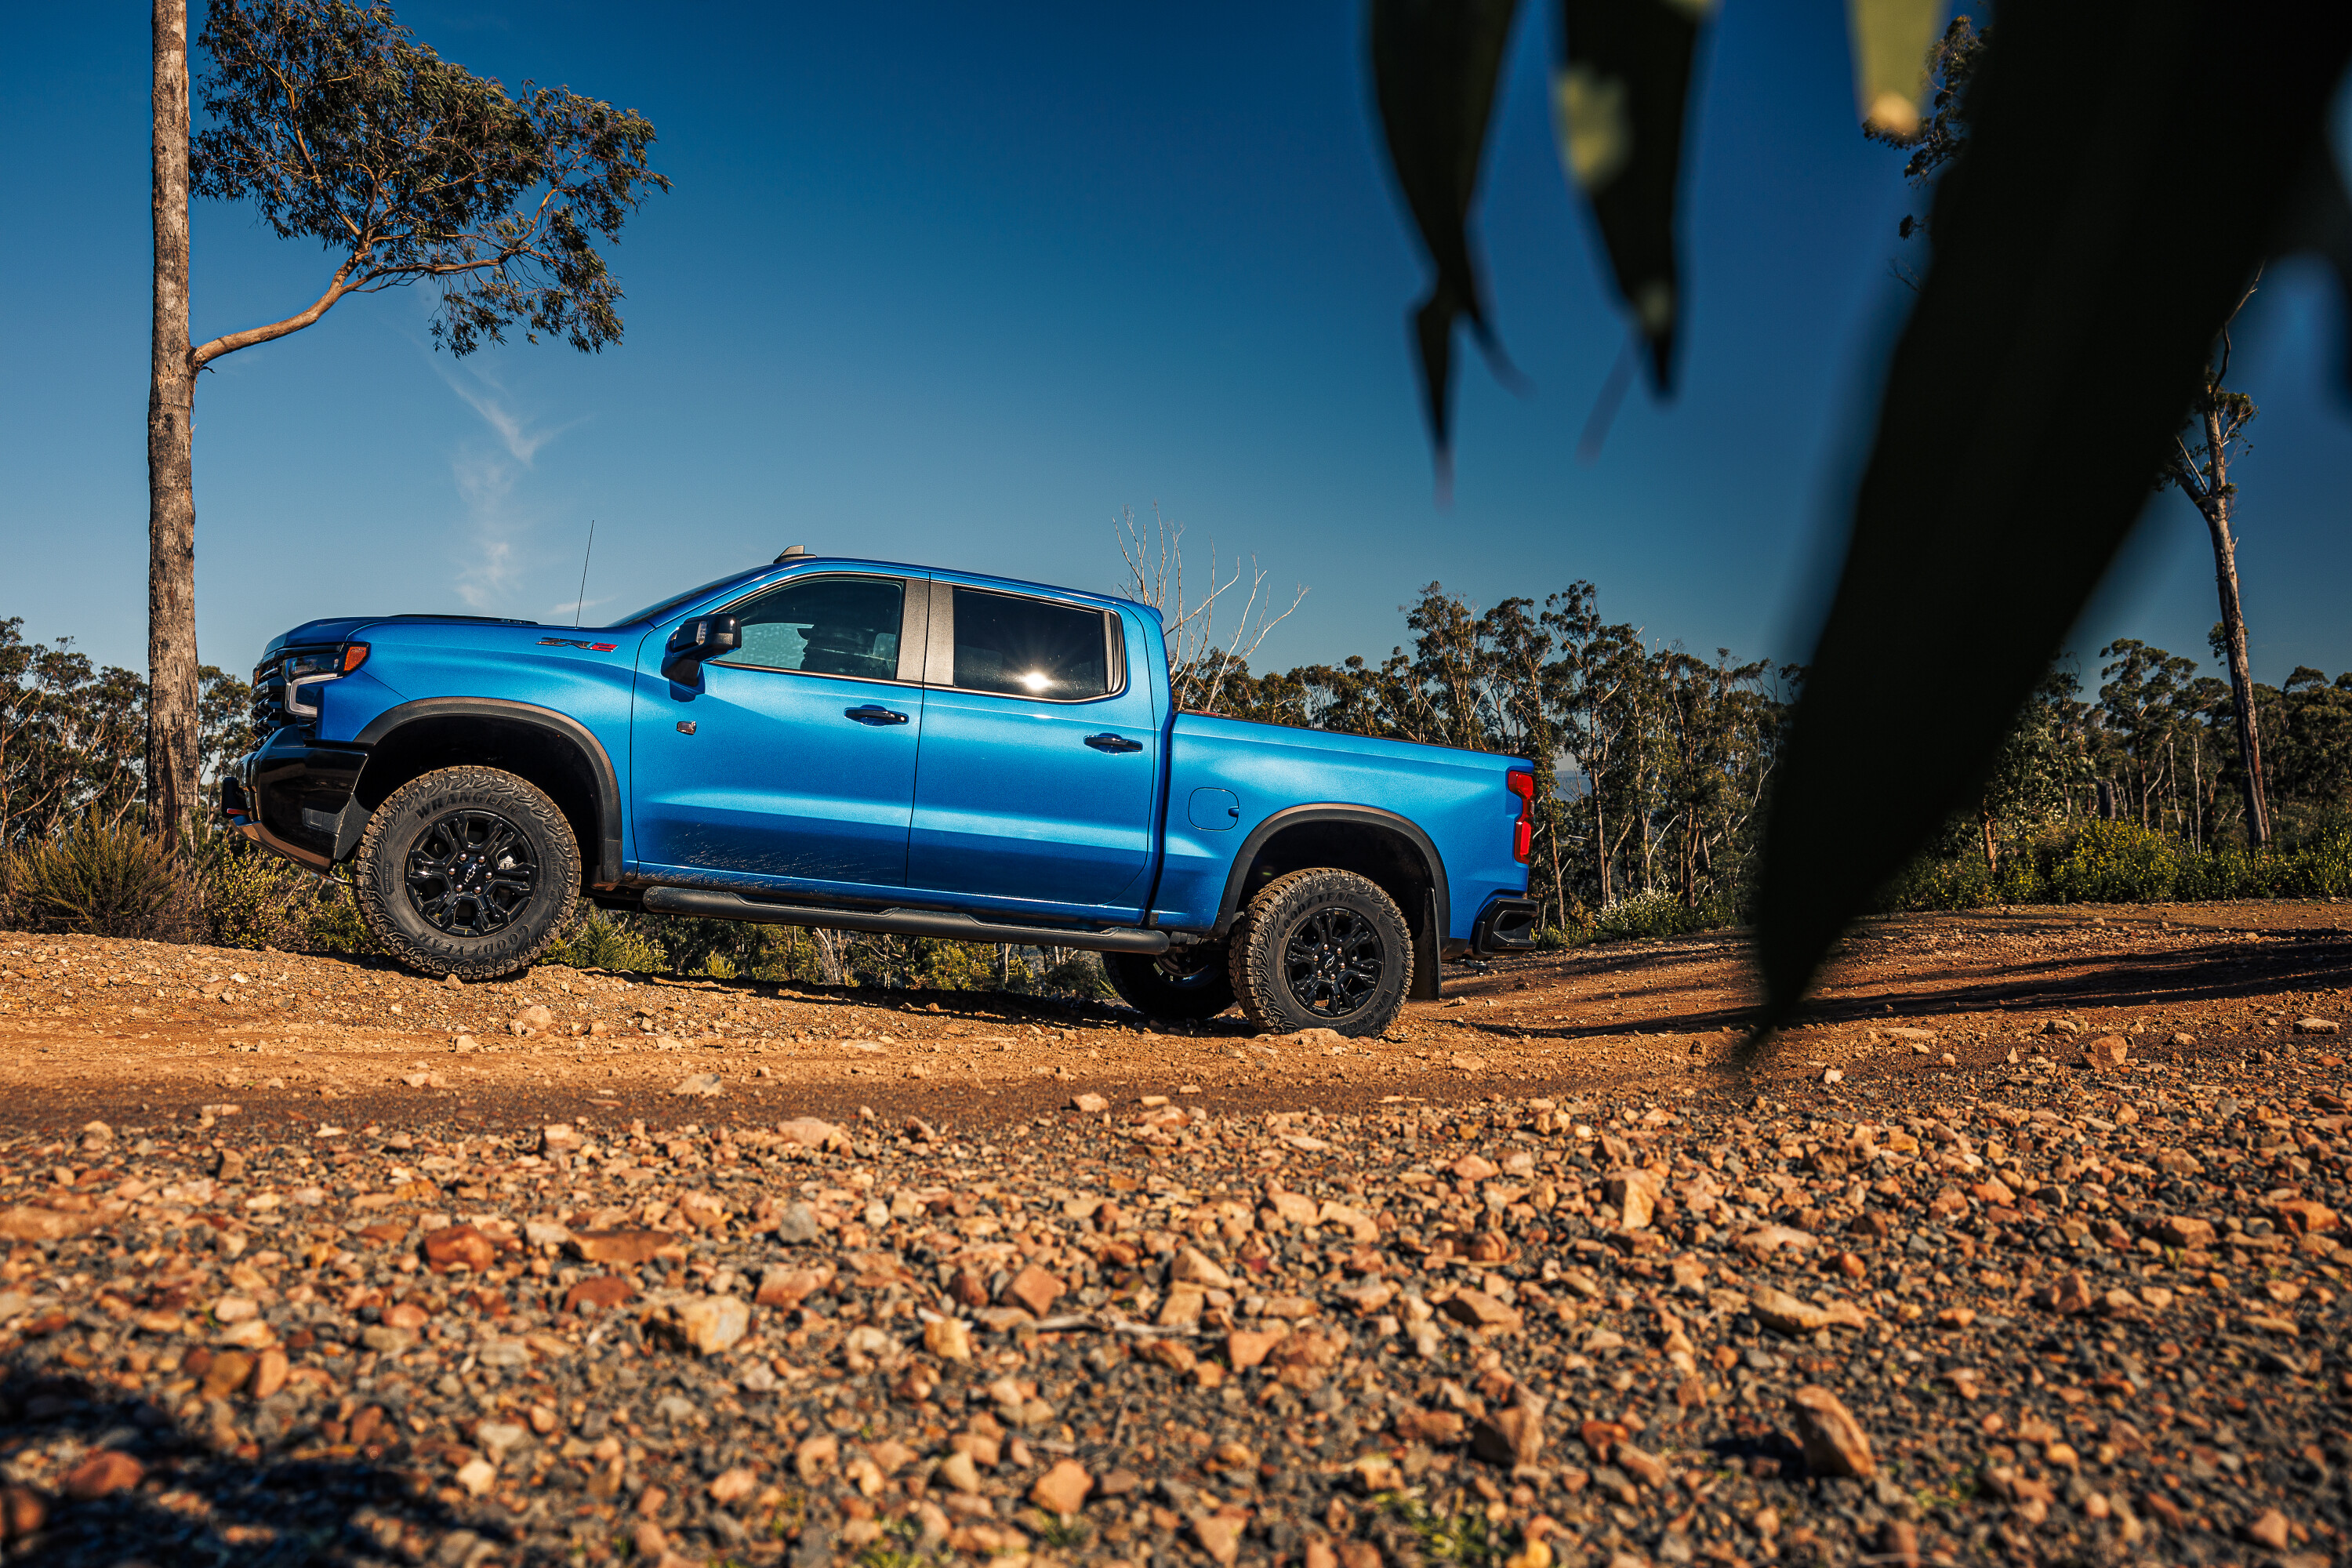
The ZR2 is billed as the performance model in the Silverado range and it’s equipped and styled as such.
While the driveline remains the same as the LTZ, the ZR2 gets suspension that is improved for both on- and off-road performance, and blacked out styling to give it a more aggressive appearance.
The ZR2 swaps out the Silverado’s standard chrome grille for a black one and the Bow-Tie badge is opened up to increase airflow to the engine bay; some inside GM call this badge the ‘Flow-tie’. The grille surrounds LED headlights that were revised for ’23 while the ZR2 also gets a shortened front bumper that is specific to this model.
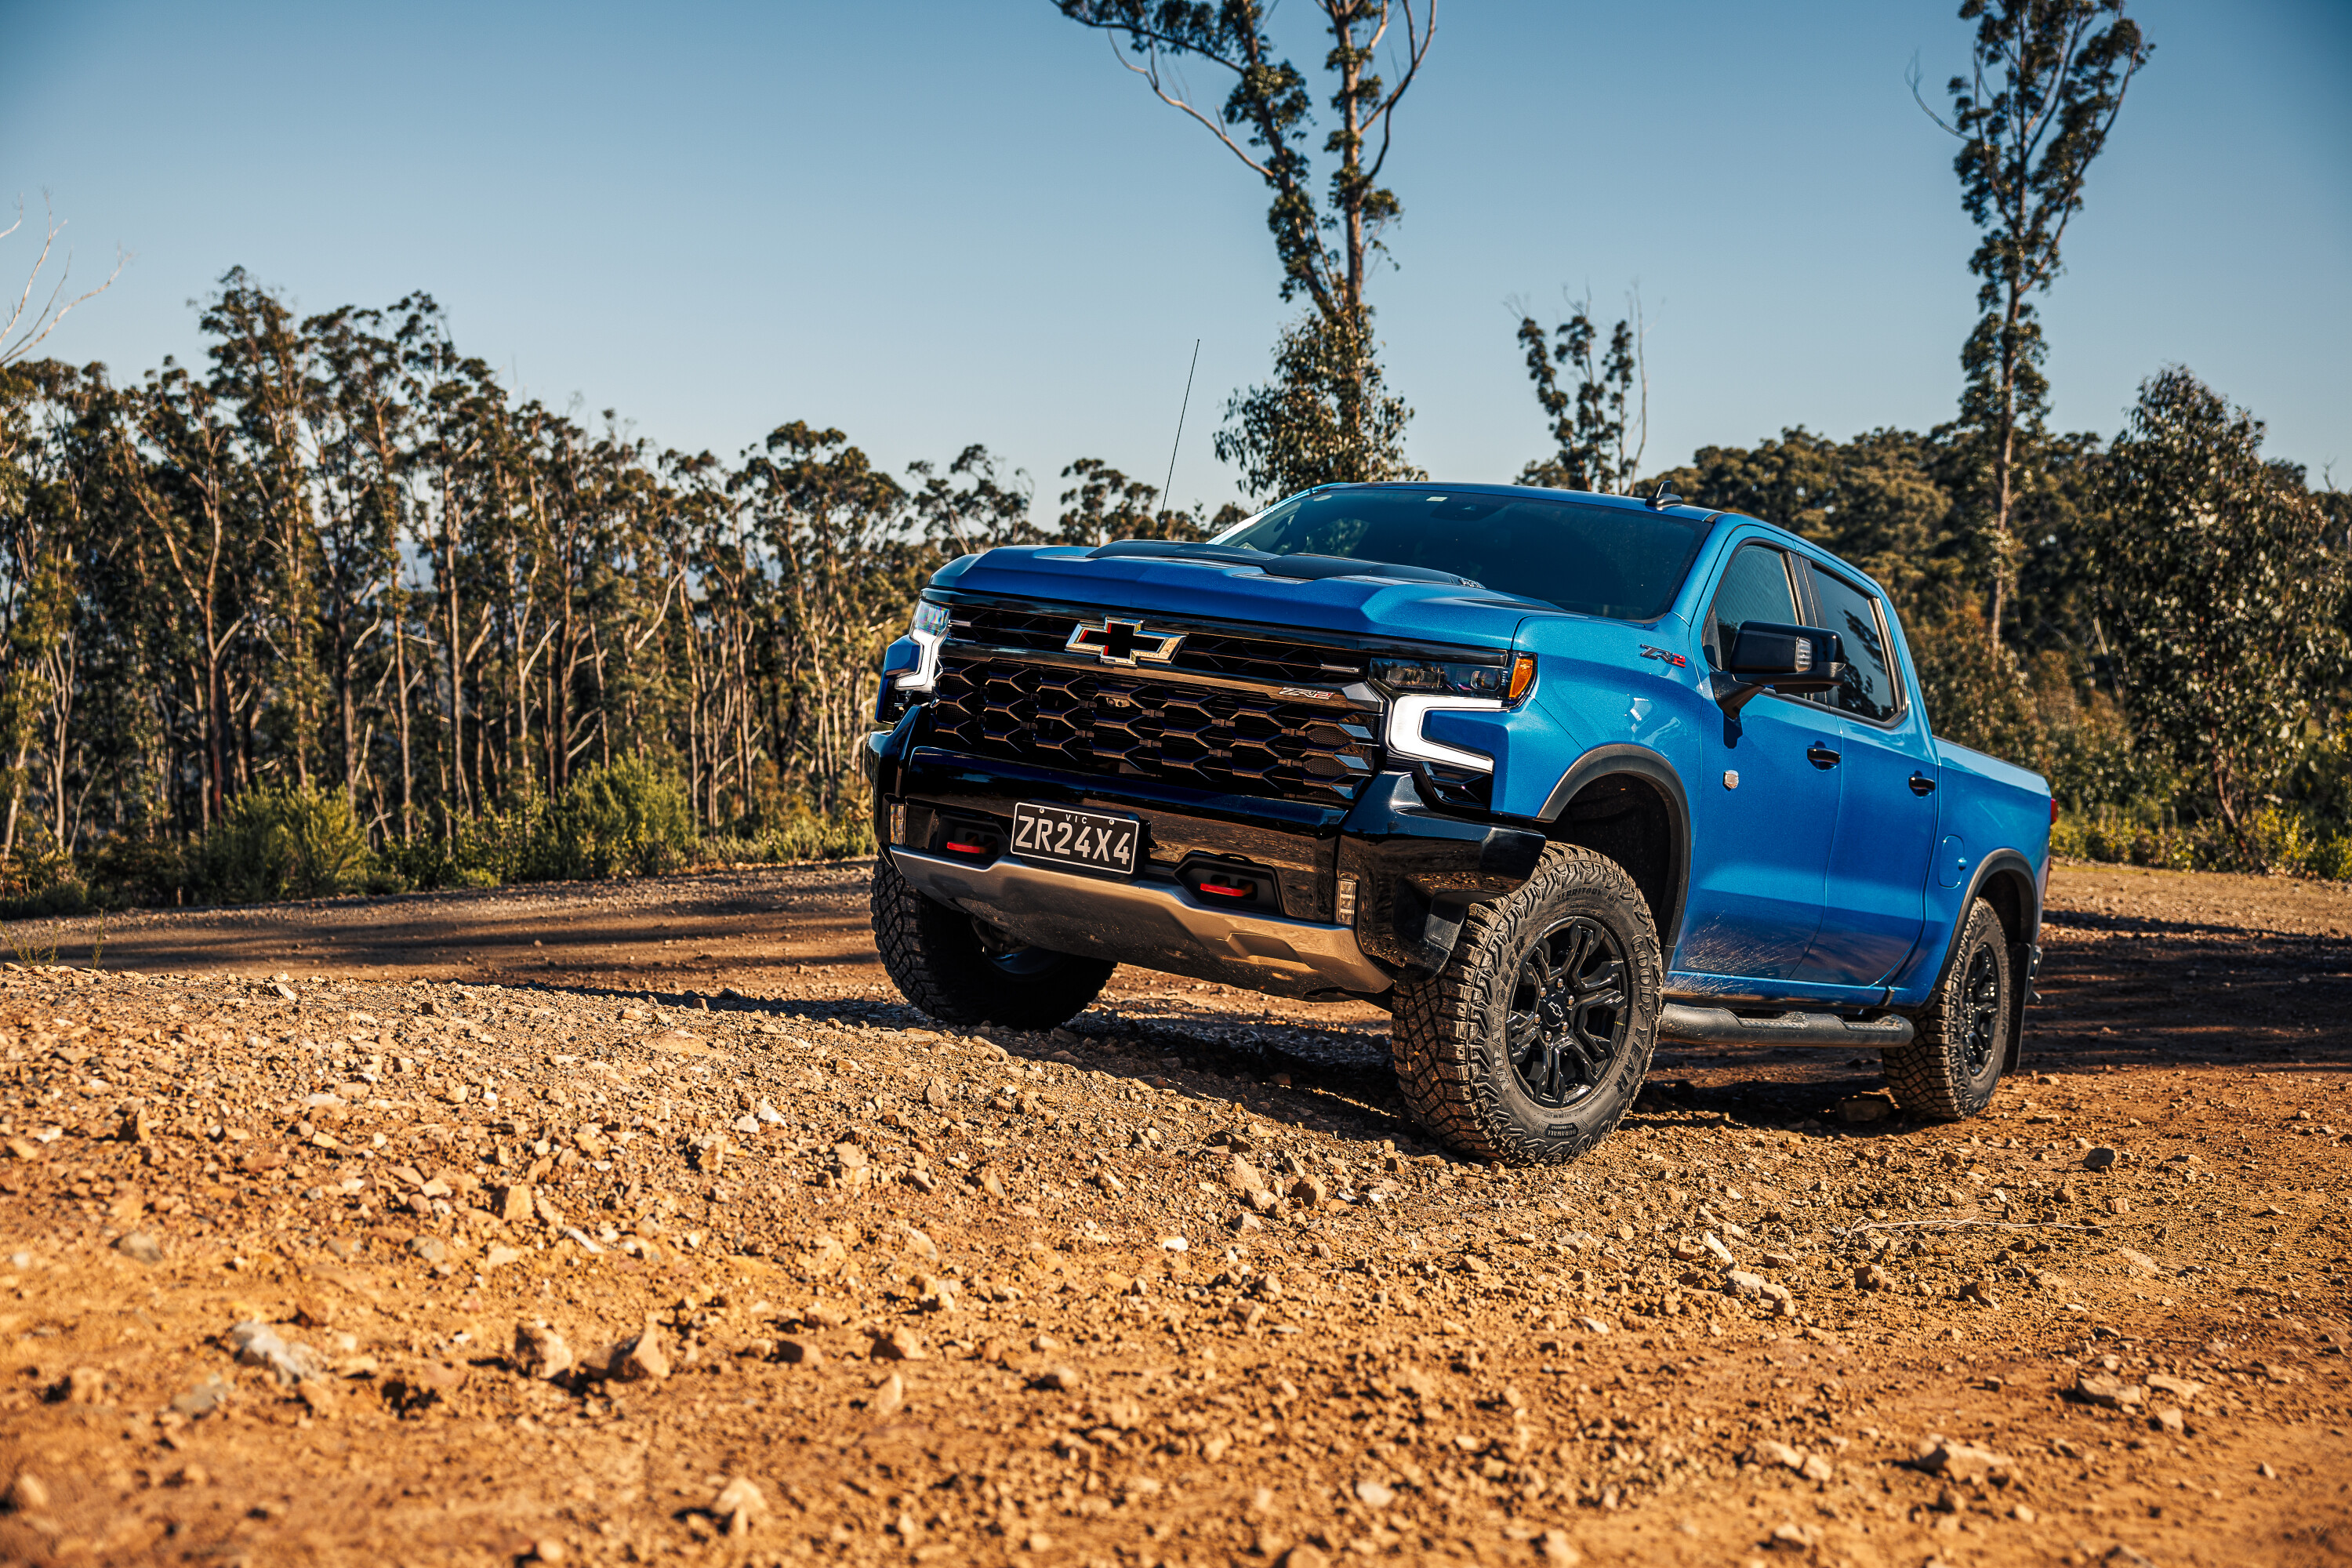
The ZR2’s alloy wheels also cop the black treatment and are 18-inch rims as opposed to the 20s fitted to the LTZ. The ZR2 wears all-road suitable 275/70R18 mud-terrain tyres.
This particular ZR2 was also fitted with optional Premium Paint ($1500), Electric Tonneau Cover ($3970), Round Side Steps ($1330), Black Chevrolet Tailgate Lettering ($290), and a tow hitch with 50mm ball ($310), which takes the price as tested up to $140,150 plus on-road costs.
Interior
While heavy towing might be the drawcard for many full-size truck buyers, one of the best things about them is the interior space.
Both the front and rear seats deliver plenty of space no matter what direction you want to measure it in – legroom headspace, shoulder room – a full-size pick-up has it all.
For anyone with teenagers using a midsize ute as a family car, your children might be more inclined to travel with you if you upgraded to a full-size ute. The rear seat offers space and comfort that no existing midsize ute can come near.
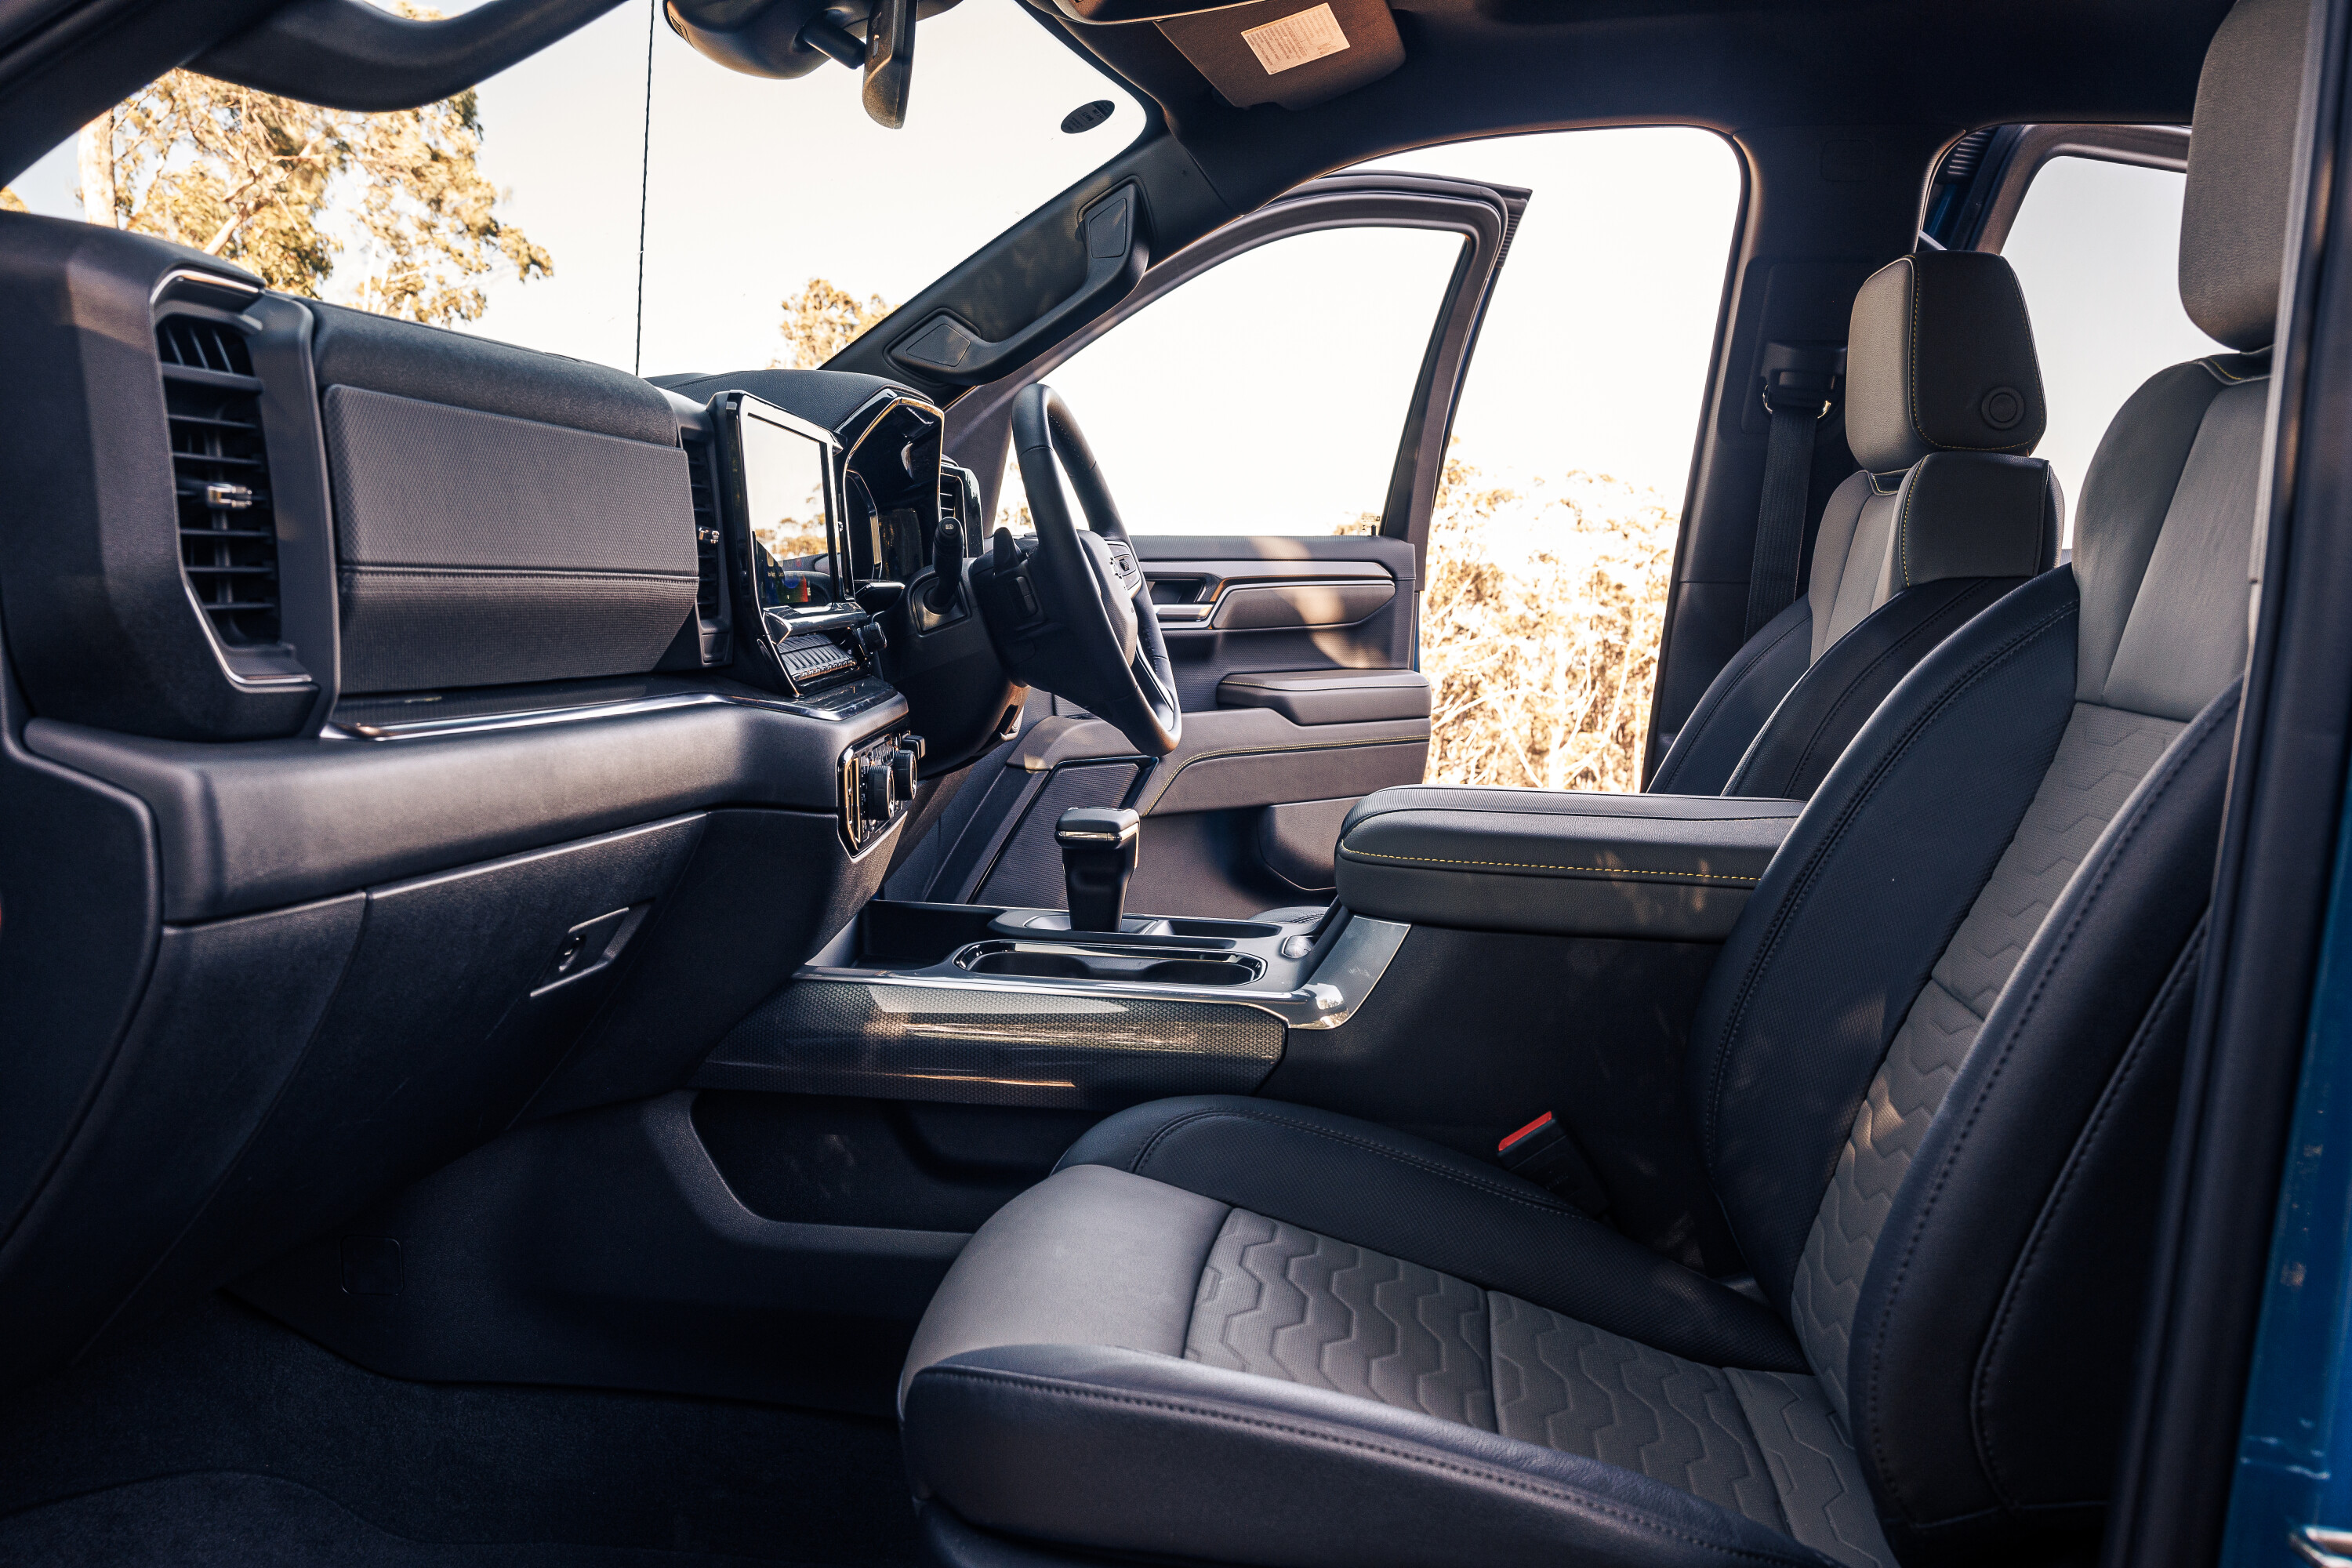
Even with three adults across the back seat of the ZR2, there’s heaps of space, although the higher squab in the centre seat of the Silverado isn’t the most comfortable position to ride in on longer trips.
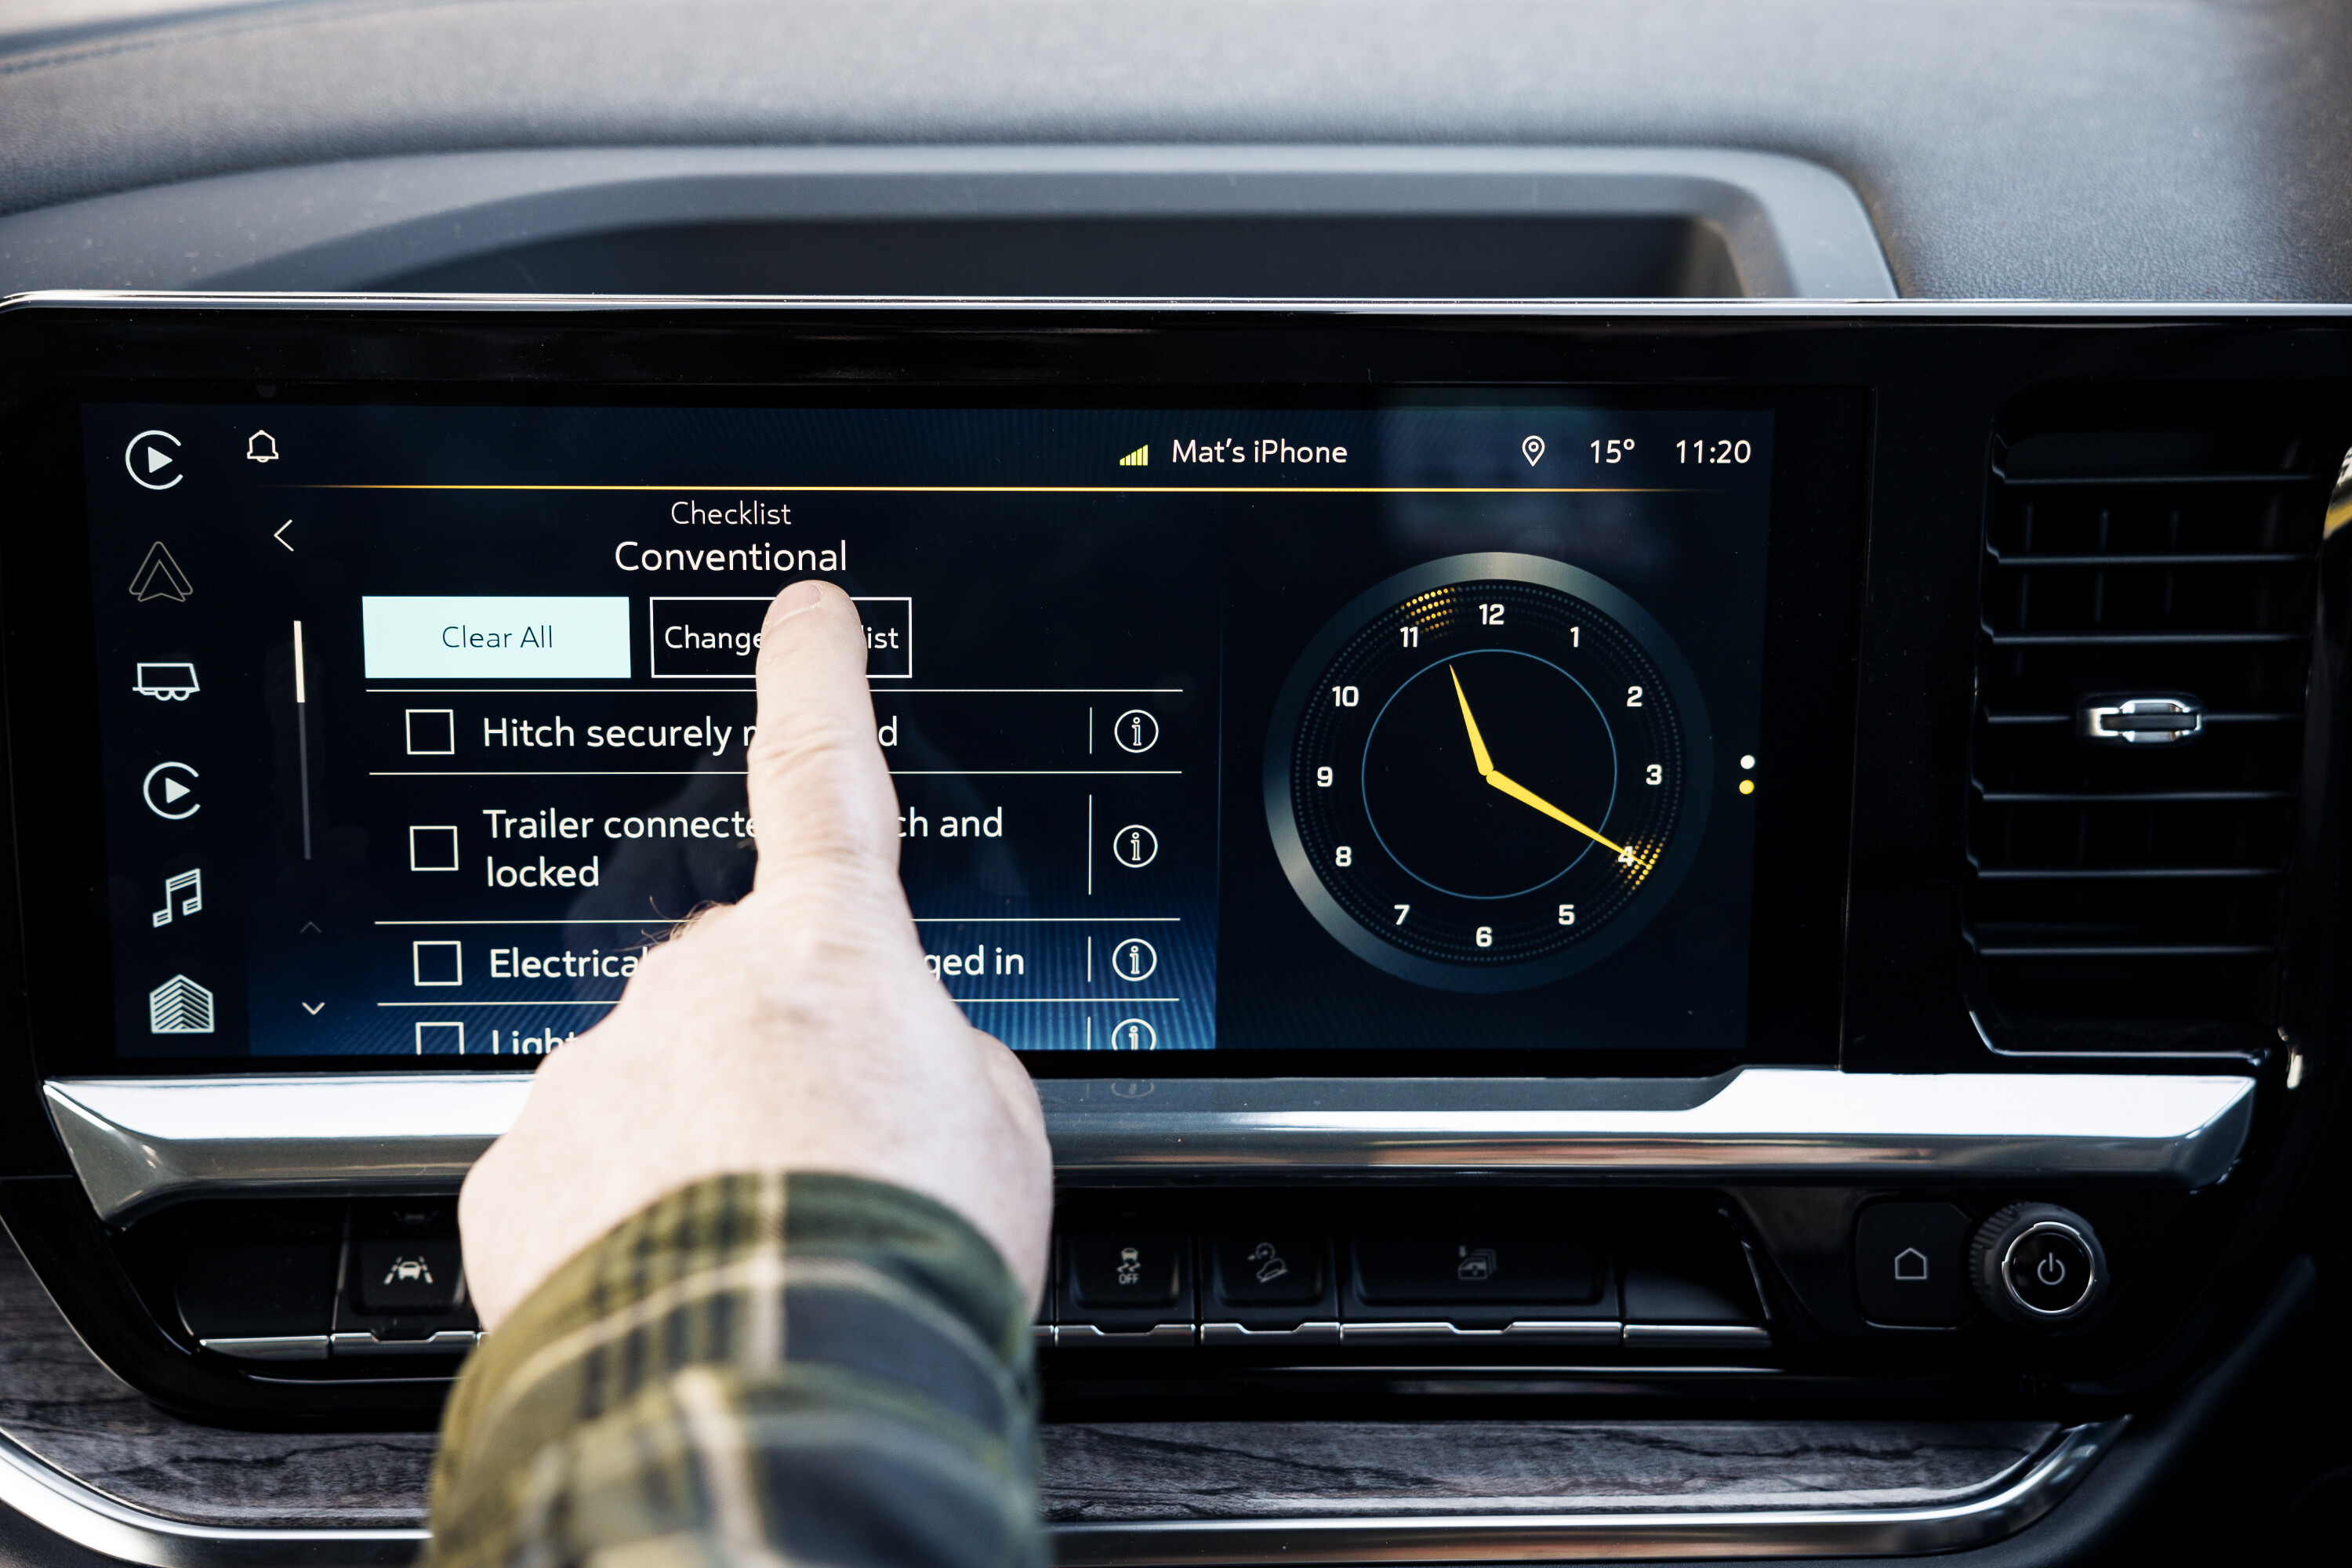
The cabin is very well appointed with leather seats featuring heating and cooling, and an automatic mode in the front, power adjustment on the front and heating for the large back seat. For front-seat travellers there’s a new-for-’23 dash with a 13.4-inch colour touchscreen and a 12.3-inch configurable instrument cluster giving the driver more information than they could ever need.
The centre screen also includes some clever towing information including a checklist for your hook up, and a trailer-lights check mode.
Safety
Safety-wise, passengers are protected by low-speed AEB (up to 80km/h), TPMS, rear cross traffic alert, ESC, ABS, ETC, lane keeping alert and a swag of exterior cameras.
We prefer the subtle seat vibration warning in the Chevrolet and other American vehicles over annoying beeps for the lane departure warning as found in many other vehicles.
The two Silverados we tested each felt like premium products backed with loads of features and equipment and quality fit and finish. The ZR2 is definitely the pic of the two for off-road use and styling, however the lower ride height of the LTZ could make it more appealing for those looking solely for a capable tow vehicle.
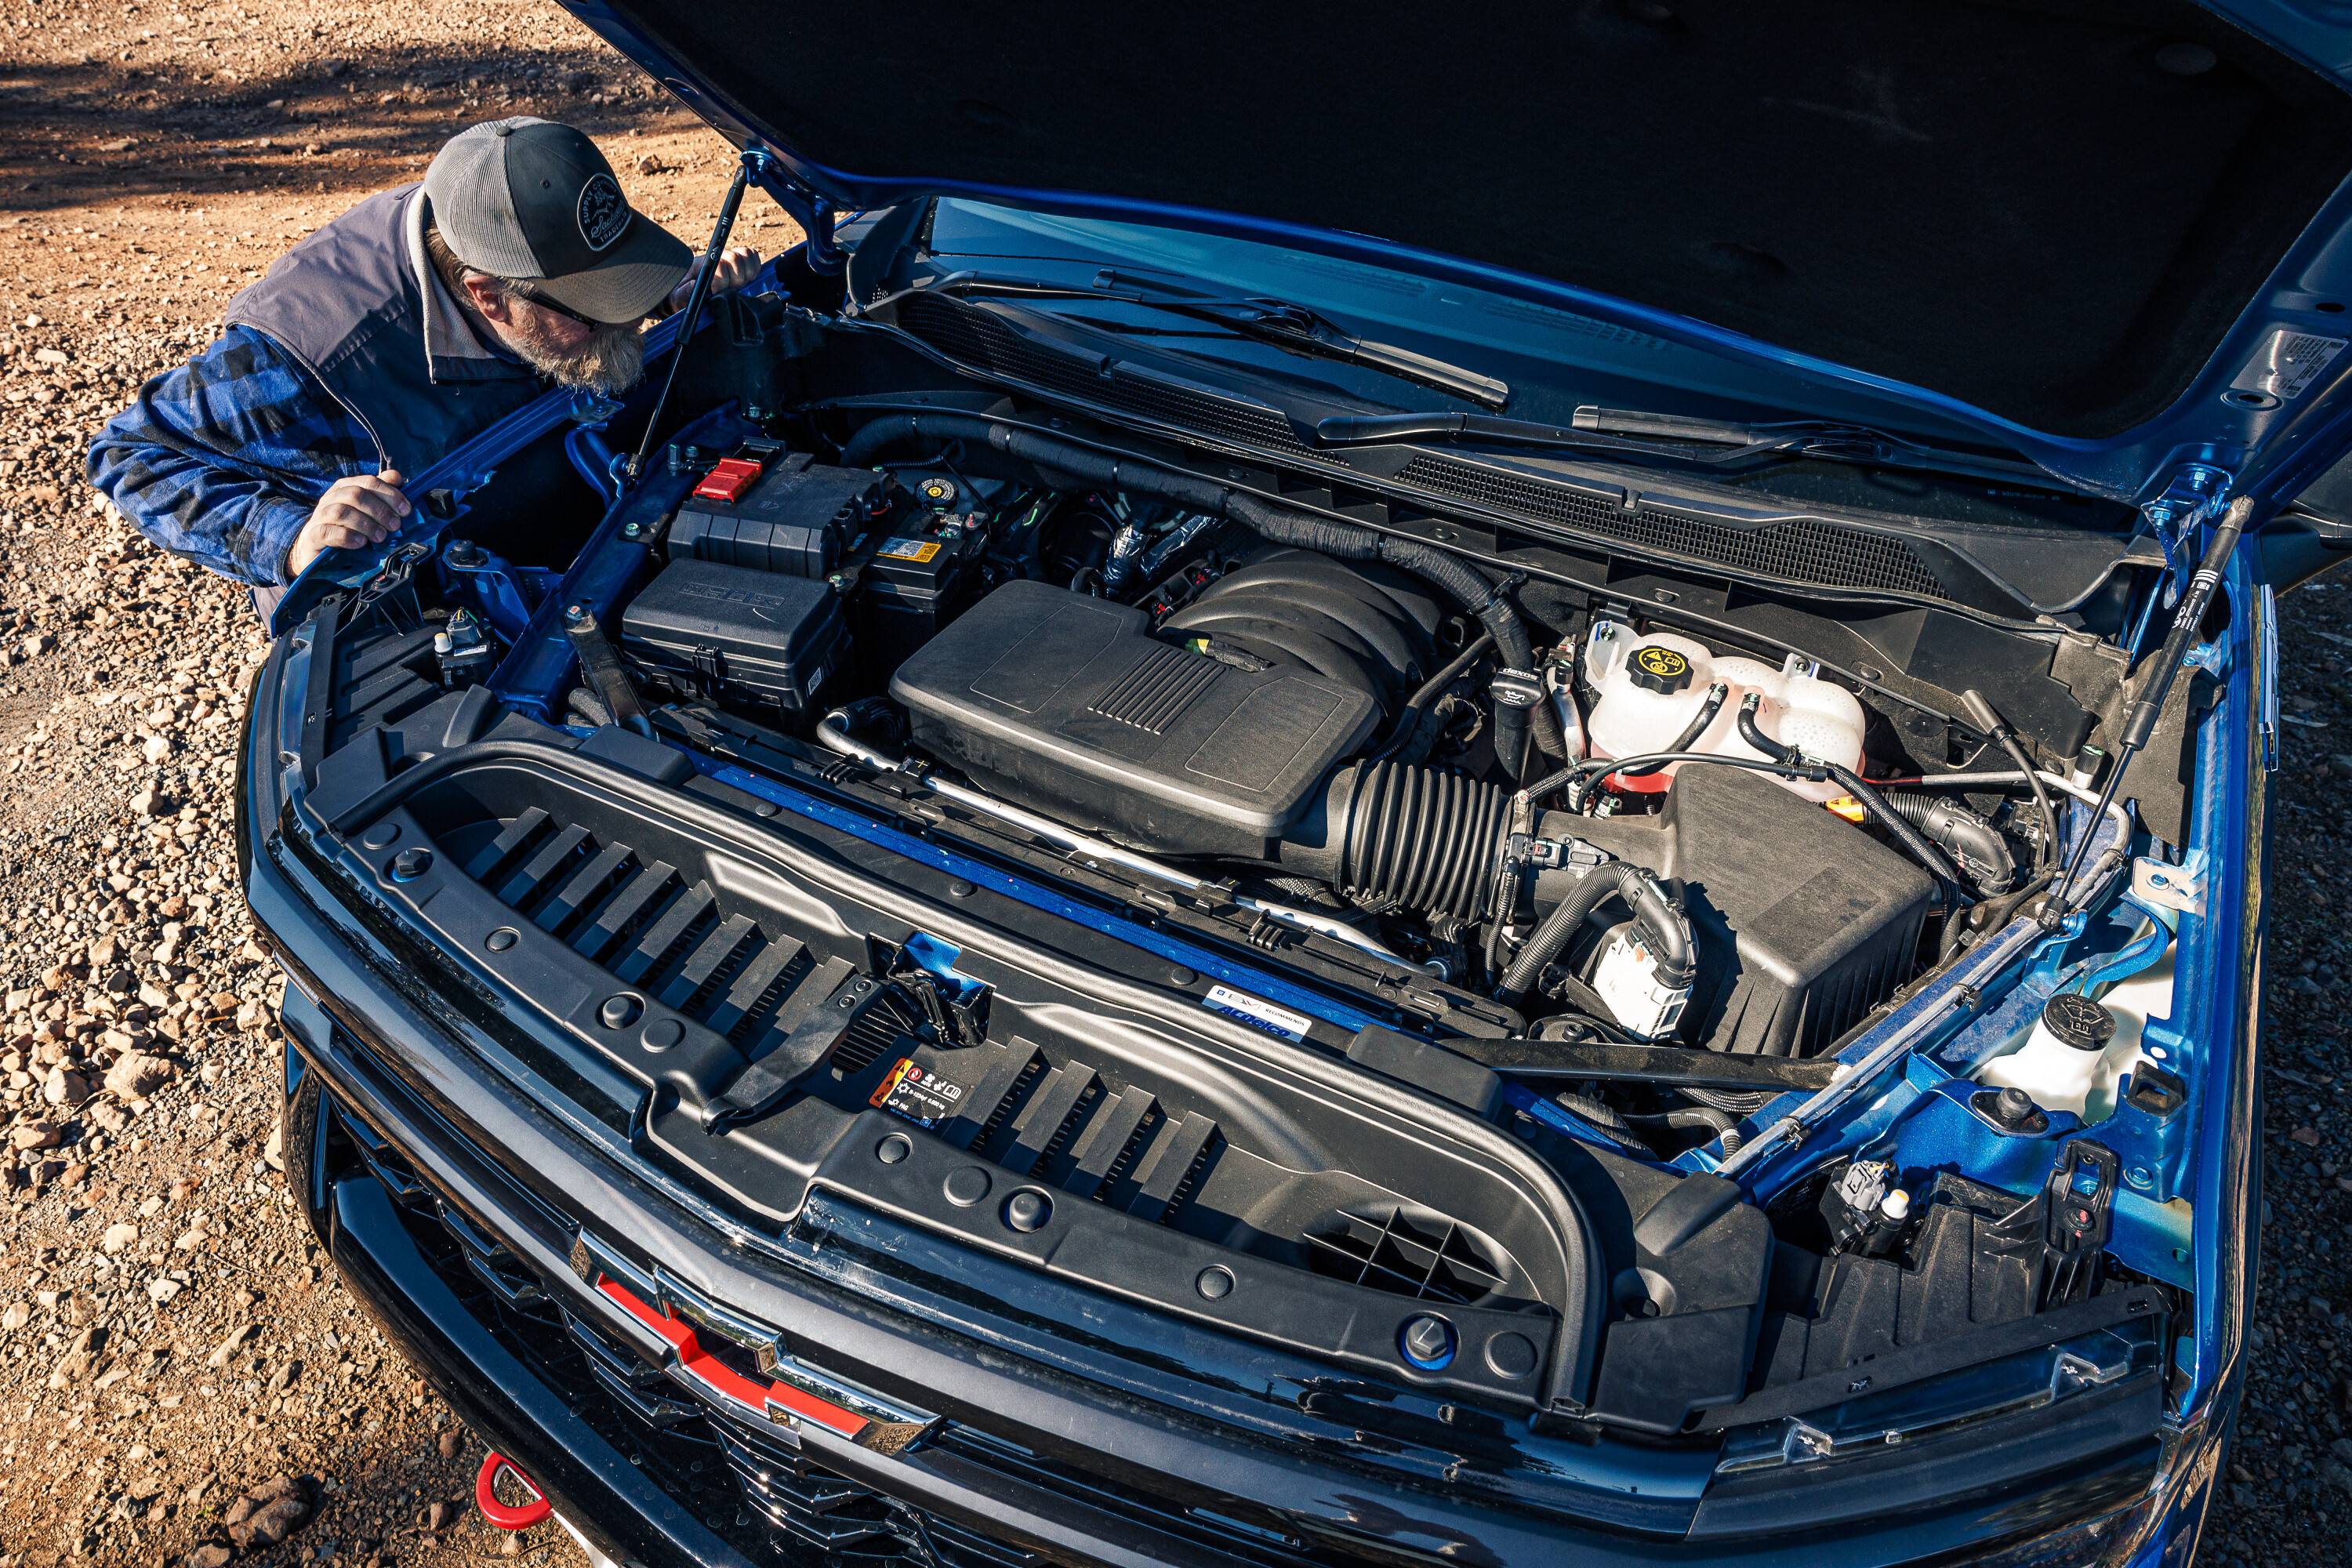
Powertrain and suspension
While the two models share the same 313kW/624Nm 6.2-litre V8 petrol engine, the ZR2 performance edge comes thanks to its clever and very effective suspension package which centres around DSSV shock absorbers from Multimatic.
These high-end shocks were originally developed for sports cars but were reengineered to suit off-road trucks by General Motors with plenty of input from Hall Racing in the USA. Chevrolet also uses them under its ZR2 Colorado midsize trucks, as well as some high-end Camaro models.
The dual spool valve Multimatic shocks do an incredible job of controlling the mass of the vehicle when driven at speed over rough terrain. The performance is akin to that of high-end bypass remote-reservoir shock absorbers but they come in a more compact package that is easier to fit in a production vehicle. The ZR2’s suspension eats up ruts and rocks and the more you push it the better it feels.
The ZR2 suspension also gives it a 67mm ride height advantage over the LTZ resulting in more ground clearance for off road use. The short front bumper also helps here thanks to an improved approach angle.
A week in the ZR2
We can confirm that the suspension does what it claims to do, and not only is the ZR2 incredibly well mannered at speed on dirt tracks, but it rides better than the LTZ under all conditions, whether on- or off-road.
The mud pattern tyres should give more traction in slippery conditions but more notable than that is they give the driver confidence in their durability over rough and rocky tracks.
The V8 engine delivers plenty of punch and a surprisingly torquey feel in the way it accelerates, but there is no disguising the near-2600kg heft, and even with the standard performance on offer, you can understand why people fit superchargers to these rigs.
The V8 experience is intoxicating and leaves you wanting more, even if more is just a big-bore exhaust system to give that big V8 burble. Walkinshaw Performance, who does the left to right hand drive re-engineering on these Aussie-market Silverados, also offers such powertrain improvements for these vehicles.
The 10-speed automatic transmission does its thing without giving cause for comment; it’s unfussed when left to its own devices and easy enough to manually shift using the steering wheel-mounted paddles.
GMSV quotes an official combined fuel consumption of 12.2L/100km for the ZR2 while over our week of on- and off-road use it recorded a more realistic 16.4L/100km, which given the size and weight of the vehicle, and the performance on offer, we thought was very reasonable.
For off-road use the ZR2 has selectable front and rear locking differentials and multiple drive modes including one that acts like low-speed cruise control. The 4×4 system offers part-time 2WD and high- and low-range locked 4×4, plus all-wheel drive for general driving on any road surface.
LTZ Premium tow test
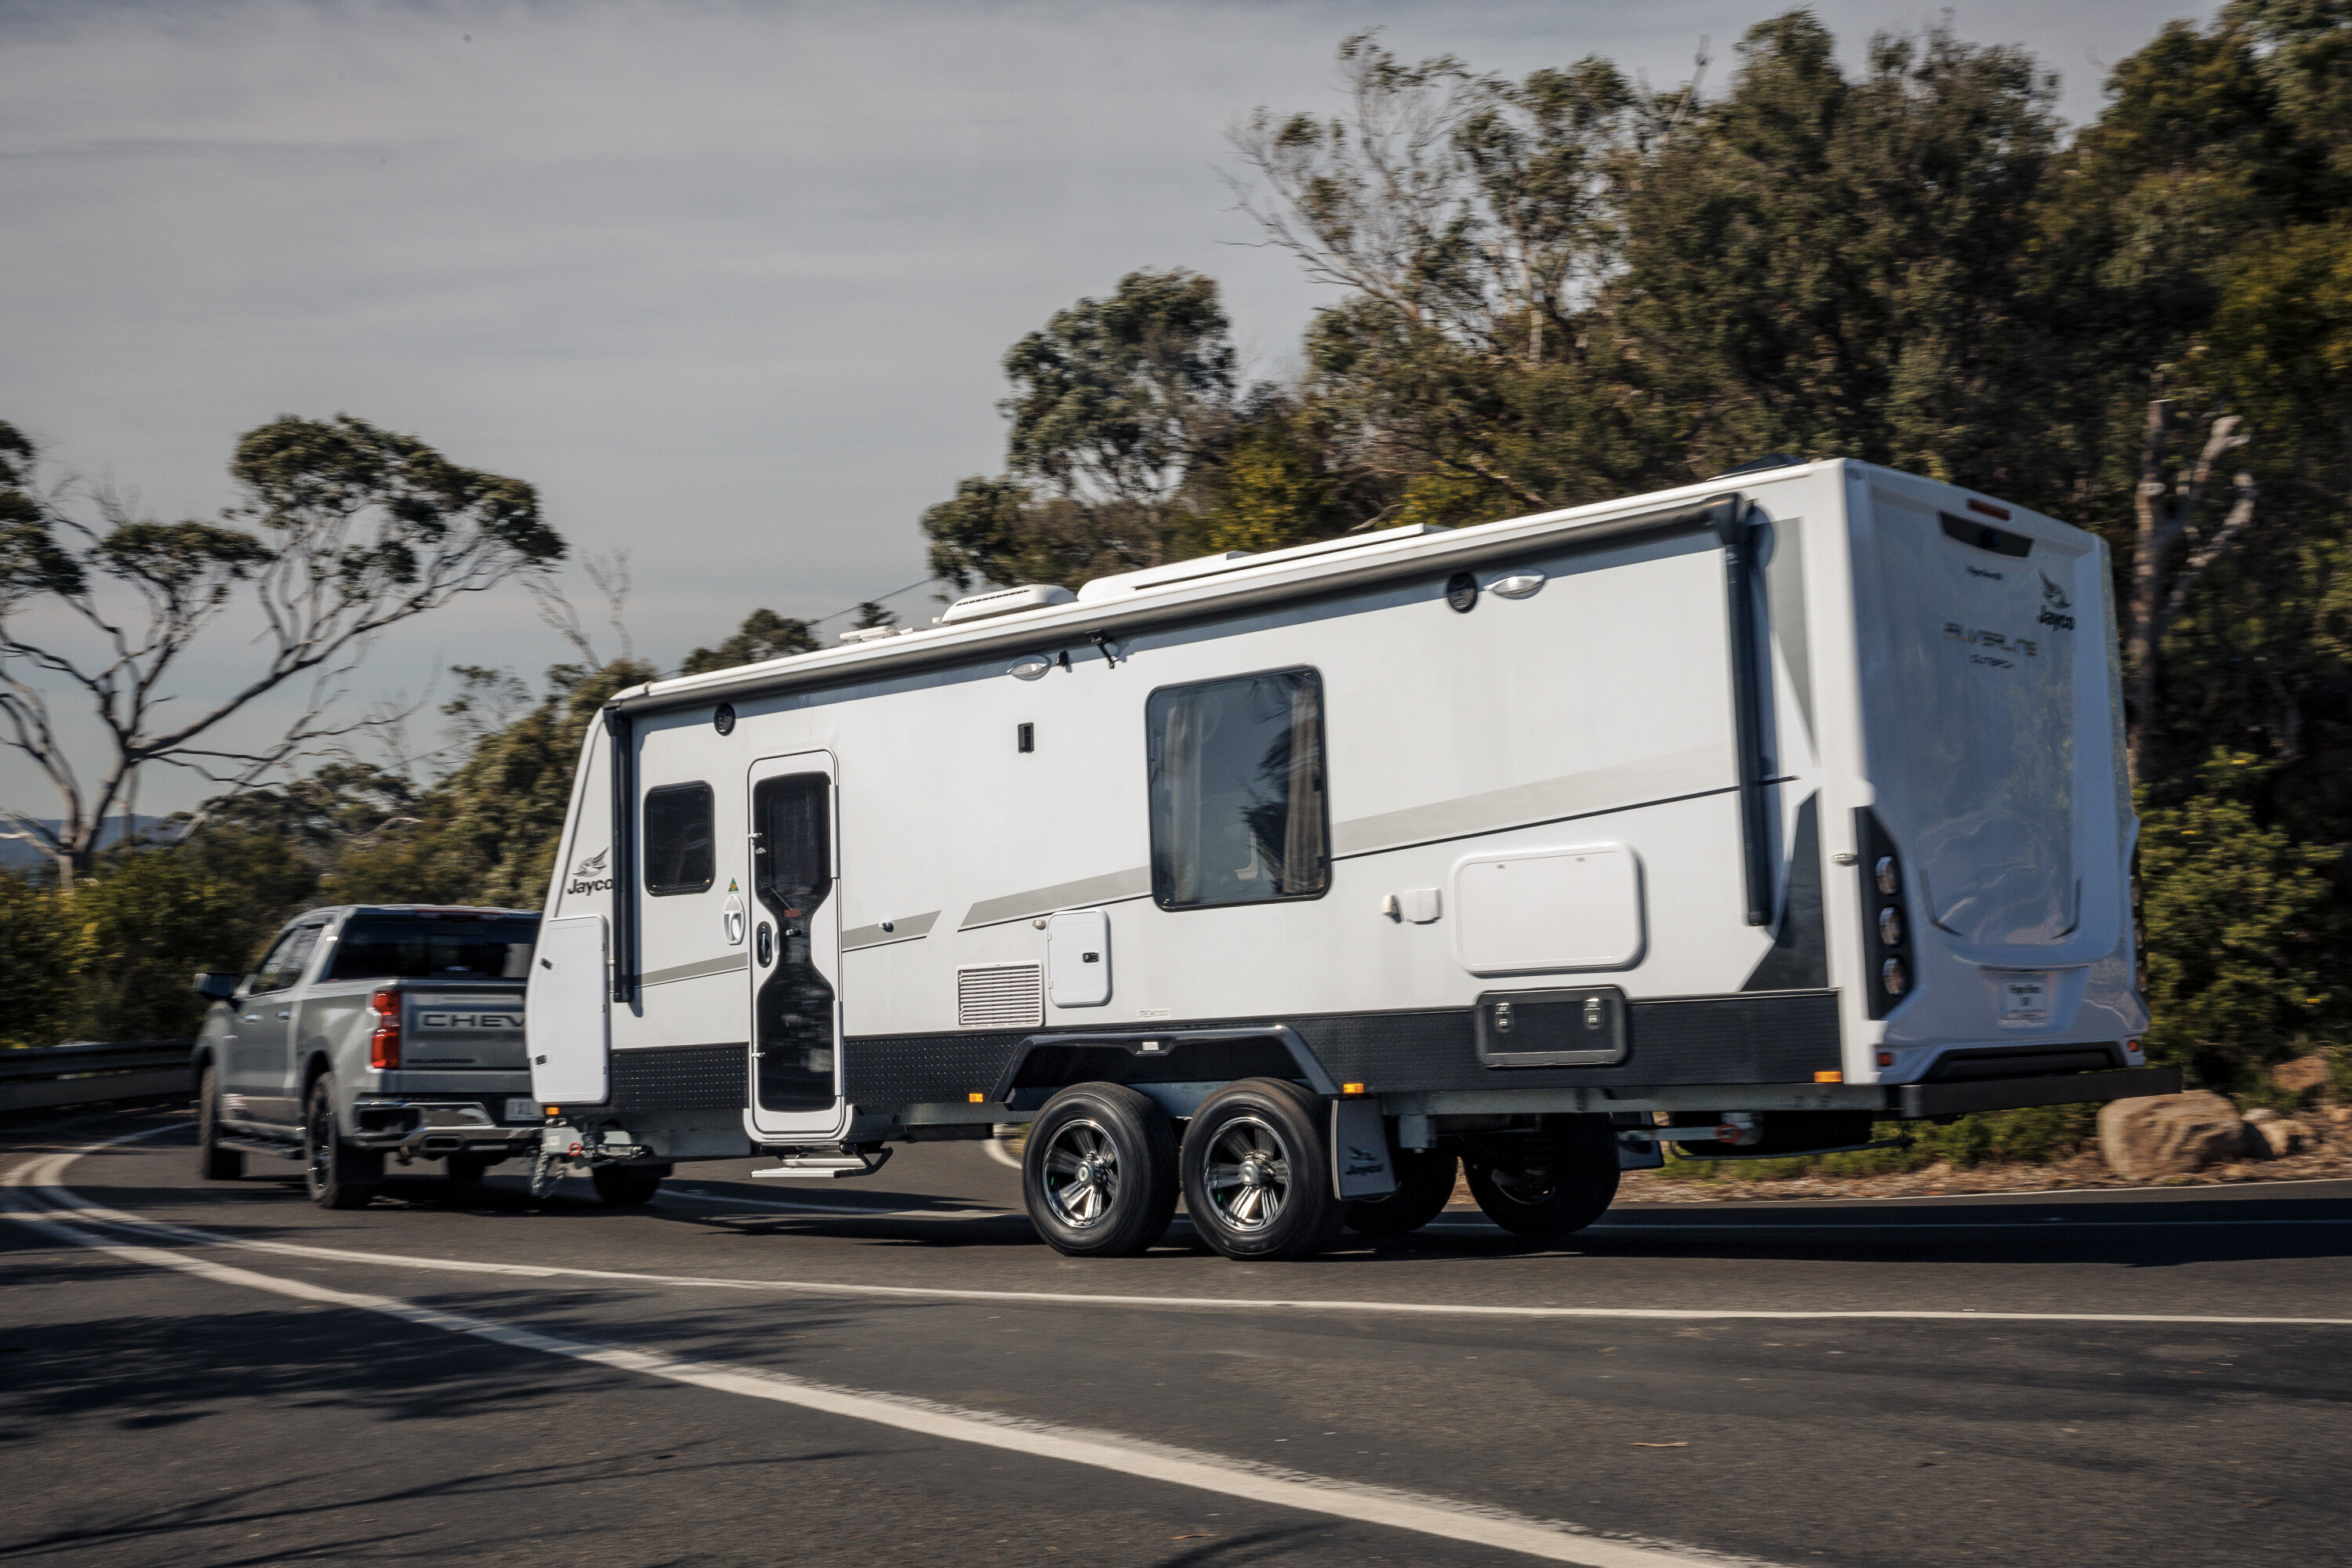
A lot of people buy these trucks for their towing capacity so we took this opportunity to sample it for ourselves.
For this part of the test we were in the Silverado LTZ Premium and our friends at Page Brothers RV loaned us a Jayco Silverline 24-foot caravan that came in at around 2800kg. The Silverline range from Jayco is a premium line of caravans offering luxury features and equipment to make touring a pleasure.
The first thing you notice when switching from the ZR2 Silverado to the LTZ is how low the latter is. Sliding in and out of it is more akin to the height of a sports car than a truck compared to the more off-road oriented ZR2.
Inside the LTZ gets a couple more interior features such as a Bose sound system and powered sunroof, but essentially the cabins and equipment are the same. And as mentioned the powertrains are identical, but the LTZ’s lower suspension doesn’t benefit from the ZR2’s DSSV dampers.
Hooking the Jayco up to the Silverado at Page Brothers’ Moorabbin facility was made easy using the inbuilt trailer light checker and the standard integrated electronic brake controller. There was minimal drop in the rear and the weight on the back barely had any effect on the Chev when pulling out onto the highway.
The Silverado 1500s standard mirrors are quite small for a full-size truck and are not ideal for towing. Taller extendable mirrors such as those on the 2500 and readily available from the aftermarket would be better options when hauling a wide trailer like the Jayco Silverline.
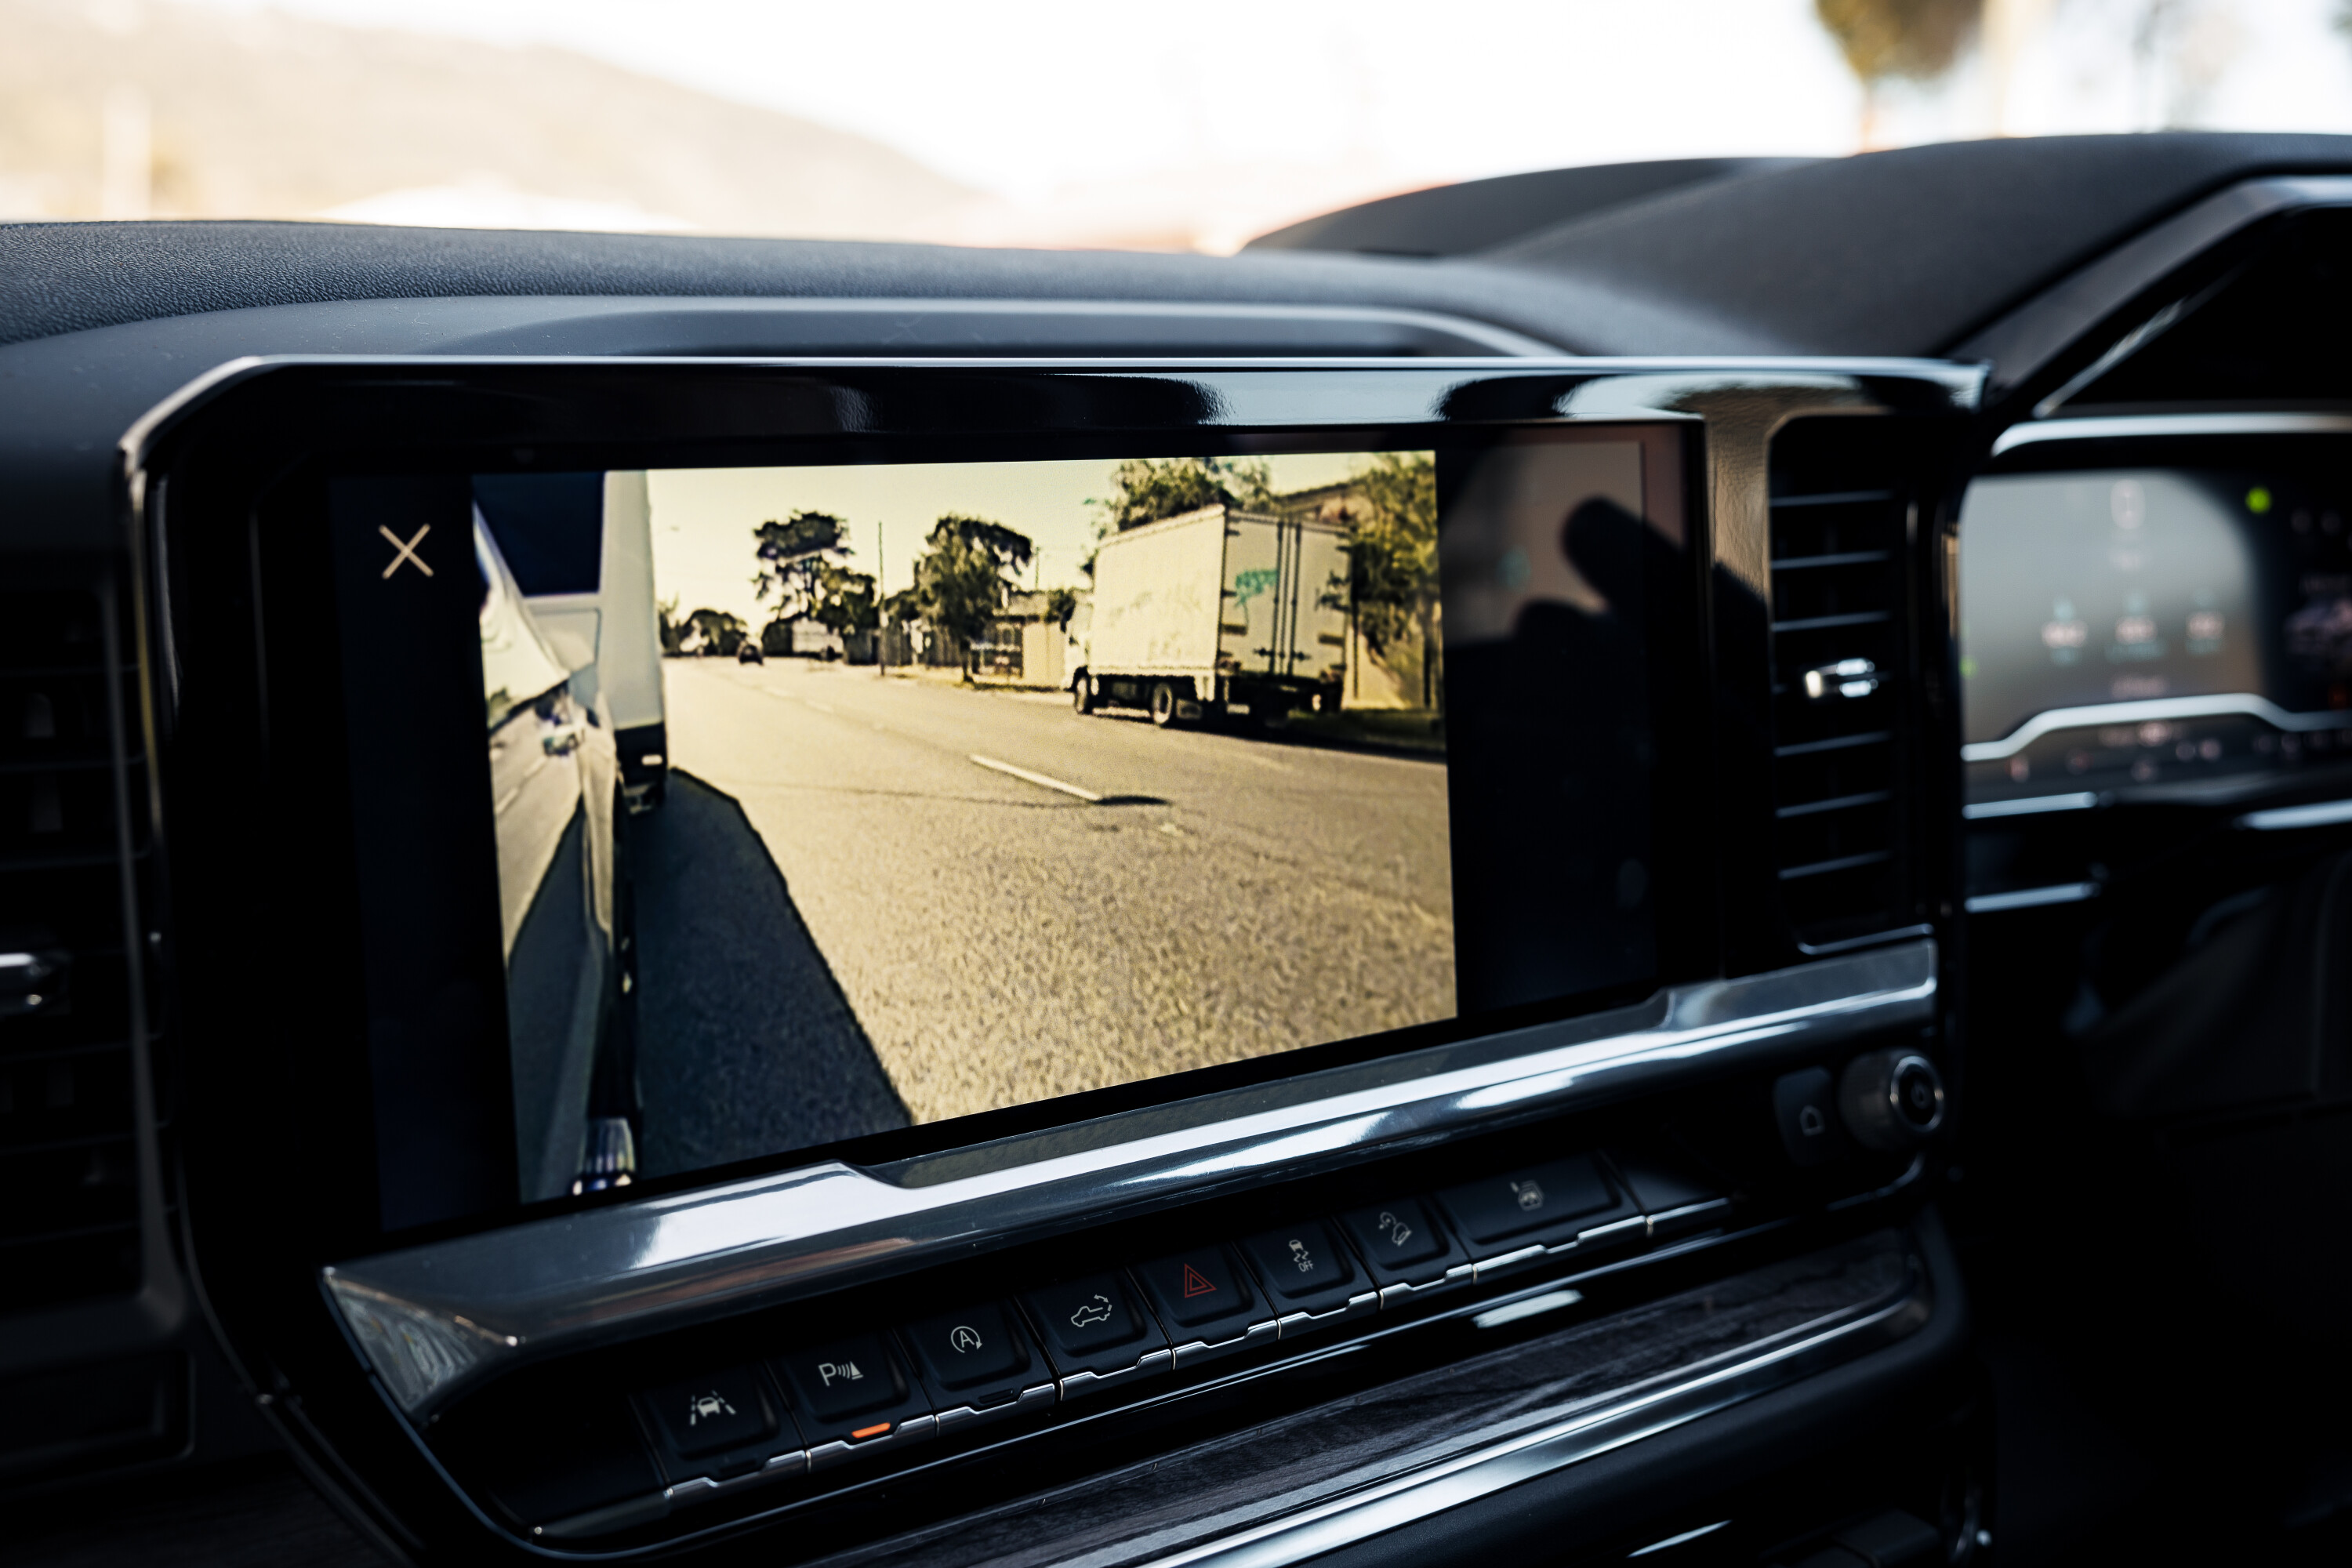
The view down the sides is made a bit easier when you engage the indicator and the side cameras display that side of the vehicle on the centre screen, virtually eliminating any blind spots. We found this more natural for left-side checks when you instinctively turn your head to look down that side of the vehicle and you spot the centre screen, rather than the right when you instinctively look to the right-side mirror.
The Silverado LTZ had no problems travelling at 100km/h when towing on the highway but it felt somewhat floaty over bumps and undulations. It would benefit from better quality shock absorbers than the ones fitted as standard, as evidenced by a brief tow test using the ZR2 in the past that revealed no such floatiness from the suspension.
We pulled the Jayco around for a morning covering around 170km of various roads and have to say that it did the job easily in terms of power, but could definitely benefit from a suspension upgrade if you were towing anything heavier than the Jayco we used.

Remember, you can tow up to 4500kg with the Silverado when using a 70mm tow ball, but we think the standard LTZ suspension would struggle with this mass. The fuel consumption over our towing loop was 22.7L/100km.
We owe a special thanks to the team at Page Brothers RV for the loan of the Jayco Silverline. I have to admit that at one point I was tempted to take off on an extended trip as we sat there in the morning sun with the van hitched up to the Silverado.
Weights and payloads
While these full-size pick-up trucks are nice and big and able to tow heavy trailers, the payloads in the 1500-class are relatively small, and certainly not what you would expect of their massive cargo and passenger compartments.
The ZR2 has a 771kg payload, a 3300kg GVM and 6851kg GCM. Hook up a trailer weighing close to the 4500kg limit you can haul, (when using a 70mm tow ball) and you barely have enough capacity left to put a driver behind the wheel, let alone any passengers or cargo.
The aftermarket fix comes from a GVM and GCM upgrade, and Queensland’s Rambler Vehicles teamed up with Touring Solutions Australia to develop a suitable kit that gives the Silverado 1500 an approved at 4499kg GVM and a 8999kg GCM.
To achieve the higher capacities, a heavier duty suspension package was developed using a kit from Rough Country. The suspension upgrade includes Rough Country’s premium Vertex 2.5-inch, adjustable remote reservoir shocks, struts and upper control arms at the front, and a rear leaf pack from EFS with airbags for load management.
While this upgrade is a godsend for anyone wanting to haul heavy roads with these trucks, the catch for ZR2 owners is that you would lose the excellent Multimatic suspension if you fitted the GVM upgrade kit; not that there’s anything wrong with the suspension in the upgrade kit. But it would certainly be a massive improvement to an LTZ, whether towing or not.
2023 Chevrolet Silverado ZR2 specs
| Engine | 6.2L V8 |
|---|---|
| Max power | 313kW |
| Max torque | 624Nm |
| Transmission | 10-speed automatic |
| Transfer case | Dual range with electronic selectionu00a0 |
| Suspension | ZR2 package |
| Kerb weight | 2583kg |
| GVM | 3300kg |
| Payload | 717kg |
| Towing capacity | 3500kg (50mm ball); 4200kg (70mm ball) |
| Fuel tank capacity | 91Lu00a0 |
| Departure angle | 23.3 degrees |
| Rampover angleu00a0 | 23.4 degrees |
| Approach angleu00a0 | 31.8 degrees |
| Ground clearanceu00a0 | 296mmu00a0 |
| Price | $133,000 + on-road |
2023 Chevrolet Silverado LTZ Premium specs
| Engine | 6.2L V8 |
|---|---|
| Max power | 313kW |
| Max torque | 624Nm |
| Transmission | 10-speed automatic |
| Transfer case | Dual range with electronic selectionu00a0 |
| Suspension | Z71 off-road package |
| Kerb weight | 2543kg |
| GVM | 3300kg |
| Payload | 757kg |
| Towing capacity | 3500kg (50mm ball); 4500kg (70mm ball) |
| Fuel tank capacity | 91Lu00a0 |
| Departure angle | 21.0 degrees |
| Rampover angleu00a0 | 20.0 degrees |
| Approach angleu00a0 | 21.0 degrees |
| Ground clearanceu00a0 | 228mmu00a0 |
| Price | $128,000 + on-road |