Advice

Gallery 1
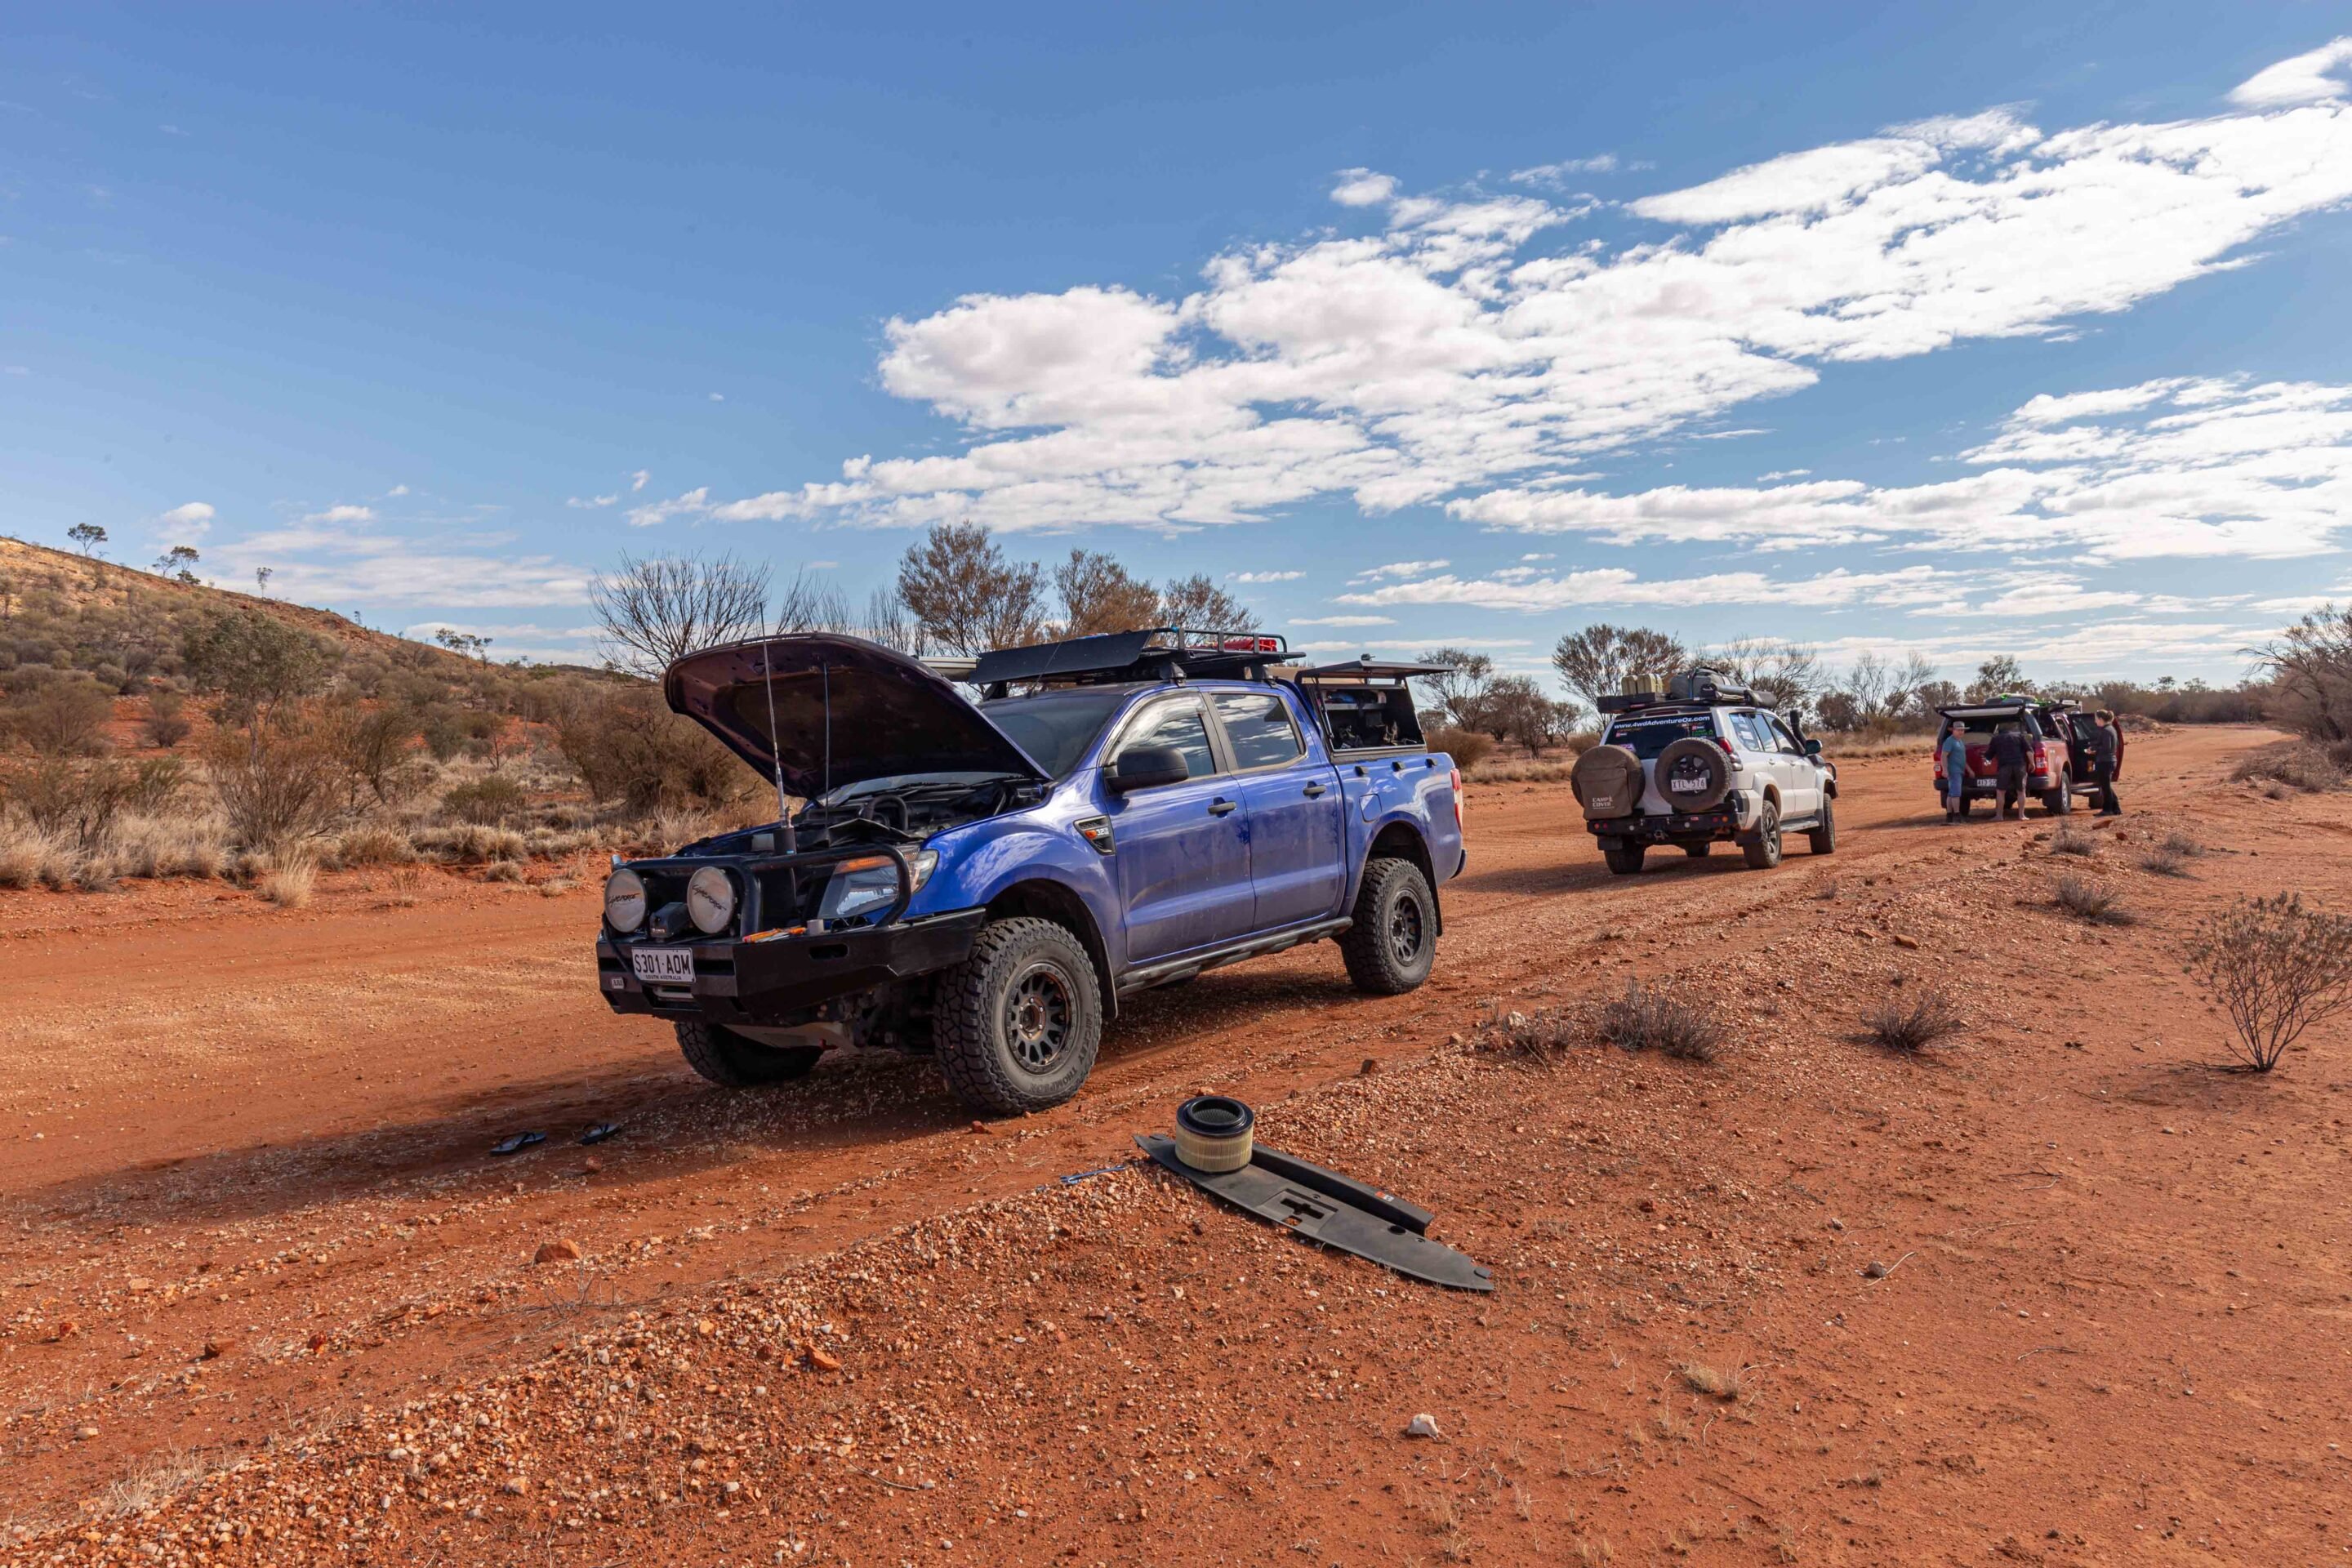
Breaking down in the bush can quickly turn a fun 4WD trip into a disaster.
However, not every mechanical problem means the end of the adventure. With a few basic tools, some essential spares and a bit of mechanical know-how, many common trackside problems can be sorted without calling for help.
Off-road driving puts extra strain on just about every part of a vehicle. Sharp rocks damage tyres, corrugations shake bolts loose and dust gets into places it shouldn’t. Knowing how to deal with a few common problems can help keep your trip on track when you’re travelling away from civilisation. Here are 10 trackside repairs to know before your next off-road adventure.
1. Repairing a punctured tyre
Tyre punctures are among the most common problems you’ll encounter off-road. Sharp rocks, sticks and other debris can easily damage a tyre, particularly when running lower pressures. A tubeless tyre repair kit allows you to plug a suitable puncture without removing the wheel.
First, find the leak. If the offending object is still in the tyre, leave it in place until you’re ready to make the repair. If the leak isn’t obvious, spray soapy water over the tread and look for bubbles. Remove the object, ream the hole and insert a repair cord according to the kit’s instructions. Trim the excess, reinflate the tyre and check that the repair is holding air.
Not every puncture can be plugged. Repairs are generally limited to suitable damage in the tread area of tubeless tyres, while sidewall damage, large cuts and other serious damage mean fitting the spare. Have any plugged tyre professionally inspected and repaired as soon as possible.
2. Changing a damaged wheel
Sometimes a puncture is too large to repair, or the tyre has suffered a cut or sidewall failure. That’s when the spare comes into play. Find the firmest, flattest spot available, engage the handbrake, select park or first gear and chock the wheels that remain on the ground. Loosen the wheel nuts before lifting the vehicle, then position the jack at the manufacturer’s specified jacking point.
Never get underneath a vehicle supported only by a jack. Once the spare is fitted, tighten the wheel nuts in the correct sequence and to the manufacturer’s specified torque, then recheck them after travelling a short distance. Before heading away, make sure your spare is serviceable, correctly inflated and compatible with your vehicle. A second spare is worth considering on longer remote trips.
3. Fixing a split radiator hose
A damaged coolant hose can quickly become a major problem. Lose enough coolant and the engine can overheat, potentially causing serious damage. A small split or pinhole may be temporarily sealed using self-amalgamating silicone tape, but let the engine cool completely before attempting a repair. Never remove a radiator cap or open a pressurised cooling system while it’s hot.
Clean and dry the damaged area before wrapping the tape tightly around the hose, extending well beyond the split. If the damage is too extensive, replacing the hose with a suitable spare is the better option. Once repaired, refill the cooling system using the manufacturer’s procedure and monitor the temperature gauge closely.
4. Replacing a broken drive belt
A broken serpentine or accessory belt can leave you without important engine accessories. Depending on the vehicle, it might drive the alternator, water pump or power steering pump. If the belt fails, stop safely and work out what it drives. If it operates the water pump, continuing to run the engine can cause rapid overheating.
Carrying a correctly sized replacement belt is worthwhile on remote trips. You’ll also need to know how to release the tensioner and route the replacement correctly, so keep a diagram or photograph of the belt layout with your tools. Before fitting a new belt, inspect the pulleys and tensioner. If one has seized, the replacement belt won’t solve the underlying problem.
5. Fixing a blown fuse
If an electrical accessory suddenly stops working, check the relevant fuse before assuming the component itself has failed. Your owner’s manual should identify the fuse locations and ratings. Replace a blown fuse with one of exactly the same rating, never a higher-rated fuse or an improvised piece of wire.
If the replacement blows immediately, there’s likely an underlying electrical fault. Don’t keep replacing fuses or bypass the circuit. Find the cause before continuing. Carry spare blade fuses covering the ratings used by your vehicle, including any aftermarket accessories.
6. Sorting out a loose battery connection
If your vehicle suddenly struggles to start, loses electrical power or behaves erratically, check the battery connections. Corrugations can work battery terminals and earth connections loose, particularly on vehicles carrying additional 12V equipment.
Switch off the ignition and accessories, then check that the battery terminals are secure and free of corrosion. Carefully tighten any loose connections, taking care not to bridge the positive terminal and vehicle body with a metal tool. Check the negative earth connection as well, including where the cable attaches to the body or engine. If the battery is swollen, leaking or damaged, don’t attempt a trackside repair.
7. Repairing a damaged air intake hose
A split or disconnected air intake hose can allow dust and dirt to bypass the air filter and enter the engine. That’s a particular concern on dusty tracks, so inspect the pipework between the airbox and engine for loose clamps, damaged joins and cracks in rubber hoses.
A disconnected hose can often be refitted and secured by tightening its clamp, while a small split may be temporarily sealed using self-amalgamating tape, provided you can create an airtight seal. Check that no dirt has entered the intake and that the airbox lid and filter are properly seated. If the hose is badly damaged or you can’t guarantee a sealed connection, don’t continue driving in dusty conditions.
8. Cleaning or replacing a blocked air filter
Dust is one of the biggest challenges for vehicles travelling in convoy or spending long periods on unsealed roads. A clogged air filter restricts airflow and can affect engine performance, so check the airbox regularly in particularly dusty conditions rather than waiting for a warning light.
Remove the filter according to the manufacturer’s instructions and inspect it for excessive dust, damage or moisture. Some reusable filters can be cleaned, but many standard paper filters shouldn’t be blown out or washed. Follow the manufacturer’s guidance and carry a spare filter on longer remote trips. Before refitting, clean out the airbox and make sure the filter is correctly seated. A poorly fitted filter can allow unfiltered air into the engine.
9. Tightening loose bolts and fittings
Corrugations are hard on a 4WD, and vibration can loosen all sorts of hardware. Roof racks, bullbars, suspension components, bash plates and spare-wheel carriers are all worth checking during a trip.
Look for missing fasteners, loose fittings, cracked brackets and signs of components shifting. Use the correct torque settings when tightening critical fasteners, particularly wheel nuts and suspension hardware. If a mounting point or structural component has cracked, don’t simply tighten it harder and hope for the best. Structural damage needs proper assessment before the vehicle continues.
10. Fixing trailer electrical problems
A touring trailer or camper adds another set of electrical connections that can cause headaches on rough roads. If the trailer lights stop working, check that the plug is seated properly and inspect the wiring for damage or corrosion. A poor earth connection is a common cause of trailer lighting issues, so check the earth wire and its connection points.
A multimeter or basic 12V test light can help identify whether power is reaching the trailer plug. If wiring is damaged or shorting, isolate the faulty circuit rather than continuing to operate it. Make sure all lights and safety-related electrical connections work before towing again.
What to carry in a 4WD trackside repair kit
Knowing how to make a repair is only part of the job. You also need the right gear. A basic trackside repair kit should include:
- Metric spanner and socket set
- Screwdrivers, pliers and multigrips
- Tyre repair kit and air compressor
- Tyre pressure gauge and wheel brace
- Suitable jack and wheel chocks
- Spare fuses and electrical connectors
- Multimeter or 12V test light
- Electrical and self-amalgamating tape
- Cable ties and hose clamps
- Spare radiator hose and coolant
- Correct replacement drive belt
- Spare air filter for remote trips
- Battery-terminal brush
- Torch or headlamp
- Work gloves and safety glasses
There’s no need to carry an entire workshop, but tailor your kit to the vehicle and the country you’re travelling through. A few vehicle-specific spares can be more useful than a boot full of tools you don’t know how to use. It’s also worth learning how to use everything before you leave home.
Most importantly, know your limits. Repairs involving brakes, steering or structural damage aren’t jobs to improvise on the side of a remote track. If a repair can’t be completed safely, stop and arrange professional assistance or recovery.
Follow 4X4 Australia on Google
Get more 4x4 news, reviews and gear stories from 4X4 Australia in your Google feeds.


We recommend
-
 Advice
5 essential 4WD trackside repairs every off-roader should know
Five common trackside repairs every 4WD owner should know to help avoid a breakdown and keep the adventure moving
-
 Advice
Don't be that person: 10 rules of bush etiquette
From leaving toilet paper behind to tearing up tracks, these are the unwritten rules every 4x4 owner should follow to keep the bush open for everyone
-
 Advice
Best 4WD apps in Australia: 10 apps for your next off-road adventure
From off-road navigation to campsite guides, fuel prices and weather alerts, these apps can make your next 4WD trip easier and safer