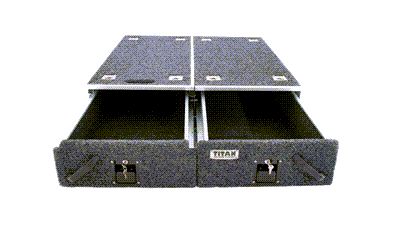
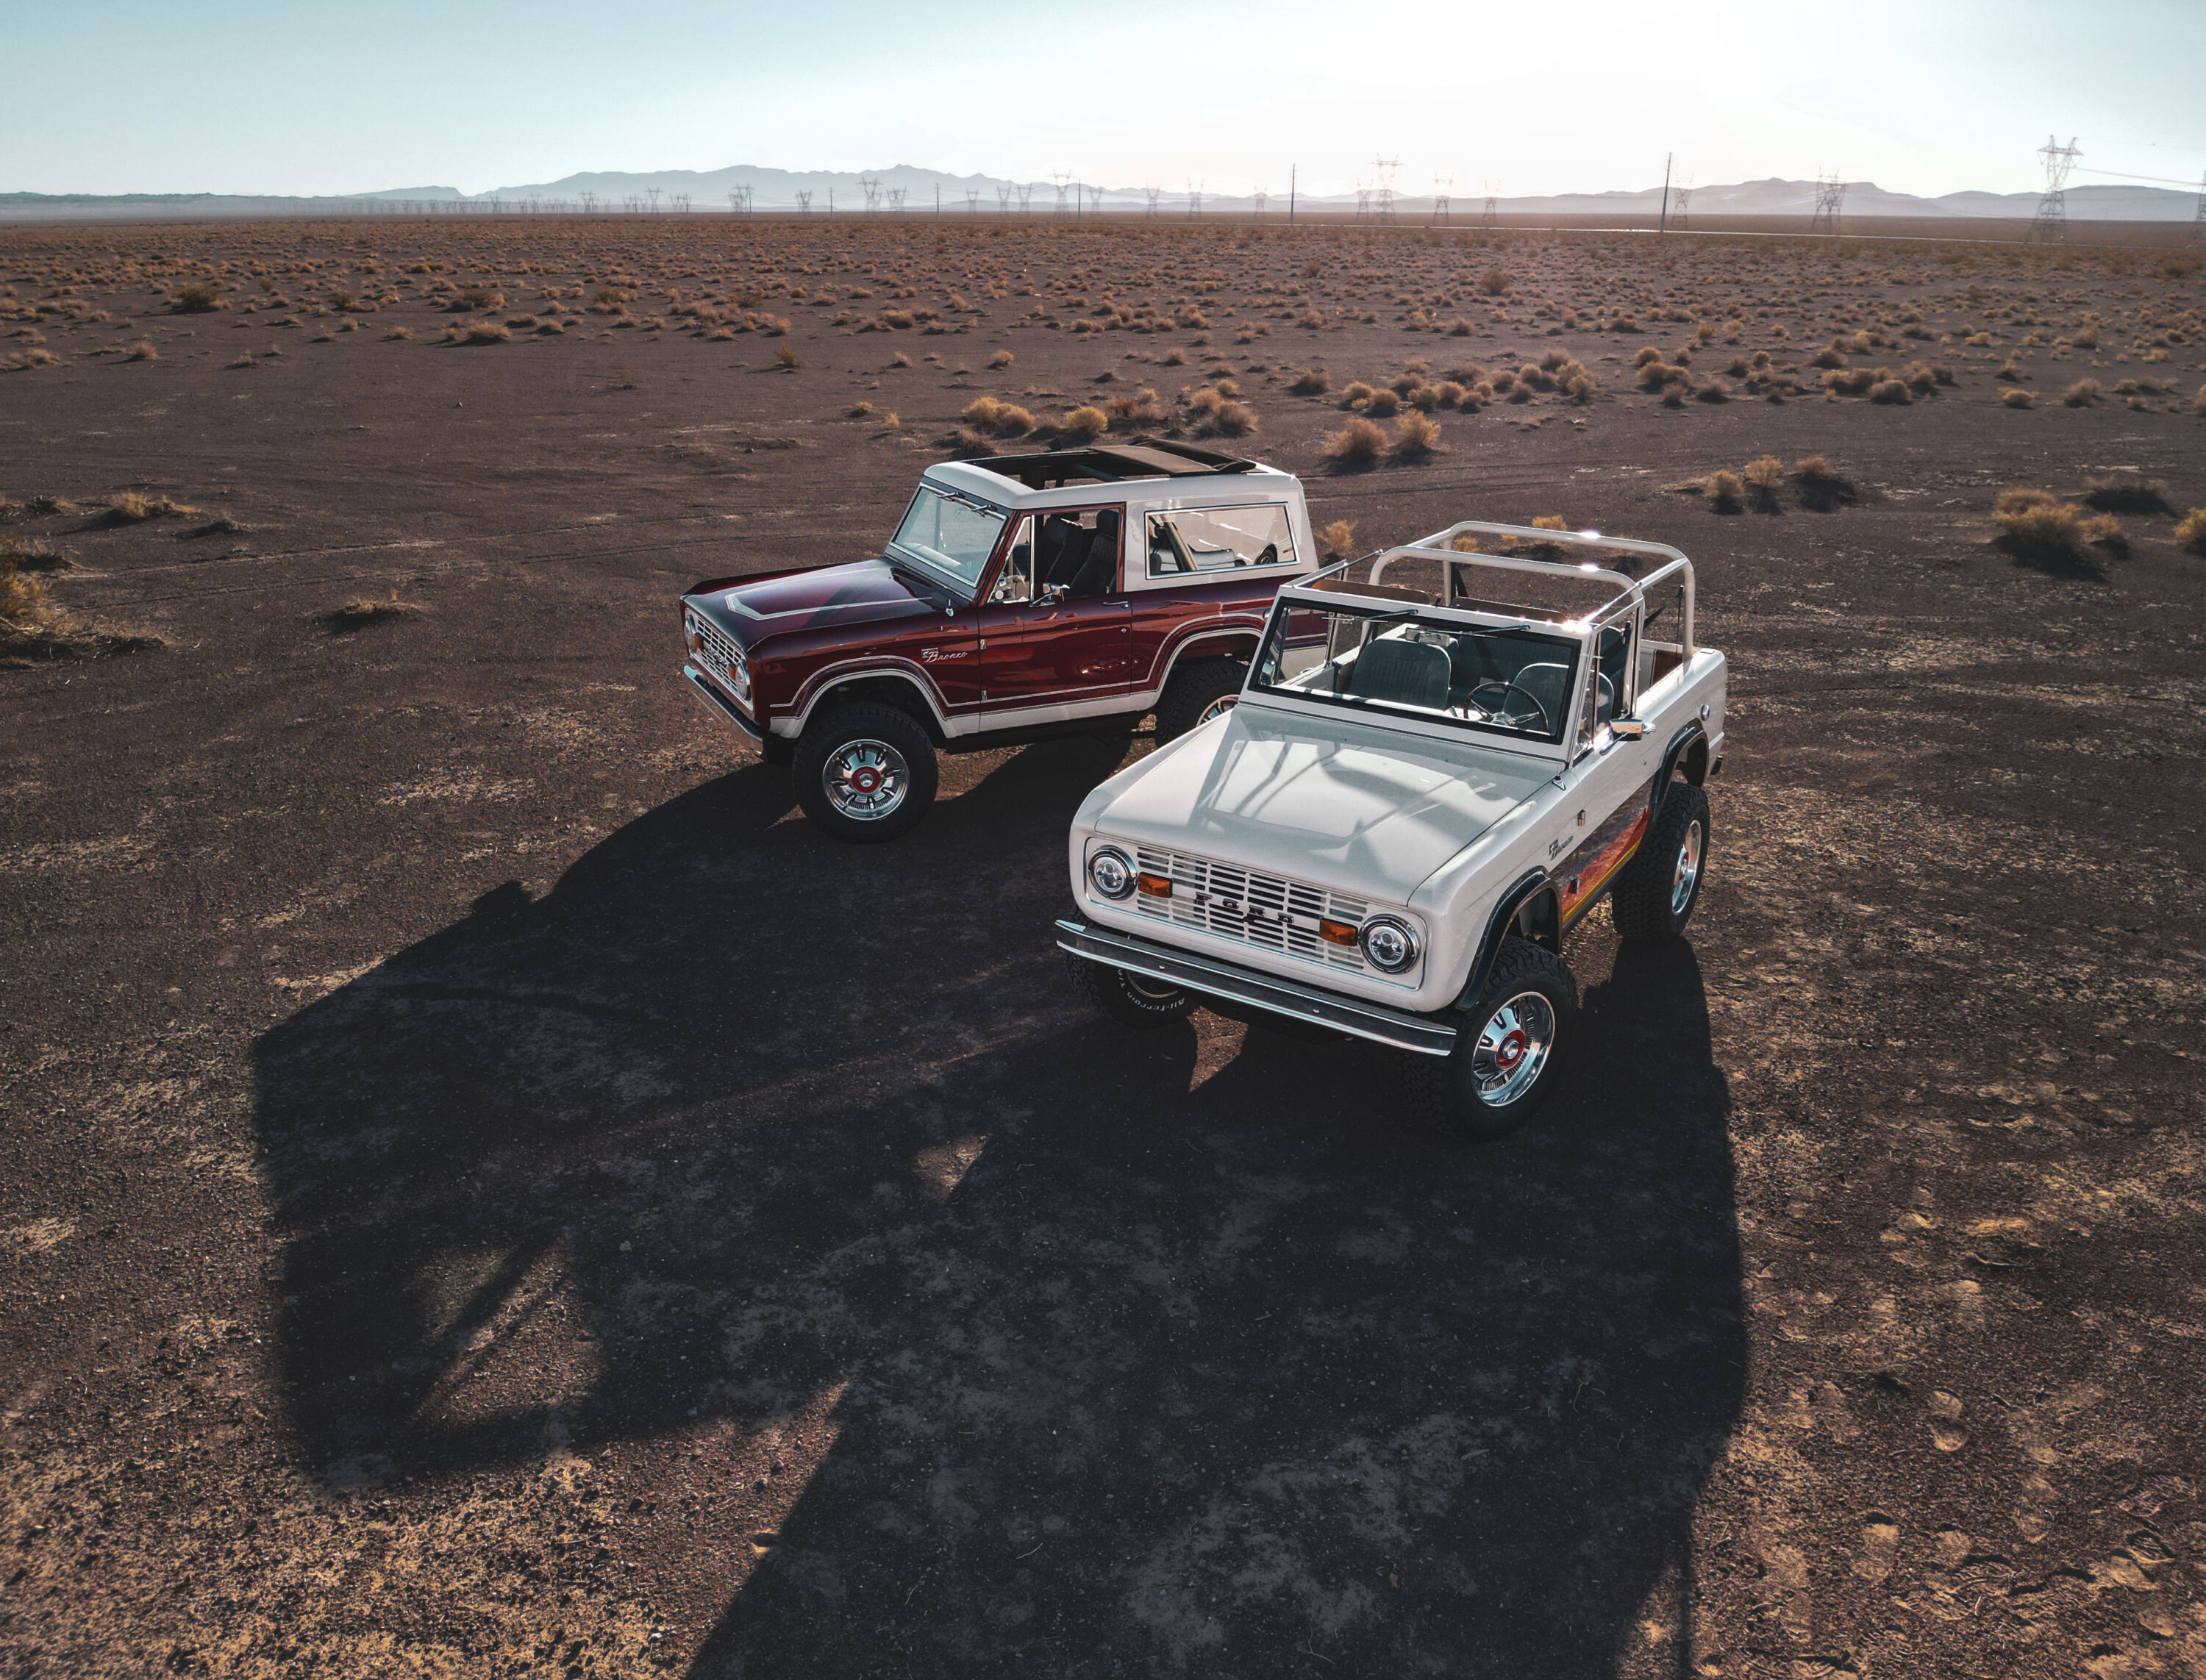
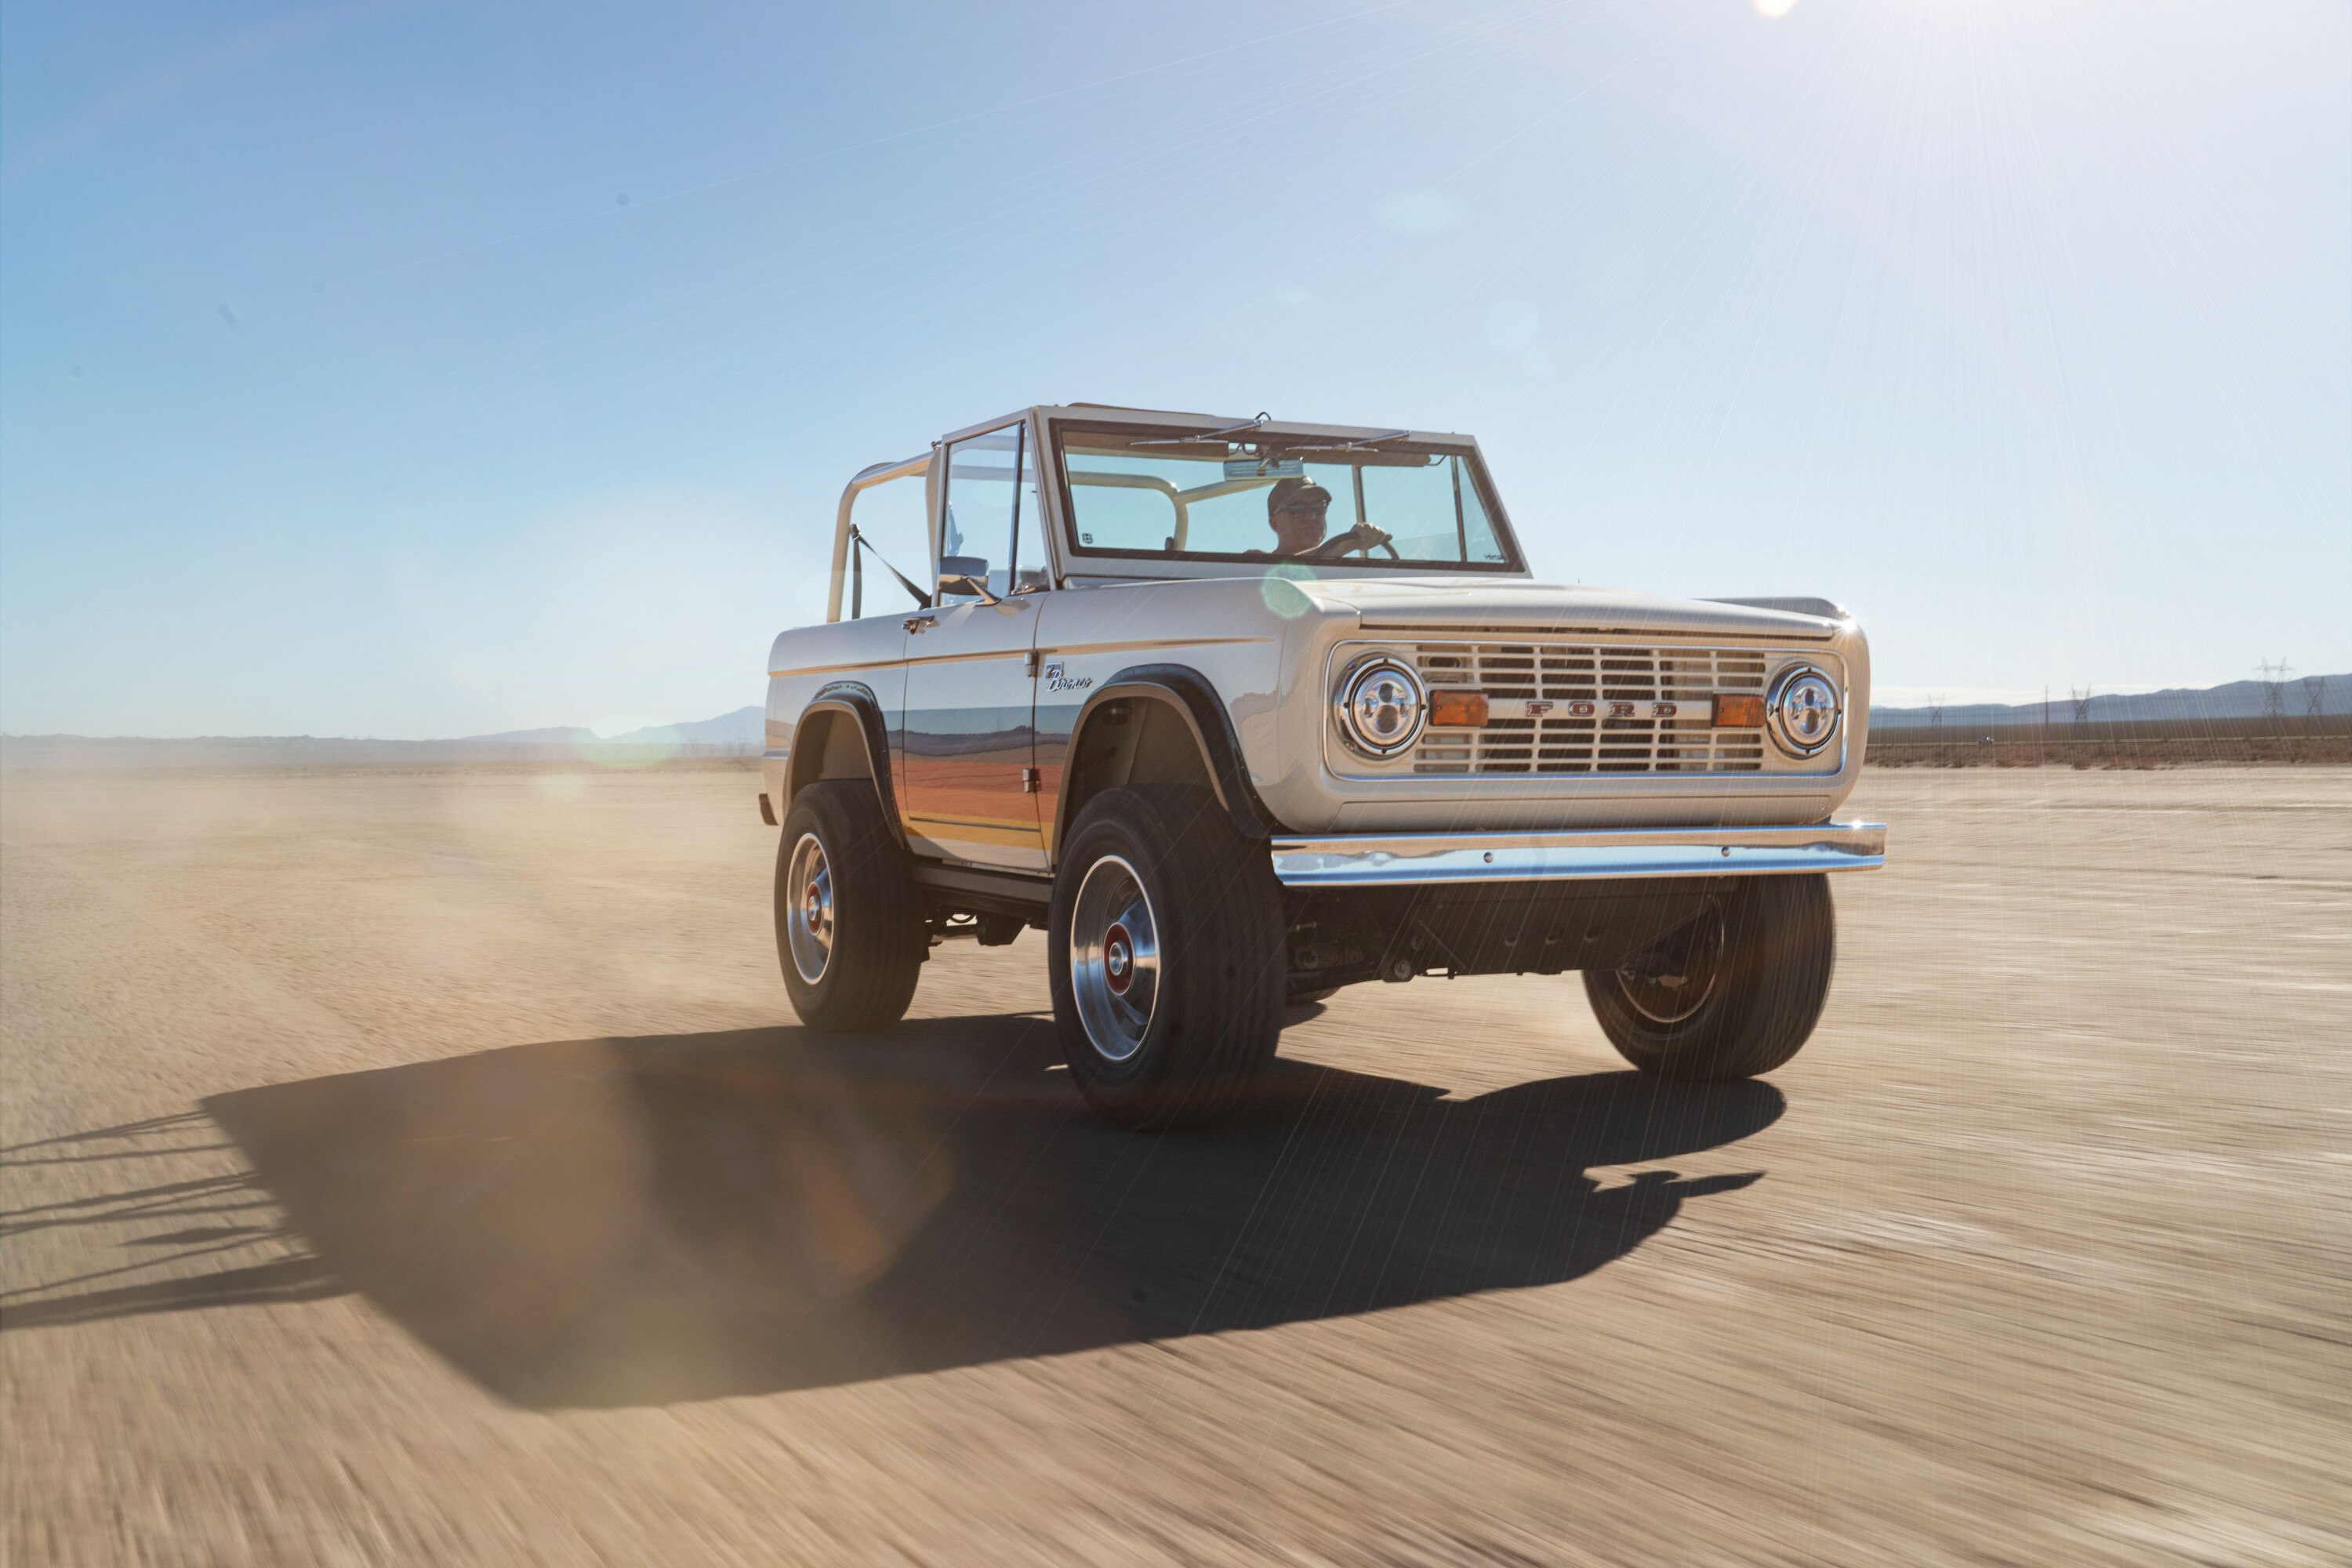
Custom 4x4s
Gallery 1
You’re damned if you do, damned if you don’t these days. There’s no winning. No matter what type of 4×4 you buy there’ll be someone telling you it’s a dud.
Buy a wagon for practicality, and then lose all storage space with camping kit. Buy a ute, and before you know it you’ve turned it into a wagon, just a whole lot heavier and longer.
Build yourself the ultimate tourer, complete with coffee machine and lithium, and before you know it you’ve spent $100k building something too heavy to take to the places you built it for.
So, bugger it. Everyone is going to be mad, and it’s not going to be as practical as you hoped anyway, so why not build something that’s epically cool and then let the rest sort itself out?
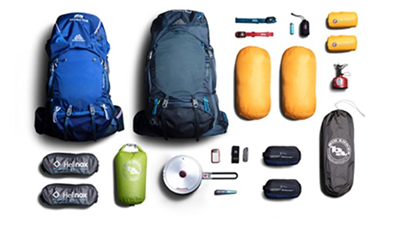
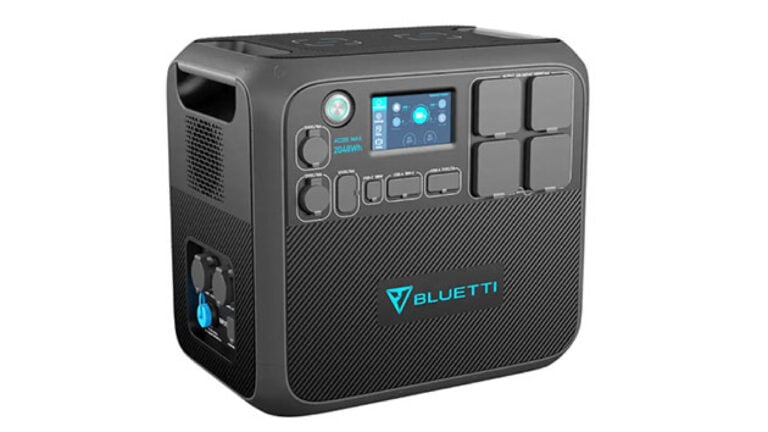
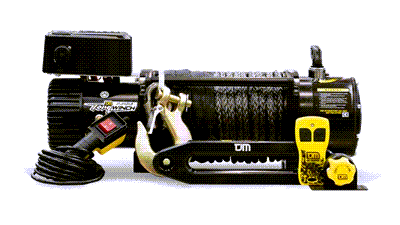
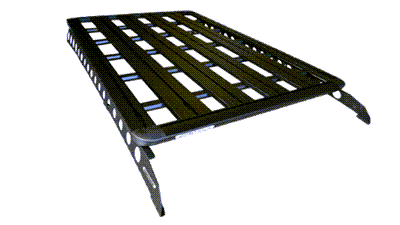
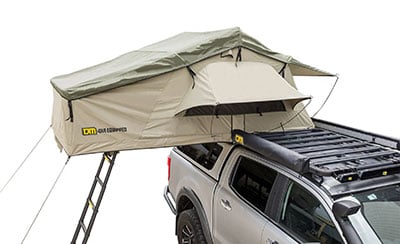
Latest Gear Guides

1
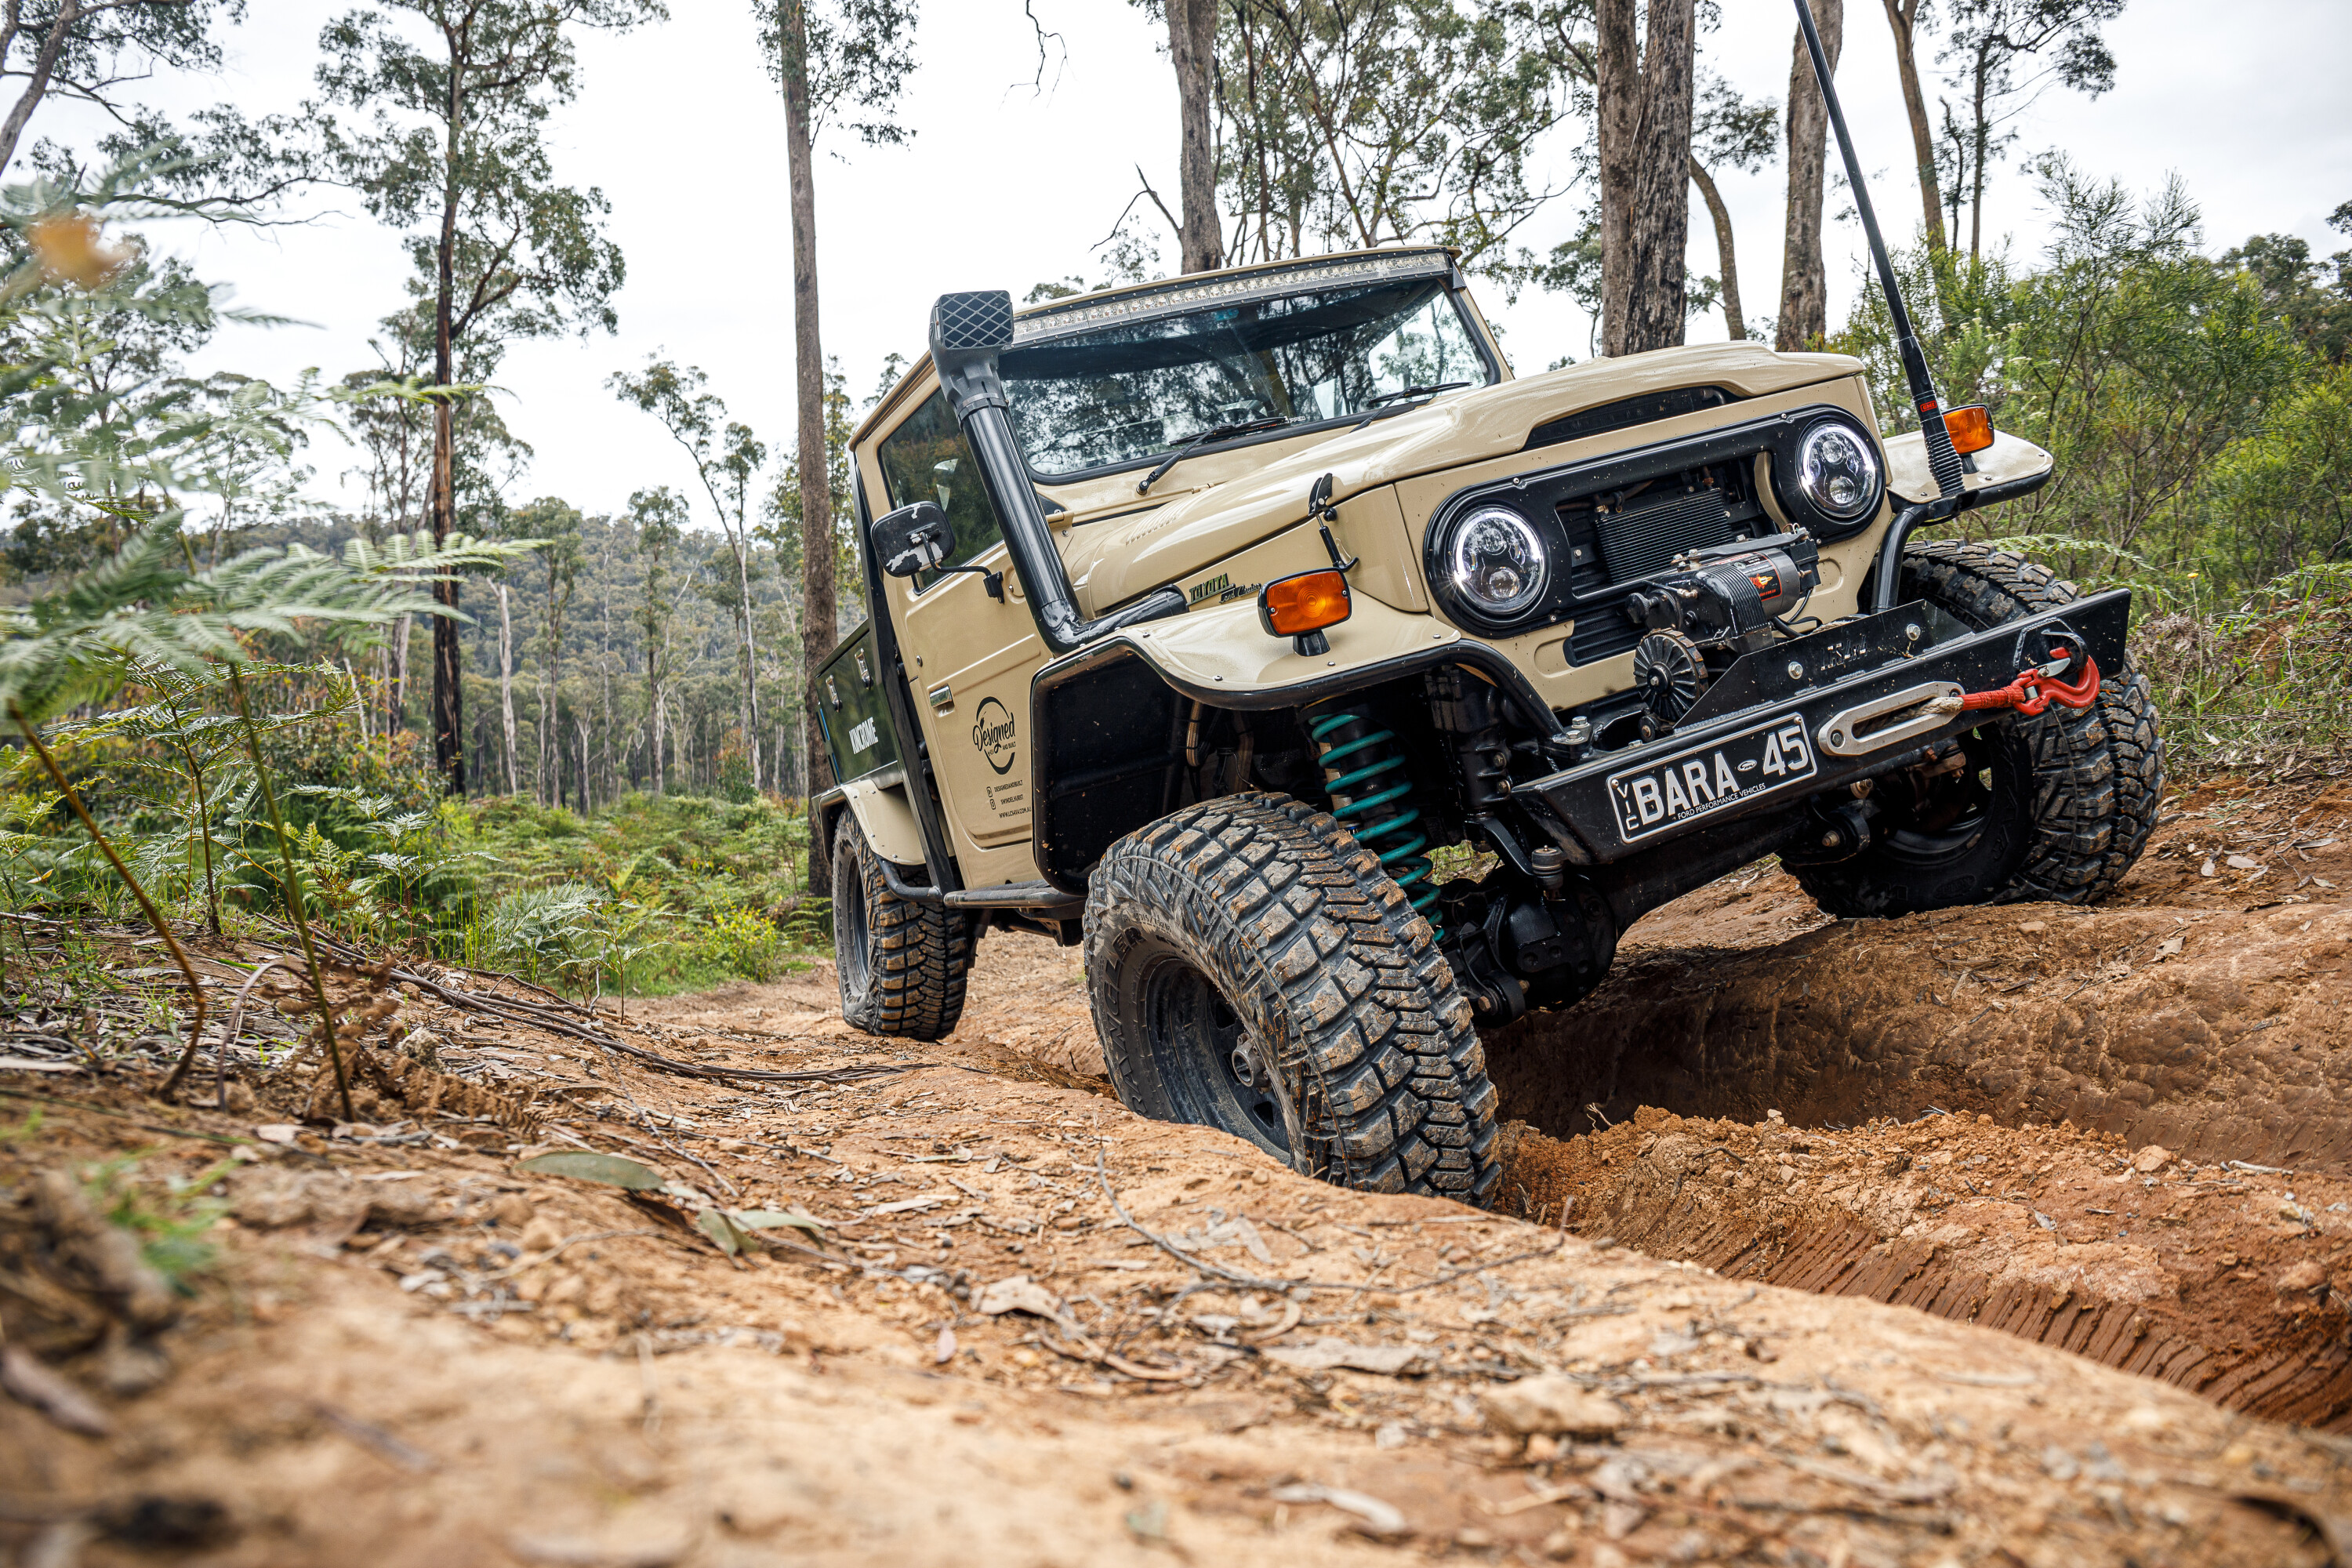
Resto-modded 4x4s are an area exploding in popularity and it’s a trend that’s starting to filter down to Australia.
It makes sense, instead of spending $60k on a budget dual-cab only to then have to go and spend another $60k building some epic tourer, why not spend $10k on a neat old classic rig, and then $50k turning it into something that’ll turn heads everywhere you go, including your own.
Just think, for less than the price of a base model vinyl floored ute you could have your own Marty McFly-inspired HiLux. The short wheelbase GQ Patrol of your dreams. An epic FJ40 with Fox shocks and an 80 frame underneath, or any other endless combination of cool and capable. Talked you into it yet? Well, here’s how to do it.
JUMP AHEAD
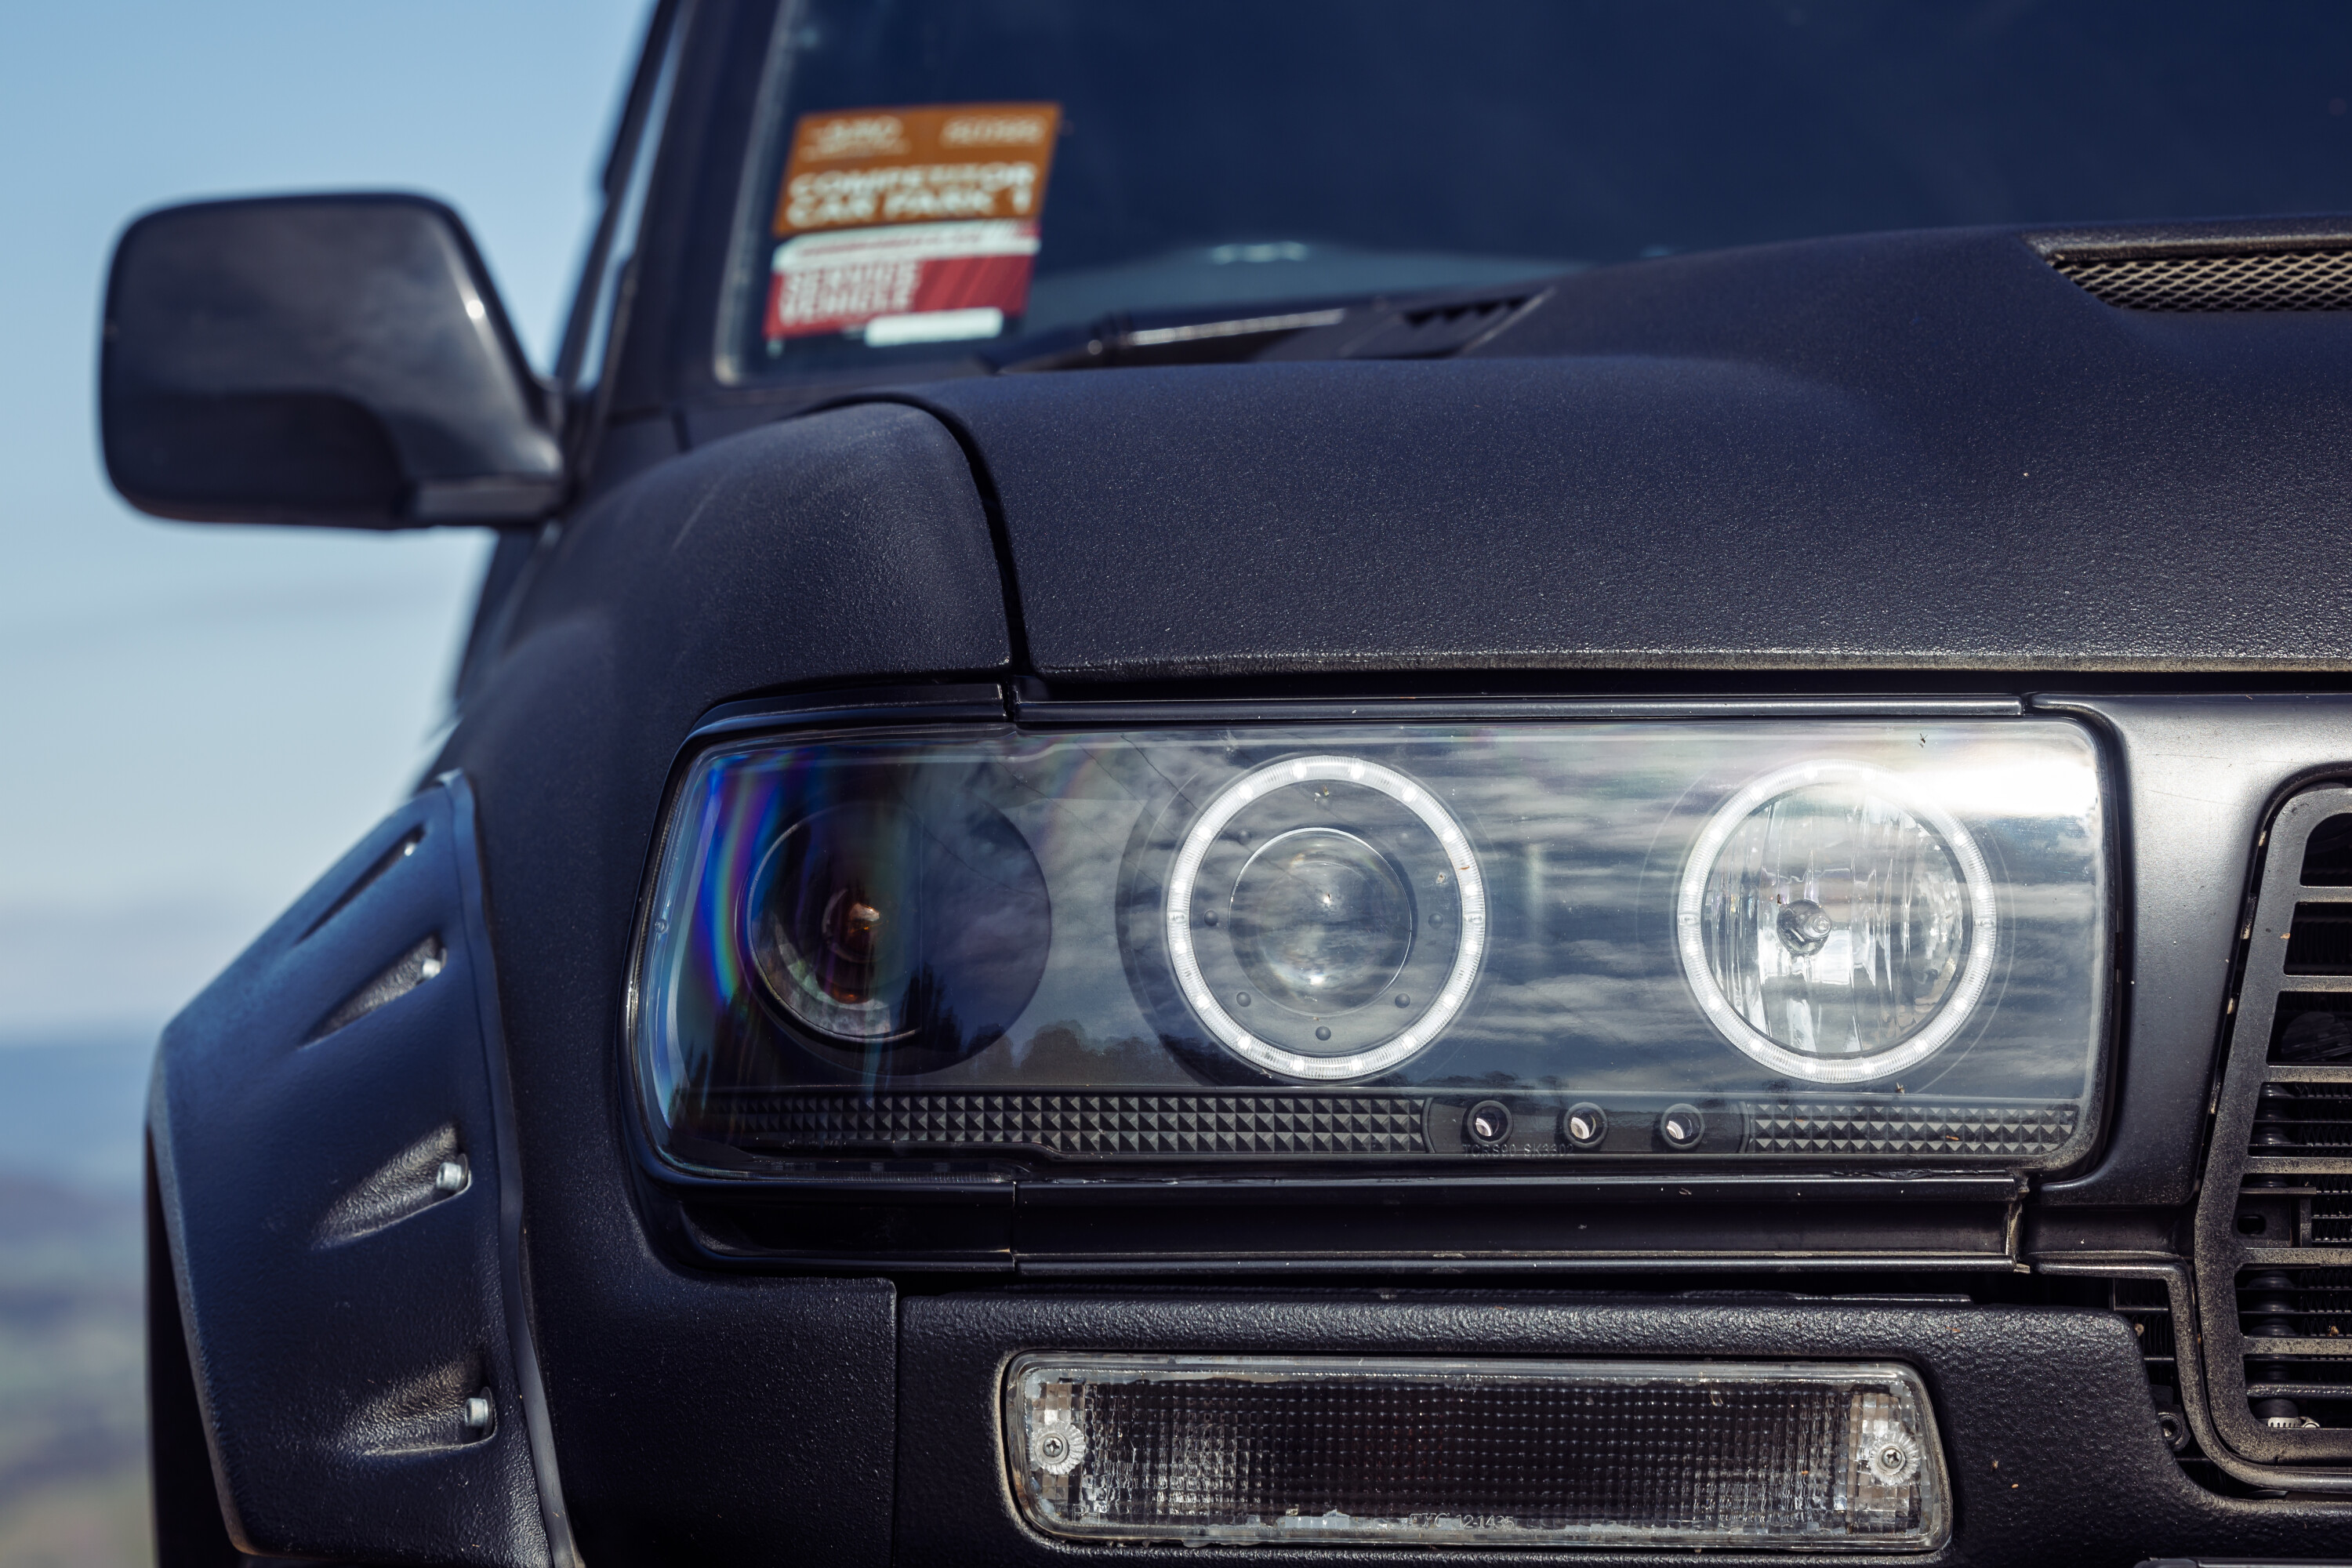
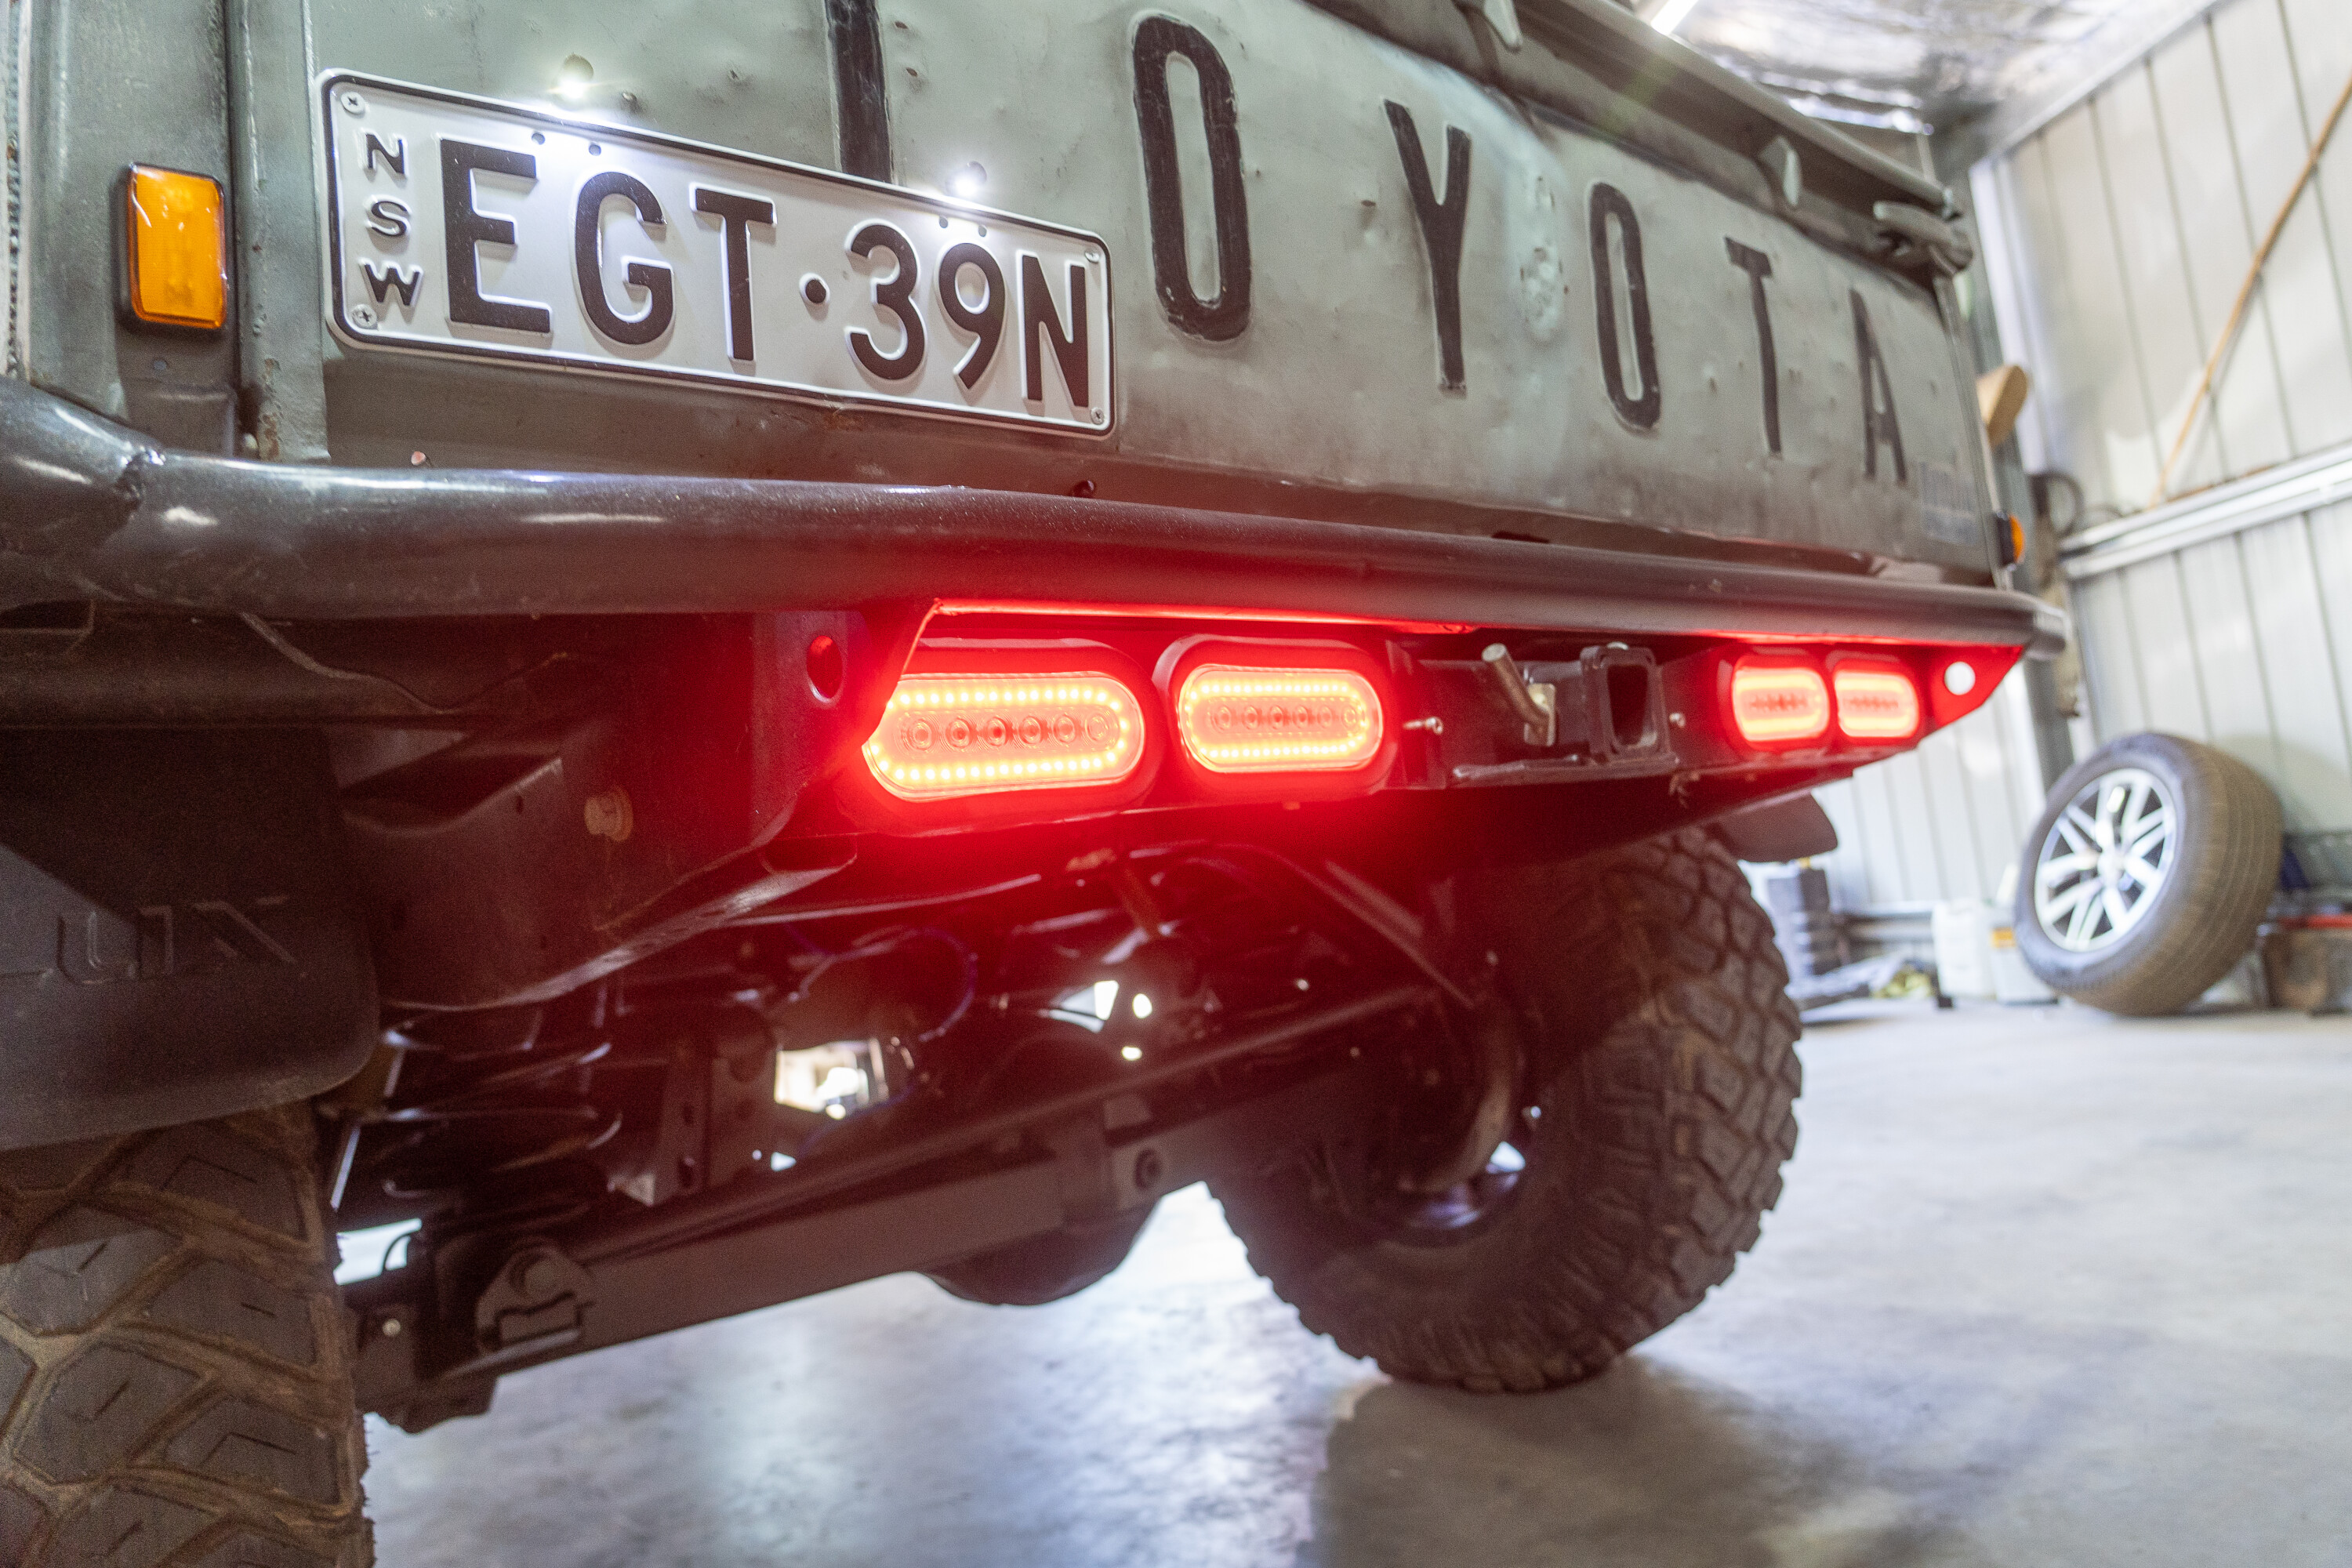
1: Lighting
We’ve bumped this one right up to the top of the list because, quite frankly, it’s one of the easiest to do. Even balls-to-the-wall expensive options are still cheaper than a basic lithium battery setup.
When it comes to improving the light out of an old rig, it’s not hard. The old incandescent bulbs threw about as much light on the track as a Dolphin torch poked out the window. Of course, it didn’t really matter when you were flat-out doing 80km/h and travelled far fewer kays than the modern four-wheel driver.
On a budget
COST: $0-$100
If you’re on a budget (let’s face it, who isn’t these days?) you do have a few options to gain some light output from your rig without spending a fortune.
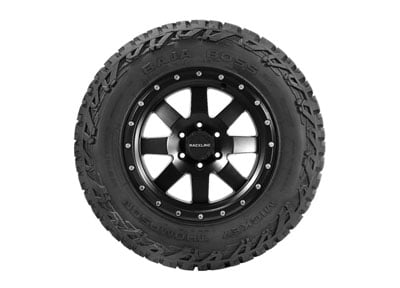
No matter what type of headlight you’re running, if it’s dirty, or the lens is dull, you’re losing output. If the outside of your lens is smooth, it means the damage is on the inside and you’ll need to replace the housing itself.
New OEM style housings can be picked up for around $80 a pair. If the outside feels rough then you may be in luck and a quick polish will get the globes you’ve got punching through. Sounds odd, but toothpaste makes a suitable abrasive with a rag and some elbow grease.
From here, a pair of quality aftermarket halogen globes will give you a serious boost in lighting performance while remaining 100 per cent legal, all for less than $100. Cool doesn’t have to cost a fortune.
1
Flash a little cash
COST: $400-$800
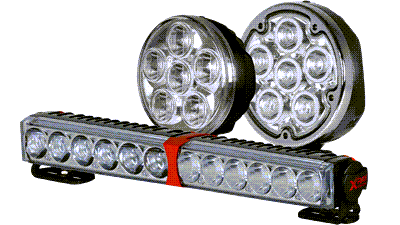
If you’re keen to flash a little cash then complete LED headlight units are one of the most popular modifications on old rigs and new. Sure, the legalities are cloudy at best, especially with the differences between “ADR compliant” and “ADR approved”, but it’s hard to argue with the safety benefits of actually being able to see where you’re driving.
They’re available in a range of popular sizes like 7-inch round, and 6 x 4-inch rectangle, so will suit most old rigs. If you want to keep the budget under $800 there are a few options to throw Lumens down the road. Pretty much all of them look like something out of a bad science fiction movie, but their performance in terms of light pattern and light output vary greatly.
Don’t get caught up with flash features like halo rings, dancing disco lights, or Bluetooth apps that let you change the colour of the daytime running lights; none of that relates to light down the road. If you’re paying less than $200 per individual light, chances are you’re buying junk.
1
The best of the best
COST: $1000-$2000
We mention any one specific brand but we will say that over stateside there are a lot of people with a lot of money wanting a lot of lightingperformance, and the lighting industry has responded.
While you are looking at three to four times the price with US brands, back-to-back comparisons show two to three times the light output. Think 4200 RAW Lumens per headlight vs less than 2000 RAW Lumens. It’ll not only give you more bulk light output, it’ll also allow you to give your classic rig a classic look without needing to hide that chrome grille behind a string of driving lights.
High-end lights will typically come with bang-on beam patterns so you’re not blasting other road users, and neat tech like built-in heaters to keep your headlights snow free if you’re heading to the alps. We’re yet to come across a light with auto-levelling tech, unfortunately, so while you can get ADR-complaint versions, we’re yet to find an ADR-approved offering.
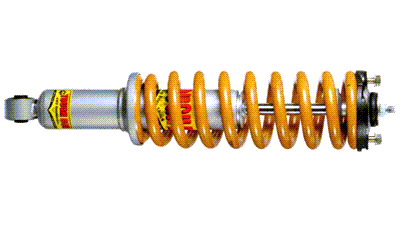
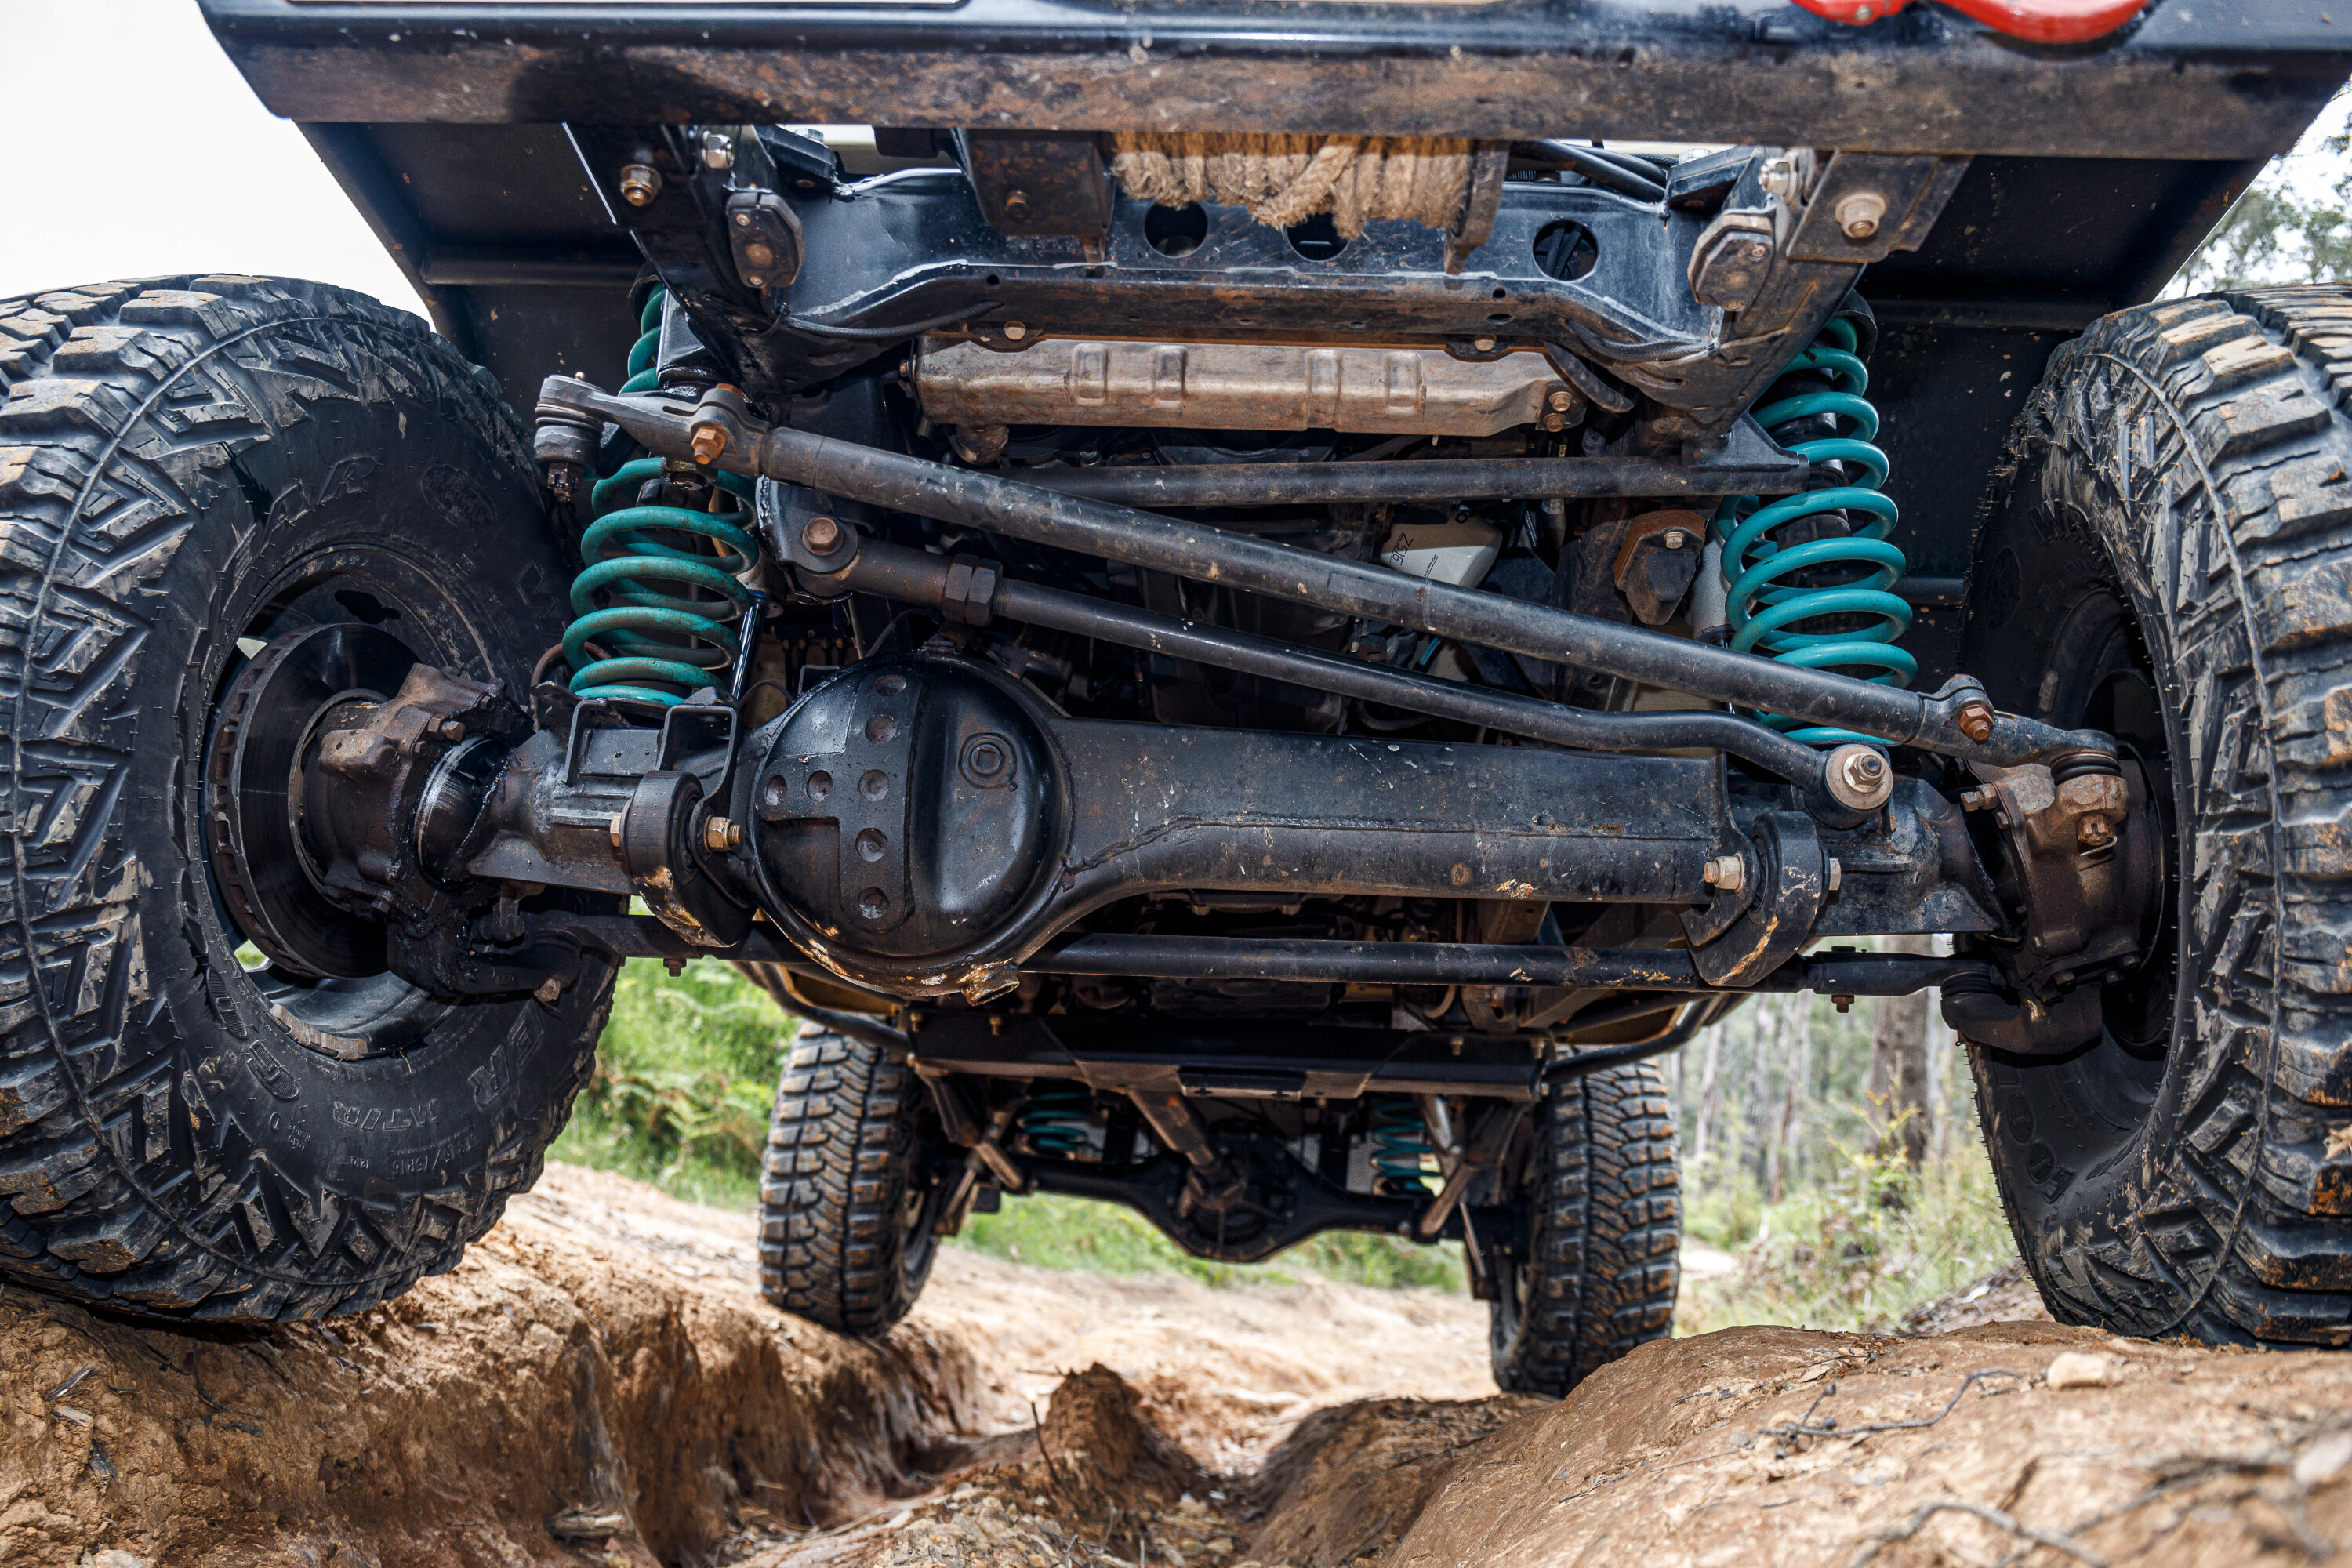
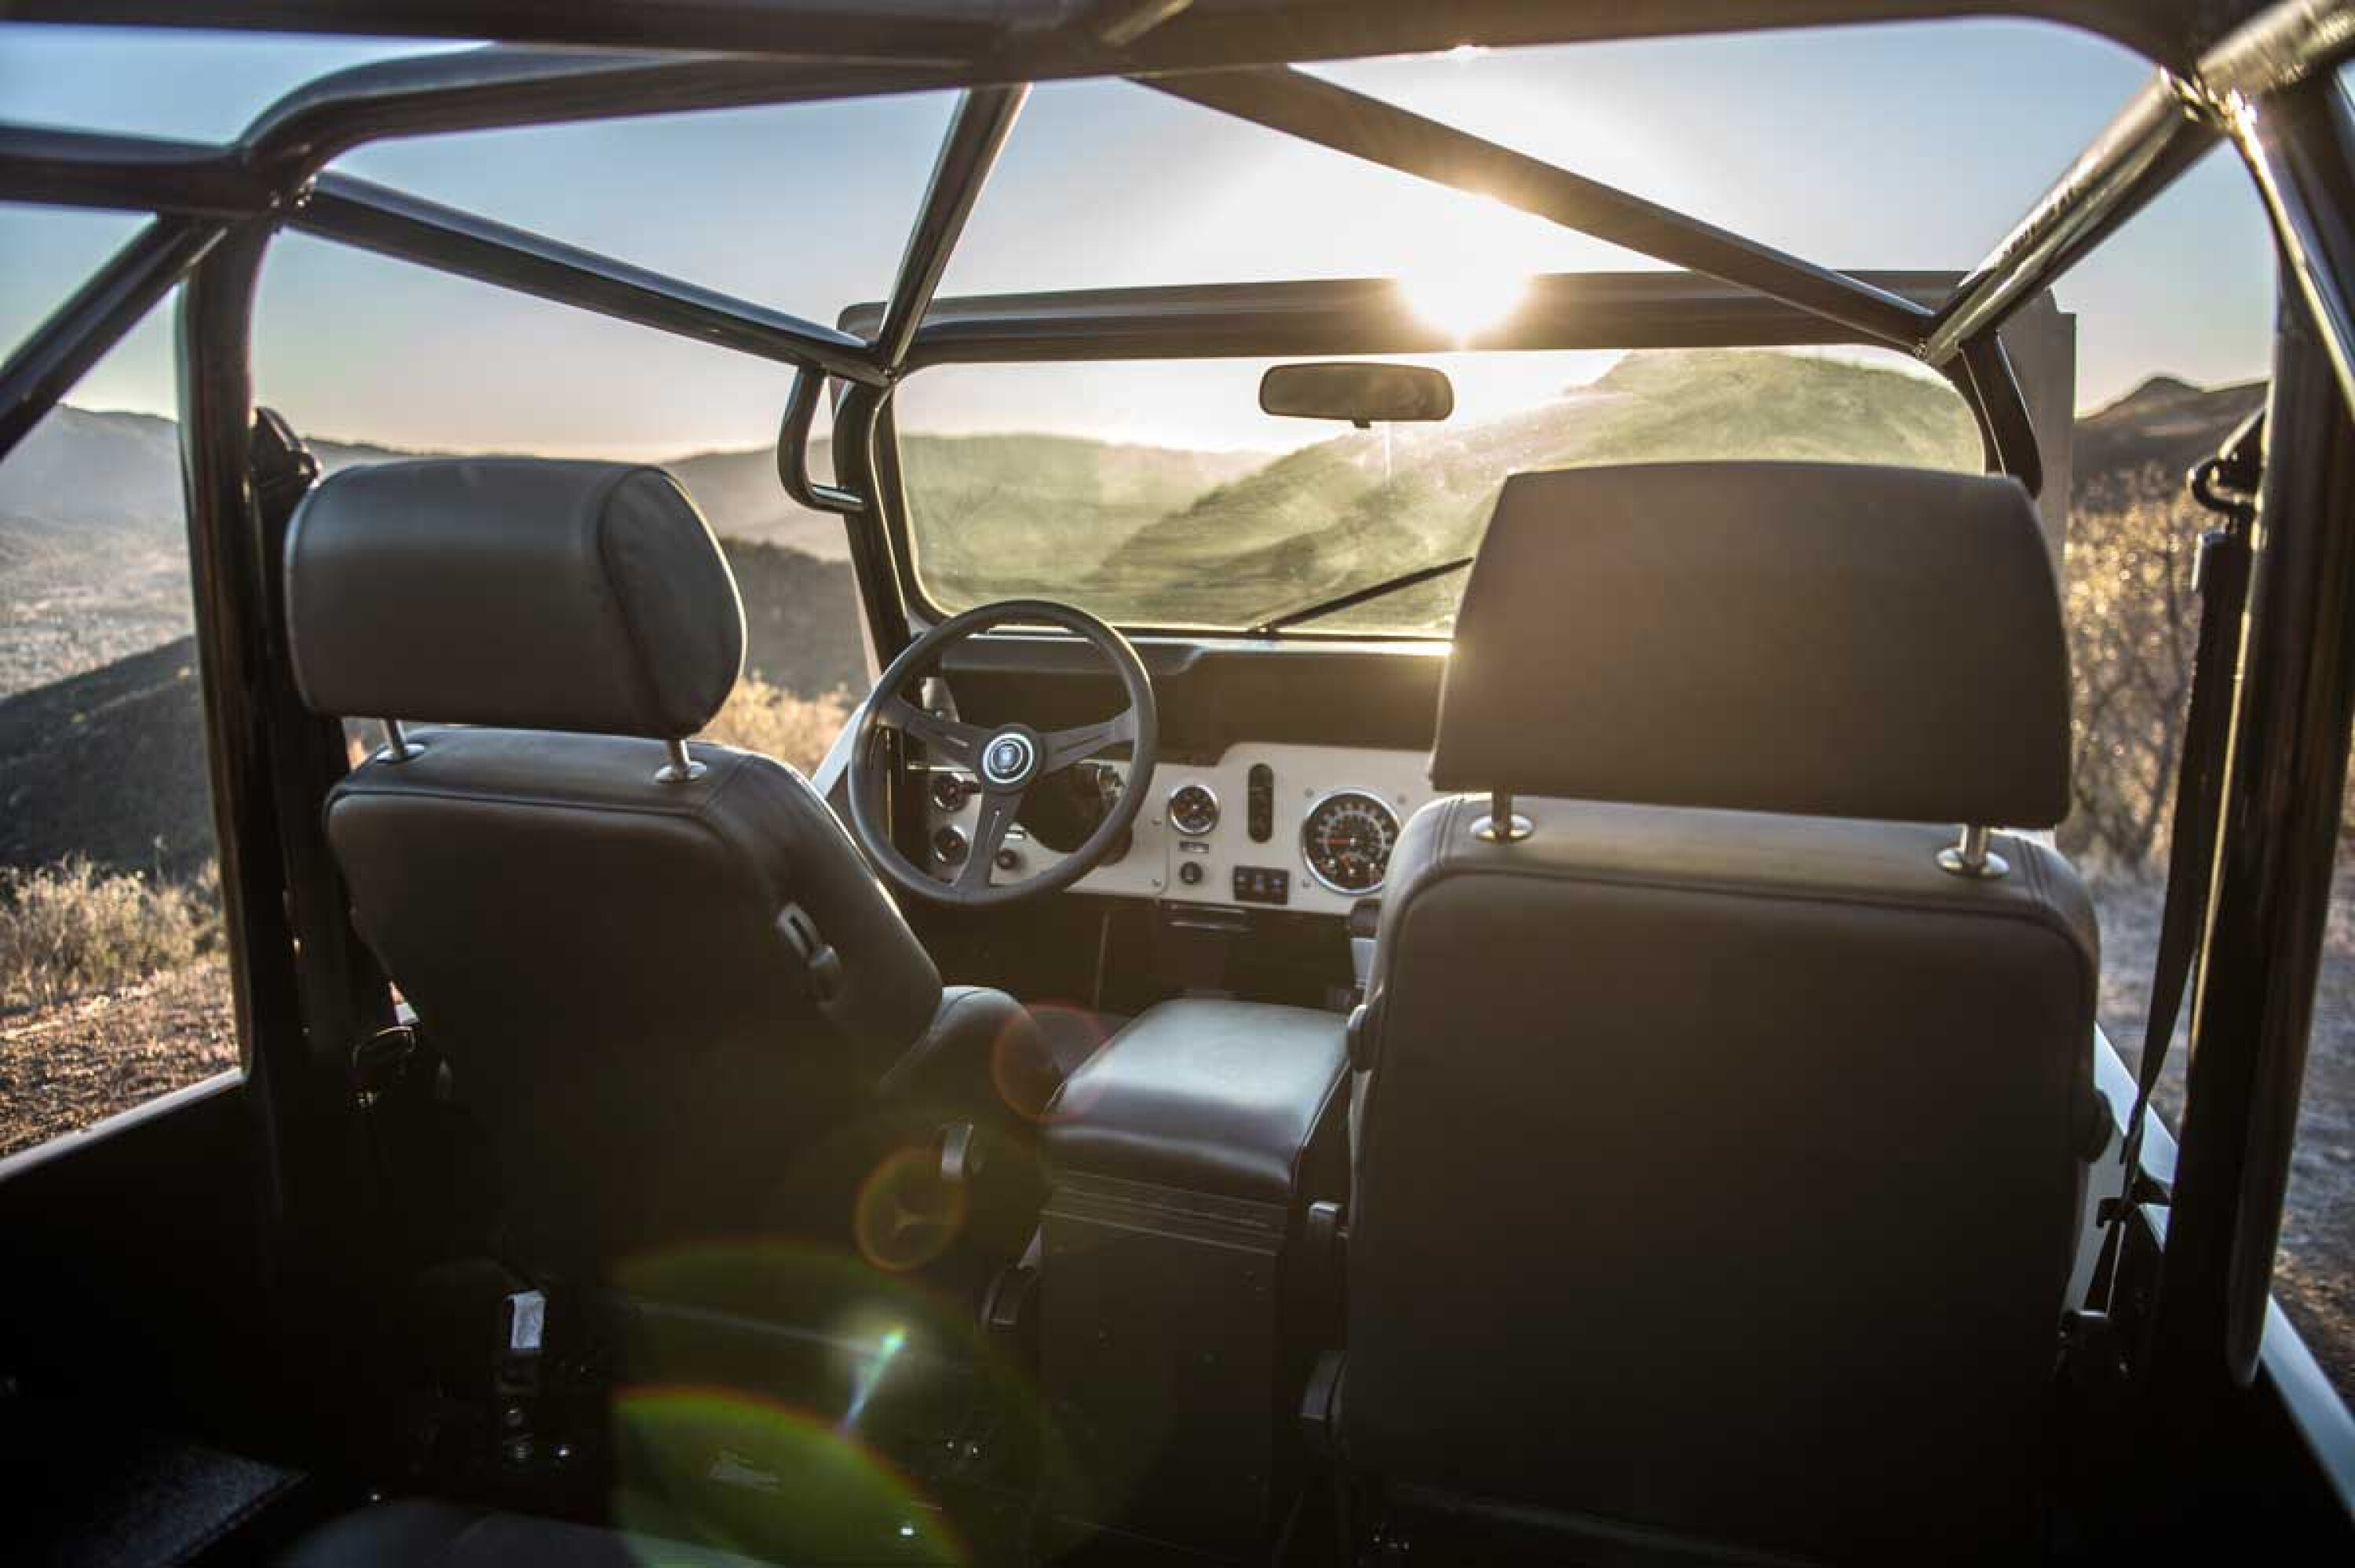
2: Ride quality
Let’s be honest, aside from a few aesthetics here and there, the ride quality is unarguably one of the defining features that separates an old rig from a resto-mod.
You can throw all the LED headlights you want at an old FJ40, if it’s rocking a 2H diesel and leaf springs it’d be more than a stretch to call it a resto-mod. The good news is, depending on your budget, making your ride handle a million times better is a straightforward affair.
The bad news is, even if you are on a budget, a large chunk of your cash is going to be chewed up here.
On a budget
COST: $2500-$4000
If you’re aiming to make your rig taller there are $50 spacers you can get that’ll jack it up, but if you want to have the suspension perform better on road and off in terms of ride quality and articulation, then even on a budget you’ll need to spend a little cash.
“By replacing the factory springs the vehicle is able to carry itself and extra load better,” Nick Finch from suspension experts Solve Offroad says. “Do this in conjunction with the correct shocks that suit the springs and you add extra ability to control the vehicle through cornering and over uneven surfaces.”
The actual price you need to pay will largely depend on what the stock suspension is to begin with, and how much you want to change it. The sheer volume of material in leaf springs means they’ll inherently cost more than coil springs, but around the $2500 to $4000 mark should get you a half decent comprehensive suspension kit with matching springs, shocks, bushes and any other ancillary kit like shackles and pins to tie it all together.
You won’t be winning Finke for $4k, but it’ll be the best your LN106 HiLux has handled in years.
1
Flash a little cash
COST: $5000-$10,000
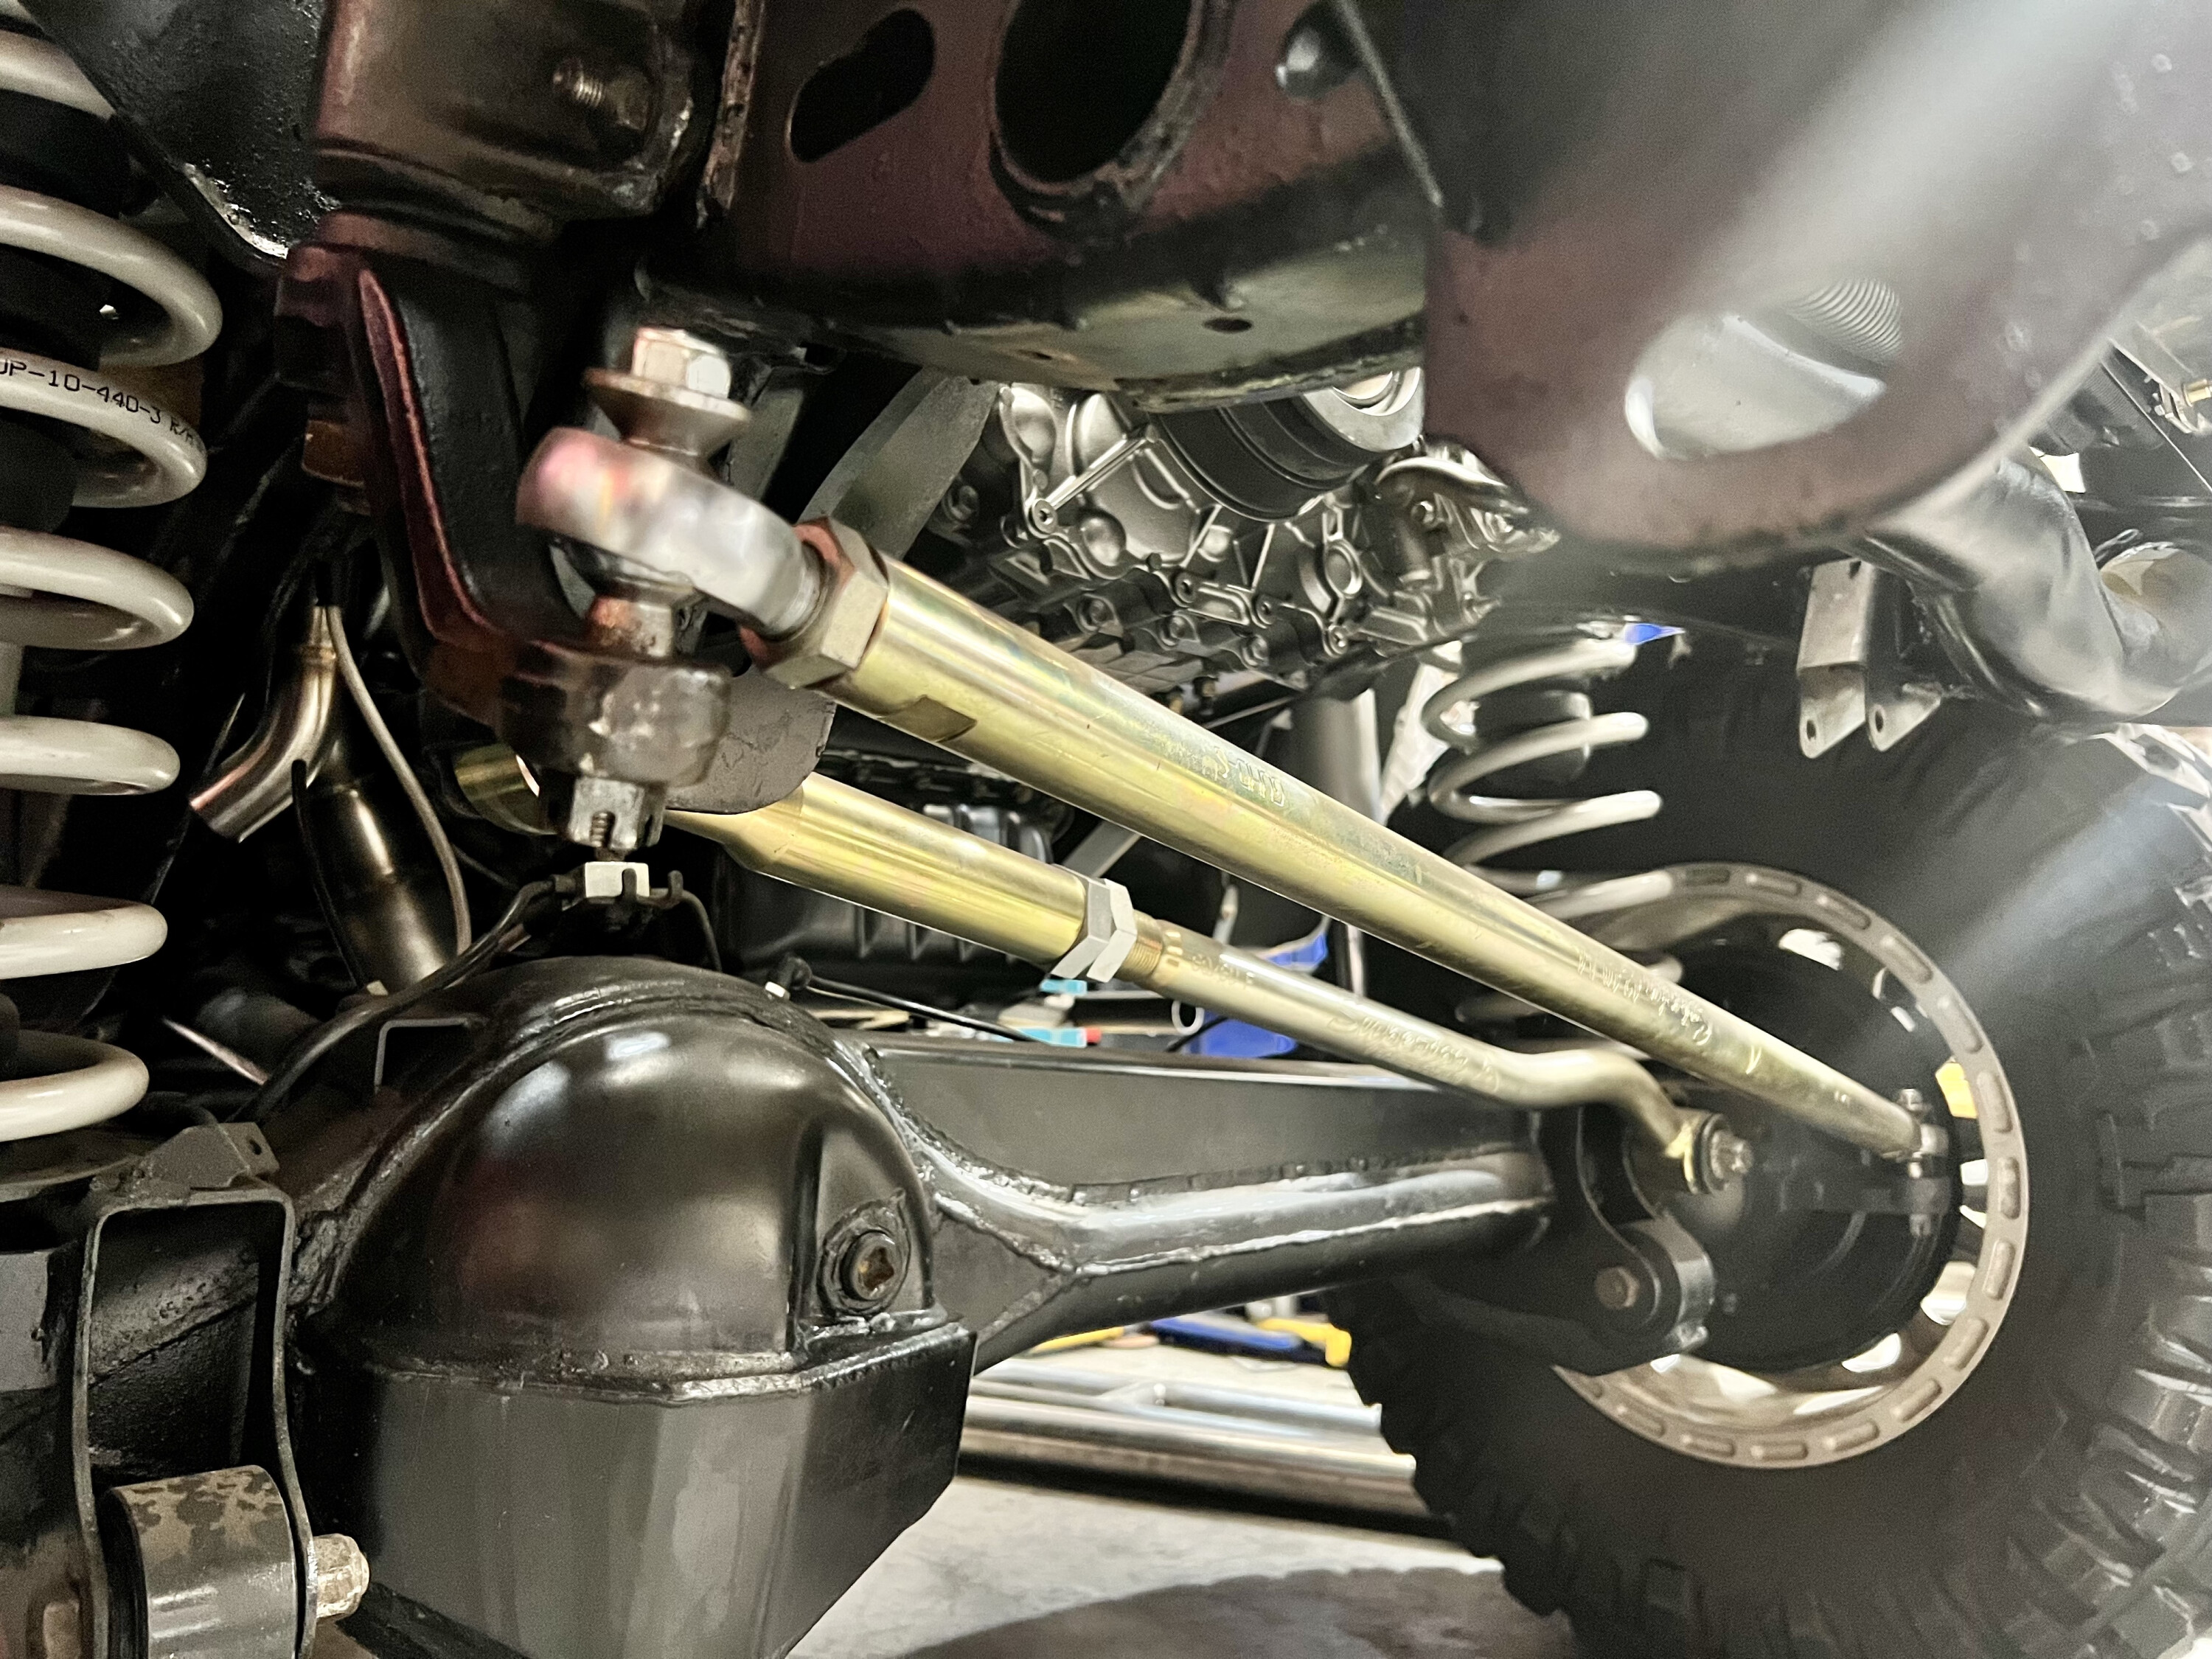
Say what you will about dual cab utes, there’s a near endless expanse between the performance of a base model Ranger and a Ranger Raptor. Looks aside, the difference almost entirely comes down to suspension geometry and shock absorbers. Both of those things can be changed on your rig if you’re willing to dig a little deeper.
Geometry is reasonably straightforward. If you’re running something common like an old ’Cruiser, Patrol or Land Rover, a halfway decent suspension shop can set you up with all the links and arms you need. For everything else, there are grinders and welders with an appropriate price tag.
You’ll also find yourself stepping up from the lower budget shock absorbers into more high-end gear. These will bring features like bigger piston diameter, adjustable valving, and remote reservoirs for additional cooling capacity in high-temperature environments.
“The off-road handling and control that these shocks deliver can be impressive,” Nick says. “If serviced, they’ll generally last longer, and perform better.”
1
The best of the best
COST: $14,000-$20,000
If you’re an all-stops-out kinda person then there aren’t really two ways about it: your old rig should have a newer chassis underneath it, and for a few more reasons than you’d think. Billy McKinnon is responsible for more old rigs on new frames than just about any other four-wheel driver in the country, and he offers drive-in drive-out chassis swaps through his business McKinnons Cruisers.
“The old school leaf springs chassis structurally aren’t the best; they flex so bad they can actually tear bonnet catches out of the bonnets in a 40” he says.
Swapping in a frame from a later model rig like an 80 Series not only gives you 20-30 year better designed suspension, brakes and steering, but also gives you physically stiffer chassis rails, meaning less body twist, and a more stable platform for the suspension to work off.
No matter what brand you’re looking at, a newer platform will provide huge benefits in driveability and in aftermarket support.
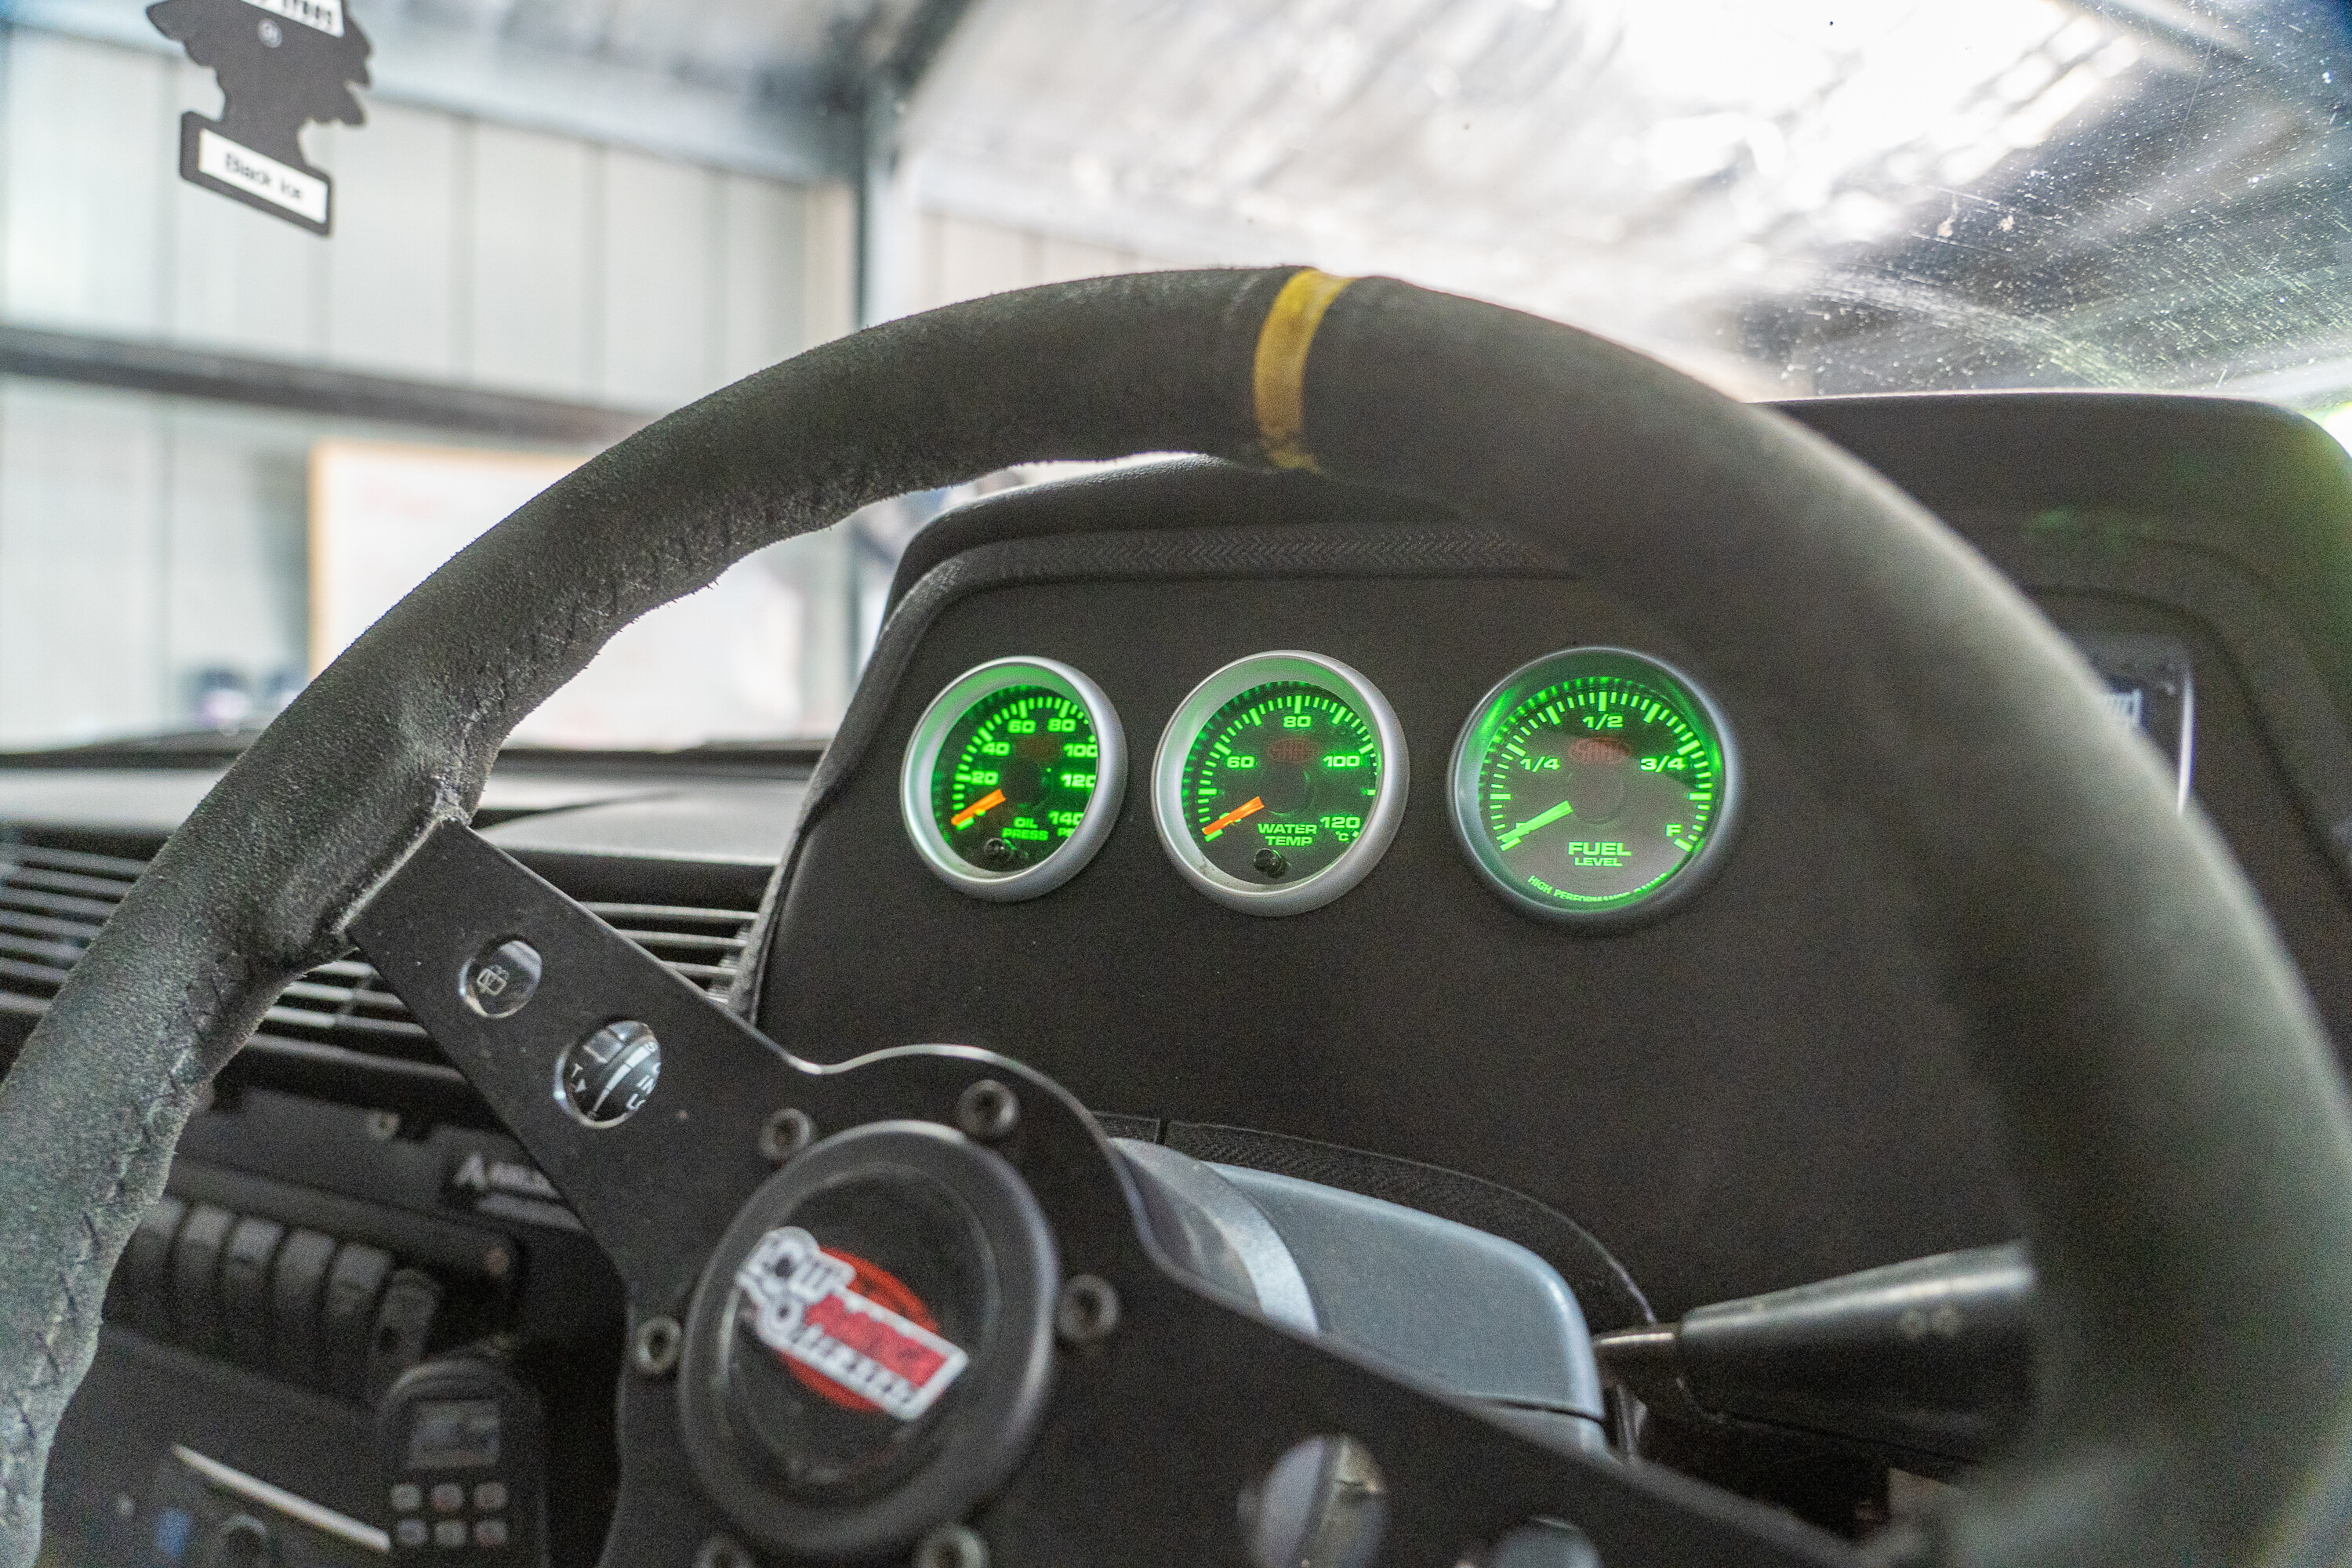
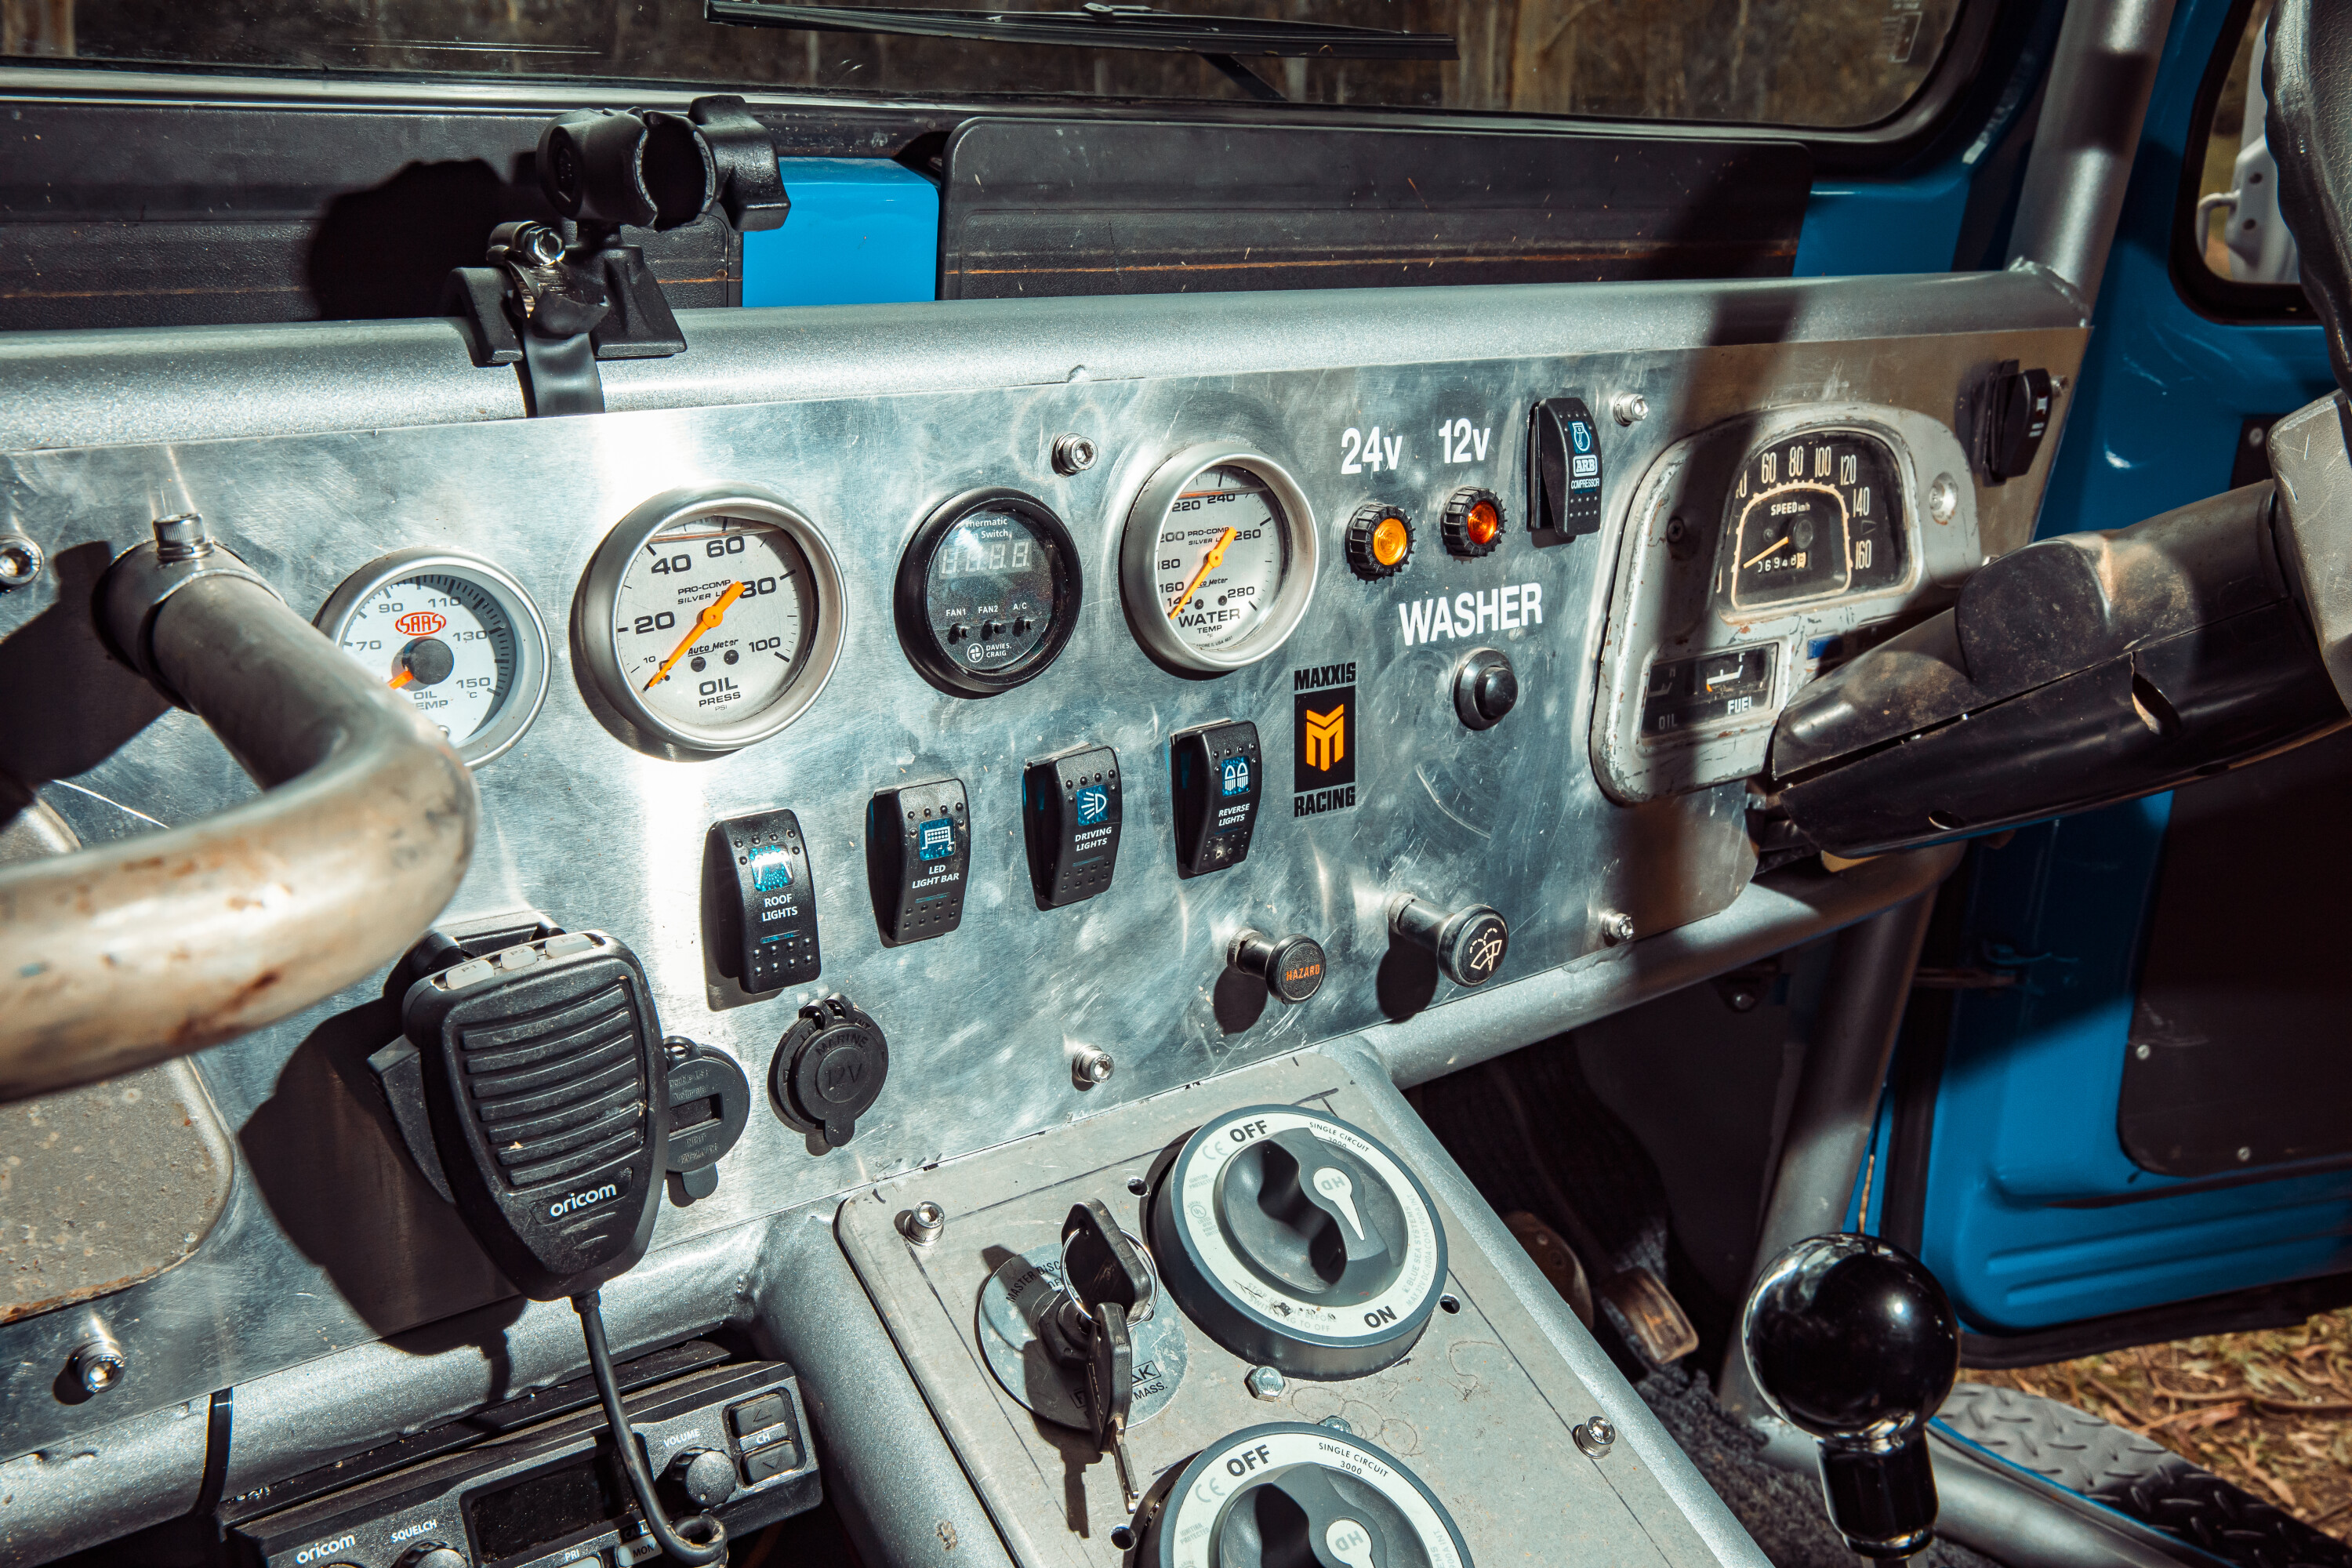
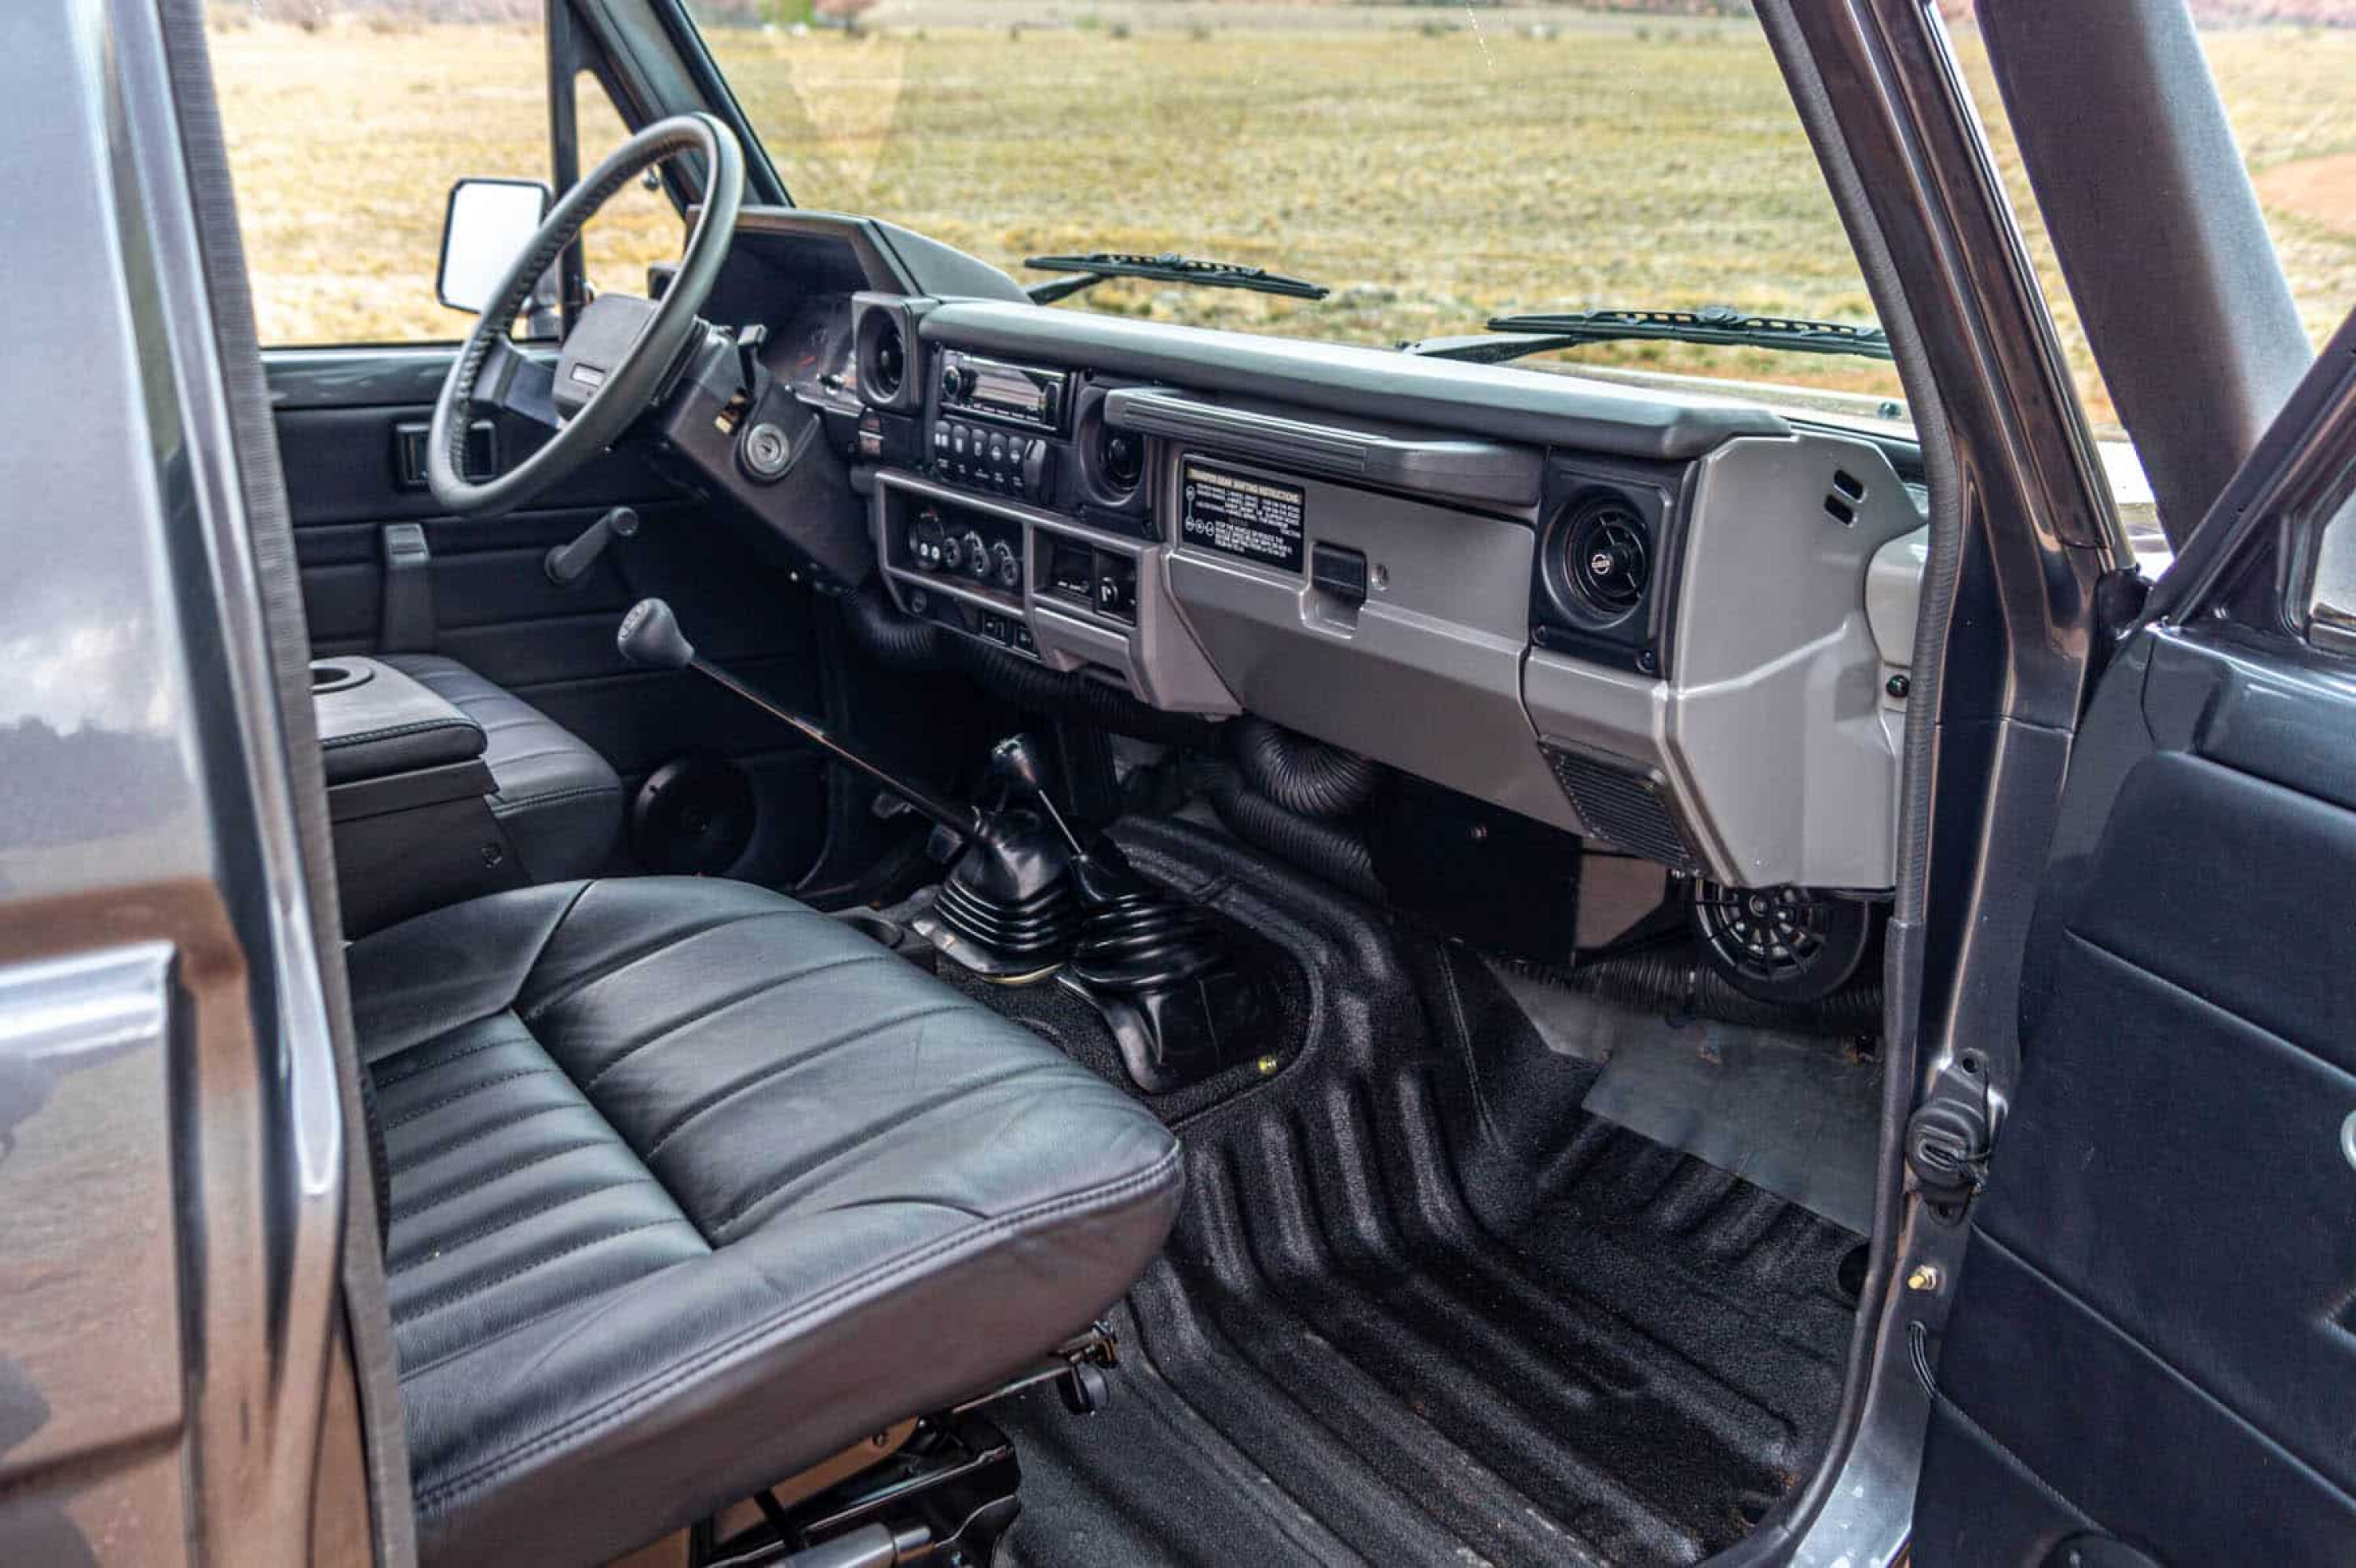
3: Tech upgrades
When it comes to tech, there is some cool aftermarket stuff out there, but it’s still leaps and bounds behind what the OEM has to offer. Without spending the price of a new F150 on something custom, you’re not going to get the seamless integration of tech such as stability control like you’re get in a modern rig, but it doesn’t mean you can’t spruce up that old GQ to something that’d seem space age back in ’93.
On a budget
COST: $500-$1000
Forget the old six-stacker CD player or Bluetooth head unit, stereos with phone integration either through Apple CarPlay or Android Auto are worth their weight in gold.
Depending on your dash style, a simple touchscreen stereo install could give you off-road mapping, digital music streaming, hands-free phone calls, weather updates, or even a heads-up for defect stations if you haven’t quite gotten around to engineering your coil-converted 60.
If your dash doesn’t suit a honking big screen, slimline options are available, as are screen-mounted dash cams that’ll wirelessly connect your phone to your stereo. Systems like these can also be tied in with reversing cameras, something that’ll boost safety around town, and can be handy off-road too.
1
Flash a little cash
COST: $1000-$2000
If you’re after a bit more in the way of modern convenience, and you don’t mind a little extra complexity, there are a few extra odds and ends you can throw behind those beautiful steel interior panels without getting too over the top.
For less than a grand or two these days you can even wire up a Model T to have remote start, internal temperature monitoring, power windows, keyless entry and even slot in a few parking sensors. Sure, it all adds complexity, which might be the exact opposite of what you’re chasing, but if you want those mod cons they’re not hard to add.
1
The best of the best
COST: $2000-$5000
We’re not here to tell you how to spend your money, just to tell you what your options are. If those classic gauges nestled deep inside a vintage steel bezel is one of the things you love about your old rig then polish them up and send them for another 40 years. But if you’re after a little more bling on the inside of your rig there are options too.
If you’re after that vintage styling from a distance but modern performance then companies like Dakota Digital make offerings that are nigh indistinguishable in aesthetics, but with modern accuracy and customisability.Paired with a high-end steering wheel you’ll have a seriously classic ride.
Or if you’re after the latest and greatest there’s a variety of digital dash clusters available with generic mounts that can be modified to suit. Going down this path can allow you to completely customise what your dash looks like, from digital gauges to inbuilt mapping software. Paired with a later-model steering wheel you’ll have a modern experience in an old rig, but may start losing some of that old charm.
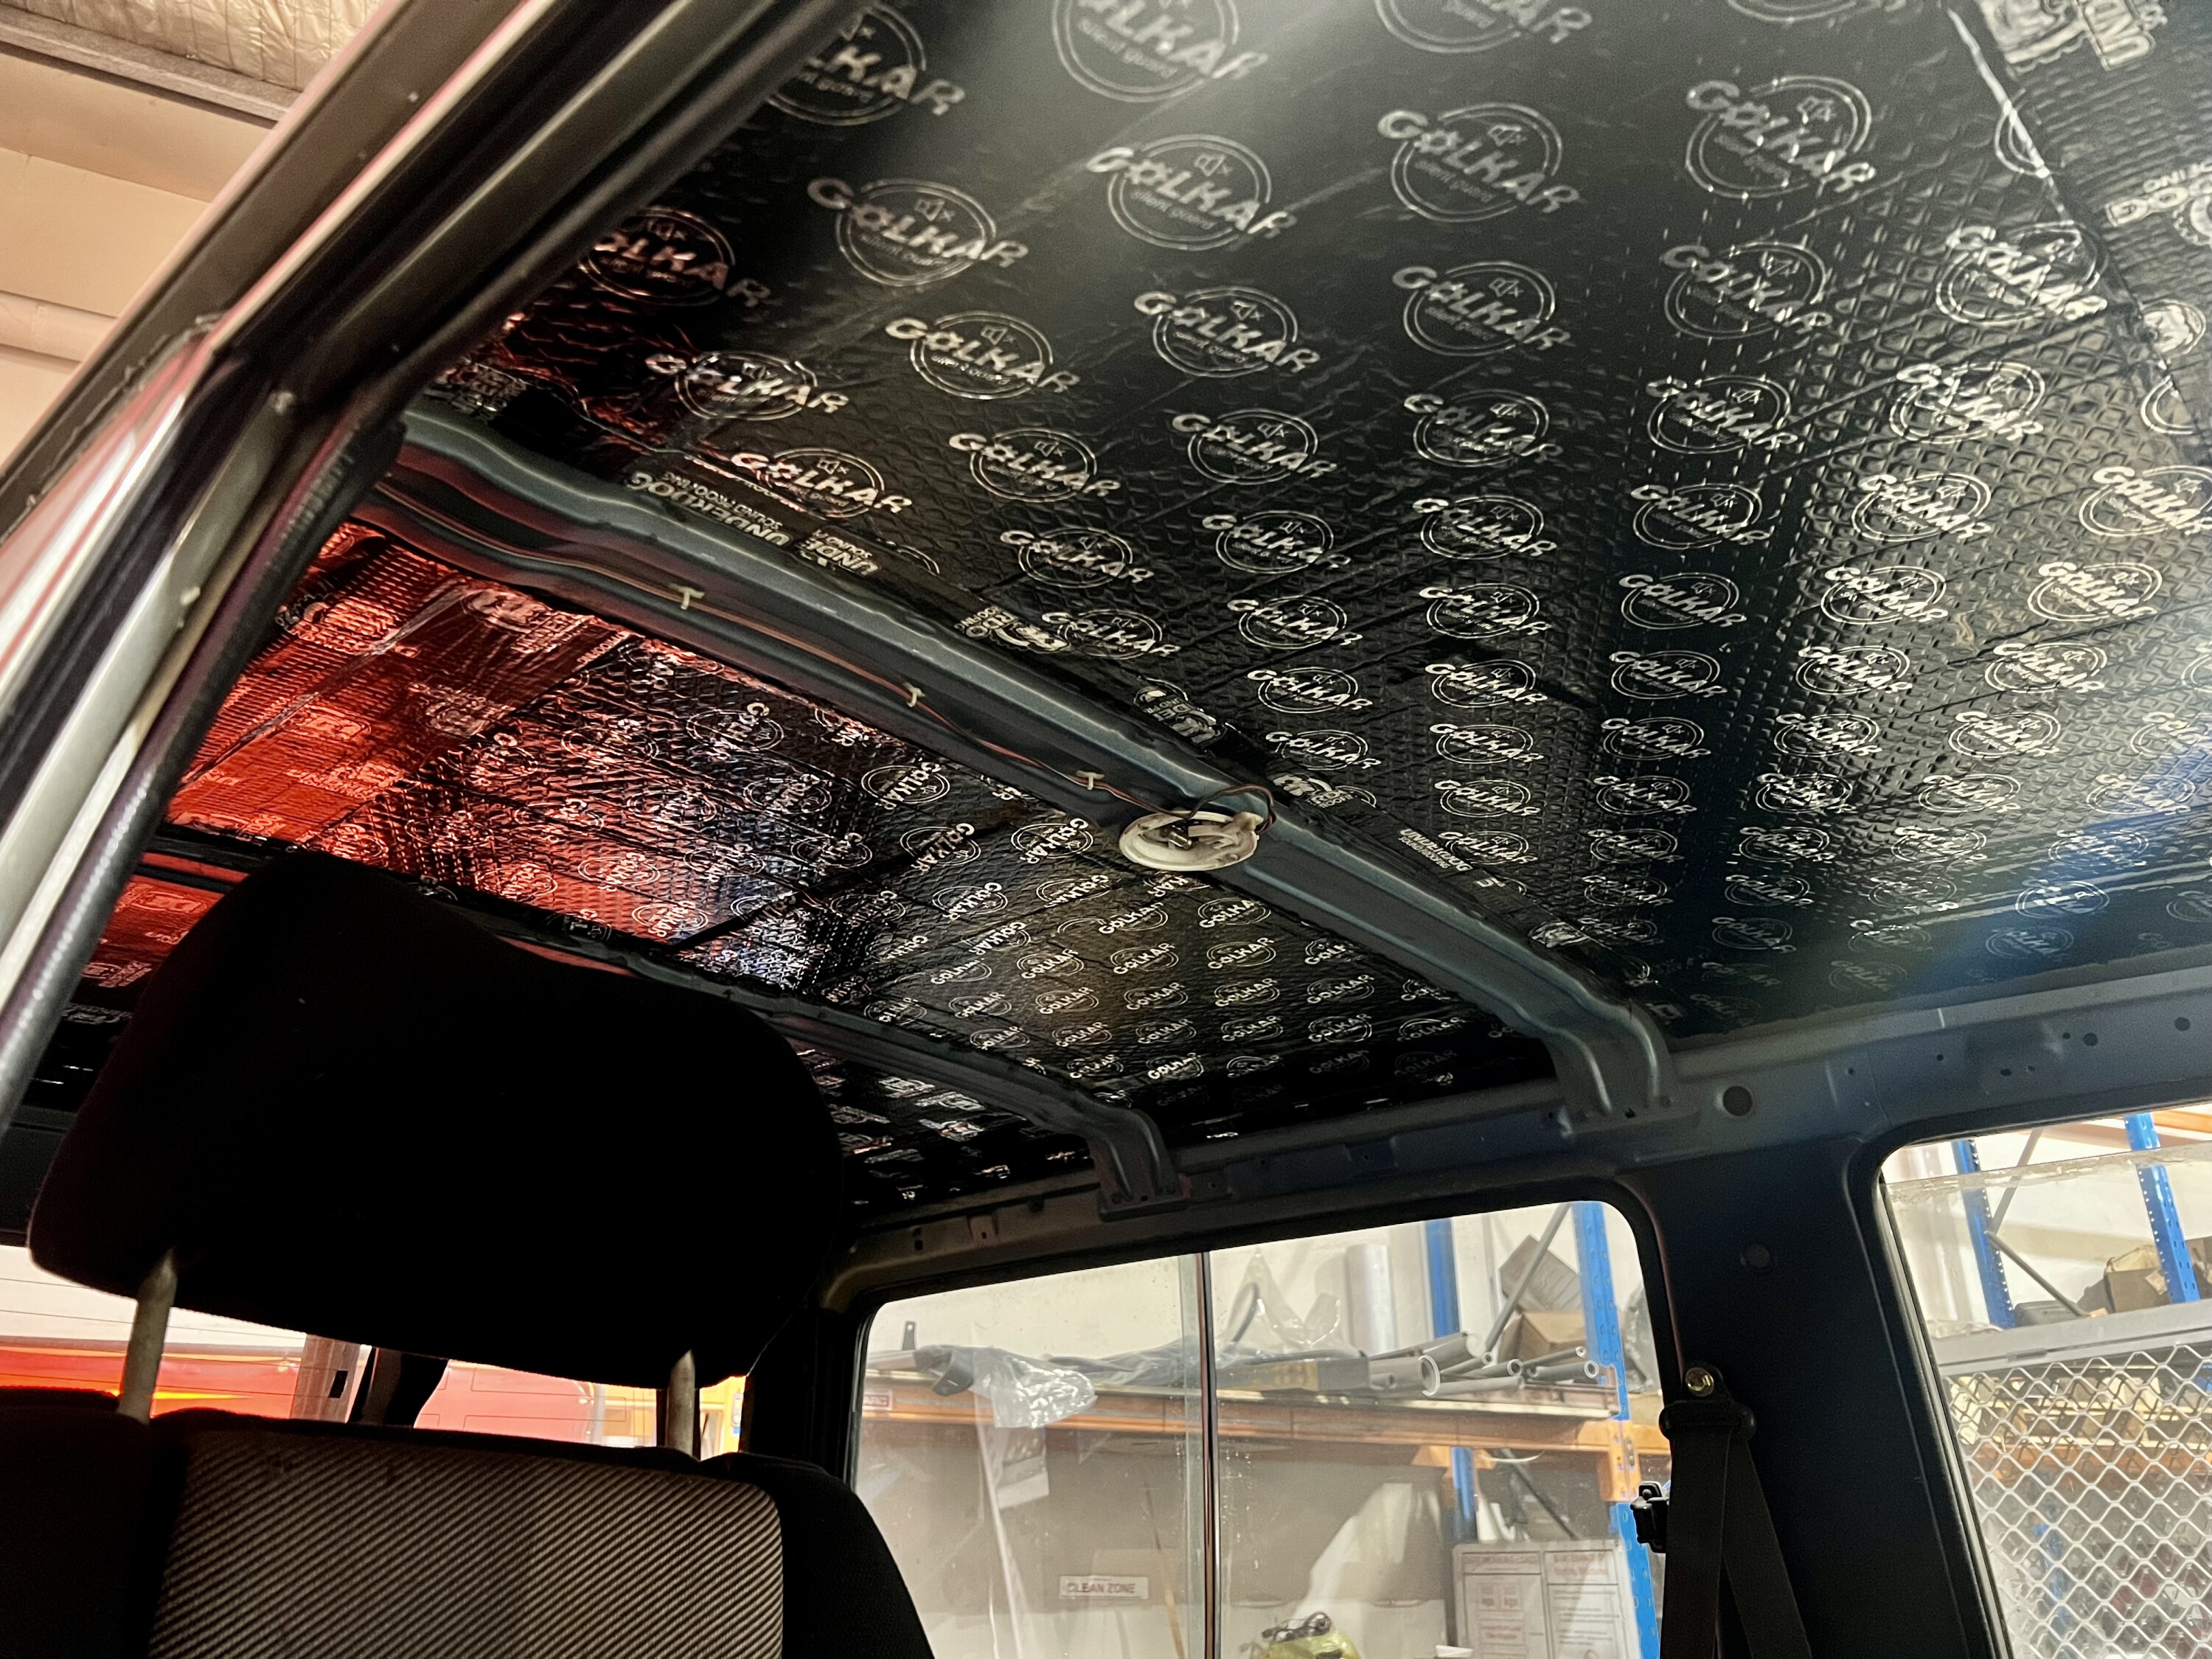
4: NVH
Without a doubt the flashier your suspension and chassis setup, the nicer your rig is going to be for the daily commute or a cheeky run up the Gibb River Road. But the nicest shocks in the world won’t help if it’s deafeningly loud inside the cab and your back hurts. In modern rigs, NVH (noise, vibration and harshness) is the metric they use to measure how nice a place it is inside.
It should come as no surprise then that focusing on those three key areas will give you a huge headstart to making an older rig a nicer place to be.
On a budget
COST: $0-$800
The best things in life are free, and lucky for you that’s the exact price of running out the vacuum cleaner and pinching nan’s old toothbrush for an interior detail (she hasn’t needed it in years anyway).
Before you worry about ponying up the cash for a single purchase, spend at least a full day detailing the inside of your rig. You’ll be amazed just how much nicer it is after the seats have been shampooed, the maccas chips vacuumed up, and the glass given a quick clean.
Once that’s done and you’ve got a good starting base; have a look at what’s actually shagged. A couple of hundred bucks going on OEM gear replacing things like broken door handles, interior lights that no longer work and perished window channel rubbers will get things feeling much more refined.
If you’re feeling fancy, a few sheets of sound-deadening material on the floor pan will help cut down road noise significantly.
1
Flash a little cash
COST: $1000-$3000
If you’ve got a little extra cash to spend it’s time to start ordering up new OEM kit by the wheel barrow load. Gut the interior down to its bones and buy a complete sound-deadening kit to line the floor, doors and roof.
It’ll not only drastically reduce noise inside, it’ll also insulate your rig, making it warmer in winter and cooler in summer, and give the doors a nice solid thud as they latch shut. Don’t go throwing old carpet back on either; a full set of new carpet can be had for just a few hundred bucks.
From here, your next port of call is fixing up the last few tired-looking items around the cabin. A trip to a motor trimmer for a headliner steam clean, some new door trims in the stock pattern, and any damage to the seats repaired, will bump this whole exercise up into the $3k+ range, but will literally make your interior as good as new.
1
The best of the best
COST: $4000-$5000
The neatest stock interior may be the dream come true for some, but what if you’ve got slightly deeper pockets and flashier taste? First things first; the stock seats aren’t going to cut it.
Sure, you can throw a set of Falcon seats in but most of them are nearly as old as the rig they’re going into these days.
“We find the classic styling and tech heavy features of our seats make them a popular choice for older 4x4s,” says Benjy Davenport, the main man behind Scheel-Man Australia seats. “Being able to have a near-factory look while adding things like heated bases and back rests, arm rests, and fully adjustable lumbar support seriously improves any interior.”
If you’re feeling really boujee, option up some fancy plaid fabric on the seats then get a motor trimmer to match the rear seats, door trims and even a centre console fridge to suit.
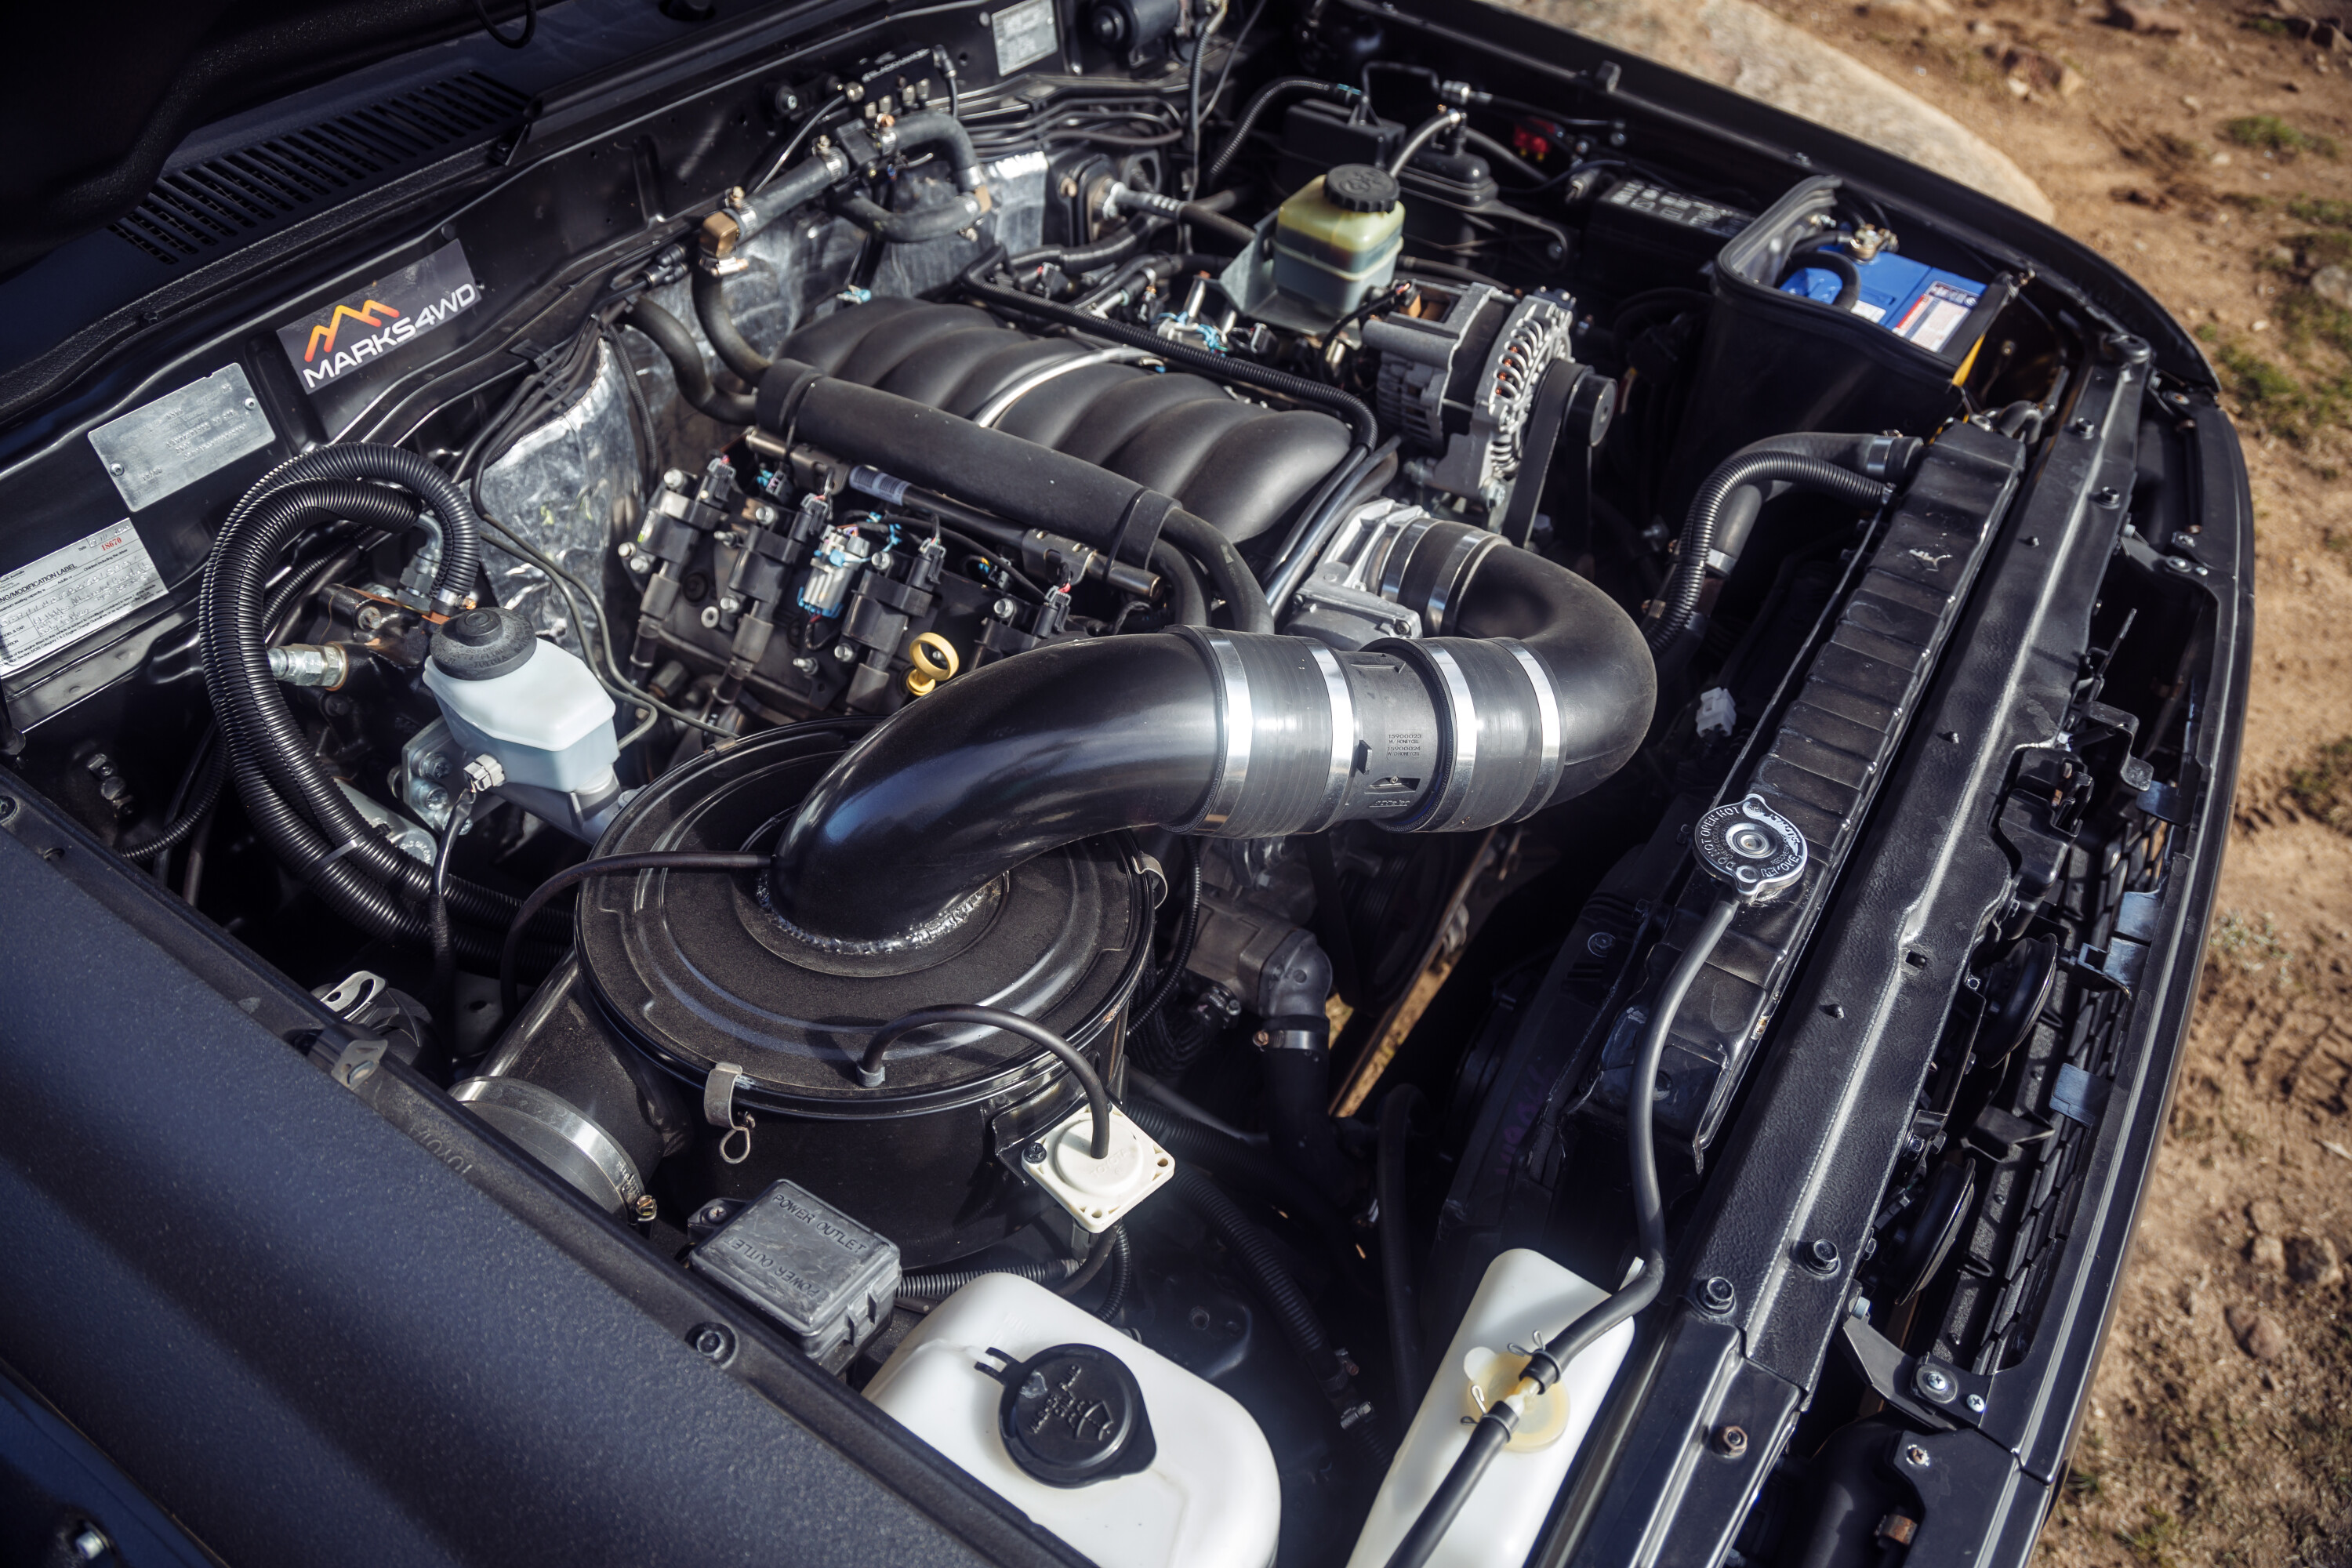
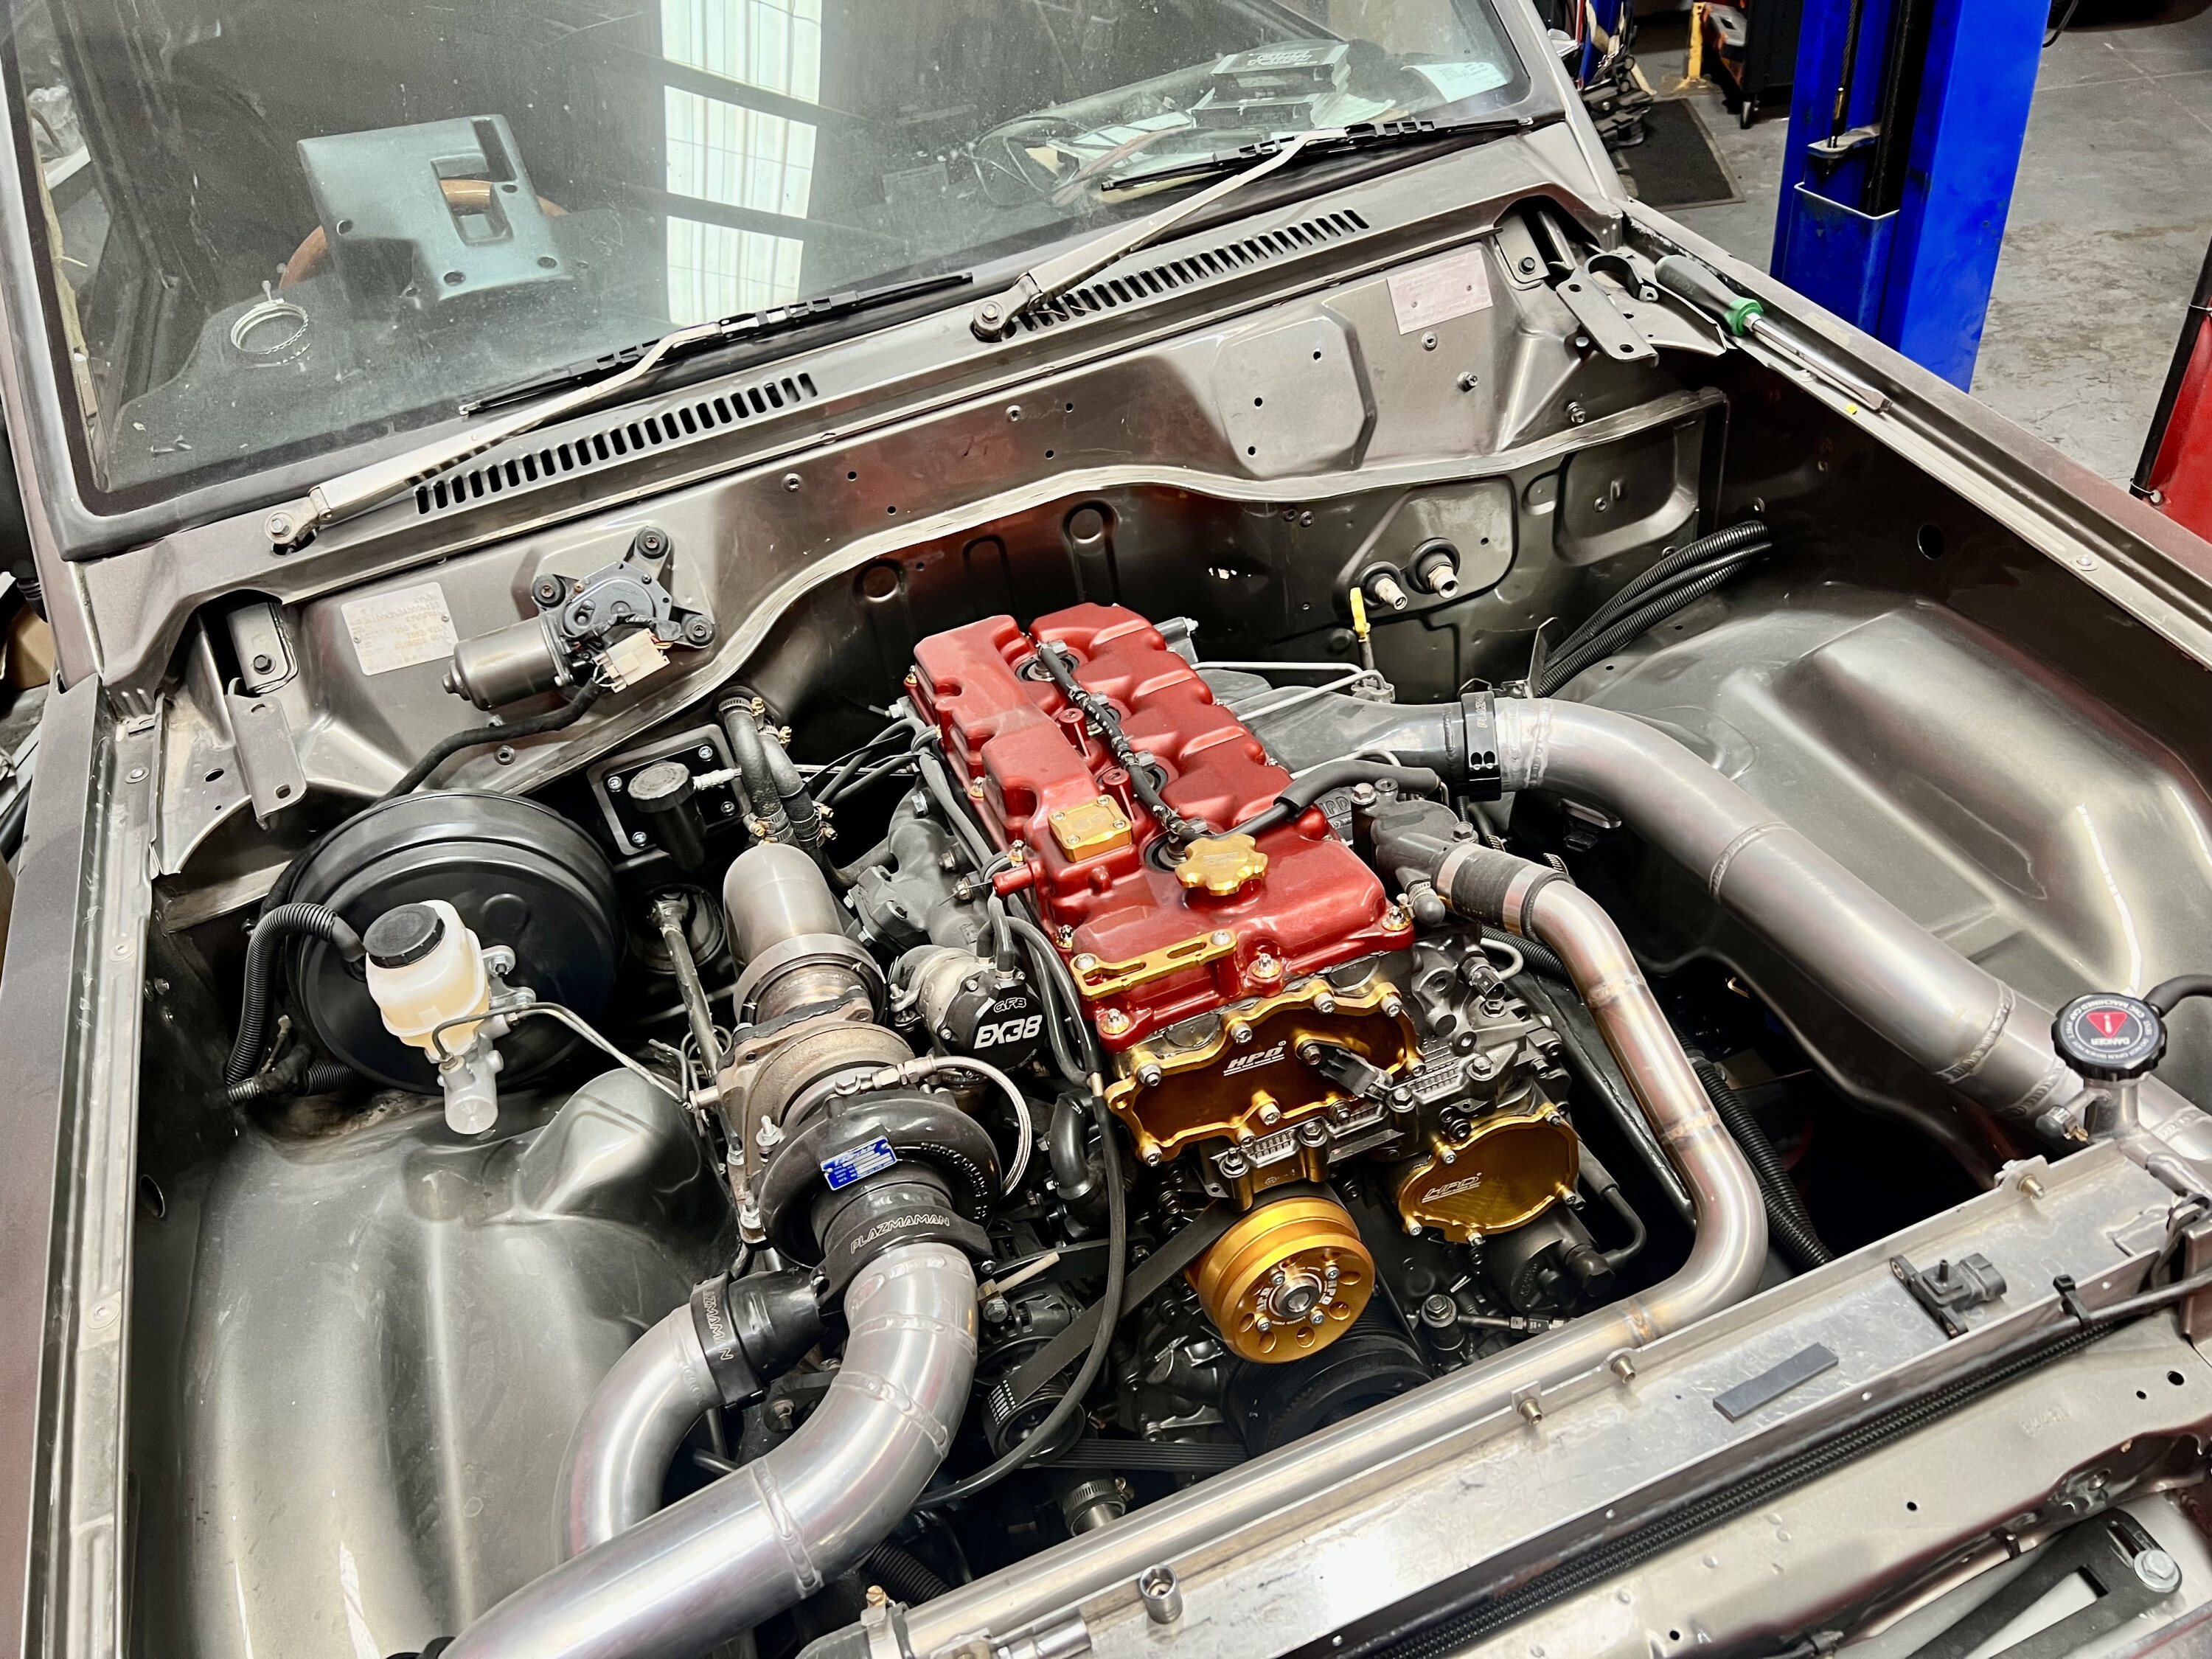
5: More power
The original upgrade, people have been shoe-horning late model engines into old rigs since the Ford Model T days. Heck, businesses like Marks 4WD have thrived on making it easy to put a hot-rodded powerplant into a 4×4, but today there’s more choice than ever before when it comes to making your rig boogie when the right pedal gets squeezed.
Below we look at three very different pathways, each with their own pros and cons. Sure, they’re still broken up into budget ranges, but the three end up with very different results depending on your goals rather than your budget.
On a budget
COST: $3000-$10,000
Your path forward depends on the base vehicle you’re starting with but in general, older simple rigs are straightforward to hot-rod, whether they are a Range Rover or a Lada Niva. Get more air and fuel in, get more spent gasses out. Petrol or diesel doesn’t make a huge difference, a simple turbo setup with an exhaust, intercooler and some fuel modifications should see you home free.
In most cases mods like these will not only make your older rig more driveable on the road and off it, but will also see a reduction in fuel consumption as well.
Older diesels are definitely the most straightforward for modification, with off-the-shelf gear to suit popular makes and models, but petrols such as the 4.5L 1FZ LandCruiser are gaining in popularity and therefore are becoming easier to modify.
The power results will typically be far less than an all out engine conversion, but improving the original donk is often far simpler to get up and running… and legal.
1
Flash a little cash
COST: $10,000-$50,000
If you’ve decided even with a spicy tickle the stock powertrain isn’t going to get you the results you want then you’re going to have to start shopping for engine cranes, but there are two very different paths you can take. Diesel or petrol. Let us explain.
Jump on the Marks 4WD website and you’ll find a near endless combination of adaptors and bell housings all designed to get a range of late-model engines into older rigs.
Engines like the GM range of LS V8s, or Ford’s Barra turbo-sixes will typically use a little more fuel than the old donk you’re pulling out, but frequently offer more than double the power with very simple upgrades to the new engine. If you’re after a weekend play thing, love the sound of an angry exhaust, or just flat-out prioritise power over economy, then these are the drivetrains you need to be looking at.
Alternatively, late model diesel conversions into older rigs are also becoming more common. Isuzu’s near iconic 4JJ1 engine has developed a massive following in the aftermarket making conversion kits and upgrades a straightforward process.
Sure, you’re not going to get the grunt or exhaust note of a bent-eight, but with sub 12L/100km fuel consumption and the practical power of a new DMAX it’s an enticing proposition.
1
The best of the best
COST: $80,000-$100,000
We’re the first to admit that electric vehicles just flat out aren’t there yet for serious remote-area travel. There’s simply nowhere to plug in that fast charger on the Tele Track and no reliable way to carry extra juice with you.
But for some old rigs an EV conversion can be the difference between a garage relic and a killer daily driver capable of camping trips here and there. Dave Budge from Jaunt Motors down in Victoria reckons the electric powerplants they specialise on slotting into old rigs are so powerful these days they’re artificially limiting grunt to make them driveable.
“You can’t equate kW to kW with a petrol engine,” he tells us. “It feels like 20-30 per cent more power, you move your right foot and there’s an instant response, not noise and then speed, it’s just speed. The torque is always there.”
While the price tag is eye watering, the results often mean the very definition of turnkey. You can have a 50 year old 4×4 that’s simpler than it originally was, and starts every time. With a decent size battery bank range can be up around 500km, but actually improves off-road rather than decreases like an internal combustion engine.
They come with the rather unique benefit of being able to hear exactly what your tyres are doing at any given time. Imagine trundling up a rock edge knowing your back right is struggling for traction and needs steering input before the 4×4 shows a single sign of slowing. They’re certainly not for everyone, but if you have the means it’s hard to argue with the results.
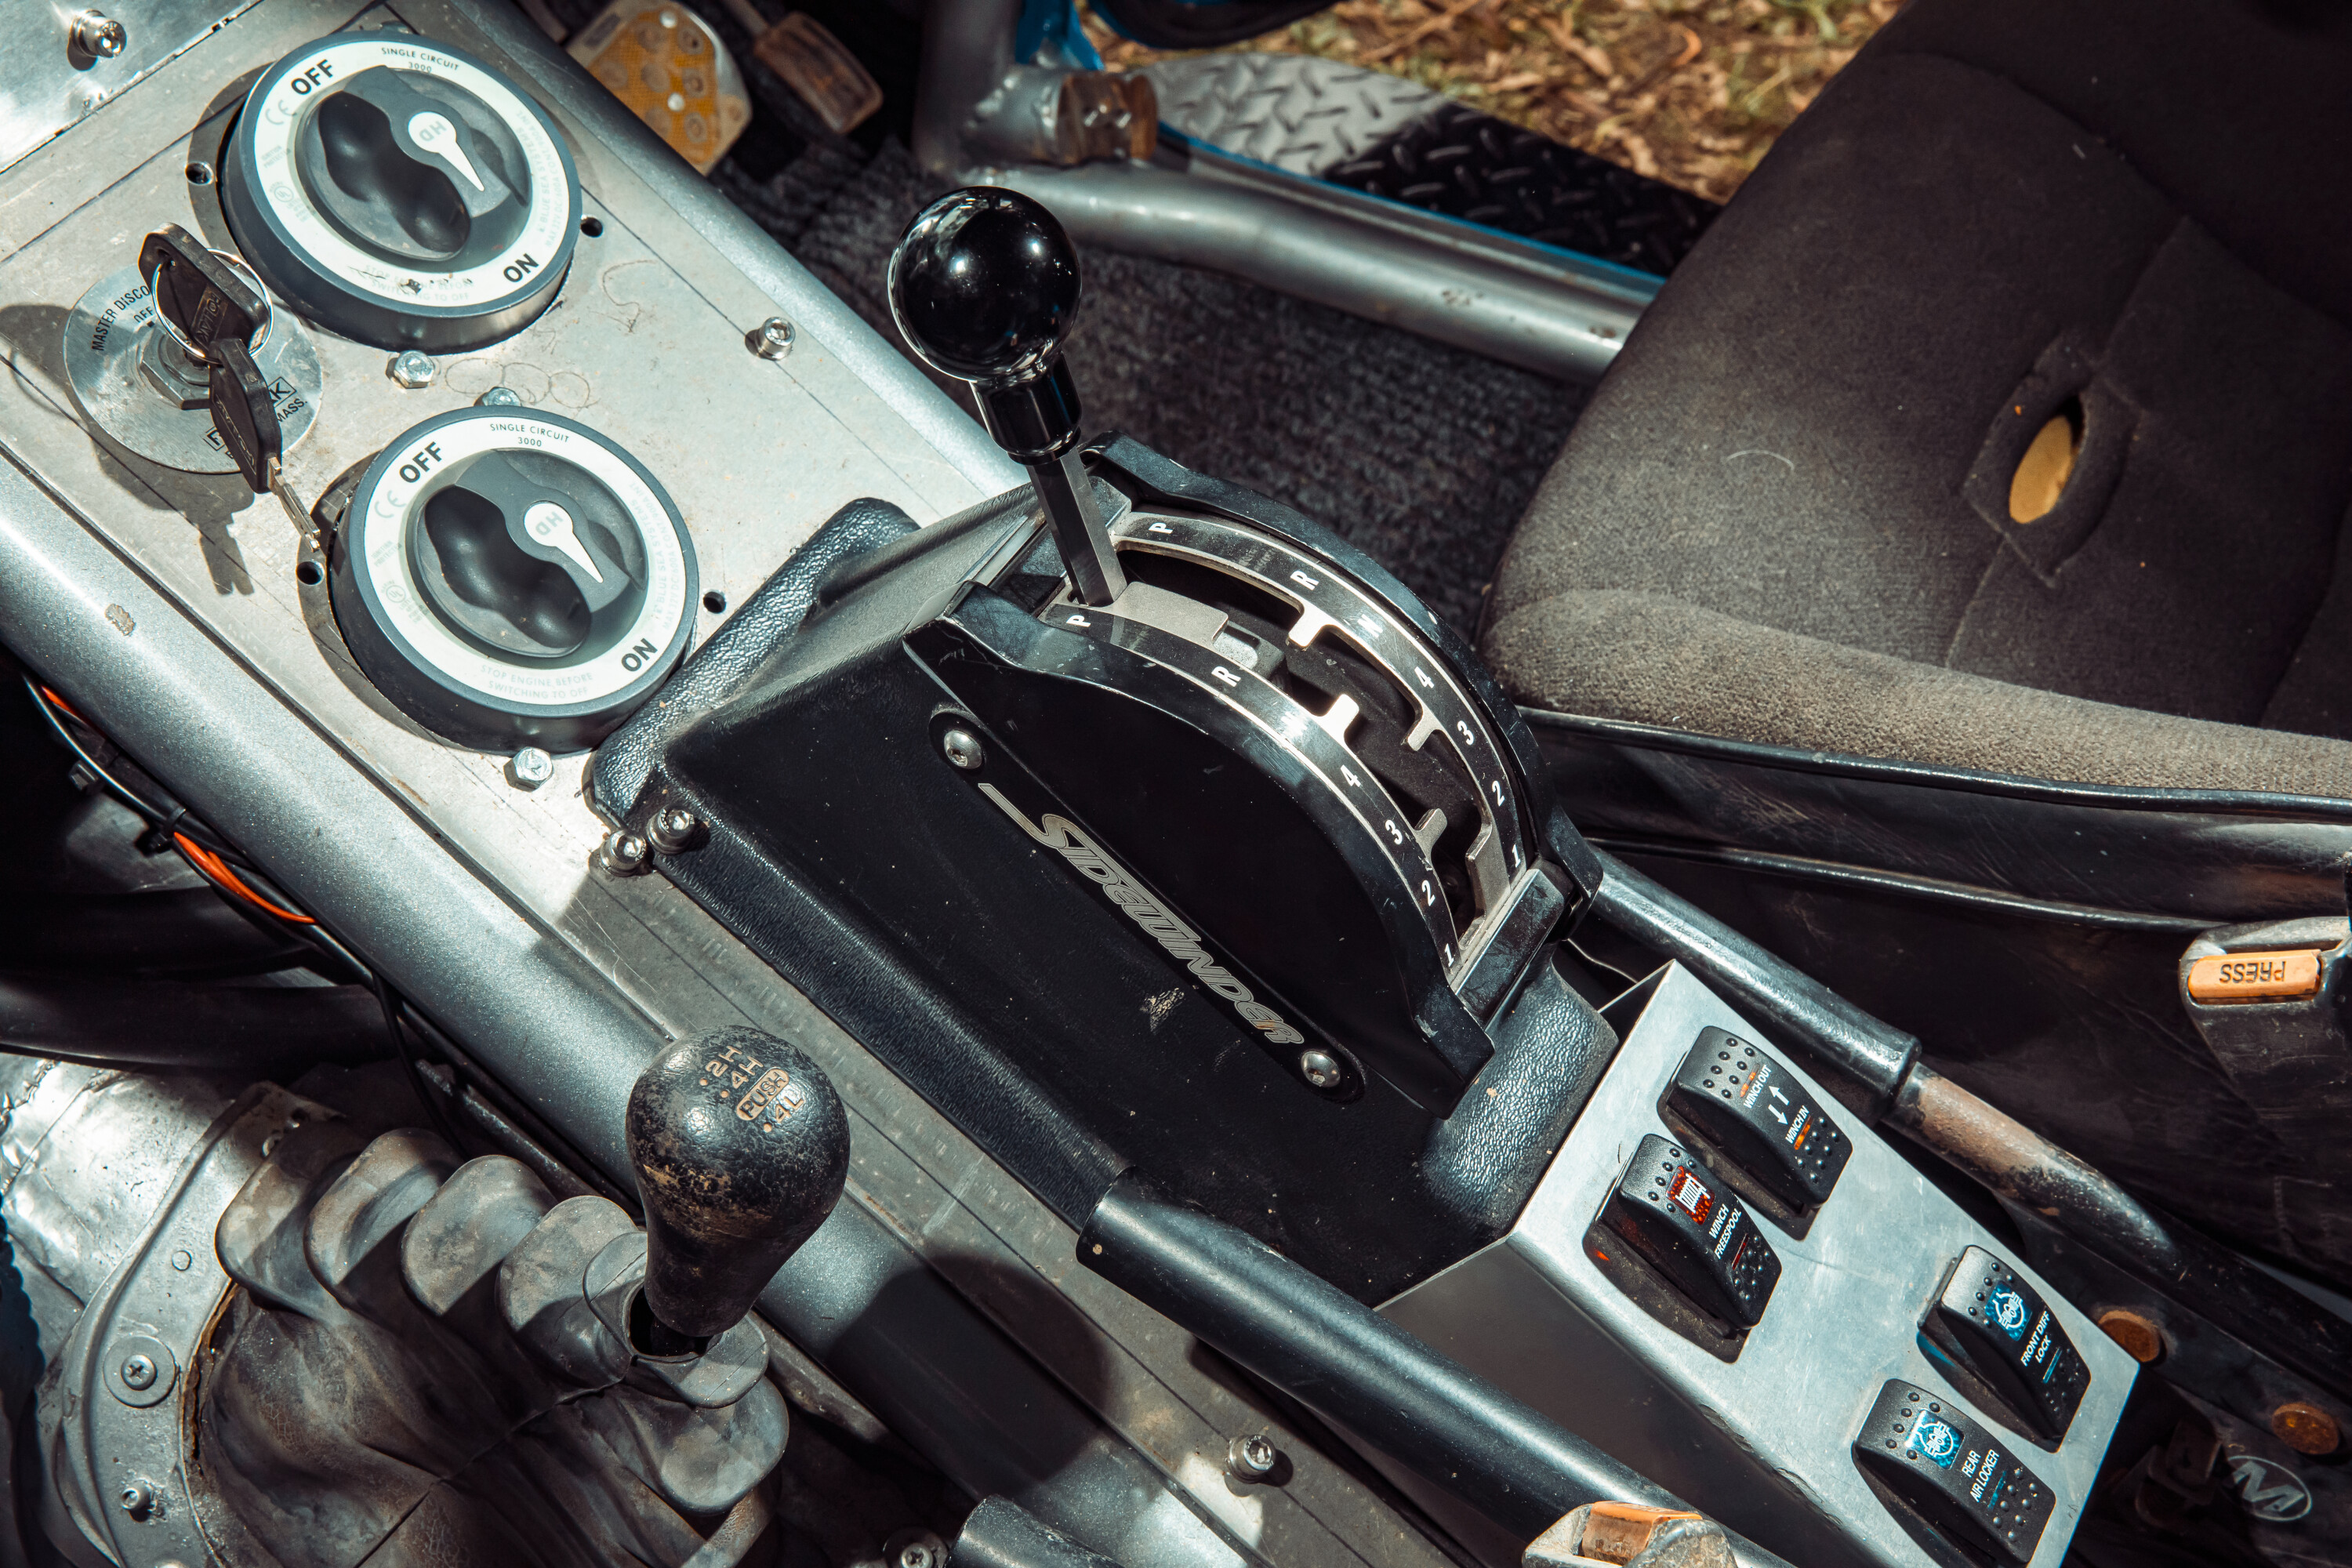
6: Transmission
Let’s get one thing straight right from the get-go: for almost every situation in almost every vehicle, automatics from 30 years ago are mostly downright garbage.
They were heavy, clunky to change gears, constantly in the wrong gear, and rarely held up to the power the stock engines made back in the day, so they’re sure as hell not up to the task of any modern drivetrain. If you’re going to the hassle of making more exciting things happen when you put your right foot down it makes sense to get a transmission that’ll do it well.
On a budget
COST: $300-$500
Look, if you’re spending five grand on a set of shocks at least make sure the old clunky auto gets some of the power from the engine to the transfer case. You don’t have to go buck wild here but assume at a bare minimum you’re going to need to run a few fluid changes through it to fully replace the old stuff.
Check for any fibres in the old fluid as a sign of worn clutch packs. While you’re in there it’s worth fitting up a new filter and gasket as well as running your eyes over the condition of any external soft lines. If you’re planning on any soft sand work then an external cooler is an absolute must have as well.
All up, between a few fluid changes and a new pan and filter, you should only be out a few hundred bucks. The ’box will shift a little tighter, and last a little longer, so it’s worth the effort and money.
1
Flash a little cash
COST: $3000-$5000
We’ve slotted this one in the middle for purely budgetary reasons but the reality is this is well and truly an “in addition to” kinda thing rather than an “instead of” pathway.
If the 4×4 you’re resto-modding is 35 years old max, then chances are the transmission has a few different accessories available that won’t necessarily modernise it, but will make it shift better, tow better, and handle power upgrades better.
There are hard parts for the internals such as heavy duty valve bodies and torque convertors, external cooler kits that’ll bypass the factory cooler in the radiator preventing a serious failure point, and then hot-rod kits like aftermarket transmission controllers that’ll allow you to not only dial up line pressure for firmer shifts, but control when the transmission will kick up or down a gear, what it’ll do if you put the boot in, and even set multiple separate patterns for eco/sport or normal/tow modes.
1
The best of the best
COST: $5000-$10,000
A transmission from 2023 is going to be worlds apart from one from 2003, let alone one from 1983 – it’s as simple as that.
“There’s been a substantial change with our engine conversion customers going away from running the original manual or automatic transmissions,” Elliot Booth from Marks 4WD says. “Late model six-speed and now even eight- or 10-speed automatic transmissions give a low first gear and a good spread right through to top gear for highway cruising. Tiptronic manual gear selection even allows the driver to hold the vehicle in the gear they choose.” This is something invaluable for steep high-country work.
Marks 4WD reckons even a simple transmission like the GM 4L60 or 4L80 will make a massive difference in driveability and fuel consumption for older rigs thanks to the addition of an overdrive gear bringing those revs right down.
7: Better brakes
You can’t add ‘go’ without adding ‘woah’. Not only do the two words perfectly complement each other, it just makes sense. Having an old rig physically capable of going faster thanks to more power under the bonnet, or physically weighing more due to a bunch of camping kit, means that even a mild brake upgrade is needed to keep things at the same standard.
If you want it to actually stop better than it did from the factory you’re going to have to dig a little deeper to make it happen. Like everything here, if you’re under a tight budget and spinning spanners in your driveway you can get an old rig performing well without spending a fortune, and if you want the best of the best there are plenty of options for that too.
On a budget
COST: $800-$1000
Ian Campbell, Product Manager over at Bendix Brakes, reckons the solution can be quite simple.
“Many of these older vehicles are starting from a lower base when it comes to braking capabilities,” he says. “The most cost-effective starting point is to select upgraded brake pads such as Bendix’s Ultimate 4WD disc brake pads.”
At a glance they may have the same dimensions as the old $20 special fitted before but high-tech compounds mean they’ll not only last longer, but bite harder.
Pads alone won’t get the job done so while the spanners are out, fit a pair of new rotors up front, fresh shoes and drums in the back, braided brake lines and fresh fluid all round. It’ll get your old rig stopping better than ever for under $1000.
1
Flash a little cash
COST: $1000-$2000
If you’re after better than stock, but not keen to go all out, then you start finding yourself in a no-mans land between budget and boujee, so you’re going to have to get creative. If you’ve gone through and either rebuilt or replaced the basic components you’ll need to look a little left of field to find more braking improvements.
“Another popular upgrade is a brake booster upgrade,” Ian Campbell says. “This will not only greatly improve braking performance, but also require less pedal effort making for a more comfortable drive.”
From here you may need to look at later-model gear off a newer version of your rig. It’s not uncommon for a visually identical vehicle to get larger brakes from one year to the next, and all of that can typically be easily retrofitted if you get creative.
1
The best of the best
COST: $3000-$10,000
Stuff it, you want the best for your rig and no one is stopping you – pun intended – the good news is, there are plenty of options for big spenders with big demands. In this price category you’re not upgrading, you’re replacing with a new system.
One of the first ports of call is a Marks 4WD hydraulic brake booster. These physically replace the old vacuum-assisted booster with a hydraulic unit and have been shown to reduce stopping distances by up to 40 per cent.
You can also tick boxes for physically larger rotors giving your brakes increased leverage, calipers with more pistons for increased clamping power, and rear drum-to-disc conversions. It’s worth mentioning though that some of these modifications can require the fitment of larger diameter wheels.
Be creative
Reading through the last few pages might make you think that turning an old rig into a cool reliable daily driver is an insurmountable task, but it’s actually the exact opposite.
Realistically, each one of the seven sections listed only needs one approach depending on your budget and needs. Sure, if you want the ultimate resto-modded rig to impress everyone, you can spend $200k building it, but you could just as easily pick out the budget options for every category, throw them into an old LN106 HiLux and have something truly special that’s not only comfortable and capable, but turns heads everywhere it goes. All for less than the price of a 10-year-old HiLux.
That’s the beauty of resto-mods; there are no guidelines or ‘keeping up with the Joneses’ required. An old first-generation Pajero with some trick alloy wheels, a mint interior and a cheeky turbo under the bonnet is every part as cool as a 600hp EV-converted Defender. The only limiting factor to what you can build is your creativity… and budget.
Contacts
Follow 4X4 Australia on Google
Get more 4x4 news, reviews and gear stories from 4X4 Australia in your Google feeds.