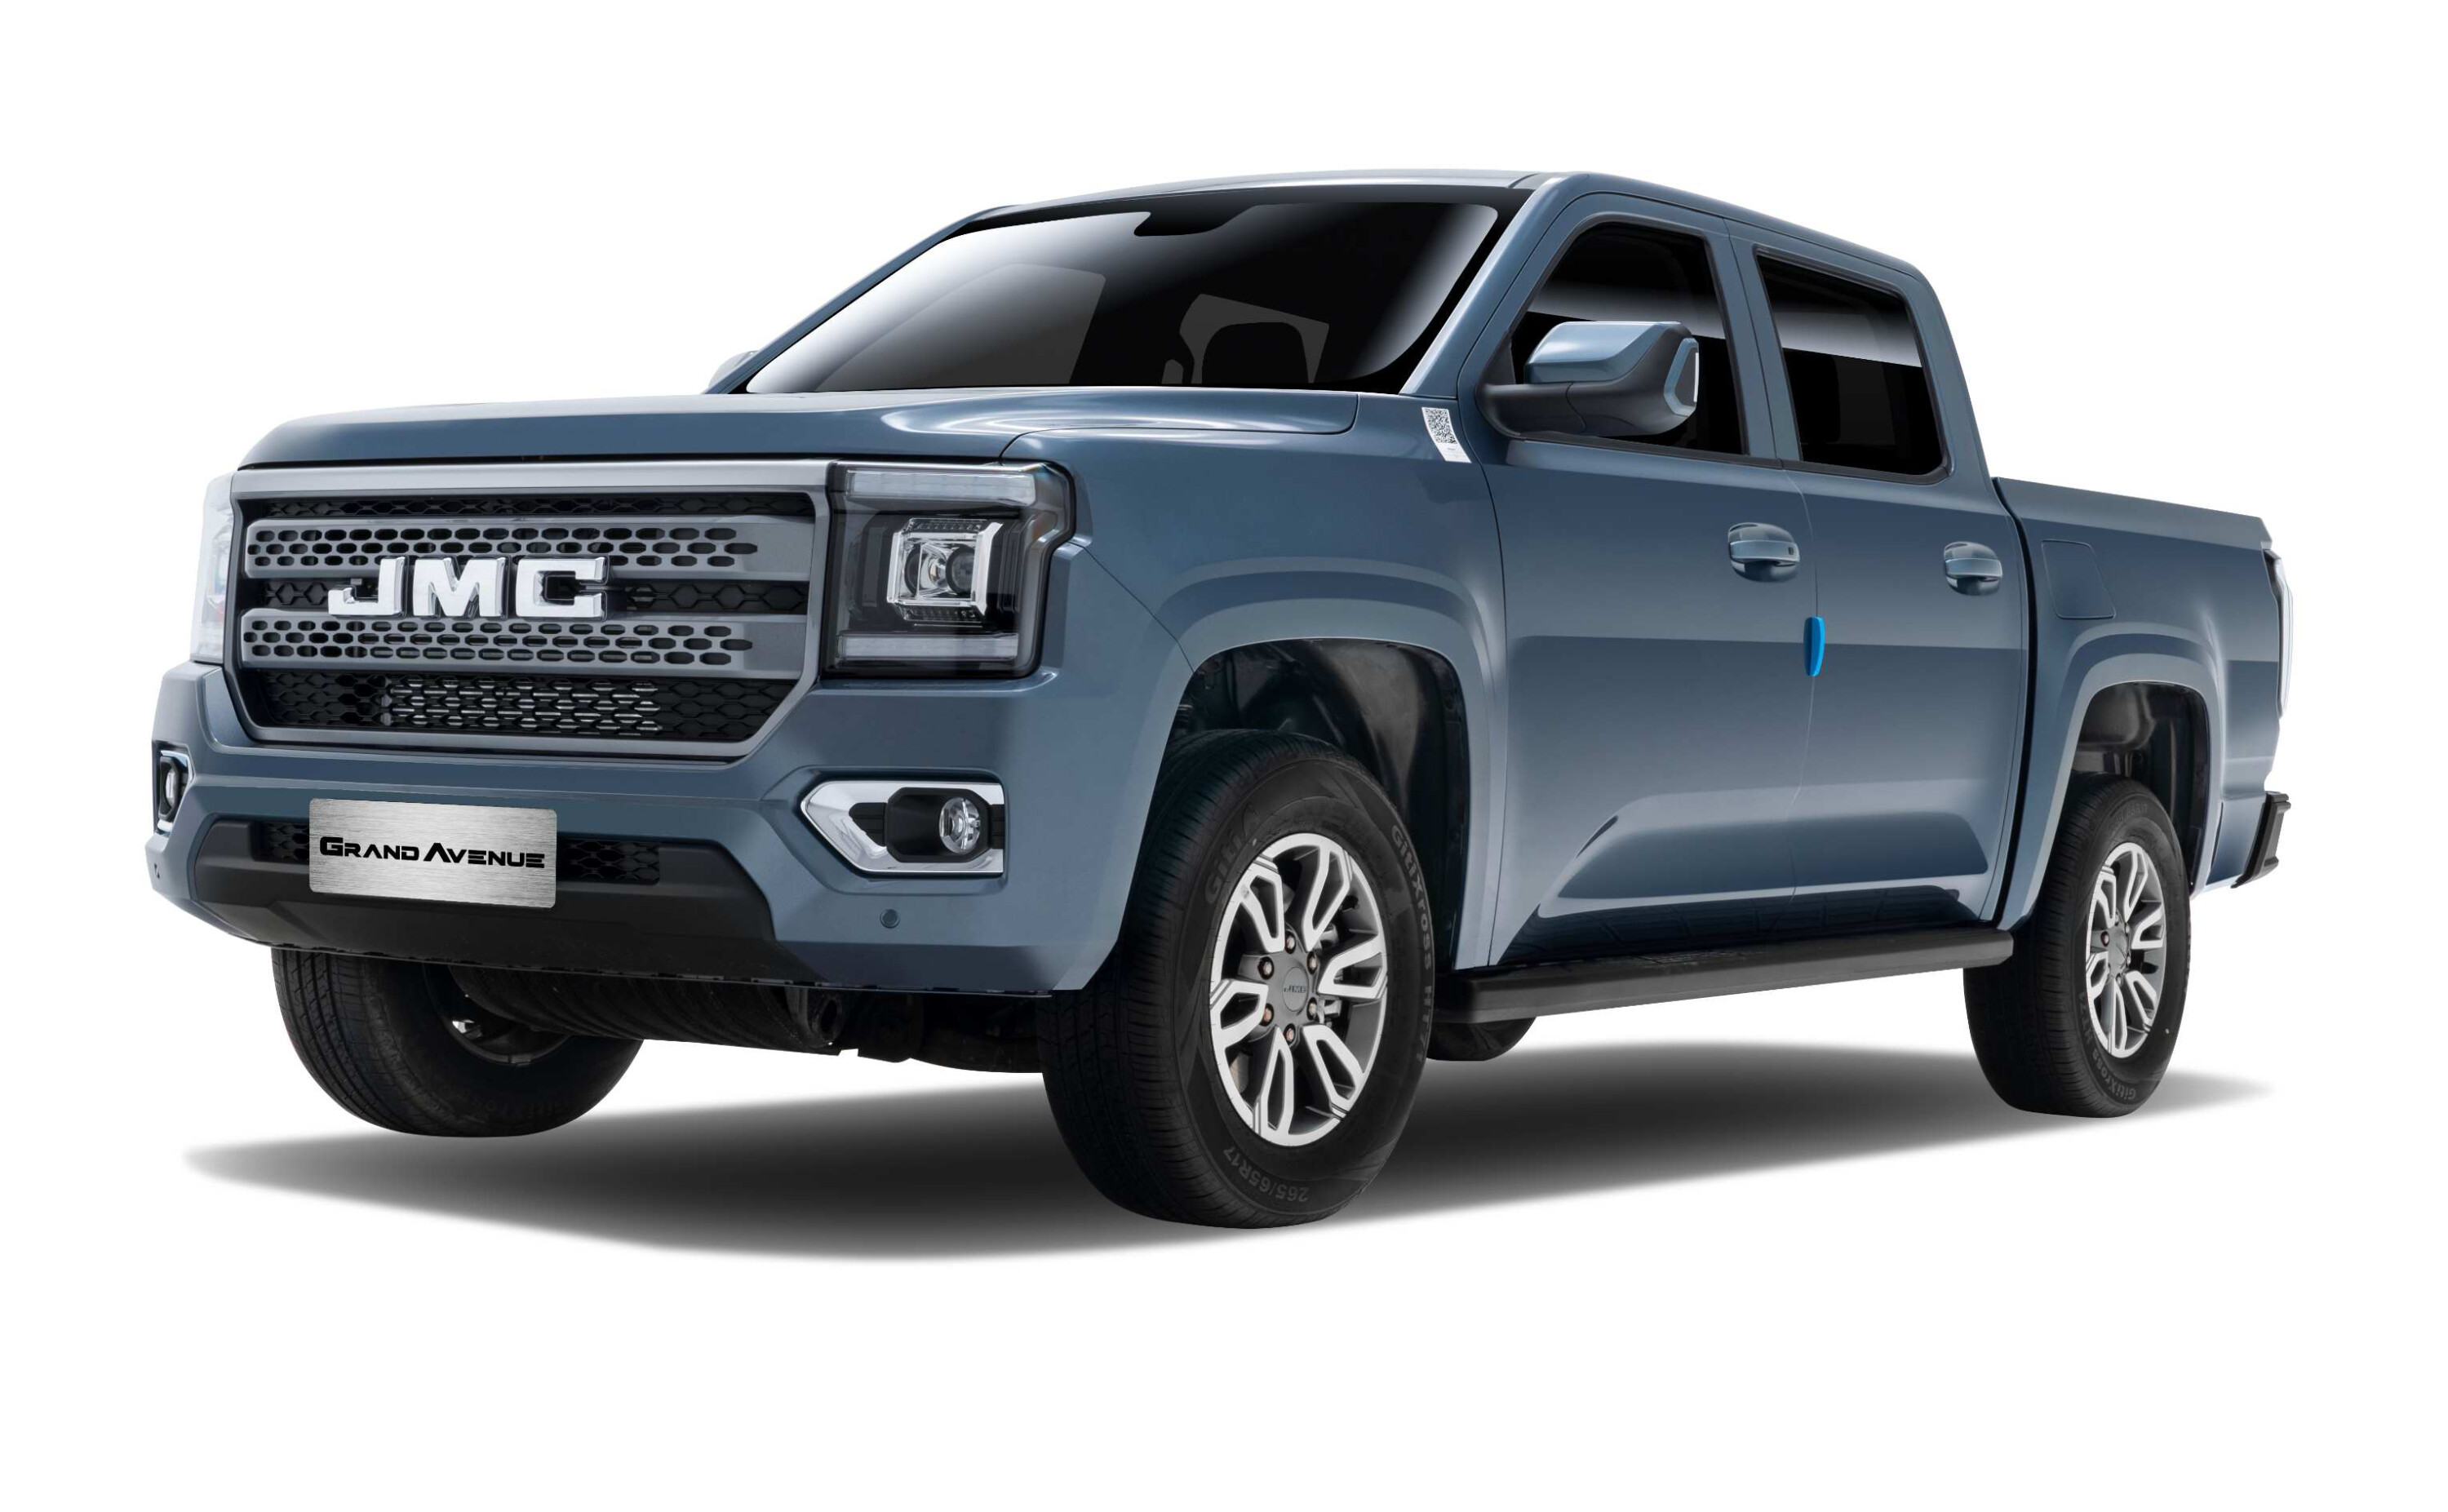

JMC
JMC (Jiangling Motors Corporation) is a Chinese manufacturer with a long history in light commercial vehicles, and it’s set to enter the Australian 4WD market in 2026 with the Vigus dual-cab ute. A turbo-diesel paired with an eight-speed automatic, the Vigus is positioned as a value-focused alternative to the GWM Cannon and KGM Musso, offering practical off-road capability alongside core safety and infotainment features. Pricing and exact launch timing are yet to be confirmed, but JMC’s arrival adds another budget-conscious option to a rapidly expanding segment of Chinese-built 4WD utes.
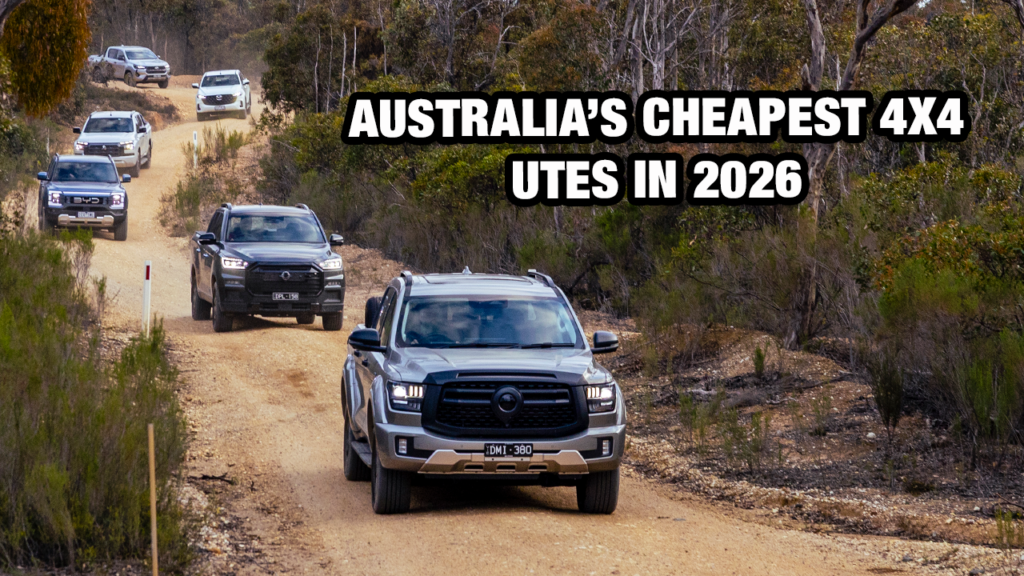
Australia’s cheapest 4×4 utes in 2026: Budget dual-cab guide
Looking for a capable 4×4 ute in Australia without breaking the bank? Here’s a rundown of the most affordable dual-cab options
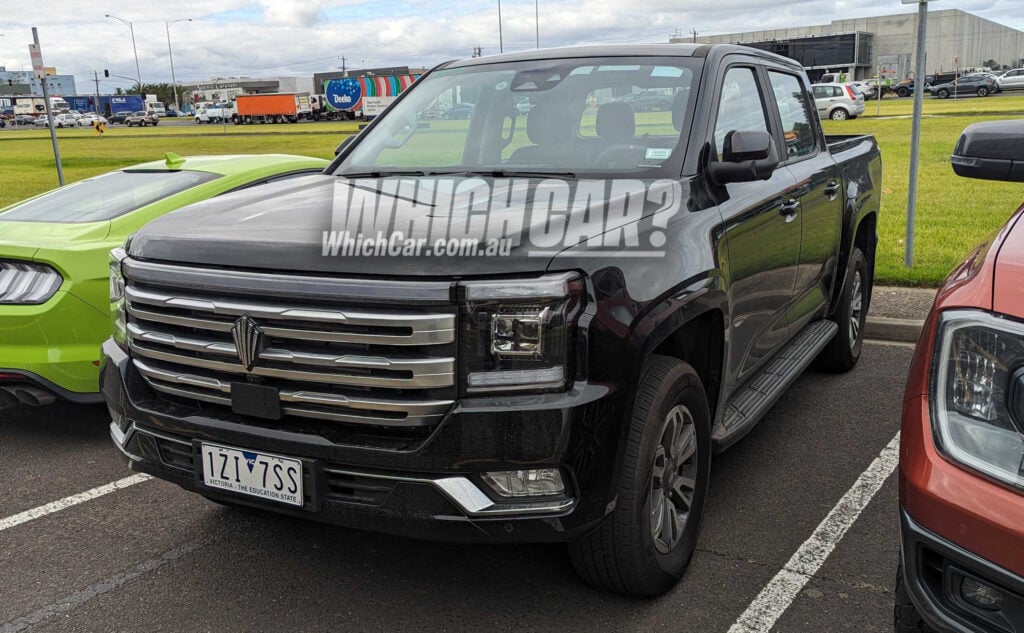
JMC Dadao: Chinese ute spotted at Ford Australia’s engineering headquarters
Ford has been caught testing a Chinese-made turbo-petrol ute on local soil – but don’t expect to see it in local showrooms
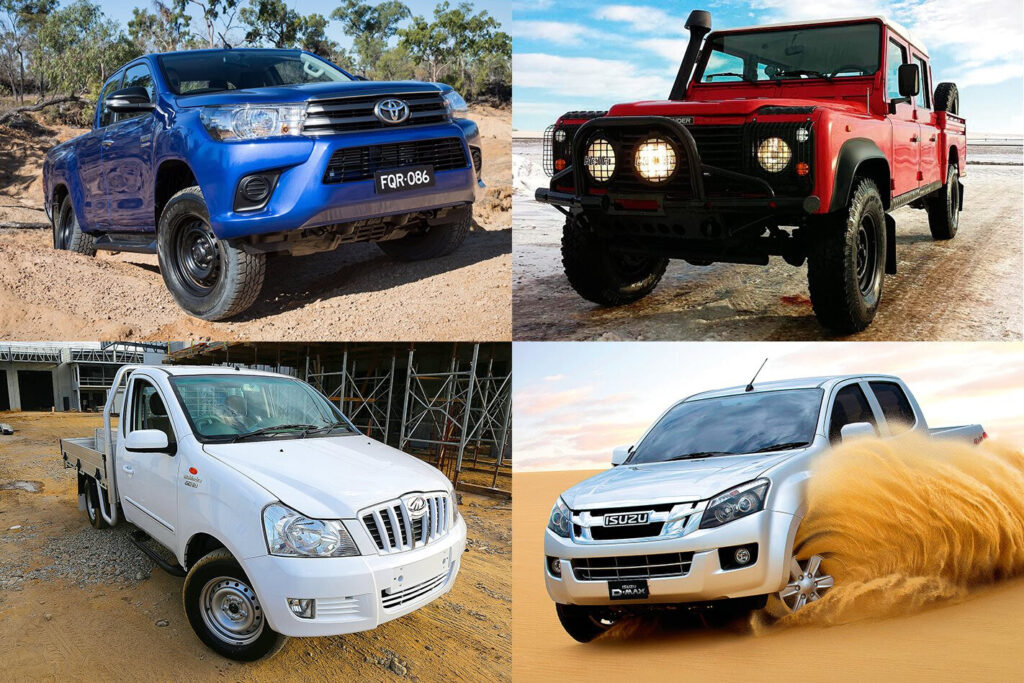
4X4 utes: What’s on the 2016 market
It’s tax time! So before you buy a new 4×4, check out this guide as to what’s available on the market.