Gear


Gallery 1
With most of the heavy stuff like wheels, tyres, canopy and drawers fitted to our 2019 HiLux, the stock-standard, 200,000km-old springs and shocks were starting to show their age.
As with any suspension upgrade, the first step is to stop and have a good hard think about how the vehicle is used. It’s not a tow pig, nor is it going to be used to haul several tonnes of concreting gear on the reg. We need something that’s great off-road and can handle the occasional camper trailer, boat and load of touring gear. There’s also a lot of blacktop between destinations, so it has to drive nicely on the road as well.
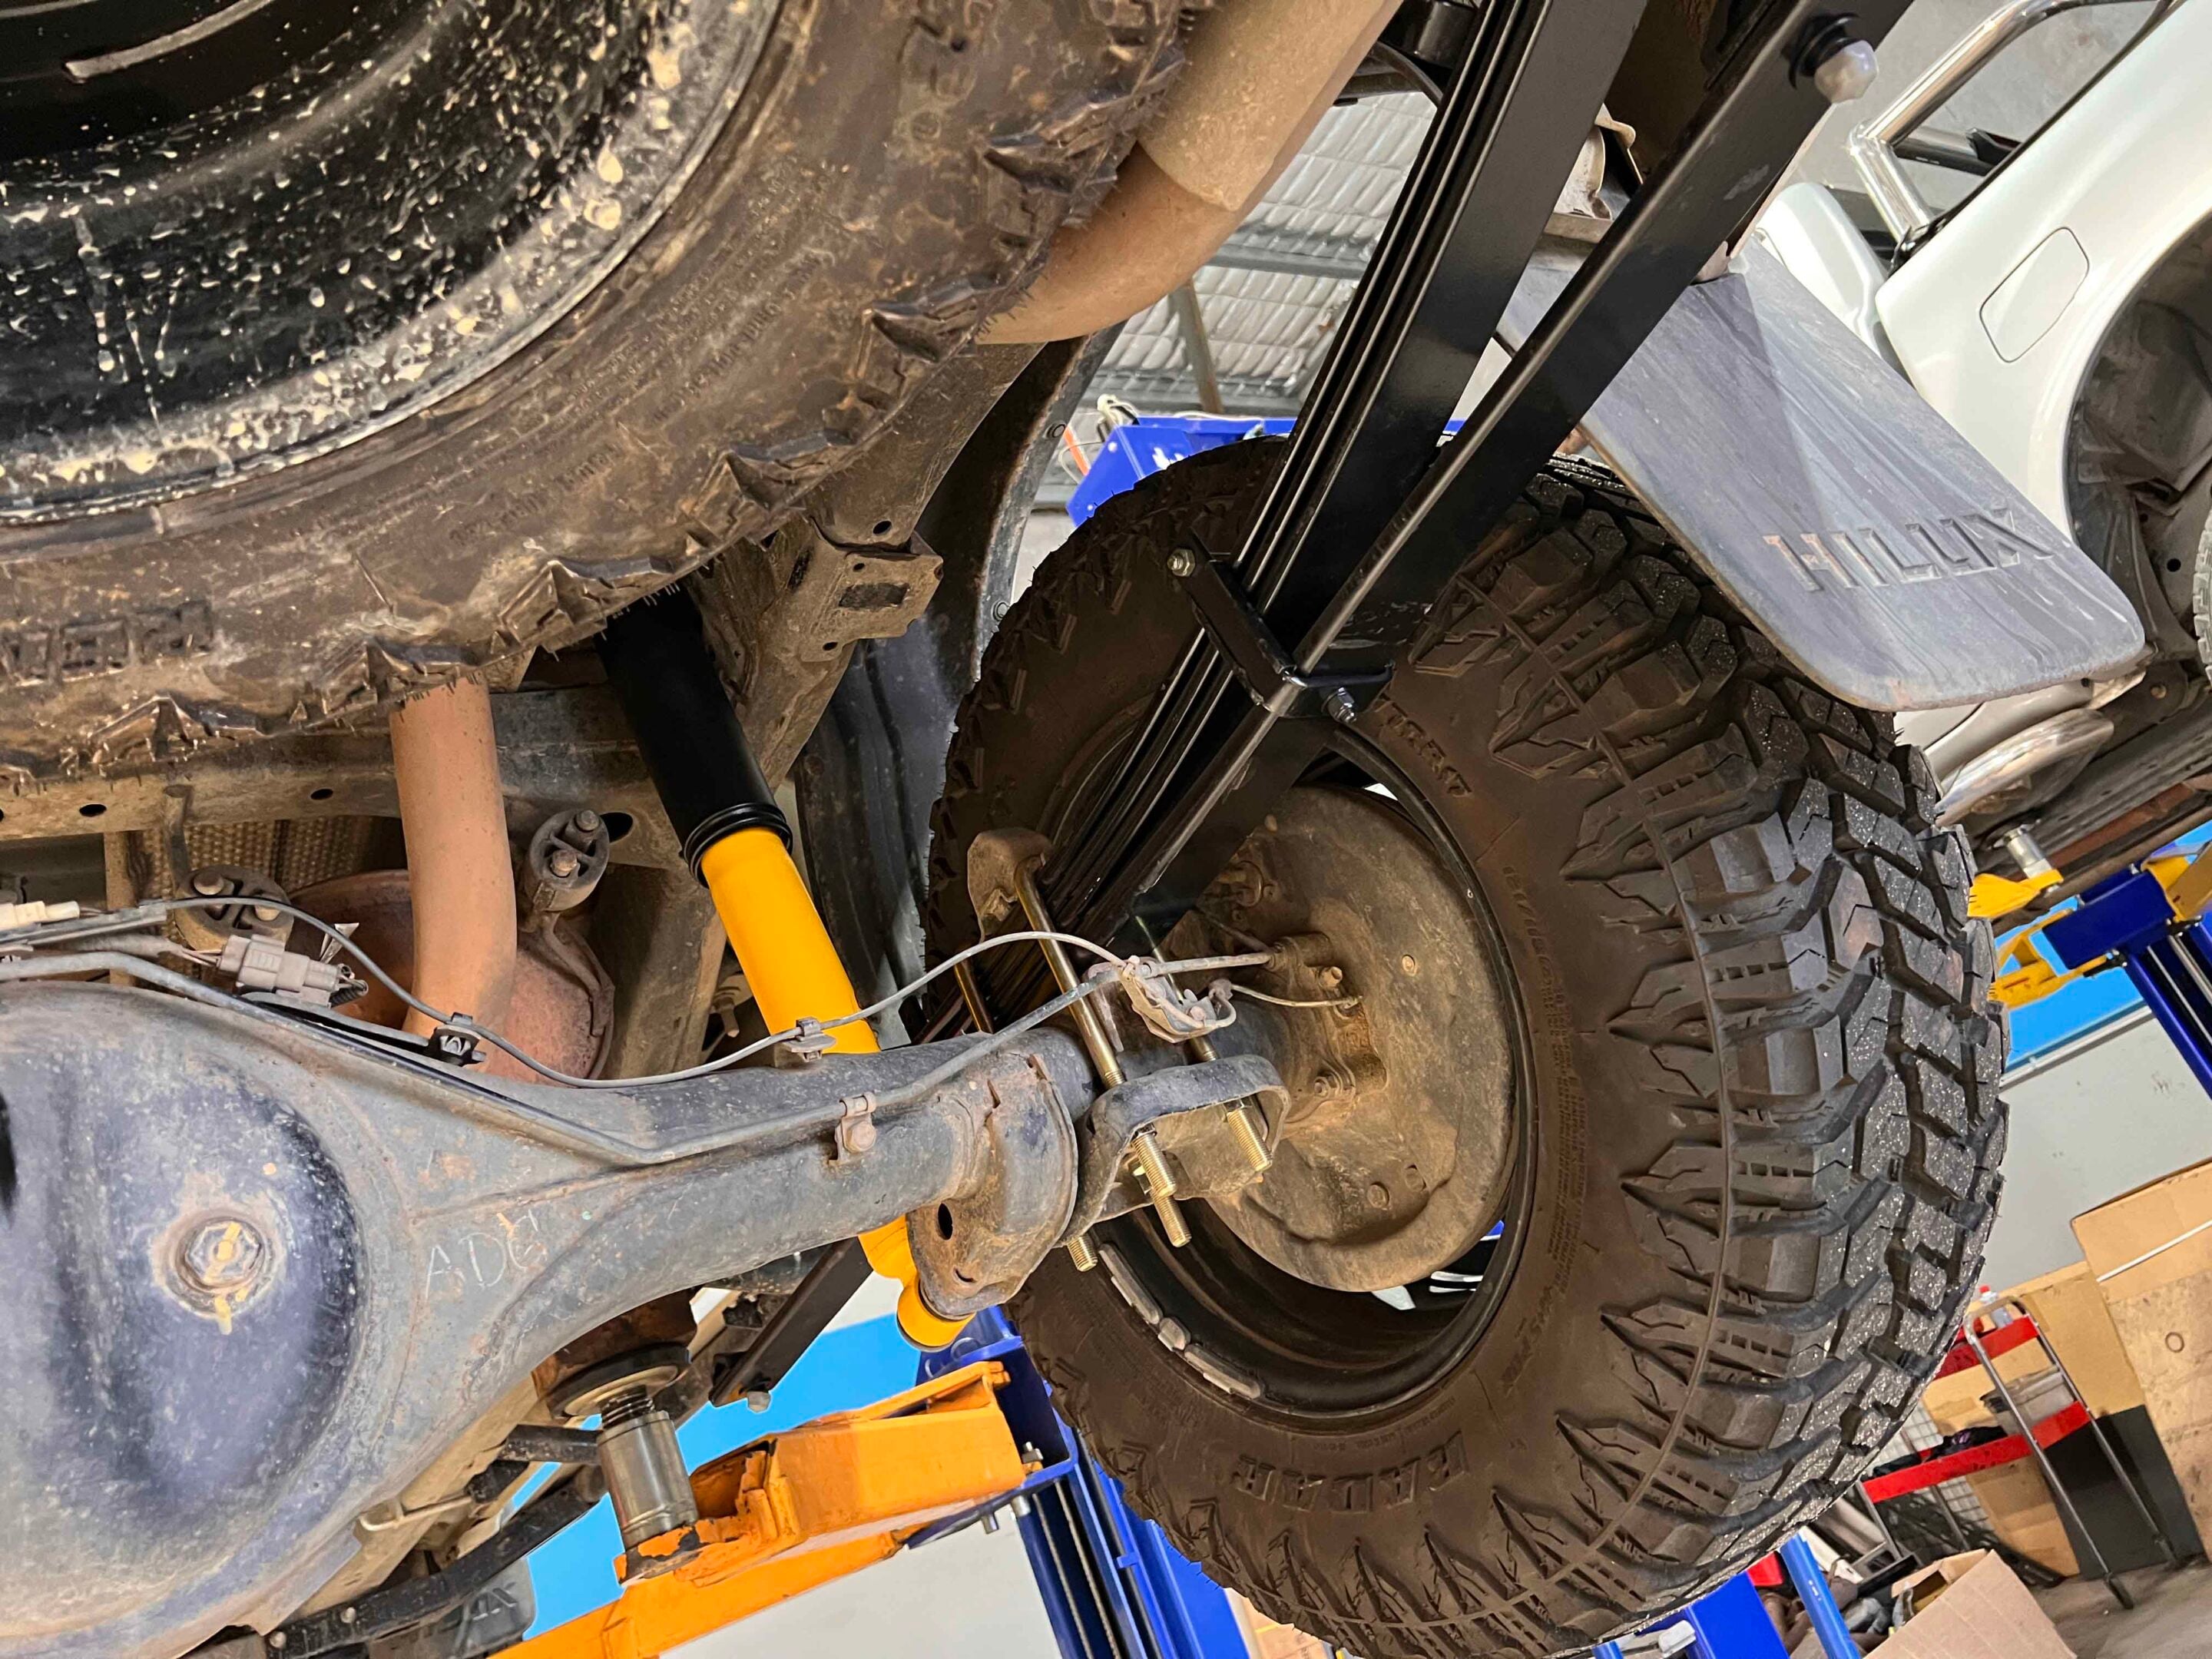
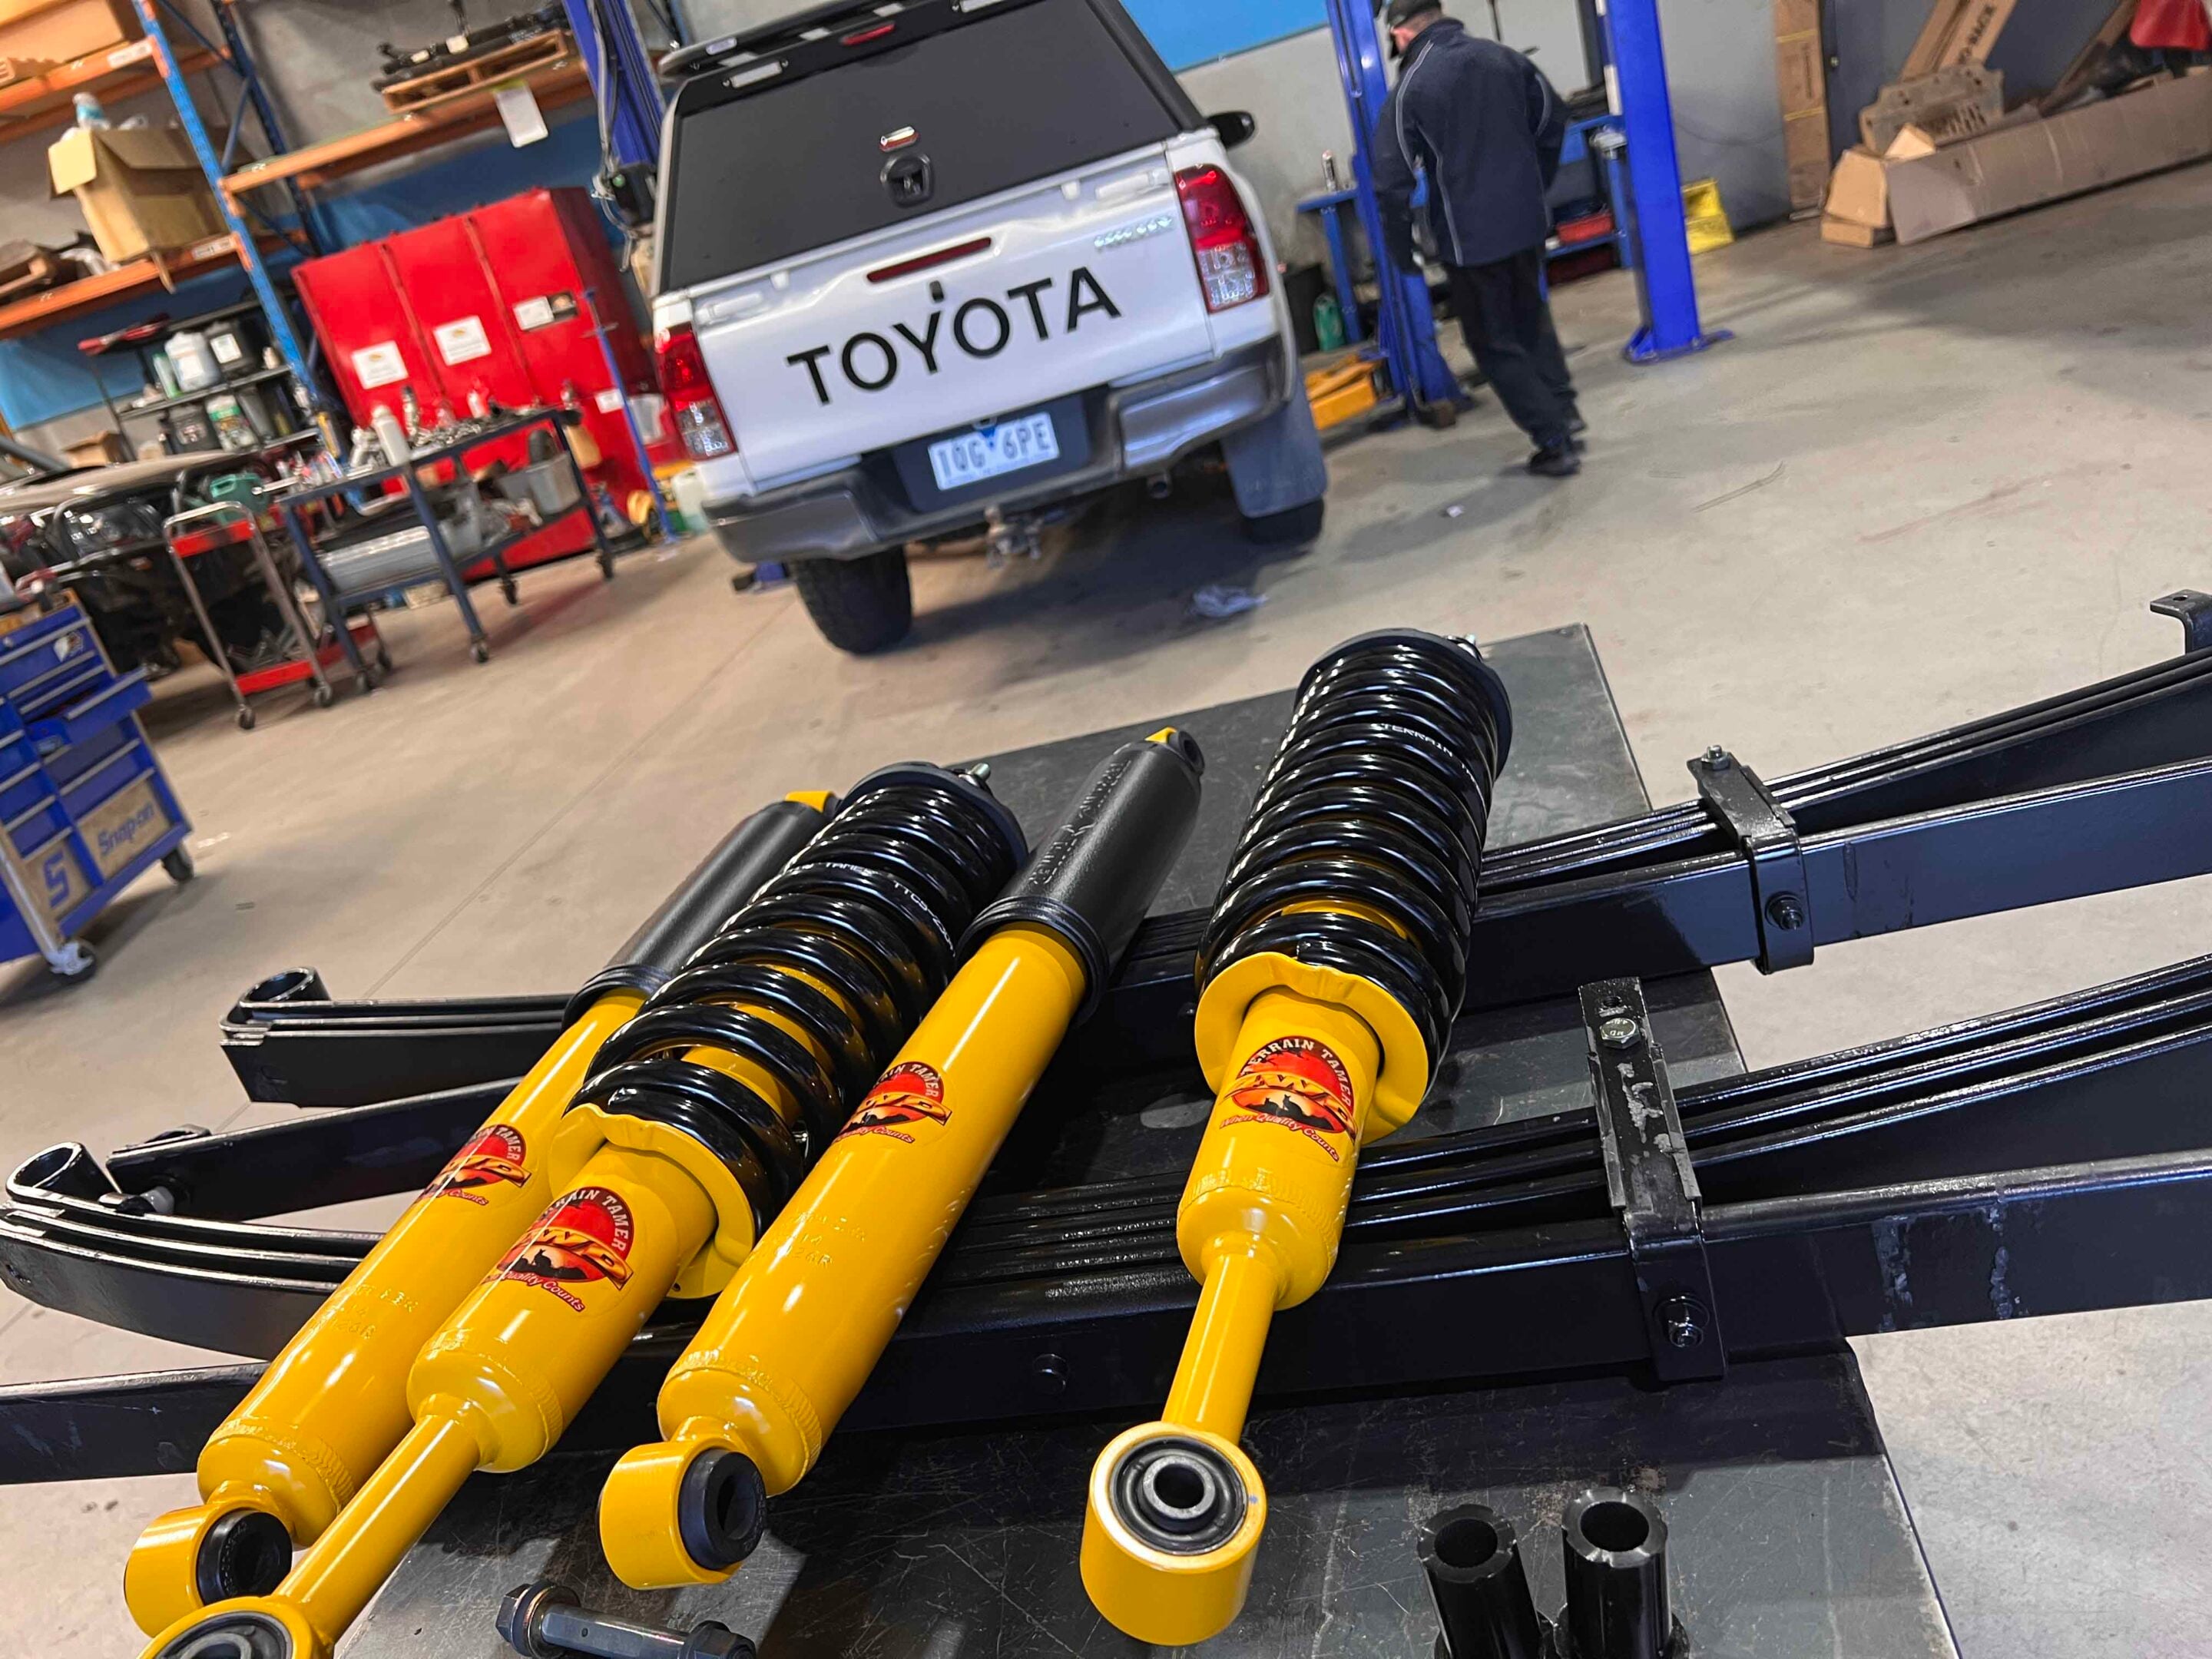
Armed with our list of wants, we hit up our mates at Terrain Tamer and asked them to recommend a kit. They didn’t hesitate. A nanosecond later, they came back to us with their parabolic rear leaf springs, TGS shocks all round and their Smart Coils for the front end. The springs were rated to suit the ARB bull bar and winch as well as the Ironman 4×4 drawers and Bossco canopy out back, plus a little extra for when we’re loaded up.
1
That’s the beauty of the rear parabolics. We’ve written about them on these pages plenty of times, but the short version is that the tapered-leaf design in each of the spring packs allows a high degree of deflection (flex and comfort) during the first part of the travel. The springs then firm up as more load is applied and the thicker part of each leaf is engaged. It’s what dietitians refer to as having your cake and eating it too.
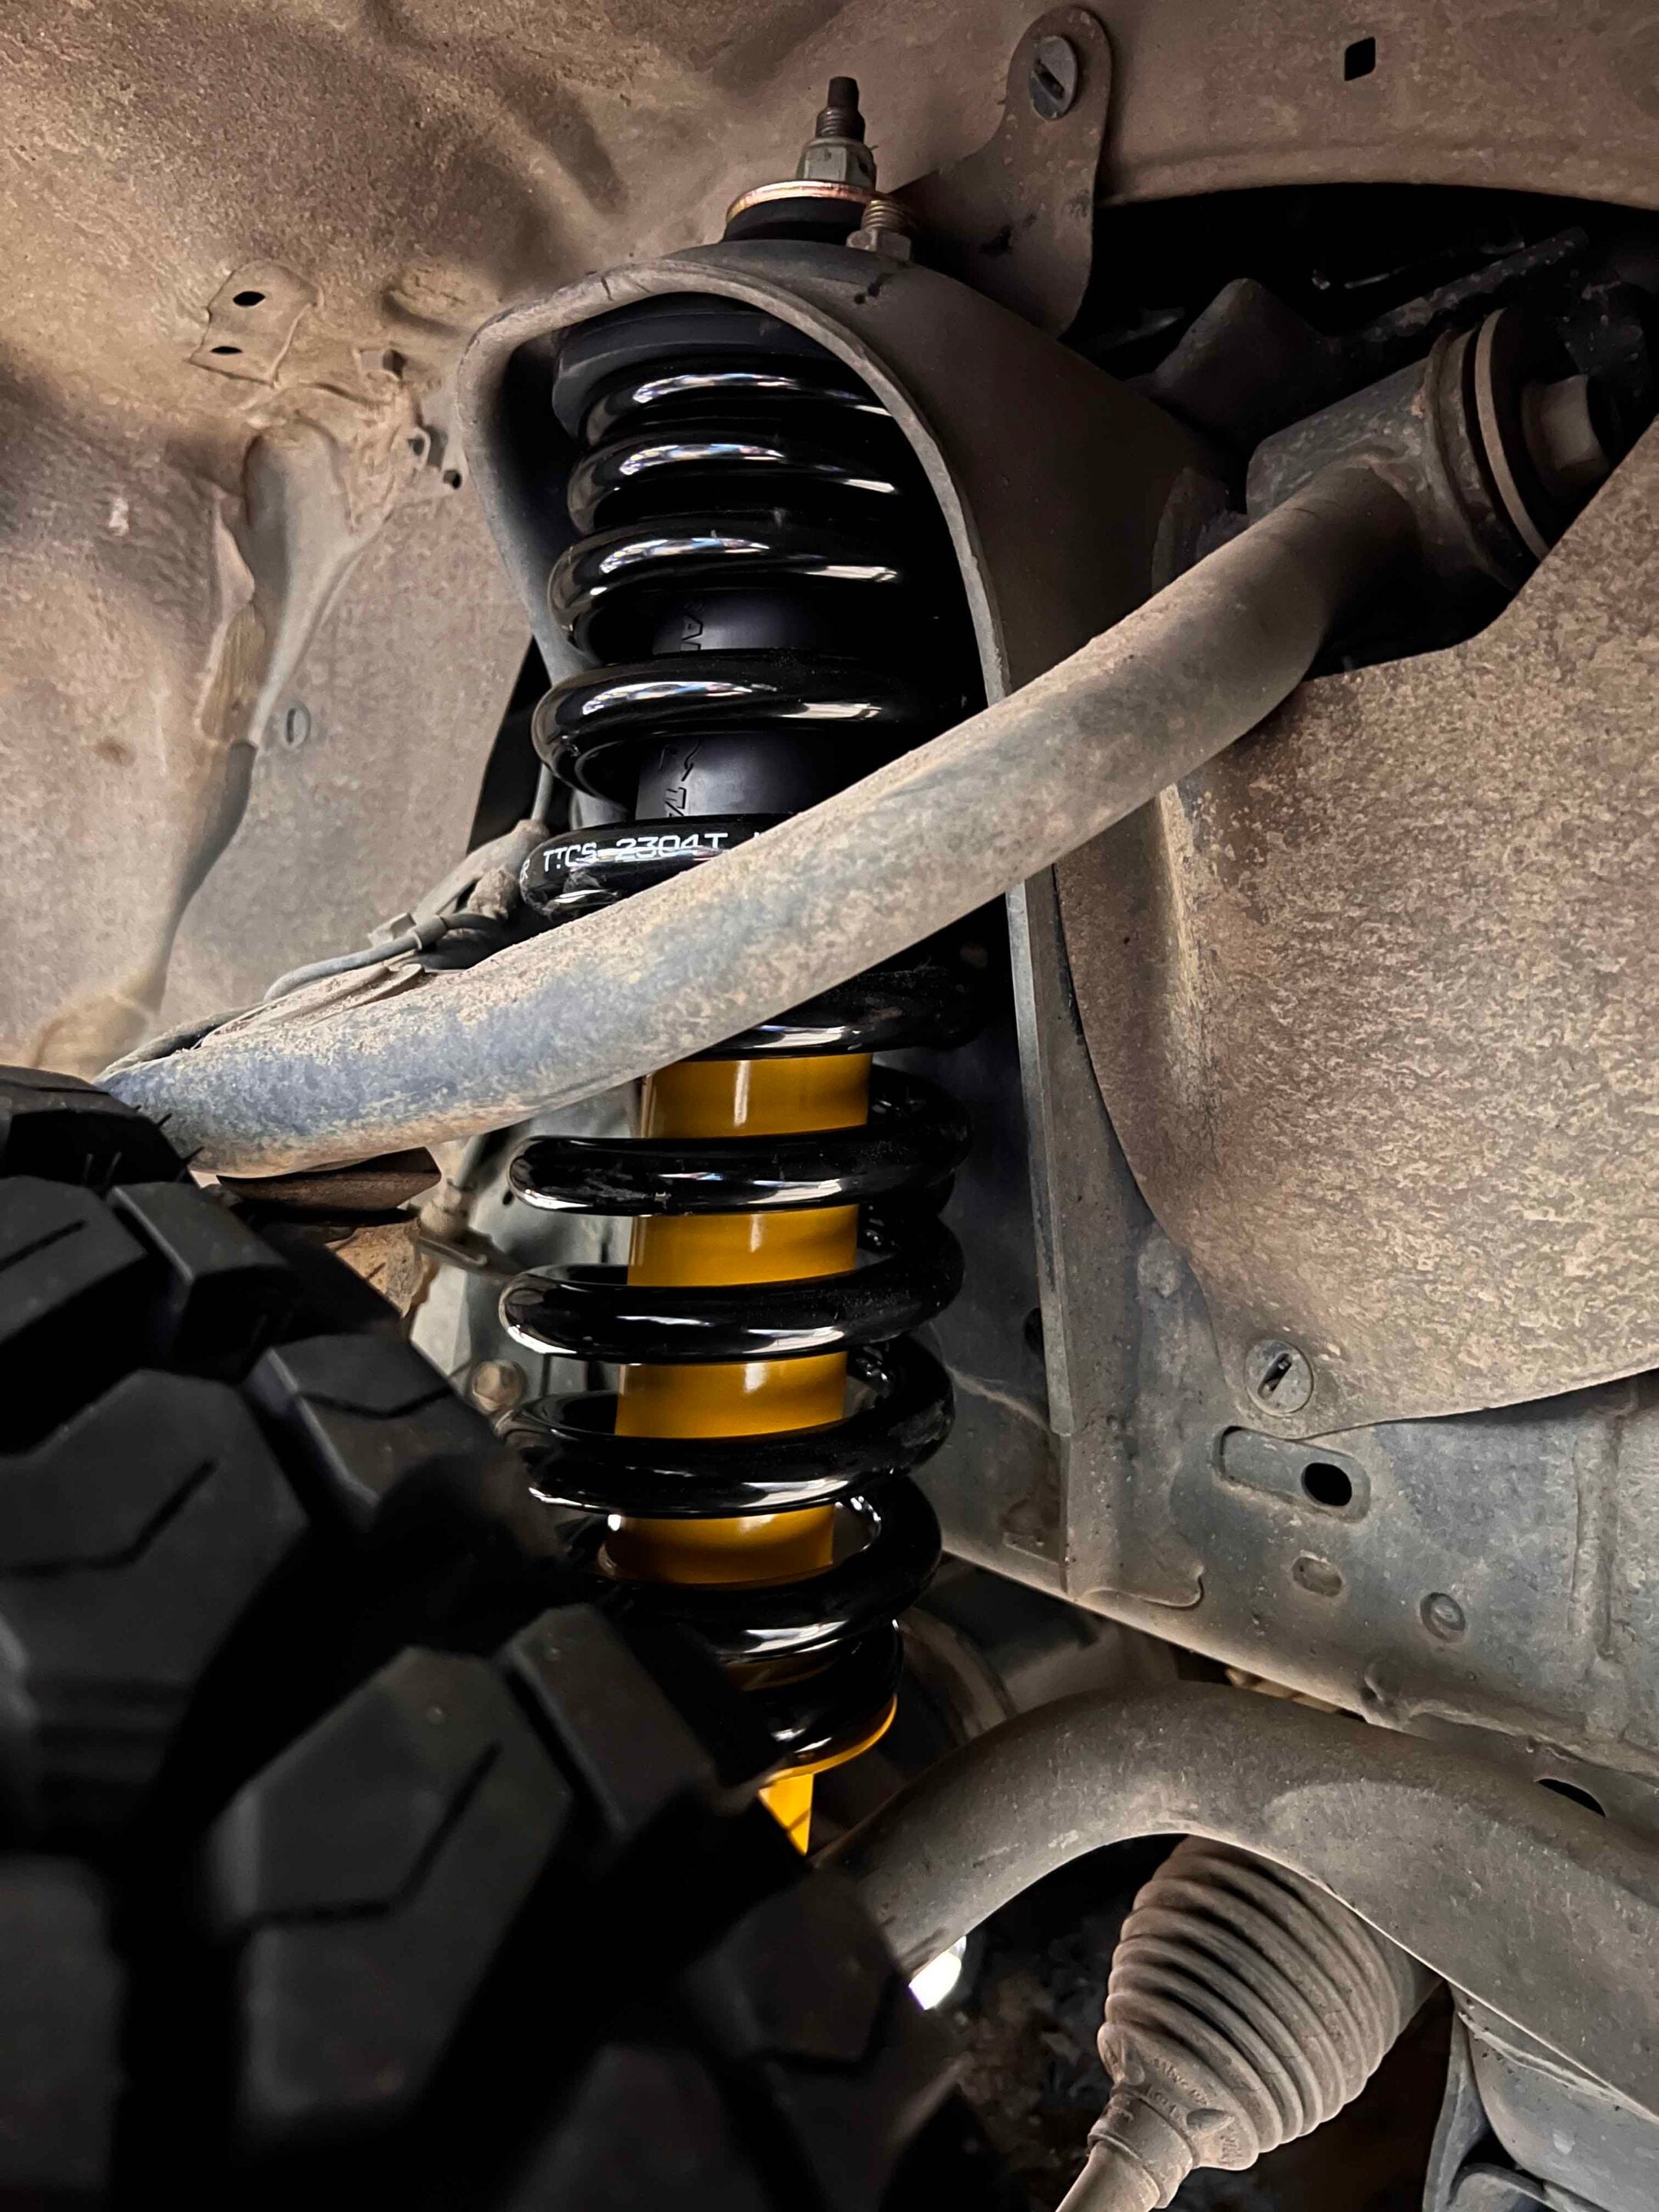
The 40mm TGS shocks are also well established as the bee’s knees, and the Aussie-made, tapered-wire Smart Coils reduce suspension rebound, body roll during cornering and wear and tear on the suspension and steering components. All up, we’re expecting big things from this package. Stay tuned to find out how it goes.
Before installing the suspension
Just a quick note for the players at home: this is a specialist install. If you’re not confident, don’t have a good working knowledge of suspension or lack a solid range of tools, then it’s definitely worth the money to get the pros on the case for you.
Trent, the mechanic in these images, has done hundreds of these and makes it look simple. While we’re not trying to talk you out of saving a few bucks, your suspension is not the best place to learn how to play righty-tighty, lefty-loosey. Nor is this intended to be a cheat sheet for throwing a lift in your HiLux. It’s more of a behind-the-scenes look at what goes into a professional install. Just so we’re all on the same page.
1
Fitting the Terrain Tamer suspension
Firstly, get the wheels off the ground and the vehicle supported.
Starting at the rear and working on one side at a time, place an extra support under the side of the diff you’re working on. Whip the shock bolts off and relocate the old shockies to the nearest waste receptacle. Undo the front bolt of the leaf pack. This bolt will not slide all the way out of the spring mount because the fuel tank is in the way. Given we’re replacing the whole show, it’ll get the angle grinder treatment so it can be removed without having to unbolt the tank.
Then, undo the upper and lower bolts at the shackle end. Note that these bolts were cracked with a breaker bar before we got the power ratchet onto them. It’s the little things that set a professional job apart. Undo the auto-headlight adjusters, which is a must when replacing leaf springs.
With those out of the way, yeet the U-bolts and nuts into the scrap bin, then get a mate to help manhandle the leaf pack anywhere but onto your foot (they’re heavy and hurt). Now we can start installing the Terrain Tamer gear. Start by greasing up the shackle and slotting it into position.
1
From there, slot the new parabolic spring into place on the perch and throw the U-bolts over the top. The kit comes with everything you’ll need. Fit the front bolt and the inner side of the shackle, throw on the U-bolt plate, get the shock on and nip it all up. Note that the bolts do not get fully torqued at this point. That happens on the ground, when the vehicle’s weight is on the suspension. Wash, rinse, repeat on the other side, then let’s move on to the front end.
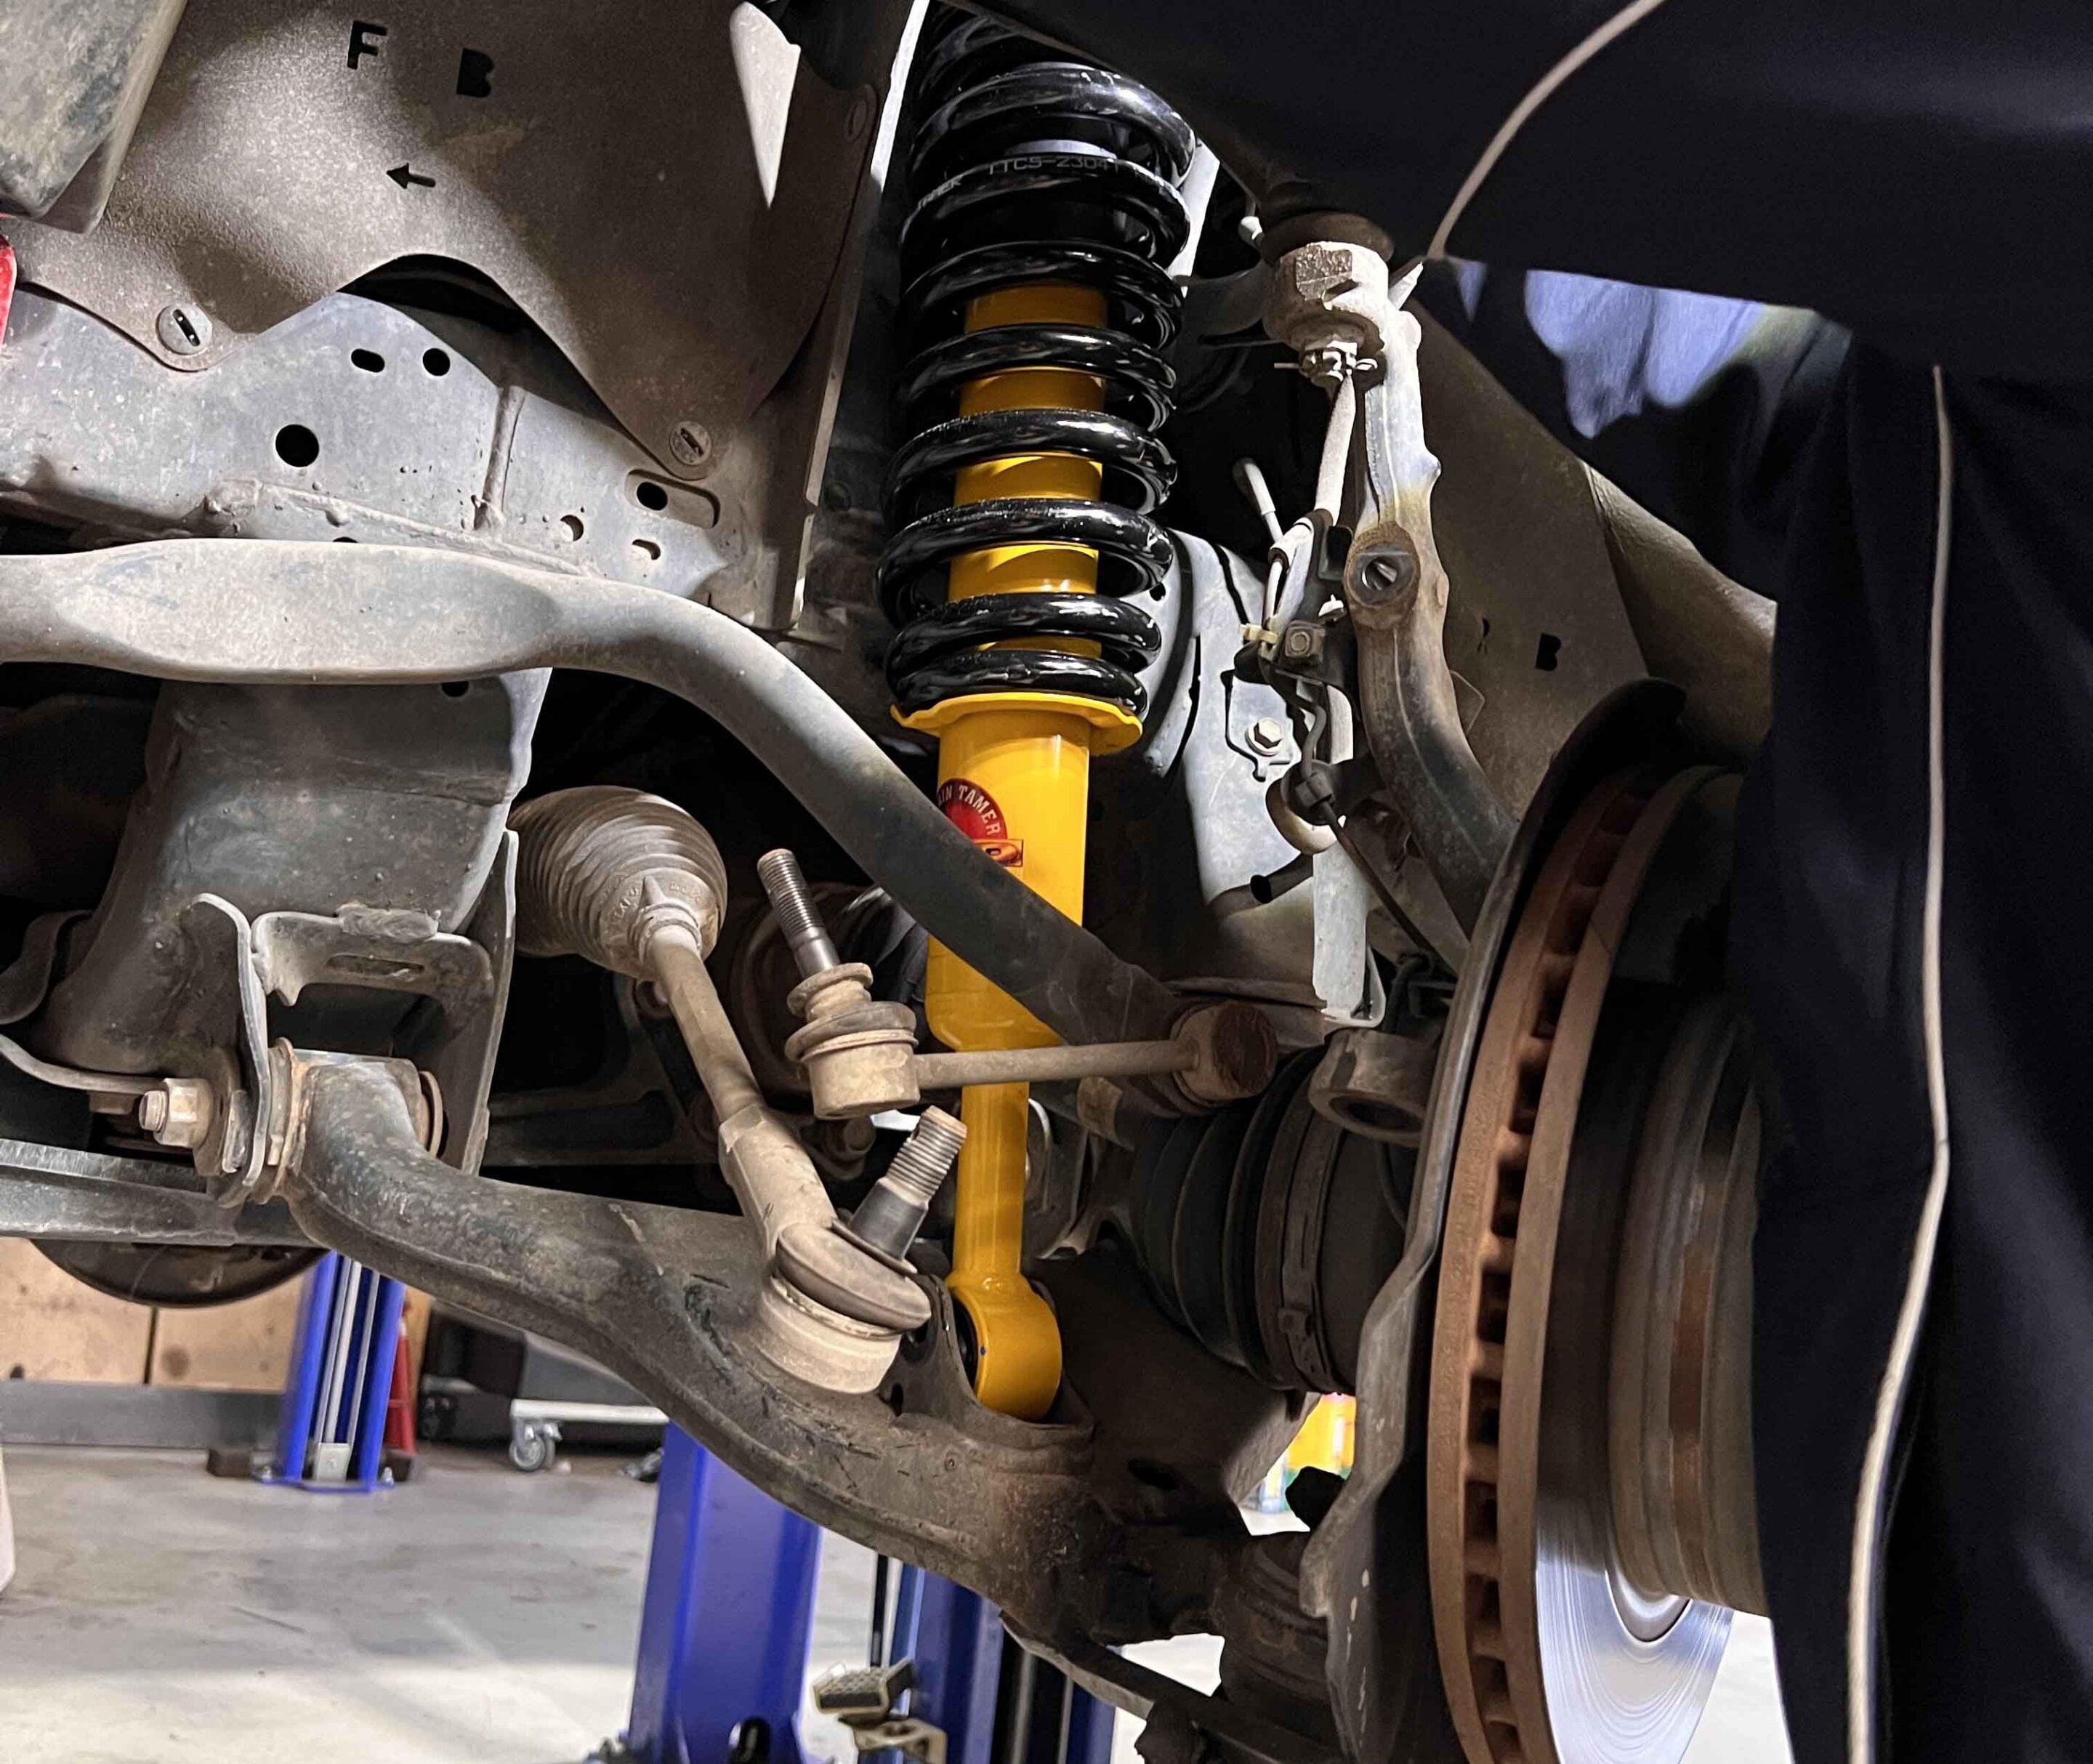
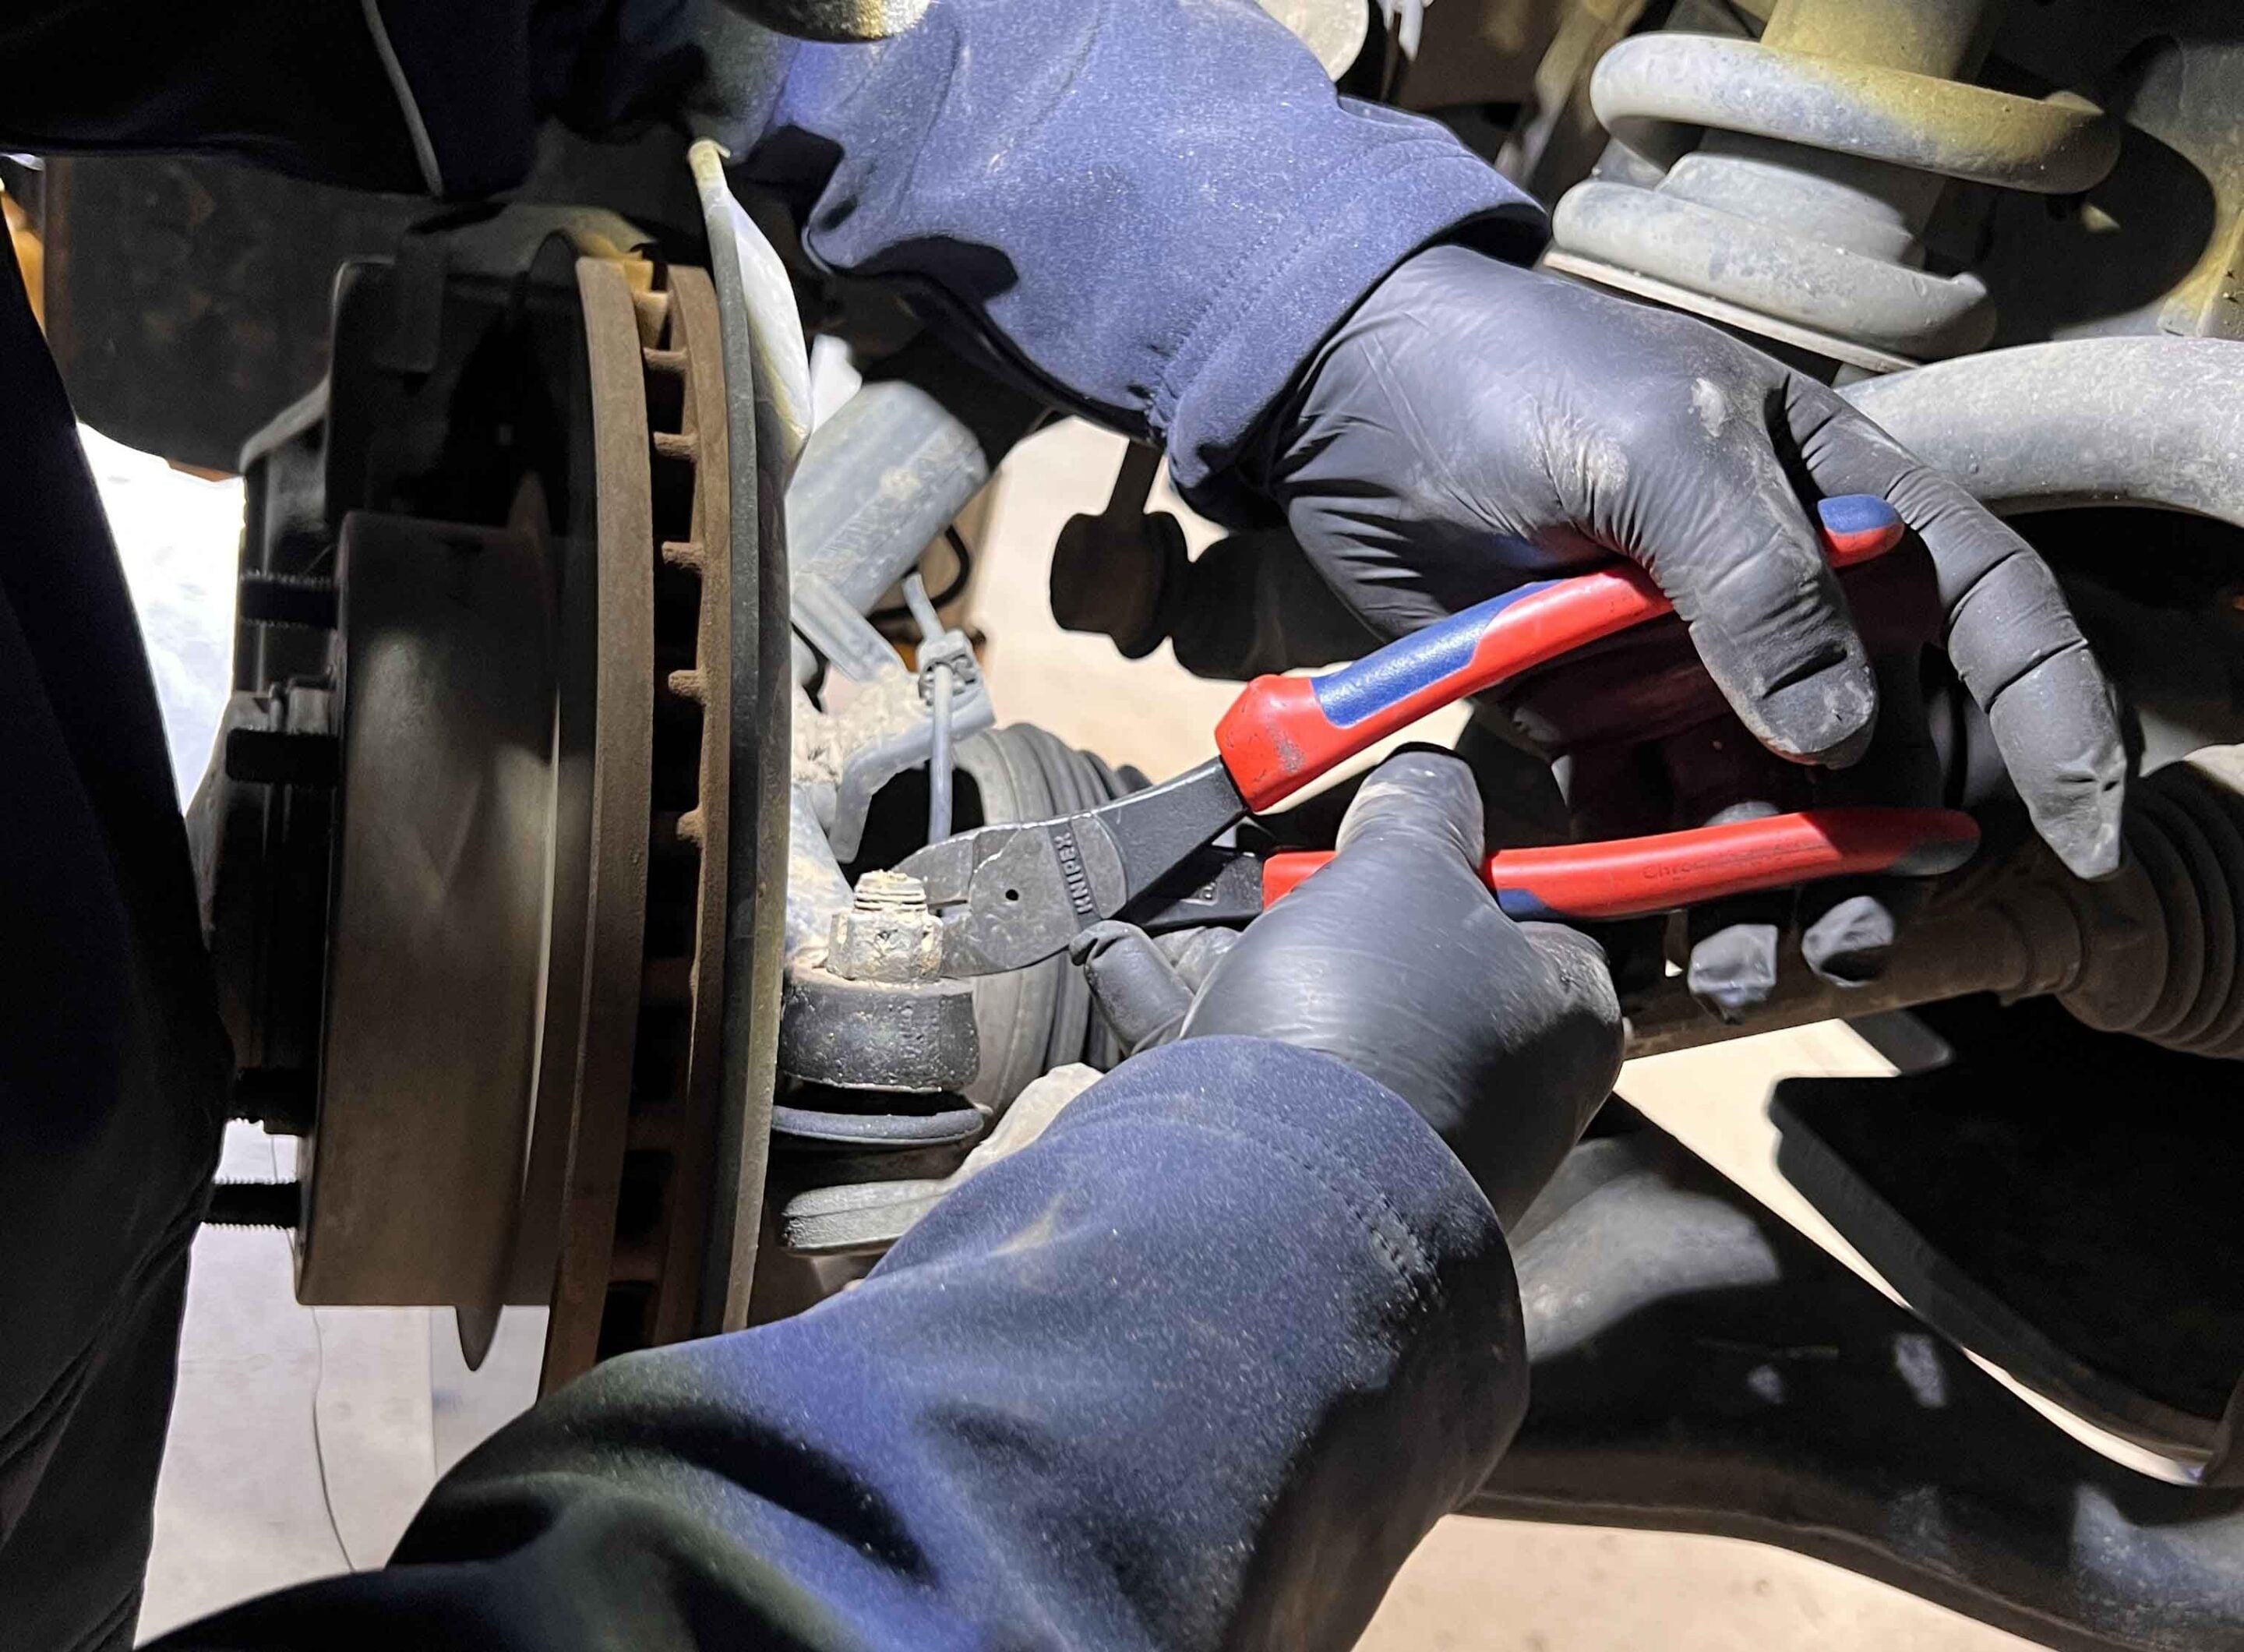
Remove the front wheels and the rock guards on the lower control arms, then undo the swaybar mounts to allow a bit of free play. Next, remove the cotter pins from the steering arm and swaybar links to allow the hub to move clear of the strut. Some percussive maintenance (hits with a hammer) may be required to pop the arms out of their tapered mounts.
With the tie-rod and swaybar blowing in the breeze, you can now undo the top and bottom strut bolts, along with the lower-control-arm-to-hub bolts (these will require Loctite upon reinstallation). You can now remove the strut and, if you’re like us, leave it sitting in the corner of your shed for the next decade. Slide the new strut in and reverse the last few steps.
Finally, reinstall the rock guards and let the vehicle down onto the ground. Torque up all the bolts to spec, then sit back and enjoy your new ride height.
Thanks to T&G Autos in Richmond, NSW for their help with this article.
29
What’s in the kit?
- Parabolic leaf springs: 400-700kg constant load, 50mm lift
- Expanded Body Shocks: suited to 40mm lift
- Front coils: 50-100kg raised, 40mm lift
- Greasable pins and shackles
- TT Pro synthetic bushes
How much does it cost?
- RRP: $3048.55 (↗)
MORE
Get a quote today!
Follow 4X4 Australia on Google
Get more 4x4 news, reviews and gear stories from 4X4 Australia in your Google feeds.

We recommend
-
 Gear
GearWe fit a Donaldson airbox and filter to our N80 HiLux
We solve one of our second-hand HiLux’s biggest problems
-
 Gear
Gear2019 HiLux N80 build: 4WD Interiors roof console installed
The secondhand Luxy’s interior gets a huge storage boost!
-
 Gear
Gear2019 Toyota HiLux N80 gets a set of Ironman 4x4 drawers
The tray of our secondhand HiLux gets further dialled in with some new drawers