Gear
Gallery 1
Our vehicles’ paintwork takes a lot of bashing and wear and tear during the year, with numerous trips to the Victorian High Country, along the Anne Beadell Highway, and on many other overgrown tracks and roads throughout Oz.
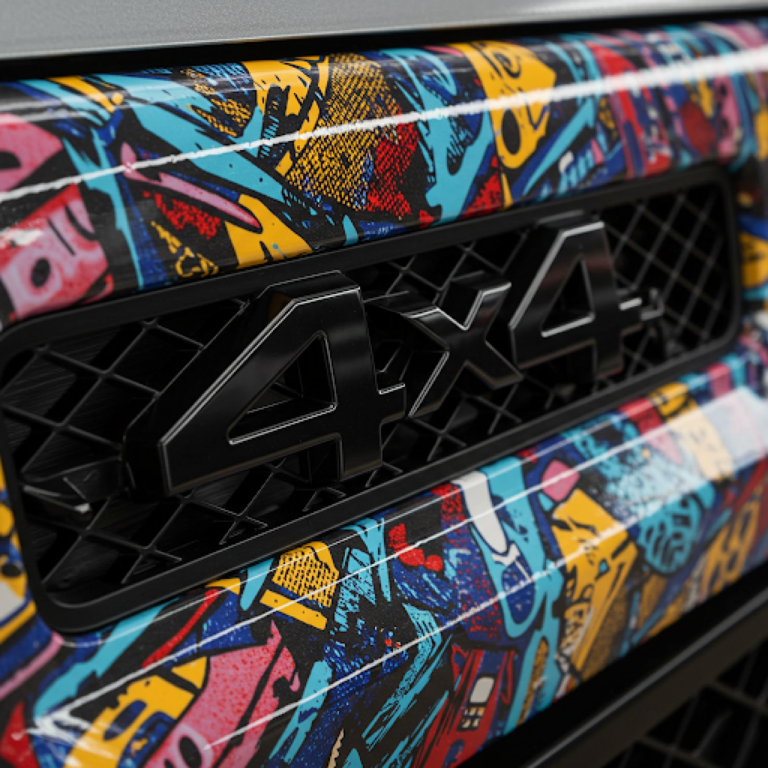
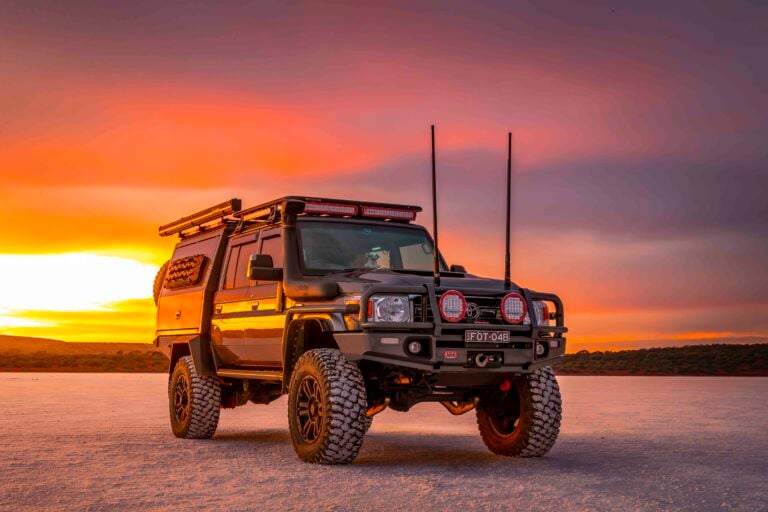
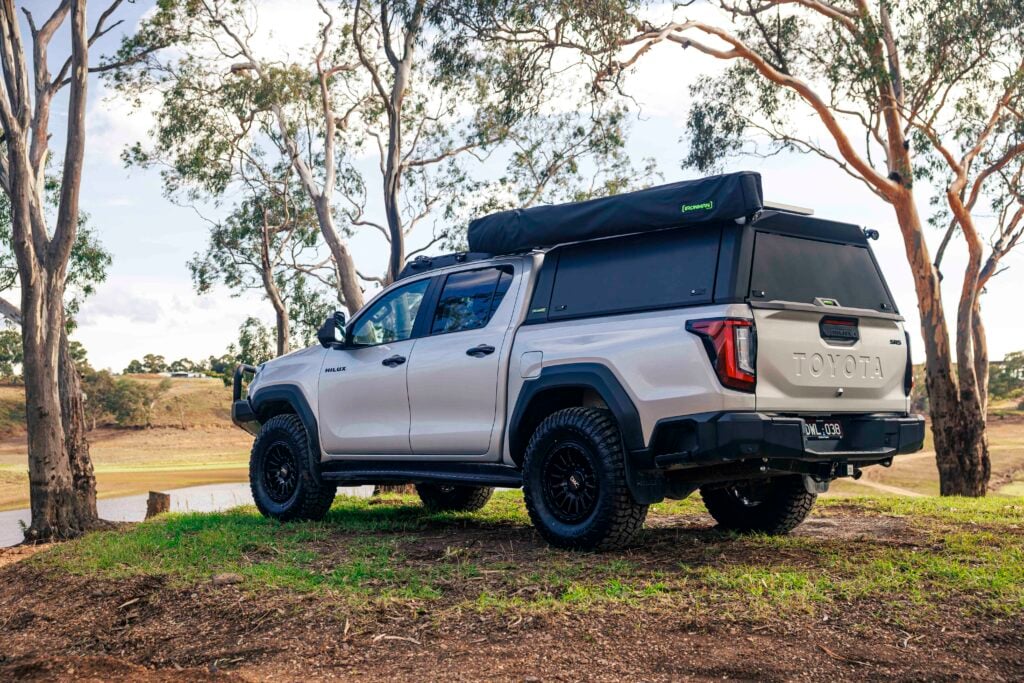
To help protect the paintwork from bush pinstriping and stone chips, we decided to fit BushWrapz paint protection film kits. While my Troopy has only had the film installed for a few months, my son’s 200 Series Cruiser and HiLux have had it fitted for more than two years.
Once you decide to go the BushWrapz way, you need to make a decision about which film you’d like. To me, the amount of coverage offered by the ‘Cape’ version is a bit light on, while the ‘Pro’ version, which requires a qualified and recognised installer, is a bit over the top in terms of cost. That leaves the ‘Advance’ film, a DIY fitment like the ‘Cape’ but with a longer life and better protection – or so says the manufacturer’s description between the two; we took that as stated.
1
With that decision made, you then need to order the kit for your vehicle, making sure you include information such as whether it has a snorkel or not, manufacturer badges, and so on. It’s important to note that the company does not accept returns.
BushWrapz has a very comprehensive website with information on most of the 4x4s on the Aussie market. It also features an extensive array of videos showing the correct way to fit the film to your vehicle, along with tips on overcoming common issues such as air bubbles under the film. The videos are essential viewing – and probably more than once.
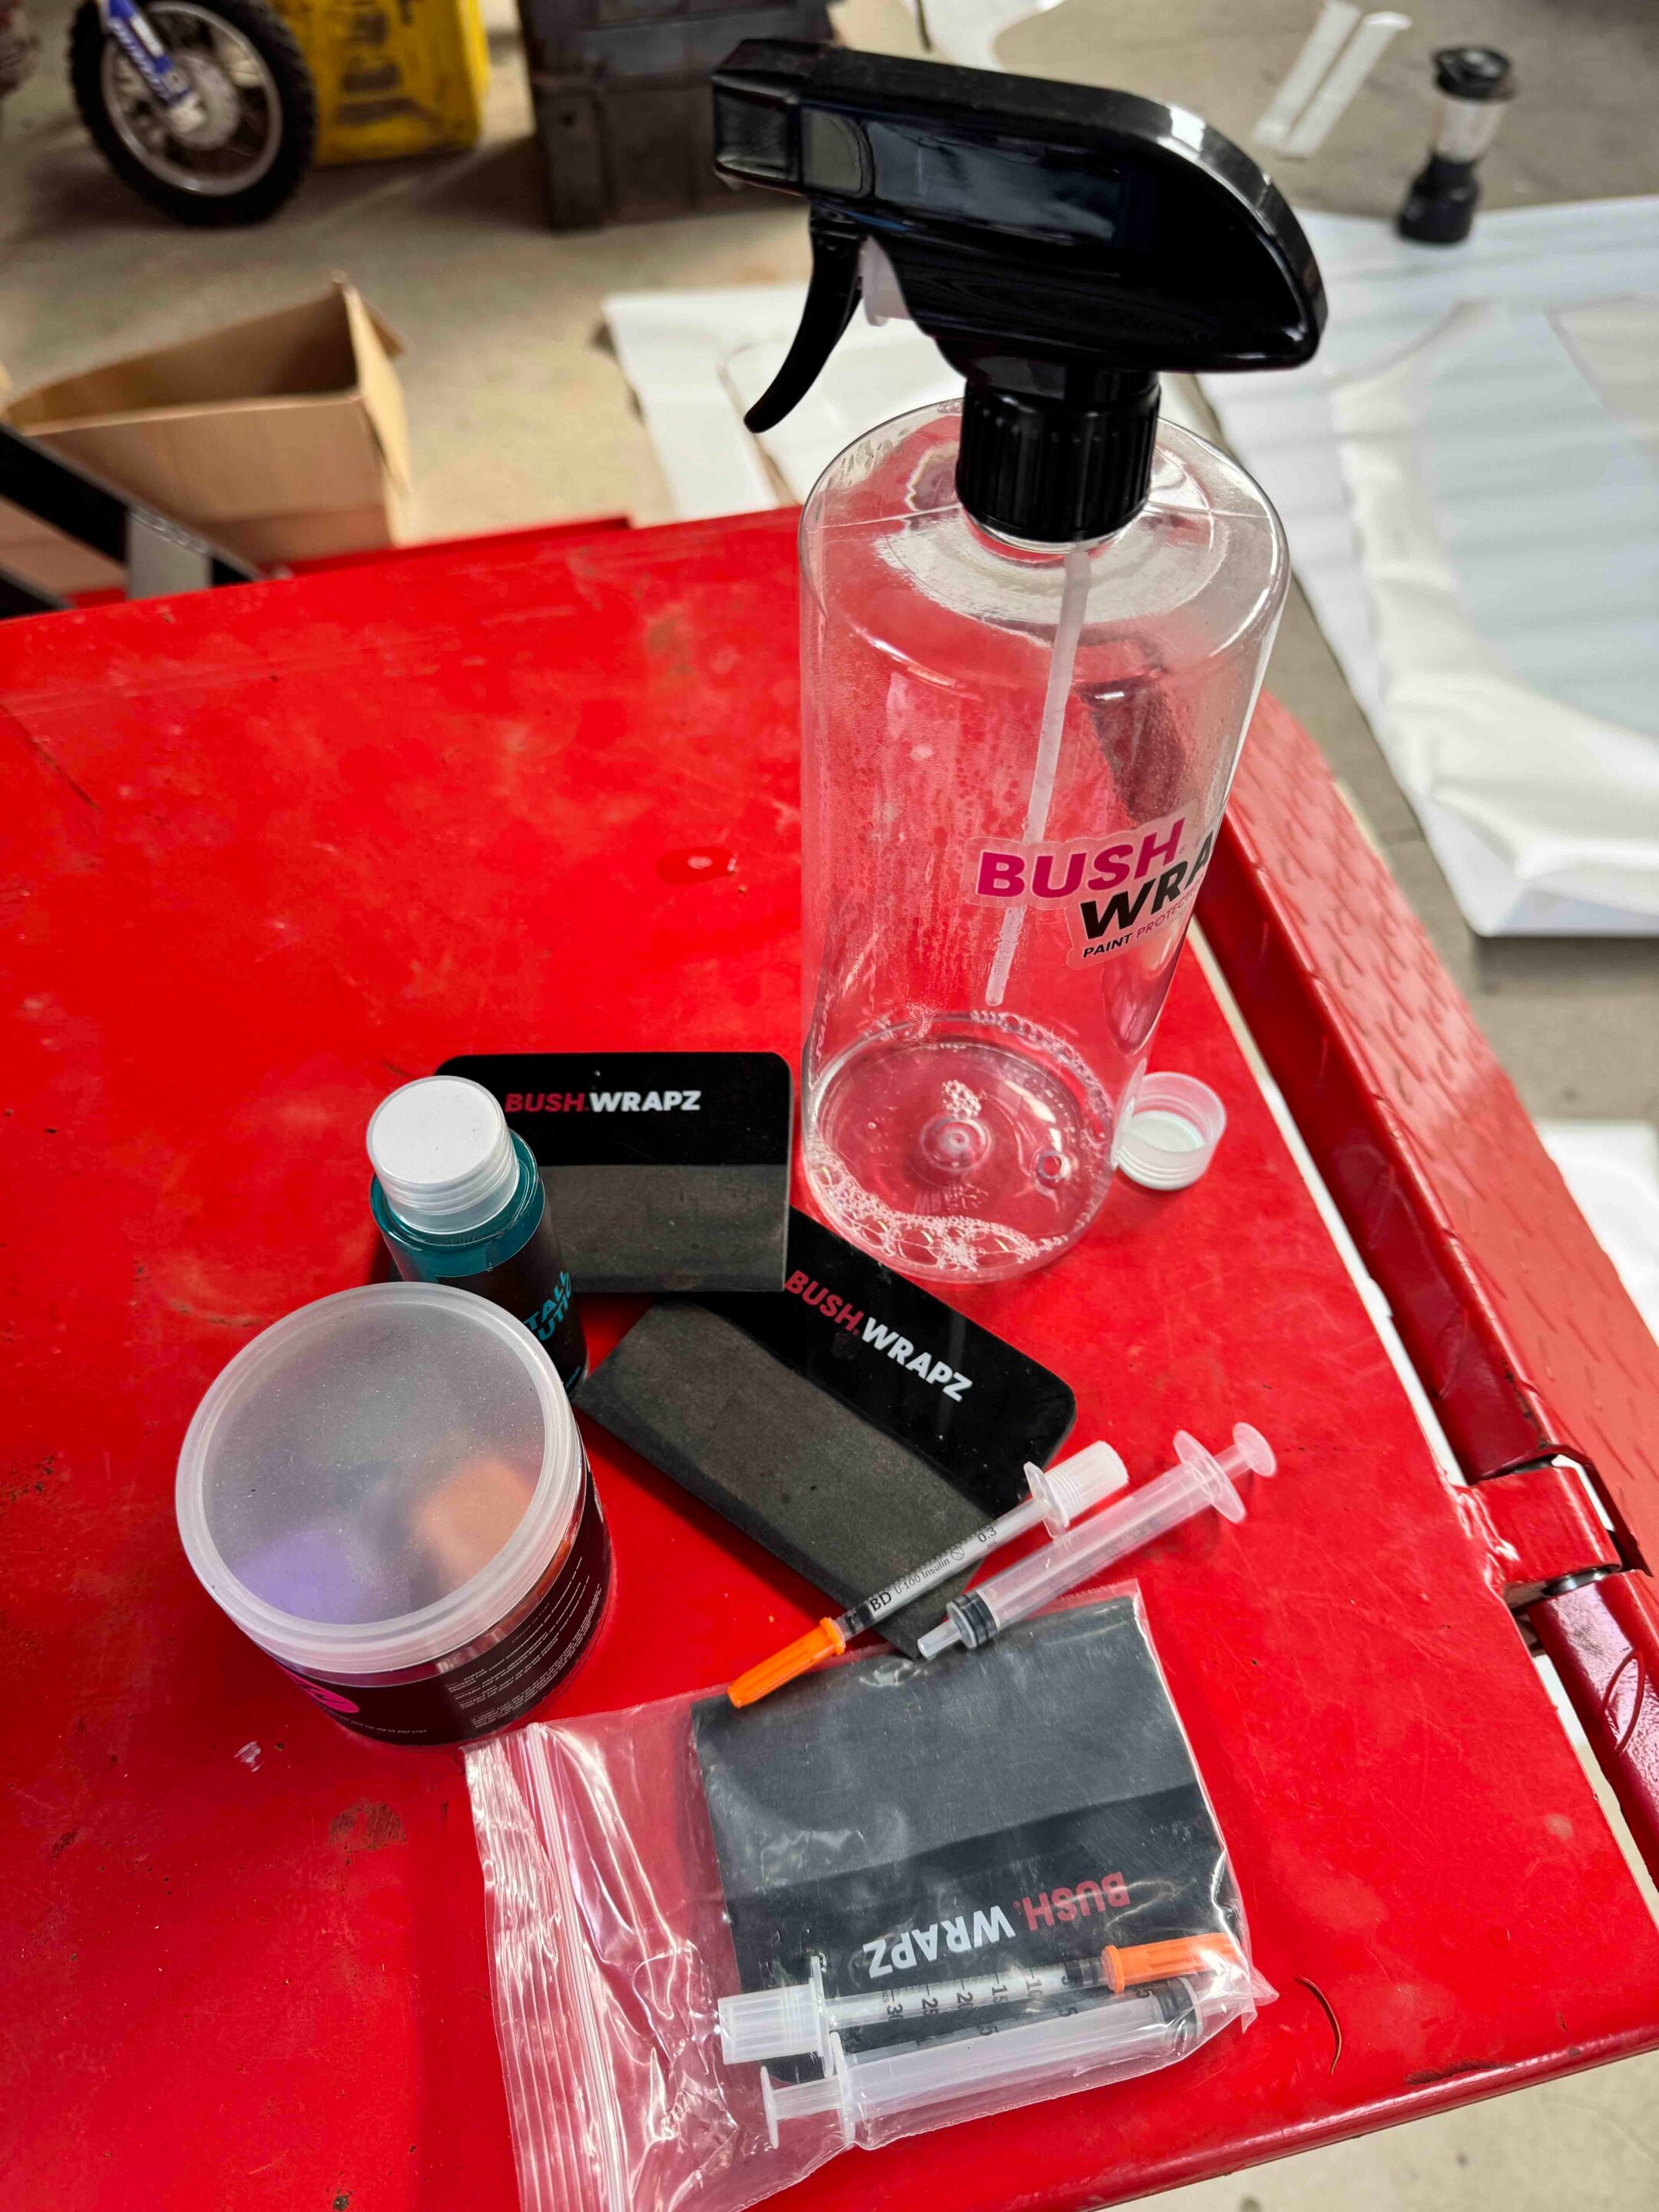
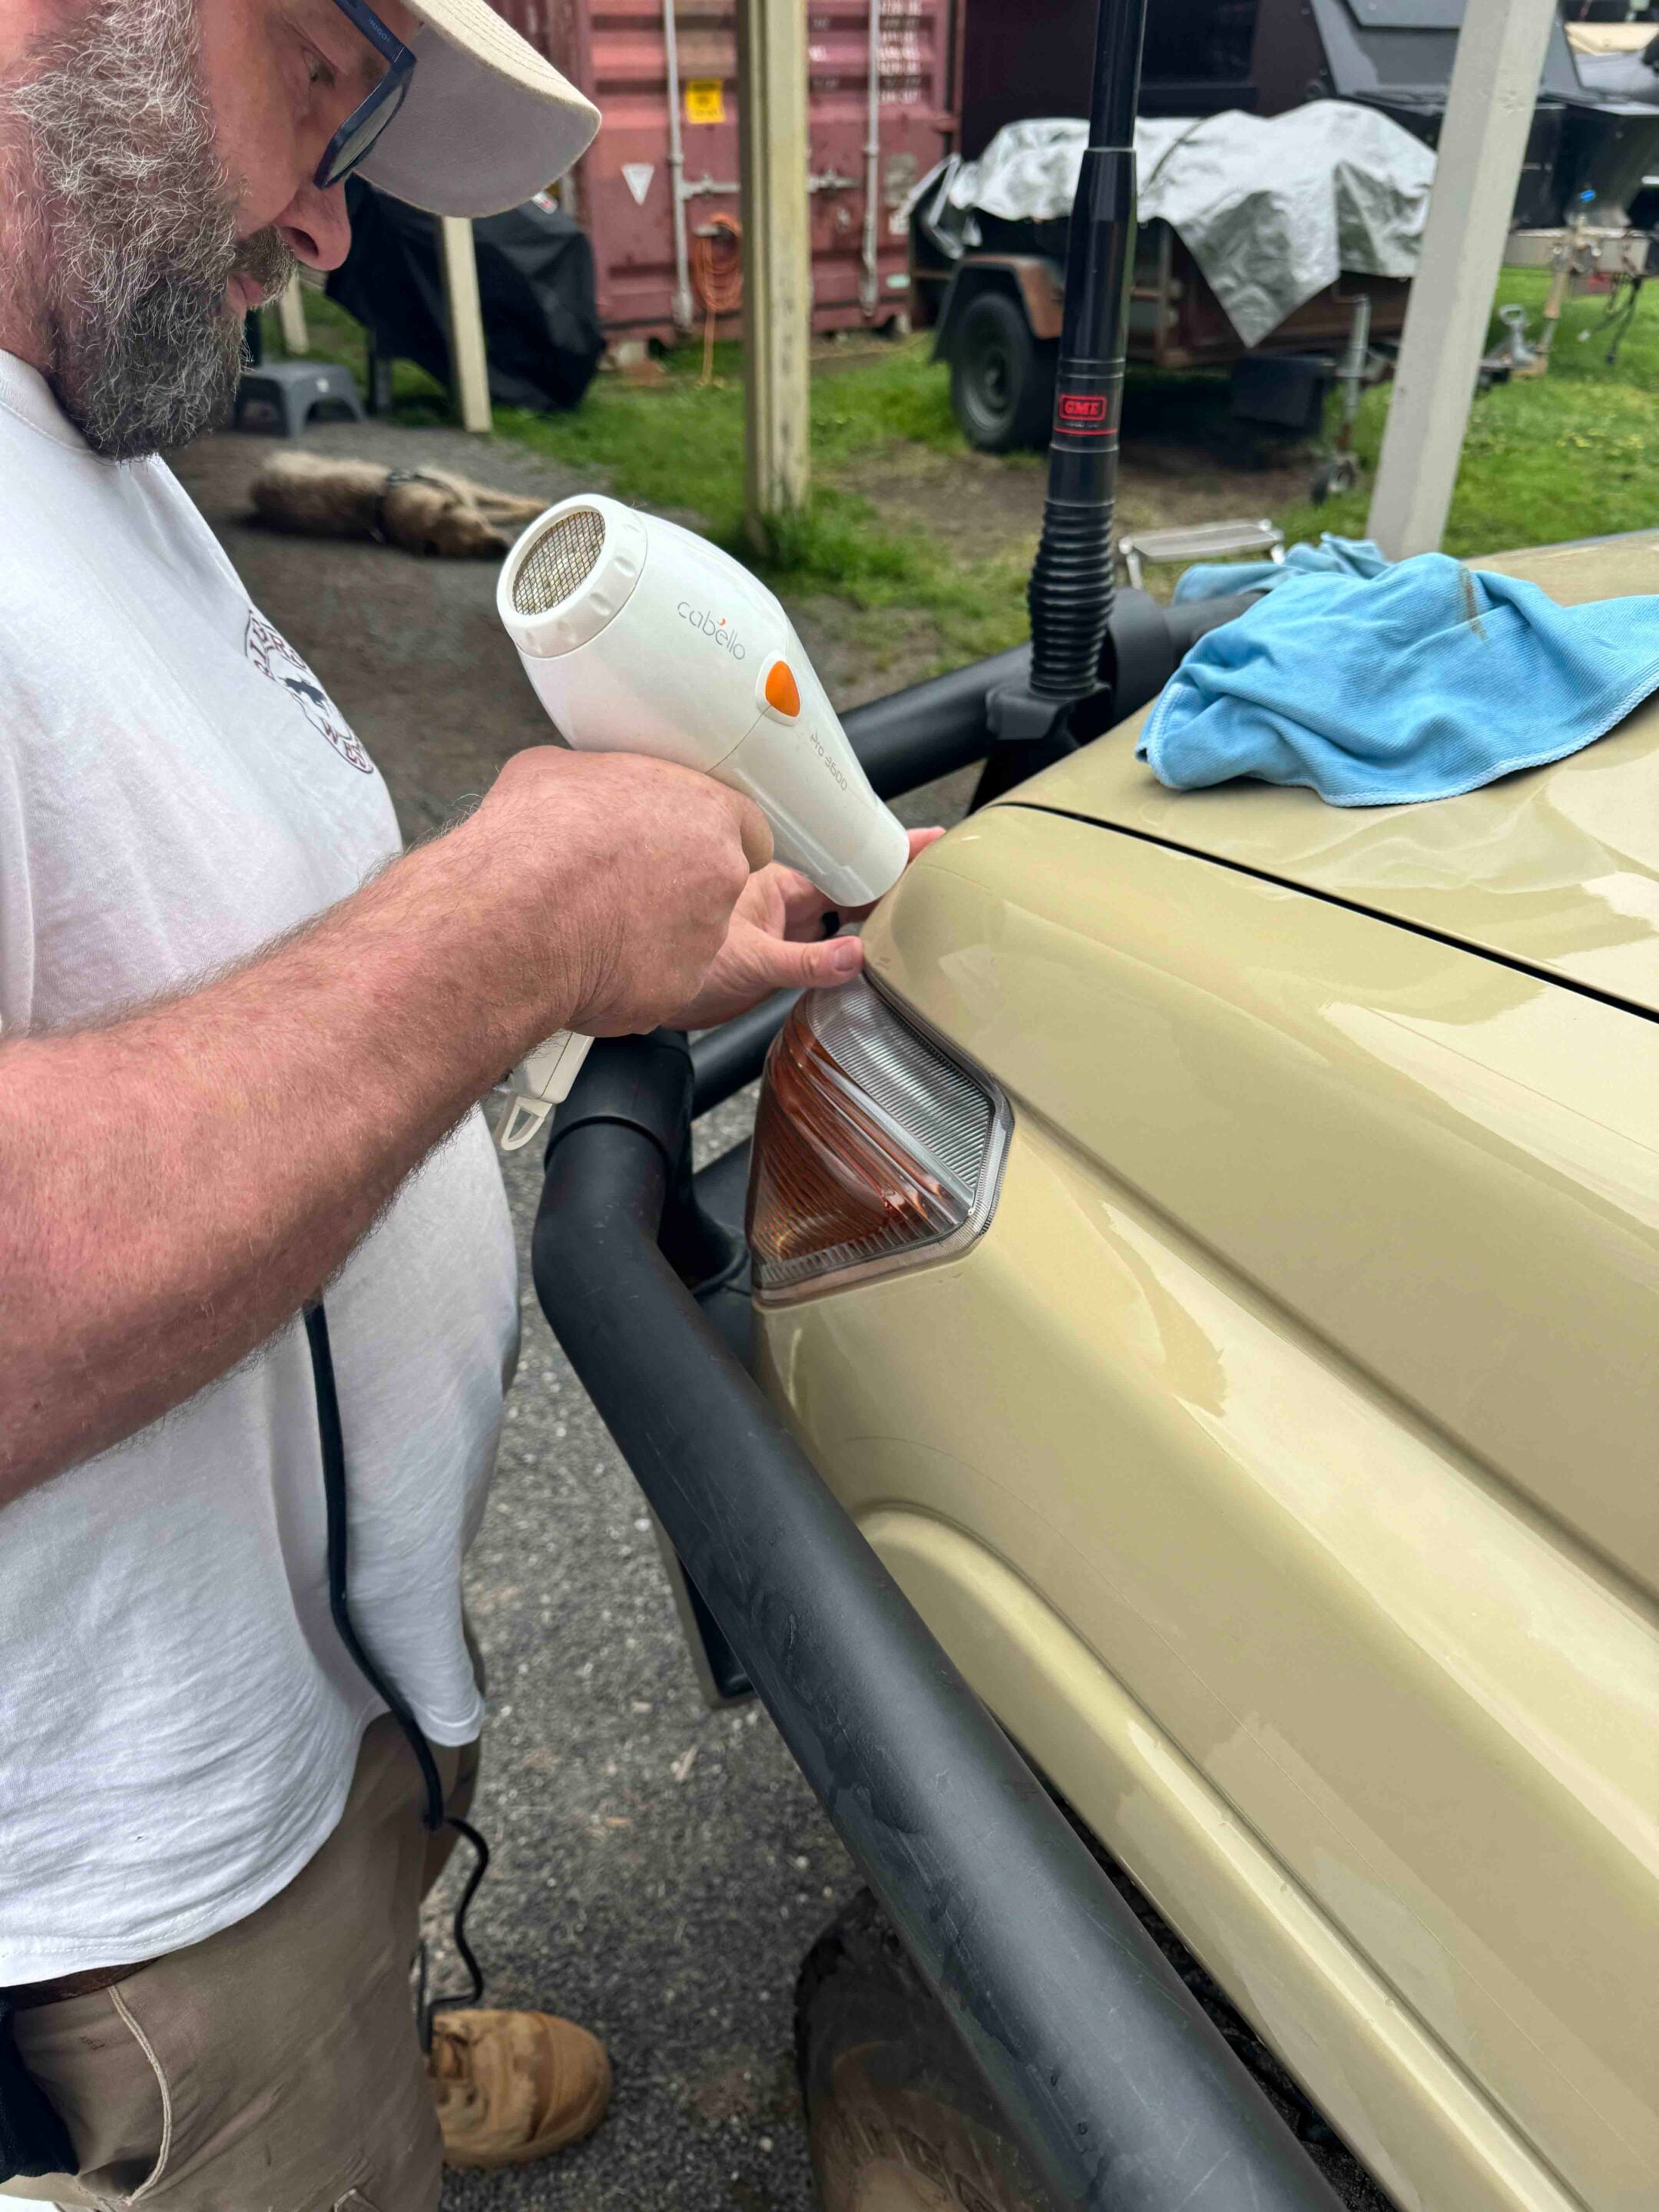
We also ordered one of the company’s installation kits, which includes nearly everything you need to make the install as trouble-free as possible while ensuring a seamless, bubble-free finish. In addition to the kit, you’ll need a heat gun or hair dryer, a sharp knife or scalpel, some clean lint-free cloths and a fair amount of patience. It’s not a difficult job, but it is time-consuming and, in parts, a bit fiddly.
Finally, BushWrapz also supplies templates, depending on the vehicle and model, allowing you to cut out the appropriate areas so that badges and indicator lights – in the Troopy’s case – can be accommodated. We also had to modify some of the pre-cut film after fitting a MaxTrax table to the side of the vehicle, which infringed on the film panel. A hint here: if you’re going to fit accessories such as wheel flares (or MaxTrax tables), leave it until after you’ve fitted the film – it’s a lot easier that way.
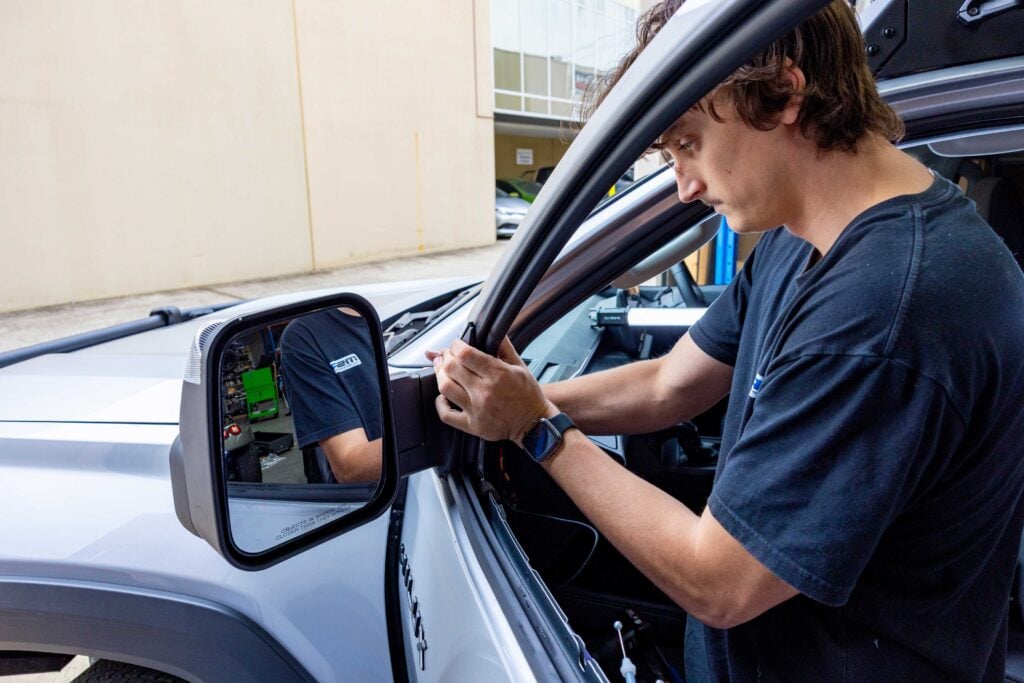
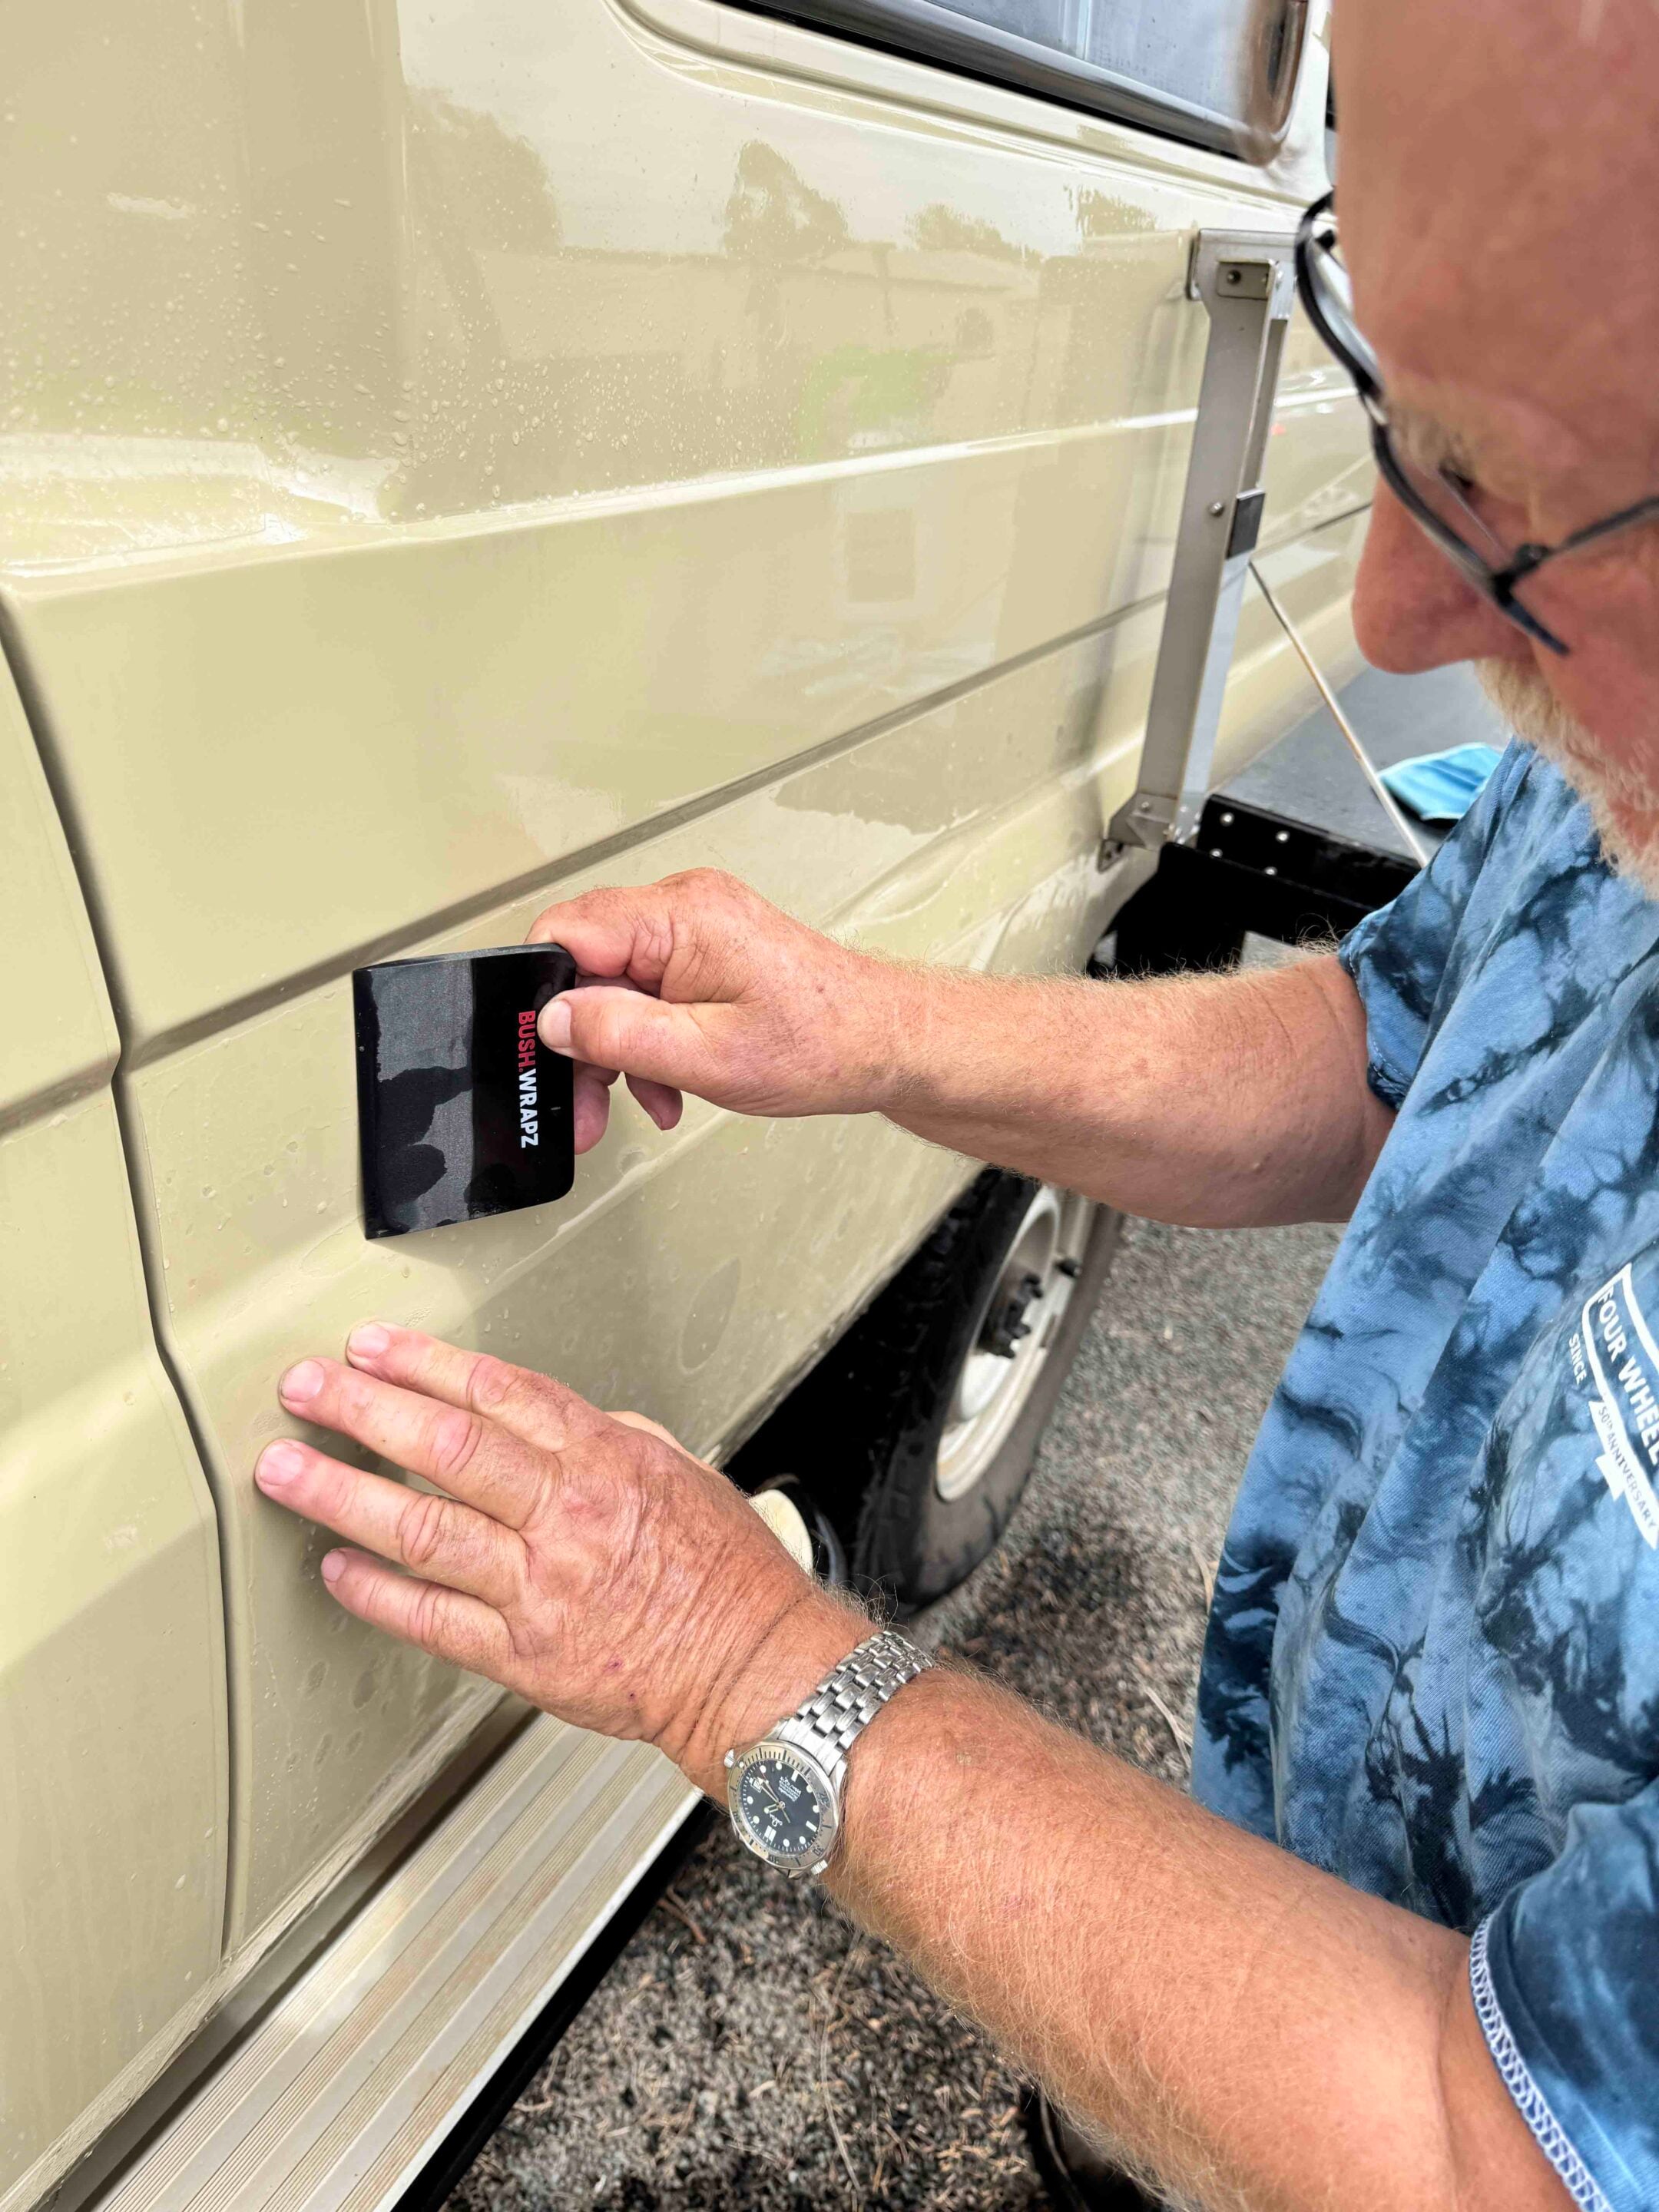
After watching the appropriate video and mixing the soap solution, you need to wash down the vehicle panel you intend to cover first. Then rub the panel with the clay block supplied in the installation kit, before applying the soap solution to both the film and the vehicle panel – you can’t use enough soap solution.
It’s best to have the vehicle in a breeze-free environment, or outside on a wind-free day. With the film in place, you can easily move it around – if it’s not slipping easily, apply more soap solution to both the film and the body panel. Once in position, squeegee off the excess water, making sure there are no air bubbles – or only a few tiny ones – under the film. The syringes supplied with the kit are used to draw out any trapped air if needed, but it’s best to have none at all.
8
Once you’re happy with the result, rub the film dry and apply heat to fully seal it to the panel. Repeat the process on all the vehicle panels you want to cover.
This, as we’ve already indicated, is a time-consuming job and, for the Troopy, took about 10–12 hours over two days to complete. The 200 Series Cruiser took less time, as did the HiLux. Once the job is complete, you’ll notice that any minor paint scratches are made almost invisible by the film.
The film, as Trent and his Moon Tours vehicles have attested over the past few years, has stood up very well to the bombardment of trees, branches and stones thrown at them. That’s proof enough for us. There’s a warranty, too – one year for the ‘Cape’, five years for the ‘Advance’ and 10 years for the ‘Pro’.
Pricing
- Troopie ‘Advance’ kit: $1375
- Dual-cab ute ‘Cape’ kit: From $510
- Dual-cab ute ‘Advance’ kit: $935
Follow 4X4 Australia on Google
Get more 4x4 news, reviews and gear stories from 4X4 Australia in your Google feeds.