Gear
Gallery 1
Sway bar bushes and grommets are routine replacements for vehicles that have clocked up a heap of kilometres.
It’ll vary according to the vehicle and how it’s used, but anything with more than 100,000km is fair game for new bushes.
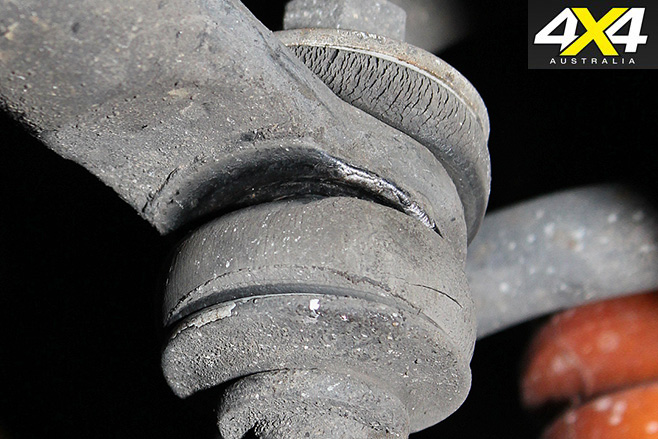
You’ll know the time’s up on the existing bushings when they begin to crack or get out of shape. Another sign of bushings behaving badly is when the sway bar rattles when you drive over bumps.
The bushings insulate the sway bar at the two attachment points at the frame (or chassis) and the grommets insulate the sway bar ends where they attach to the sway bar links.
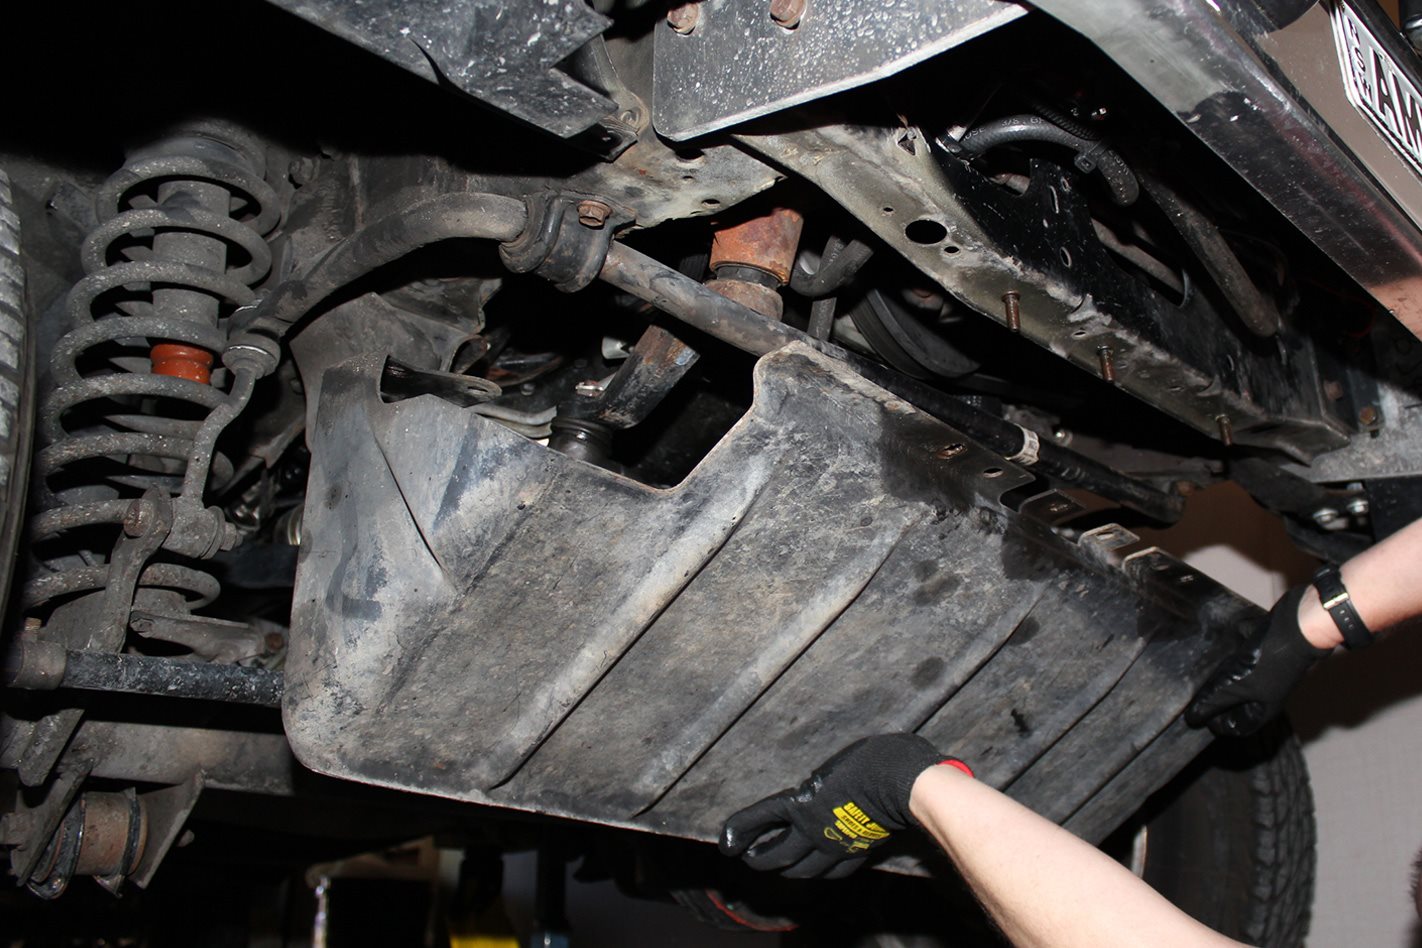
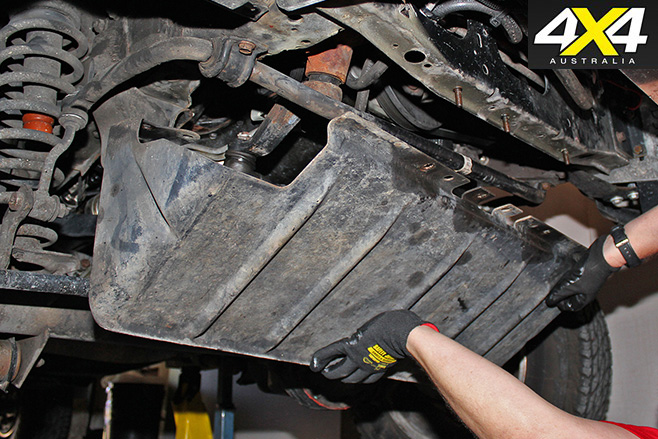
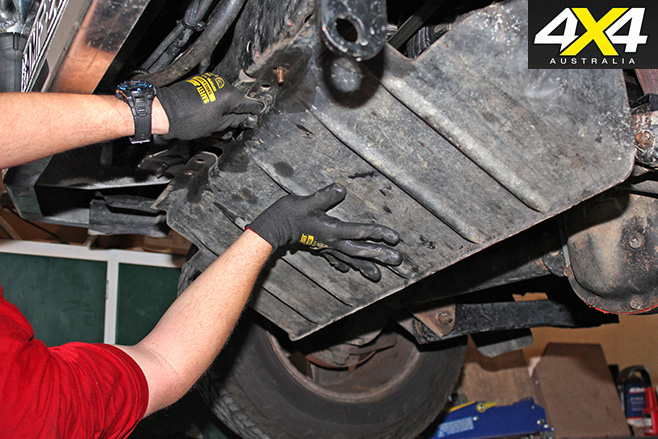
Removing the old bushes simply requires the removal of a bash plate (if any) or any other components such as a lower engine cover that might be in the way.
Then the sway bar can be unbolted from the links and the frame.
The sway bar bushings often have a split in them so that they can be removed easily over the sway bar (as those pictured here), but even if they’re not, they can be taken off the sway bar ends once it’s removed from the links.
After the new bushings have been fitted, the grommets can be installed at the links at each end of the sway bar. Bolt it all up to your vehicle-specific torque settings, re-fit the bash plate and the job’s done.
1. Remove engine cover or bash plate to gain access to the sway bar.
1
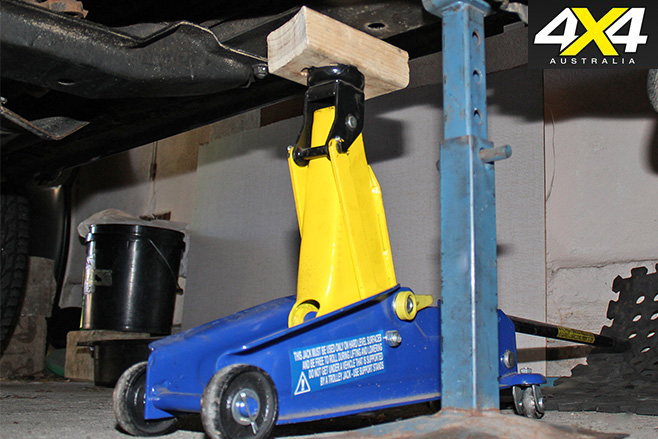
2. Jack up vehicle and support with stands.
1
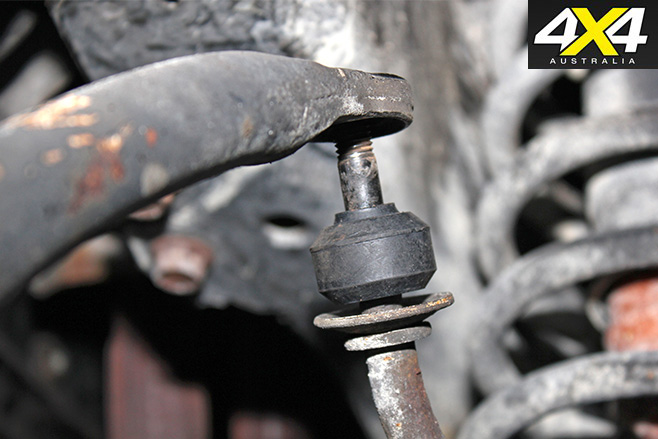
3.Rubber cracking on this upper bushing suggests it is on its way out.
1
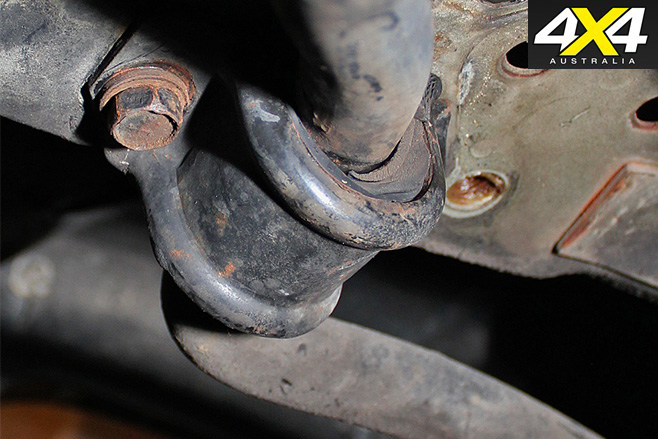
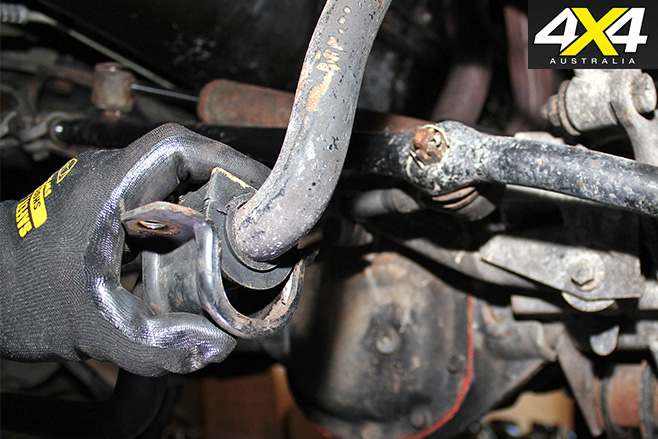
4. This sway bar to frame bushing is quite distorted and needs replacing.
1
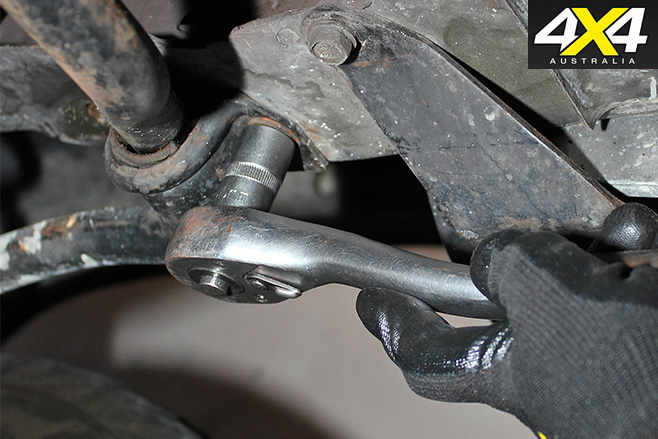
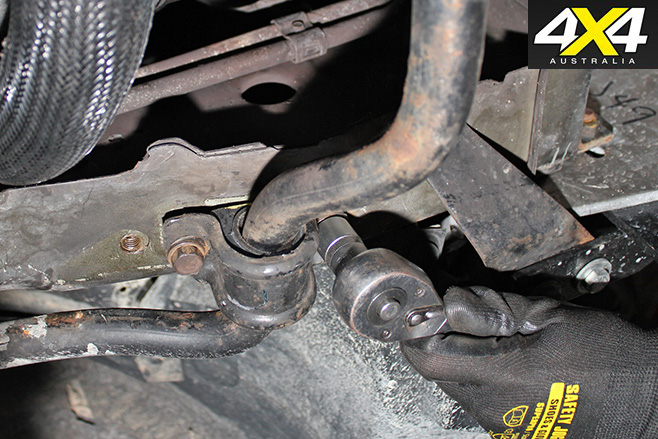
5. Remove the sway bar to frame securing clamp.
1
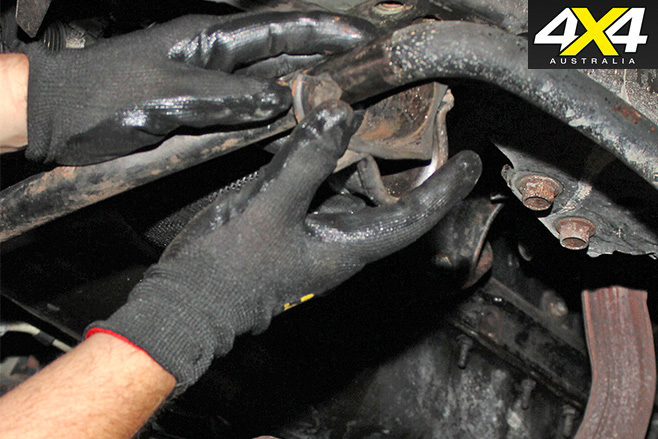
6. Separate the bushing from the sway bar clamps.
1
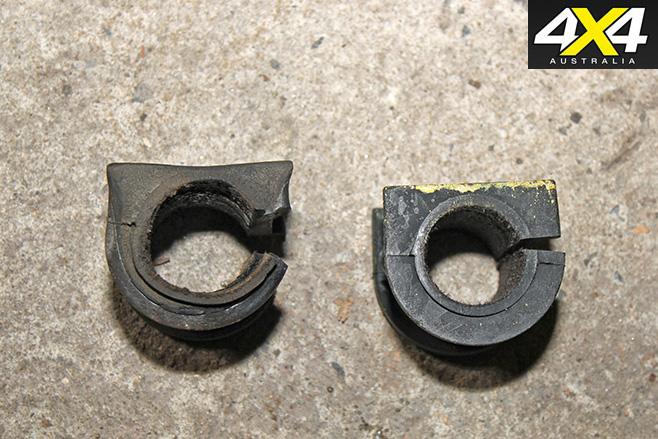
7. Old versus new sway bar to frame bushings.
1
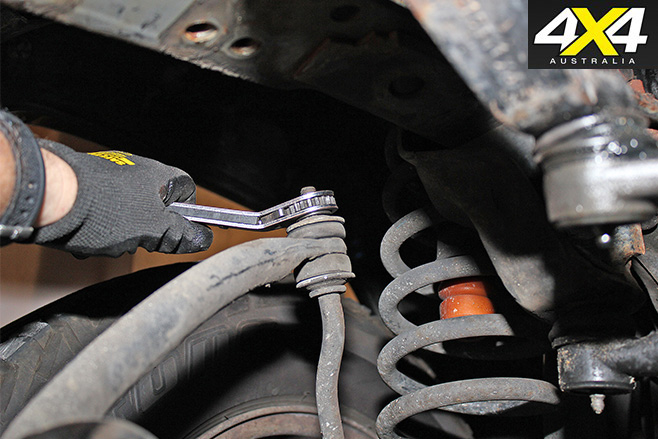
8. Unbolt the sway bar to link connection.
1
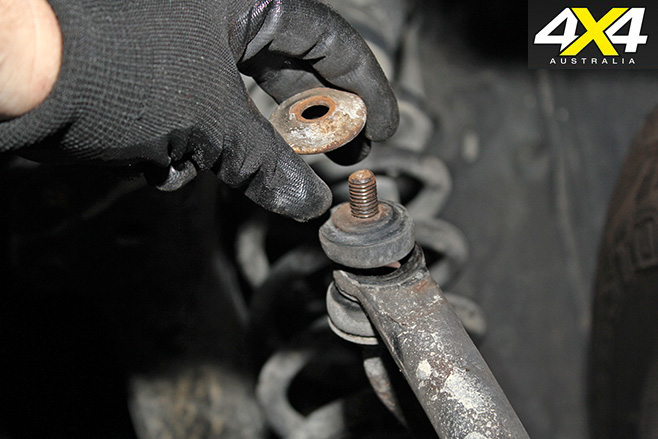
9. Remove the retainer, then top grommet followed by the sway bar and lower grommet.
1
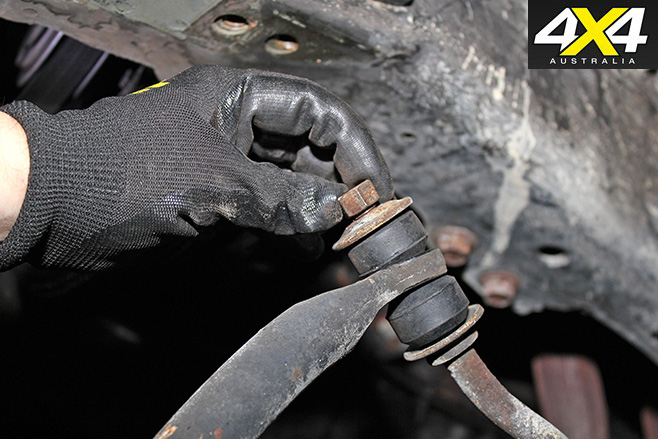
10. Fit new grommets and sway bar to sway bar links.
1
11. Re-attach remaining grommets, retainers and retainer nuts to sway bar link.
1
12. Fit new sway bar bushing and clamp to sway bar.
1
13. Clamp down new bushes and sway bar to frame.
1
14. Re-attach bash plate and remove vehicle safety stands.
1
For more information and tips on Gear, check out our page here.
Follow 4X4 Australia on Google
Get more 4x4 news, reviews and gear stories from 4X4 Australia in your Google feeds.