Gear


Gallery 1
If there’s one area where the majority of utes fall down, it’s interior storage.
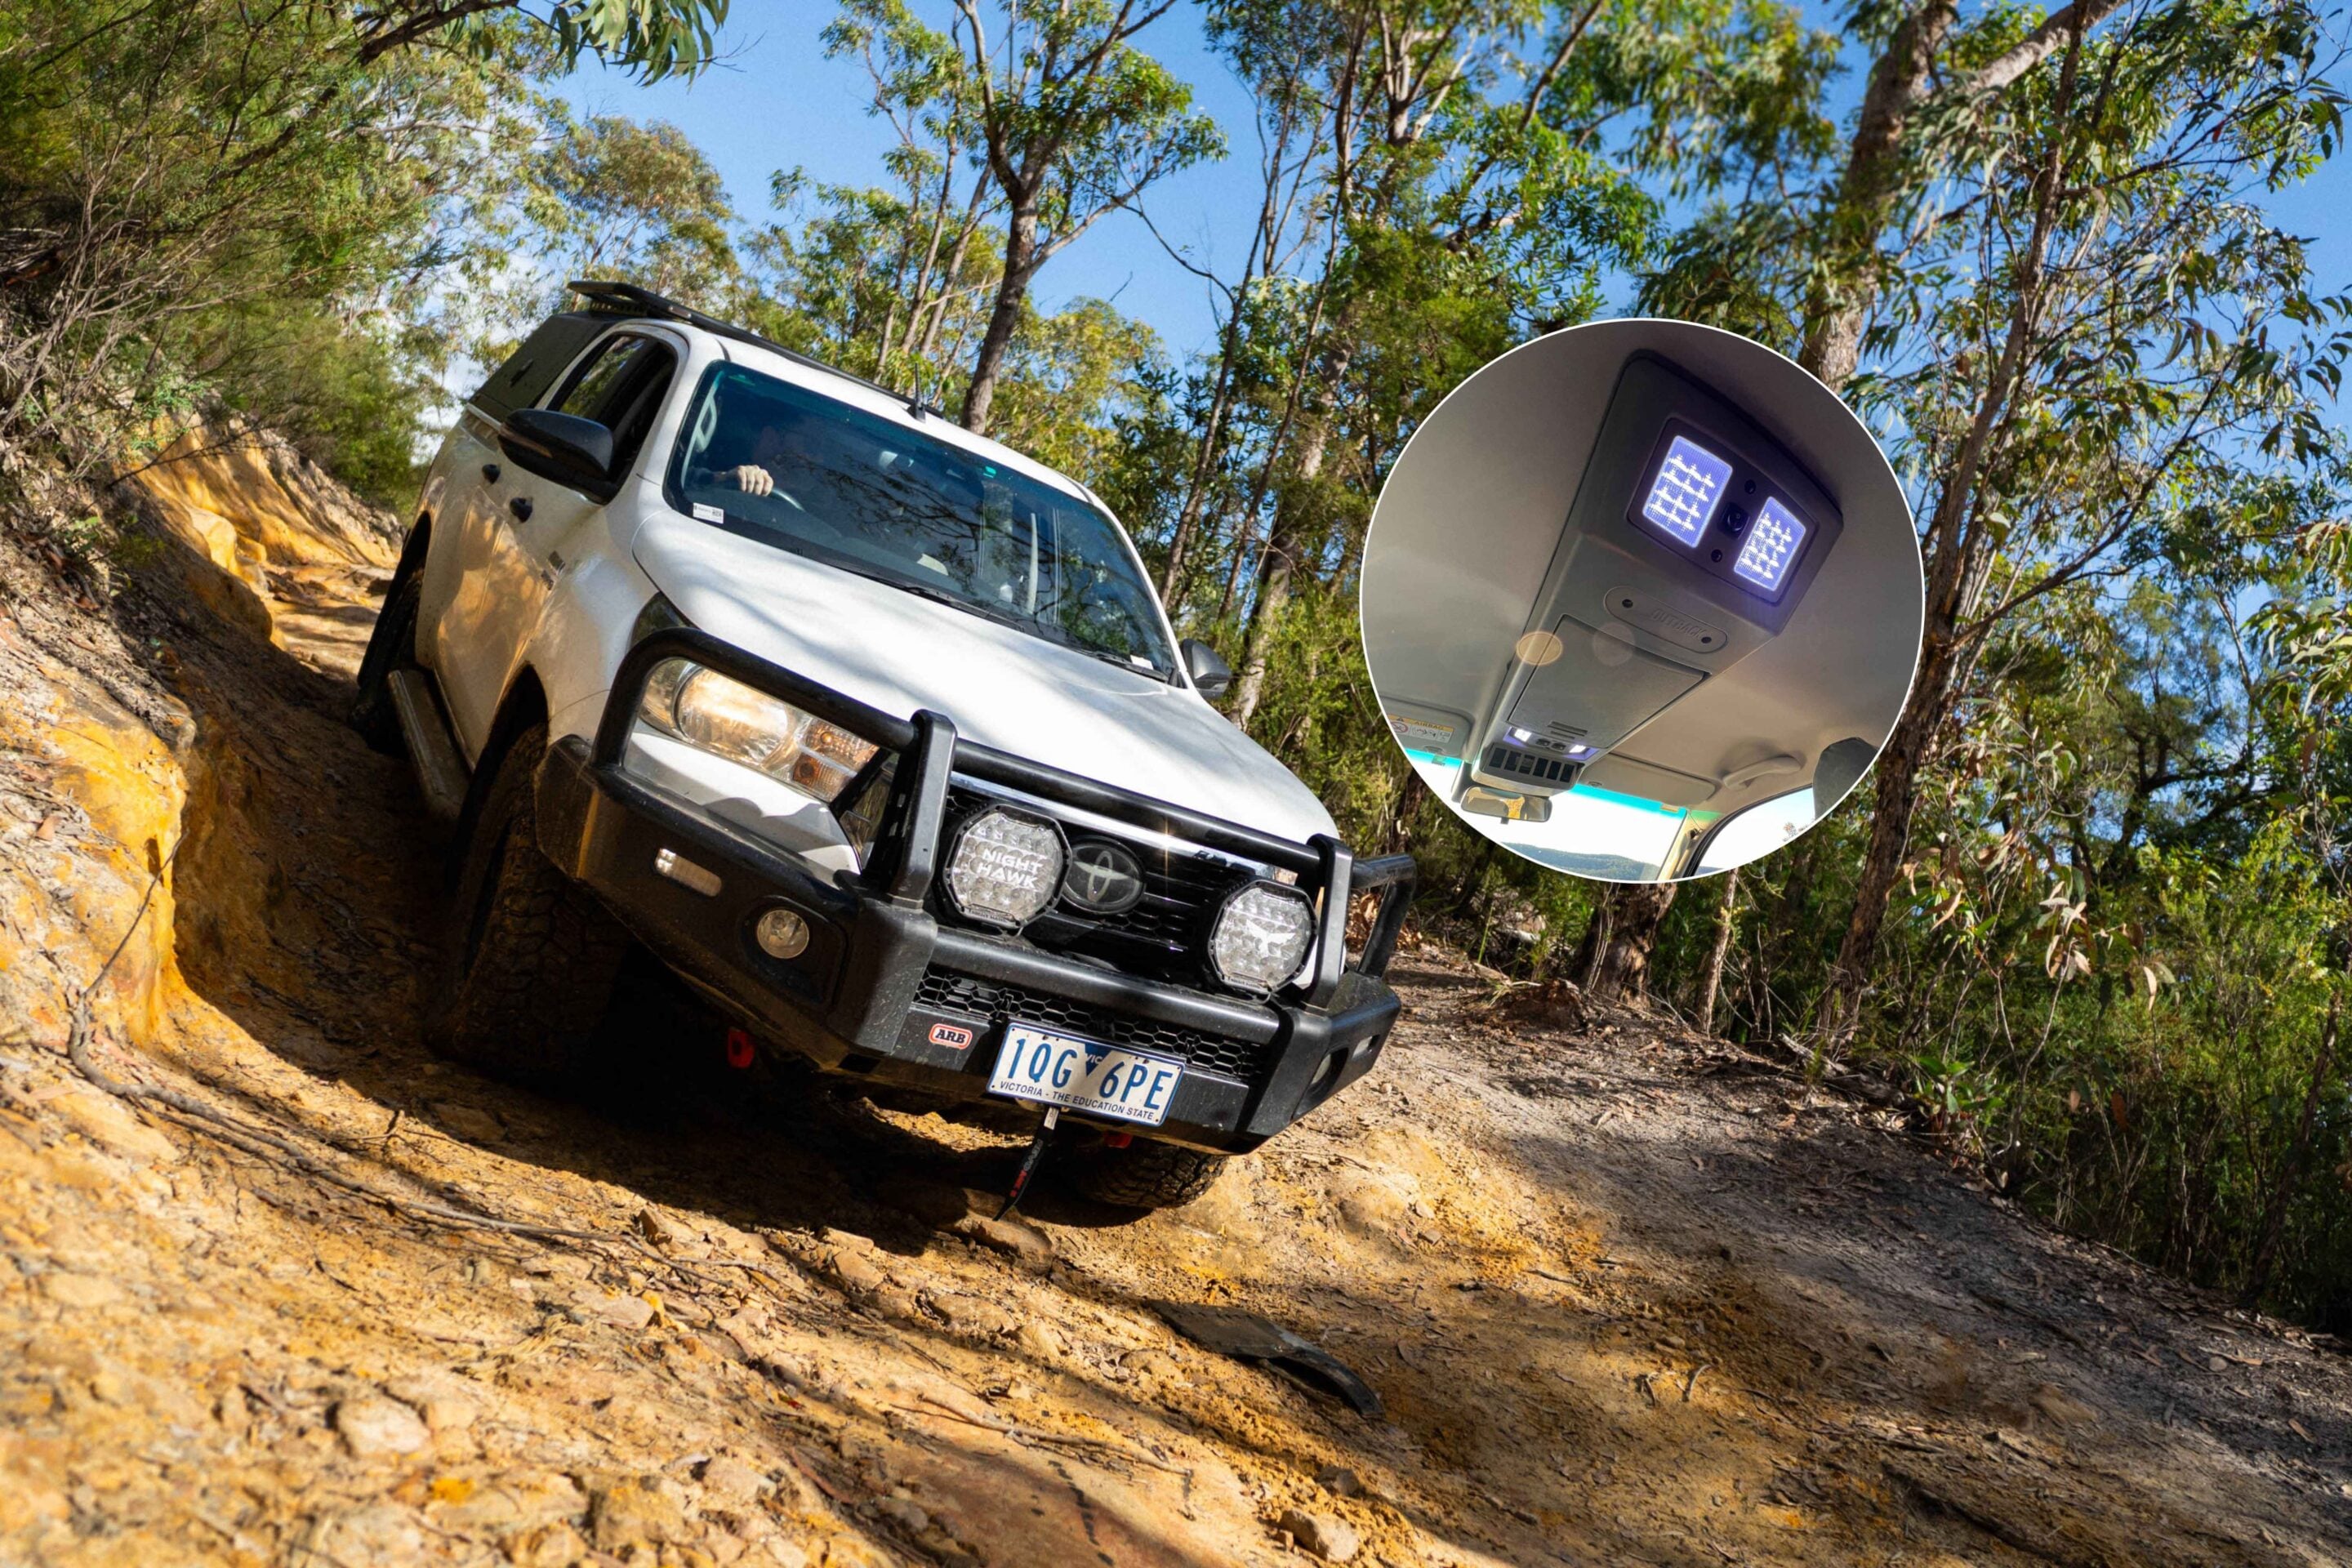
The HiLux is no exception, with few places to store gear beyond the glovebox and cupholders. These are already occupied by our gloves and cups respectively, so they’re out. Luckily, this isn’t our first moonwalk on the D-floor, so we didn’t waste any time calling 4WD Interiors and getting them to send out one of its roof consoles (↗). These guys have been around forever, and their products are among the best in the biz. They fit first time, every time, and are built to last; what’s not to love?
A couple of days after ordering, we were looking at our very own roof console, which we reckon is one of the handiest and most practical additions to any 4×4. Installation is also easily achievable for the DIYer.
The installation
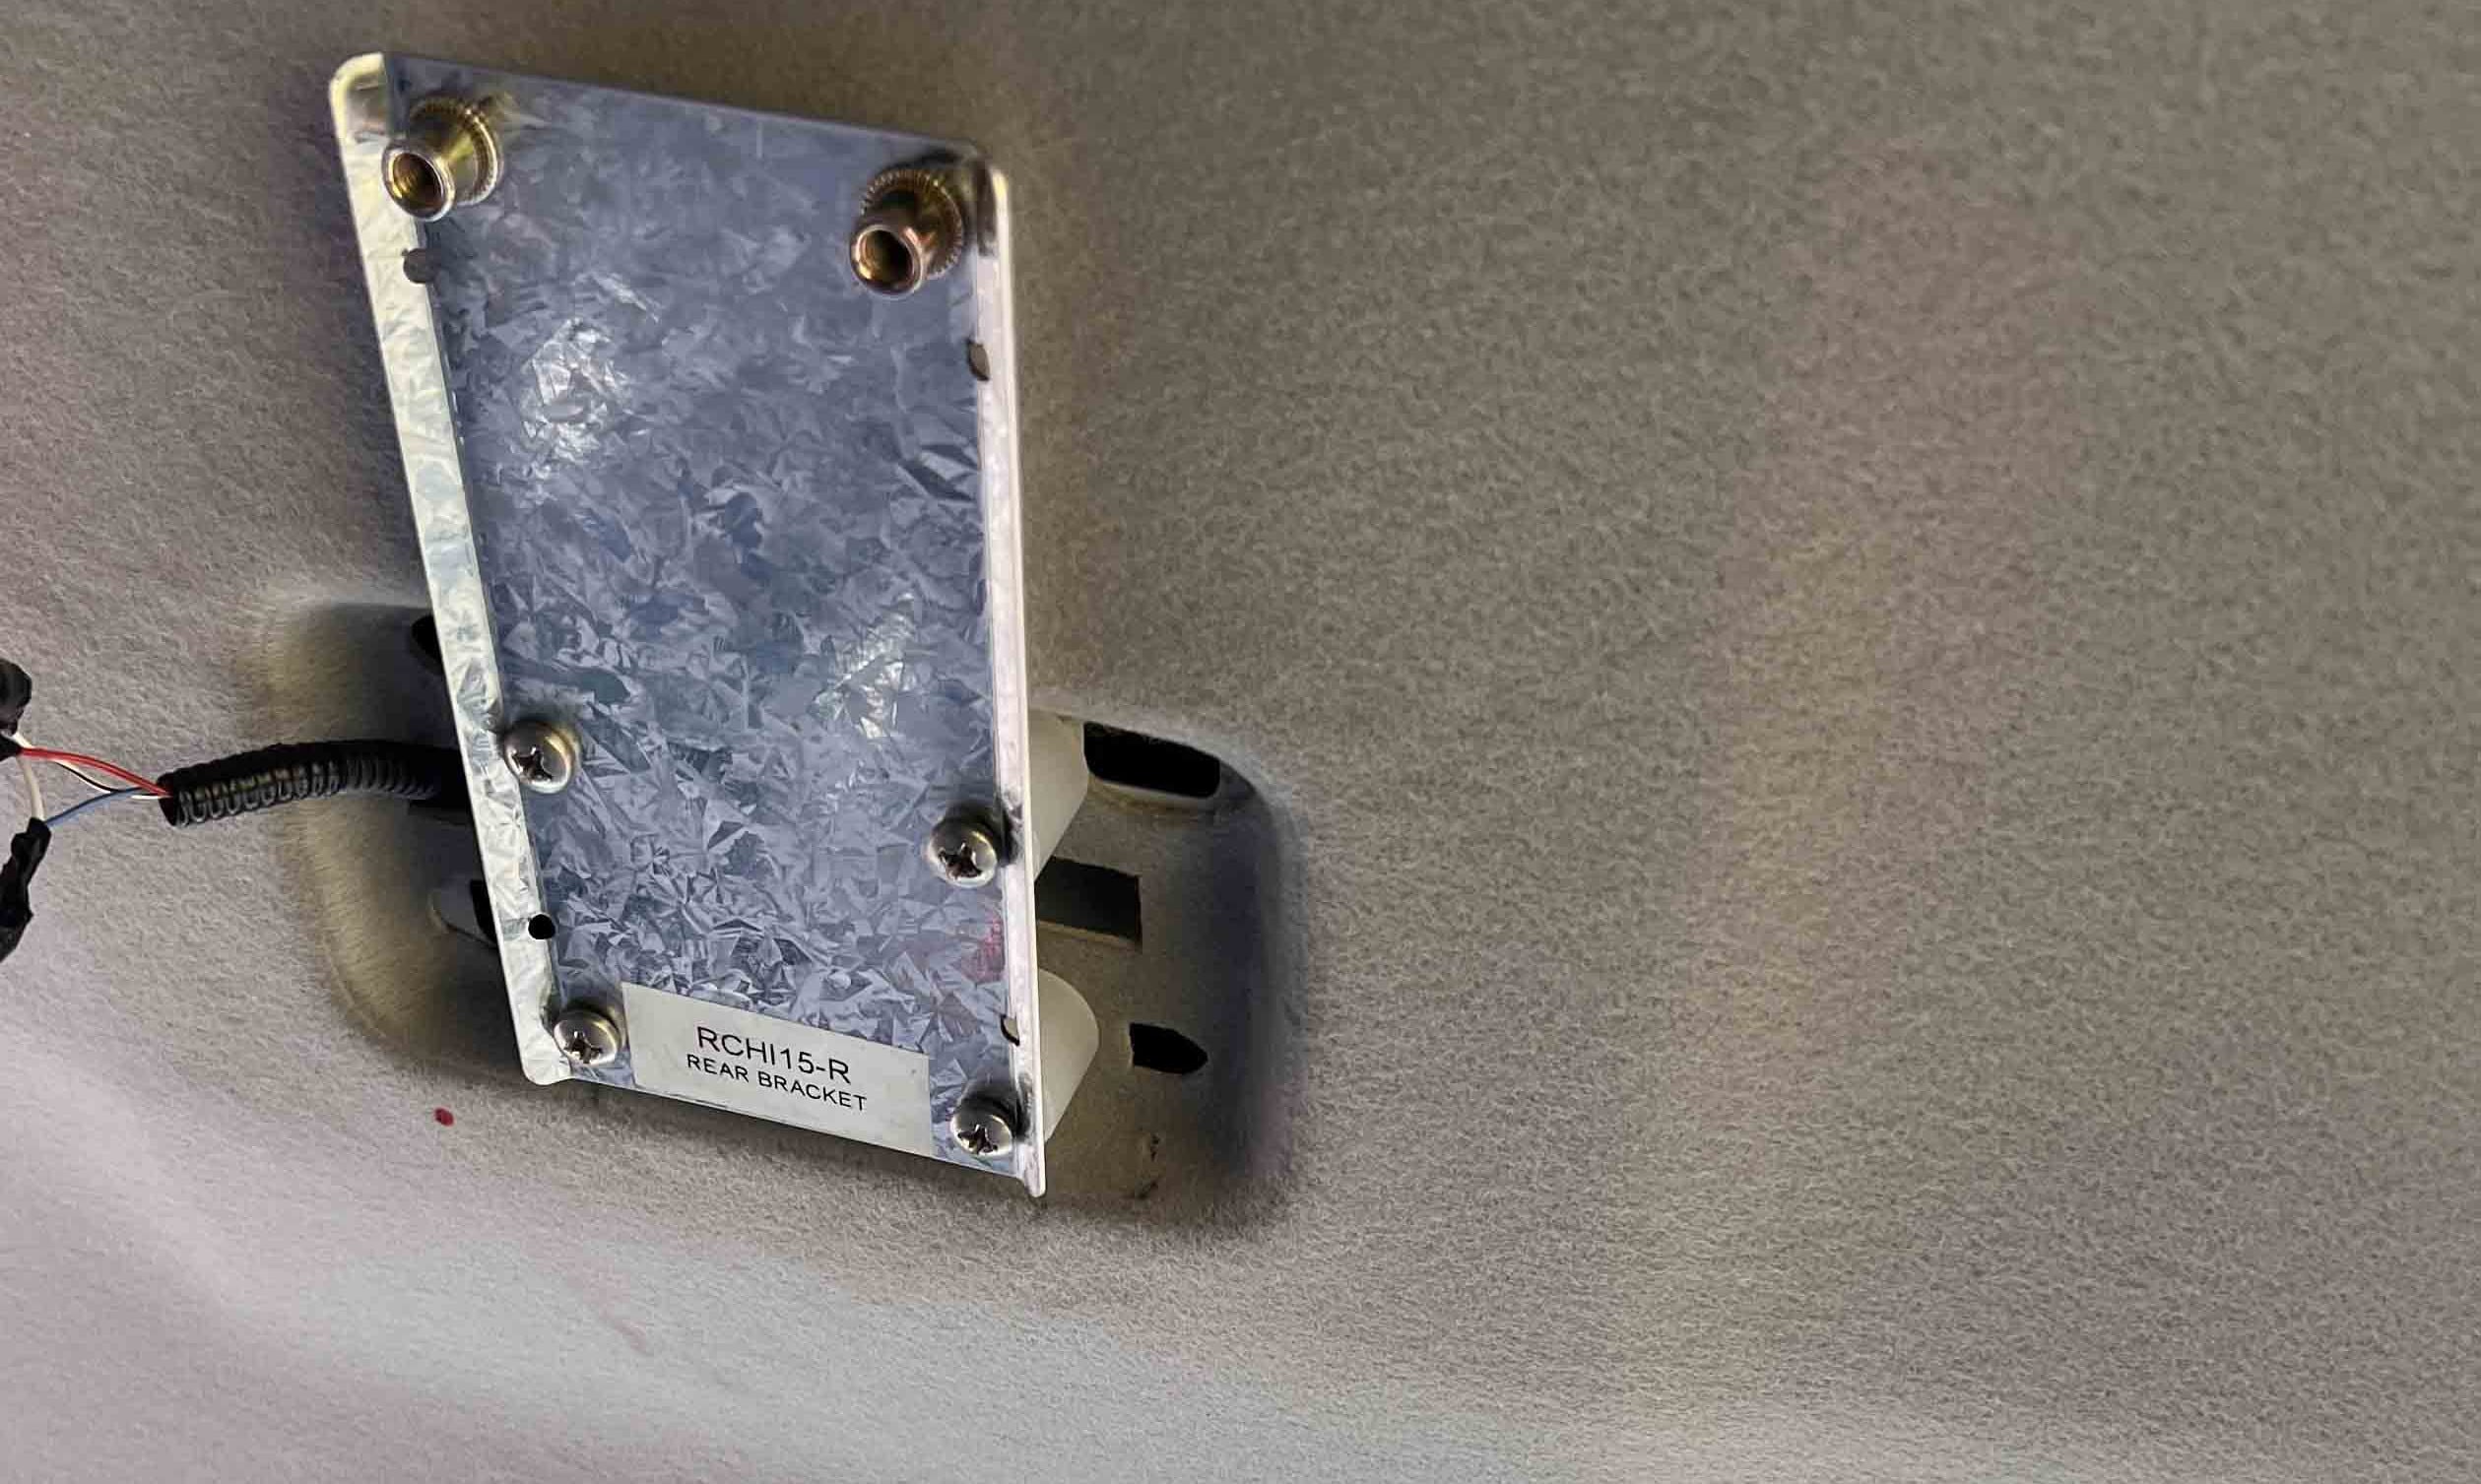
1. Start by removing the interior dome light and map light/sunnies holder so you can fit the mounting brackets. The rear bracket requires holes to be drilled with a 3.2mm bit, but a template is included, so it’s not too tricky.
1
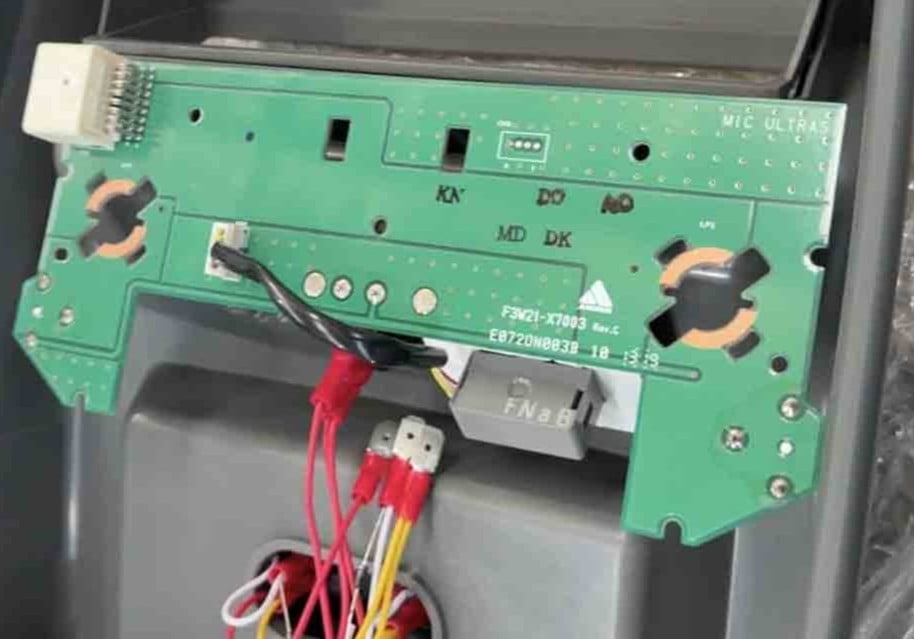
2. On the console, fit the Bluetooth speaker and door-light circuit board, removed from the plastic above the sunnies holder, using the provided double-sided tape. Note the three spade terminals; they’re for the lighting
1
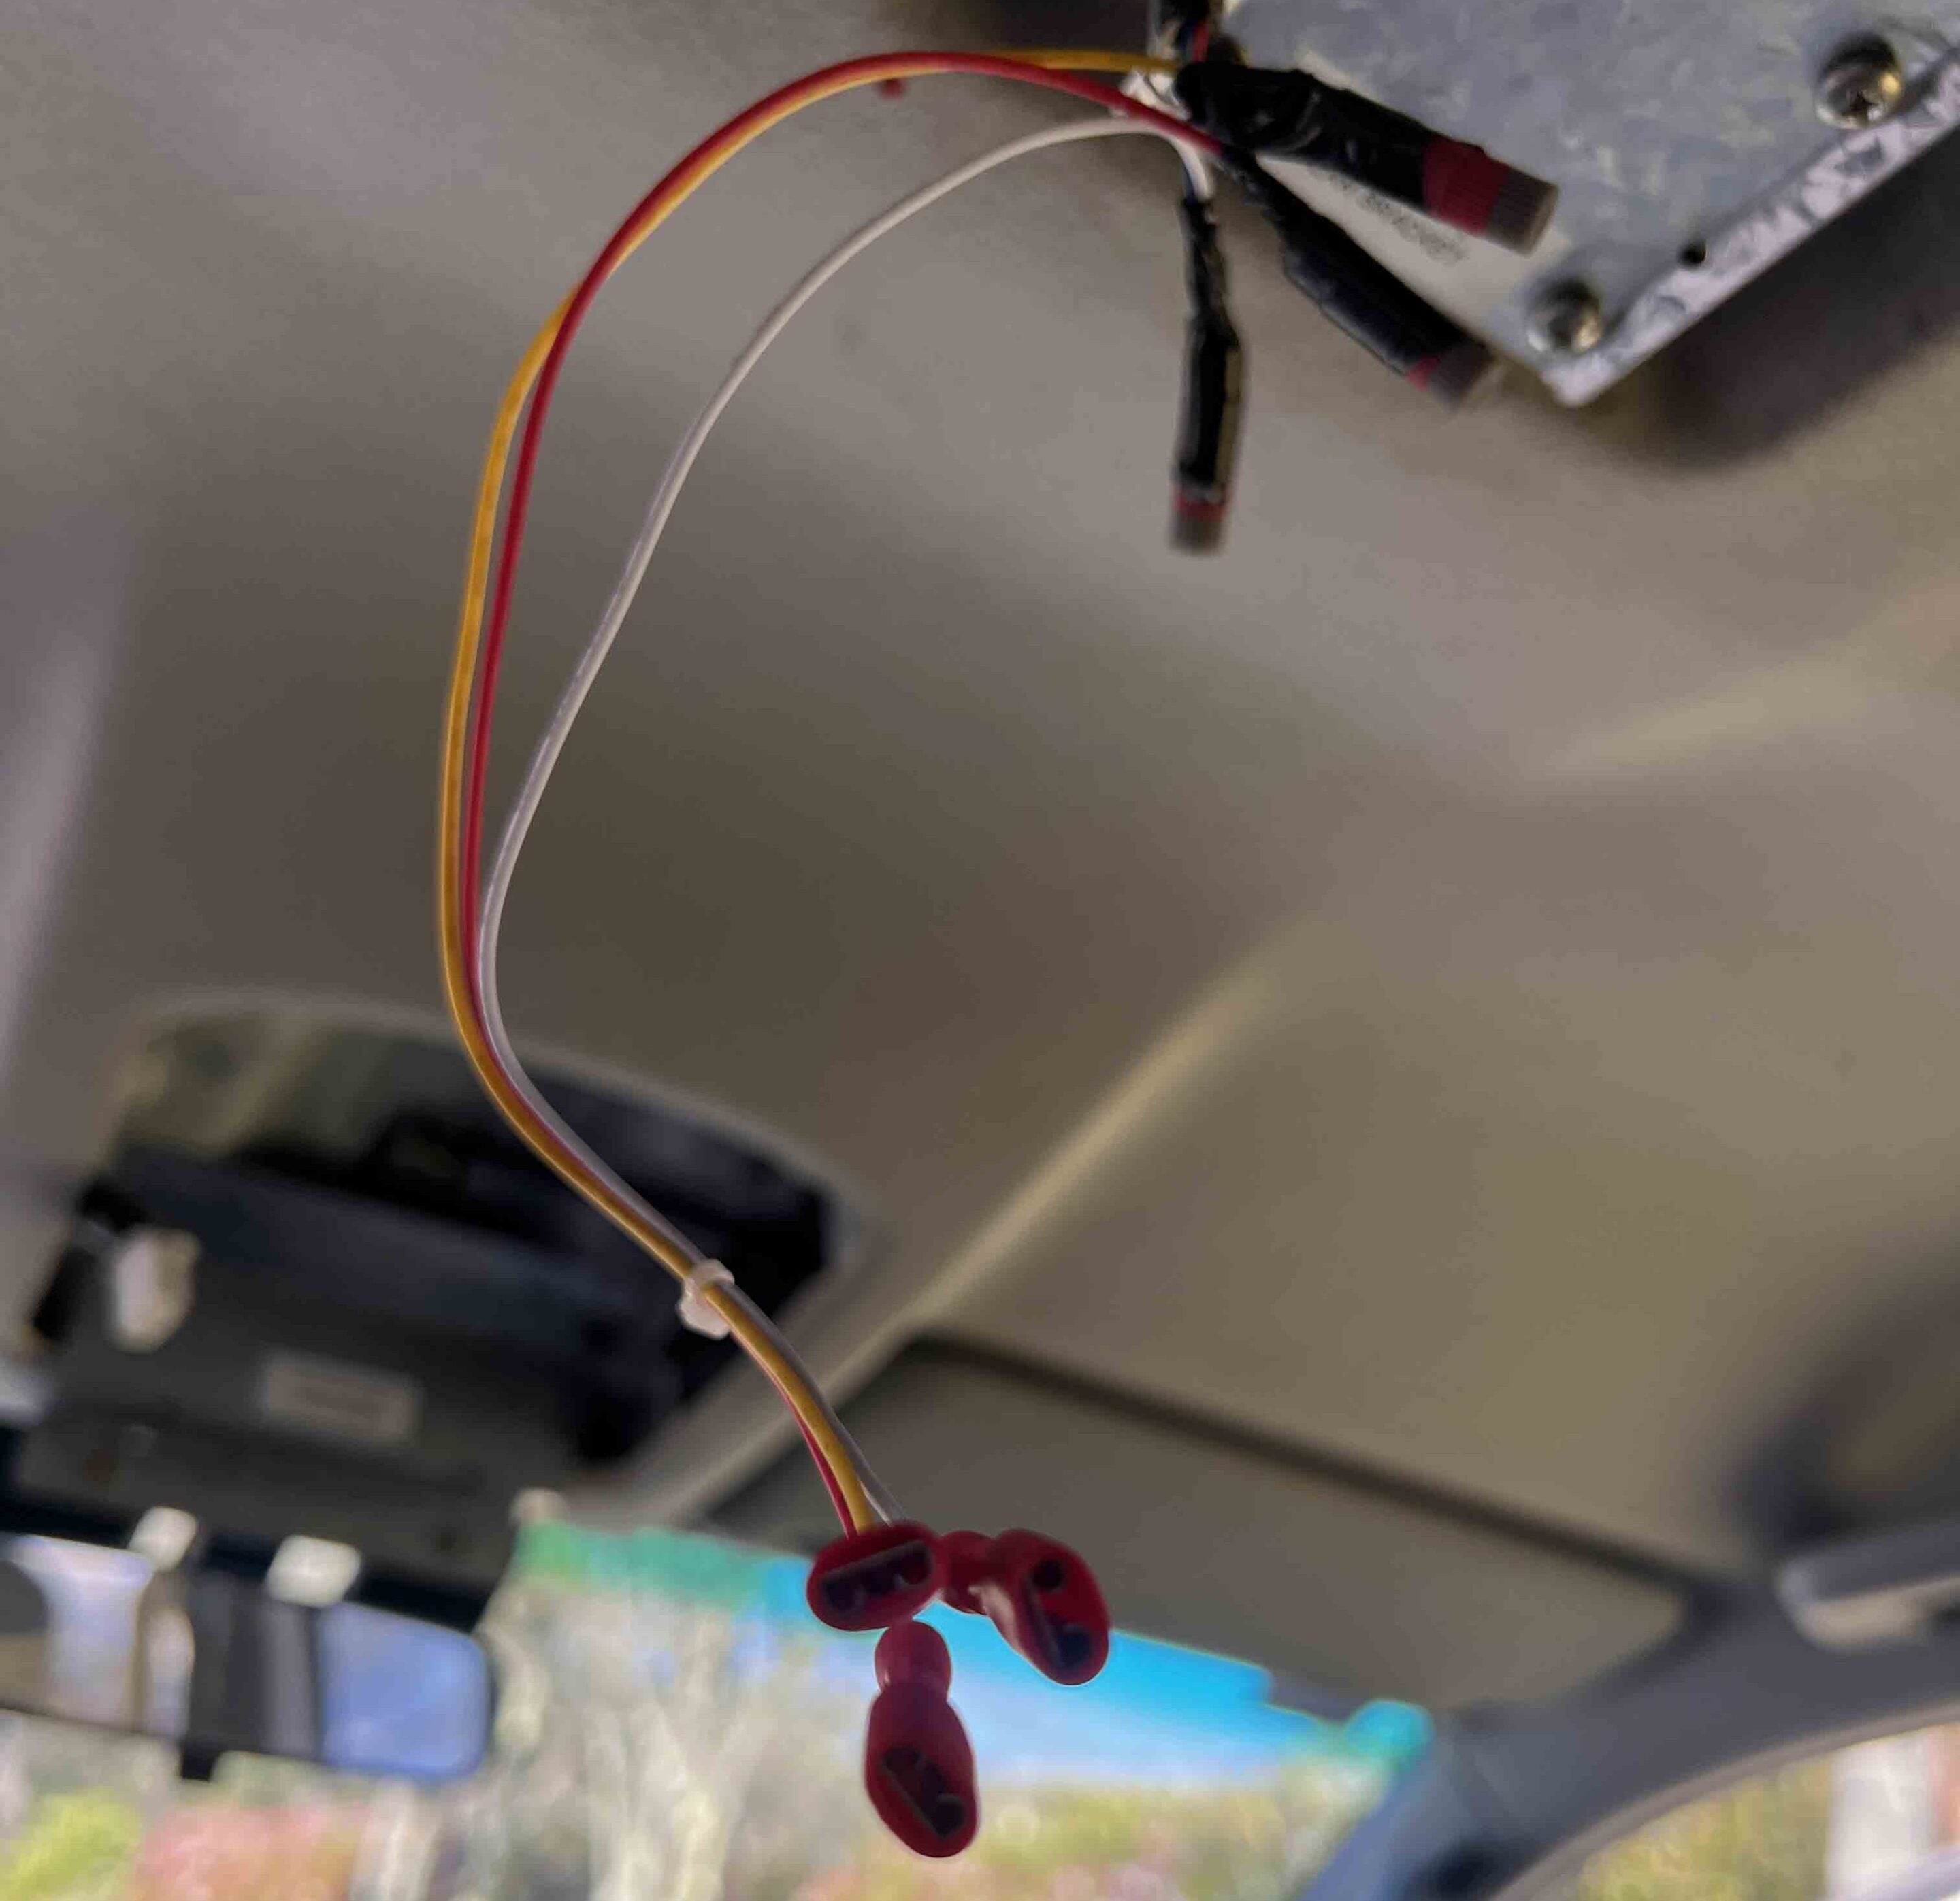
3. Wiring is about as complicated as stripping around 10mm of sheathing from the three factory wires, then matching them to the supplied plug-and-play loom using the provided connectors. Three minutes later, we’re ready to mount our console.
1
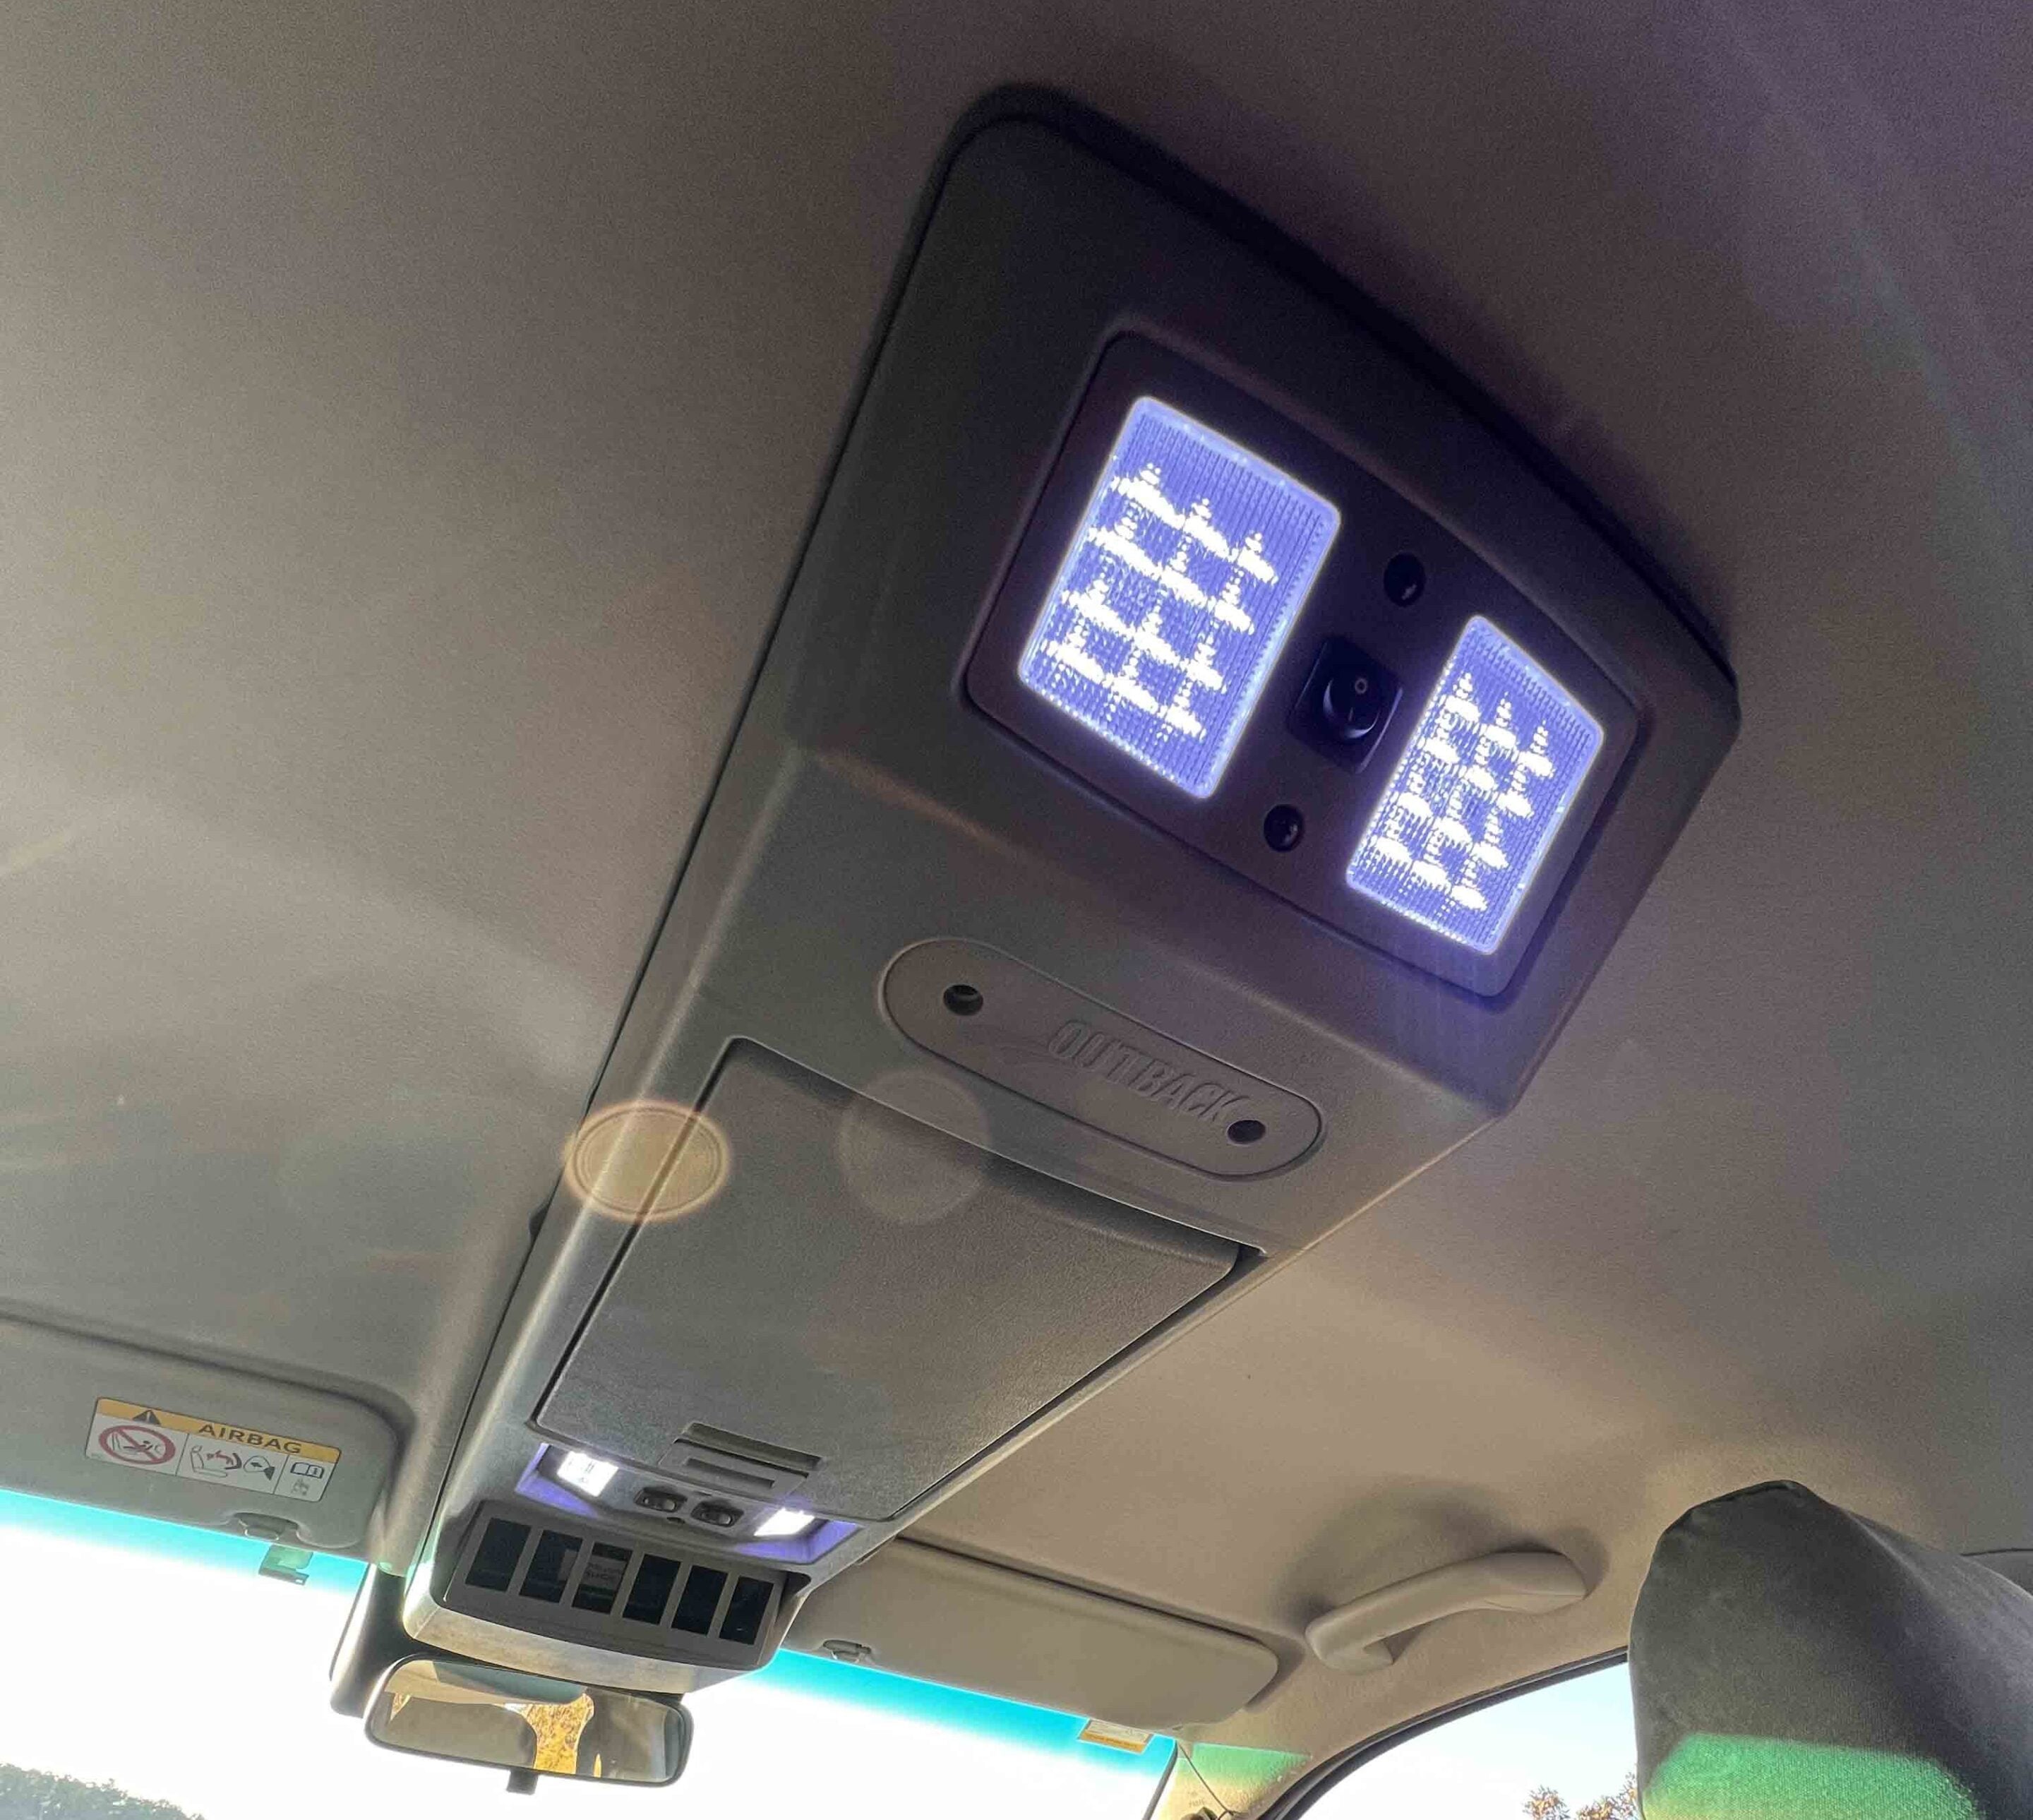
4. Before you do, test that all the lights work by standing the console on the seat and making sure they turn off with the doors closed. If you managed to follow the frankly ridiculously easy wiring instructions, you should be golden. Loosely bolt in the rear, followed by the front, then nip everything up until it’s secure. We applied thread-locking compound to all the mounting screws.
1
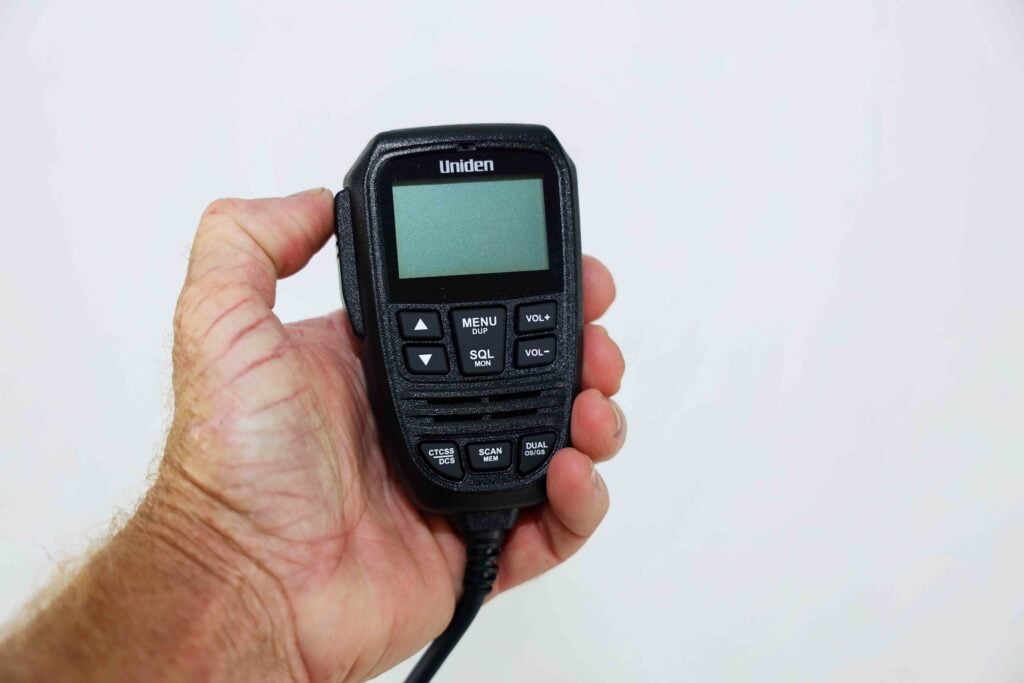
5. We’re still deciding which UHF to go with, so 4WD Interiors sent us this sweet-as switch panel for the radio slot. Maybe we’ll mount the radio elsewhere, as all the cool kids run roof-mounted switches these days. Still, for now, that’s job done.
Is the DIY installation difficult?
This one involves a little DIY know-how and a few basic tools.
The only thing we didn’t have on hand was a 3.2mm drill bit, but a few bucks at the local hardware store later, we were sorted. It also helps to have a friend hold the console against the roof while you tighten the bolts. All one and a half of our friends were mysteriously busy, and we managed just fine on our lonesome. Still, an extra human would’ve been handy. The job took us just shy of two hours from go to whoa.
Pricing
- 4WD Interiors roof console (↗): $495 (RRP)
What you get
- Mounting brackets and drilling template
- Integrated Bluetooth speaker
- Integrated door-light circuit board
- Plug-and-play wiring loom and connectors
- Factory lighting connections retained
- Switch panel for the UHF/radio slot
- DIY-friendly installation
- Requires basic tools and a 3.2mm drill bit
- Thread-locking compound recommended for mounting screws
- Installation takes around two hours
Follow 4X4 Australia on Google
Get more 4x4 news, reviews and gear stories from 4X4 Australia in your Google feeds.