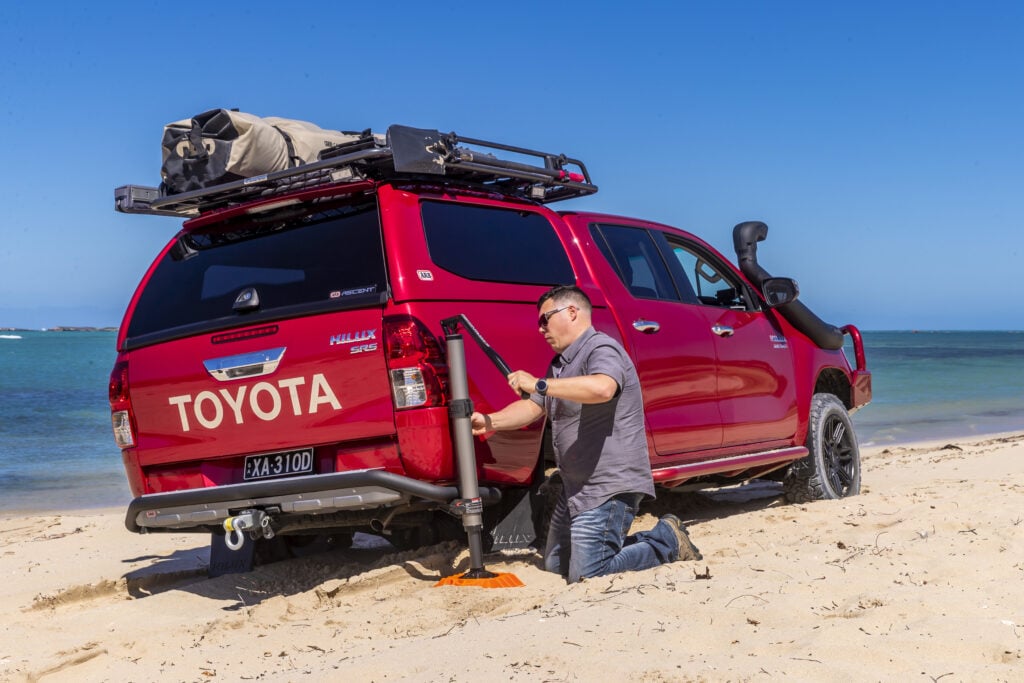
Recovery
Gallery 1
FOR first-timers and veterans alike, taking a set of spanners to your own 4×4 can be an intimidating prospect. In years gone by, where a rough engine rarely took little more than an adjustment of points, working on your own vehicle was just assumed – they were even designed that way.
Unfortunately, a slip of the spanner can now lead to thousands of dollars in repair bills, so the art of doing it yourself is all but forgotten. Most vehicles don’t even have a dipstick on their gearbox anymore!
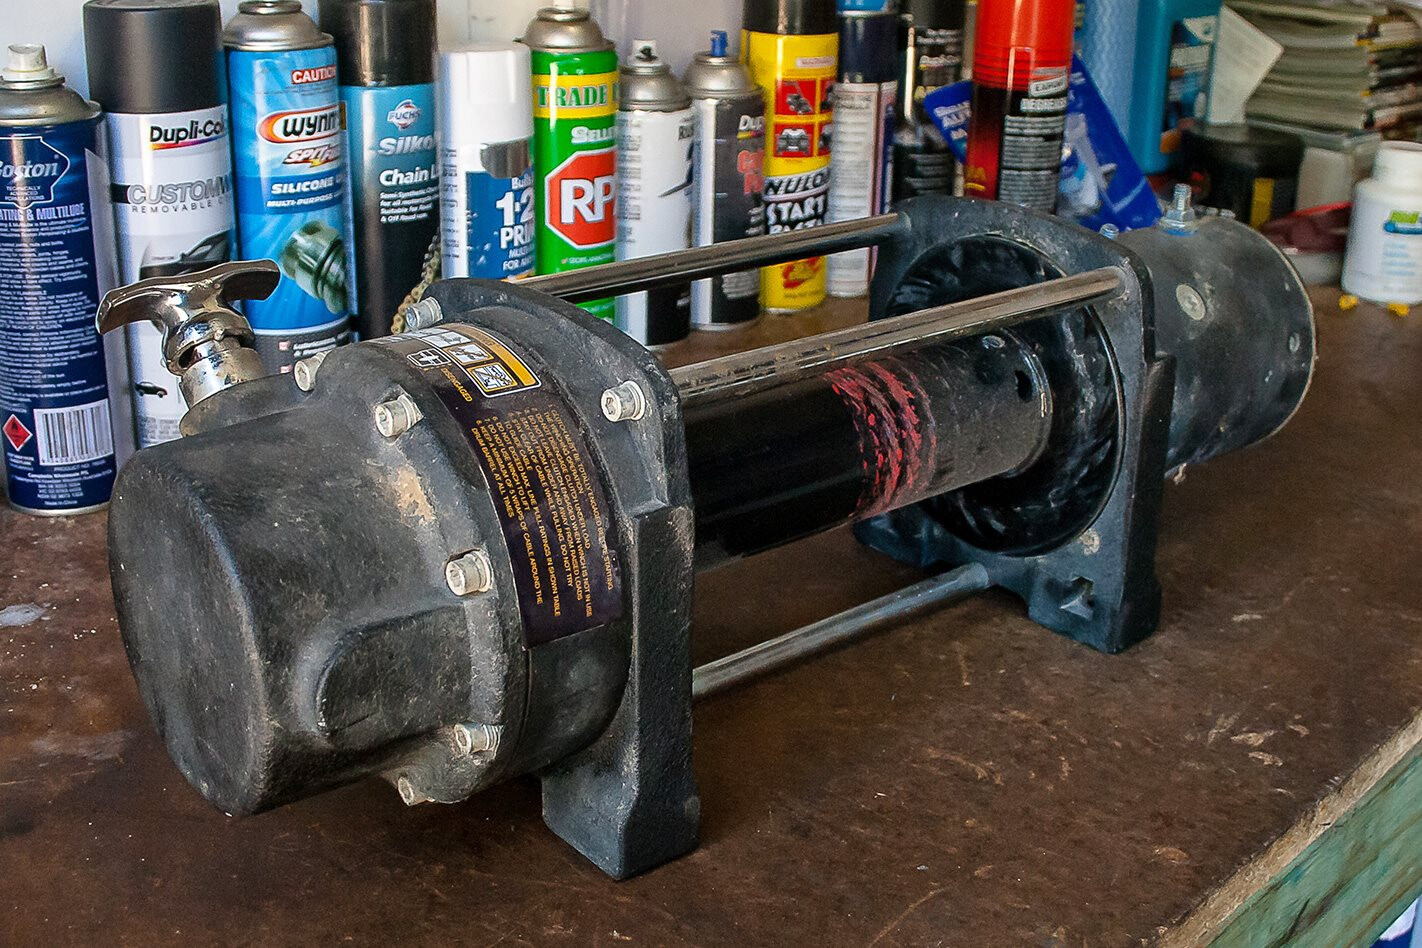
Not all hope is lost. For those itching to spin their own spanners to save a few bucks, there are still a wide variety of projects you can take on yourself. We’re taking a closer look at a typical electric winch you’ll find hanging off the front of most 4x4s. They’re a vital component for self-extraction, and they’re simpler to work on than you’d think.
So, save the money you’d spend on someone else’s time and use it to buy that accessory you’ve been eyeing off for ages, because we’re showing you how to service your own winch.
WHAT YOU’LL NEED
• Contact cleaner • 400-grit sandpaper • Degreaser • Old toothbrush • Grease – one tub • Two sets of jumper leads
1. EXTRACTION First, take a small punch and do light matching indents on the cap (and where it lines up with the motor), the motor body and the motor end-plate. This allows you to get it back into the right position. Remove the two bolts that run through the length of the motor and pull the motor away. The motor may require force to remove it. Never lever it up and down as it can damage internals. Instead, twist the motor to break the seal and then pull it back.
2. INSPECTION Before removing the rotor assembly, inspect for corrosion or water damage. If present, take the motor to an auto electrician. A DIY repair is viable but will require some experience in electric motors.
This winch appears to have had little use, so the key areas to inspect are the copper connections on the terminals, and the bearings. The solder connection on these posts can fatigue, causing poor contact and therefore winch failure.
The bearings on either end of the rotor assembly are also simple to inspect, and replacement bearings can often be sourced cheaply from a local bearing supplier.
3. SPRING CLEAN With the rotor assembly taken out, take light-grade sandpaper to the commutator (copper surface the brushes run against). Good contact is vital here, so the surface should be as clean and smooth as possible. While there, use a small pick or screwdriver to clean out the grooves in the commutator.
Before re-installing the rotor assembly, clean it and the housing with contact cleaner. When you’re sliding the rotor assembly in, the brushes on the housing will be in the way. With a small, flat-blade screwdriver, hold each brush back just enough to let the commutator slide past.
4. GREASE IT UP With the motor re-assembled and off to the side, remove the motor end-plate from the rest of the winch. You’ll find three tie rods connecting the two ends with Allen key bolts. If the rods spin as you’re undoing them, you’ll need to hold them with multi-grips. Use a rag to avoid damaging the chrome finish, as corrosion is inevitable if the finish gets broken.
With the three bars off, remove the motor end-plate and then the drum. You’ll want to clean away the existing grease on the drum and end-plates to replace it with fresh grease. On each end-plate you’ll find a plastic bushing that the drum runs in. Run your finger along it looking for any gouges or rough spots. If they’re damaged they’ll need to be replaced, otherwise they can be lightly re-greased.
5. GEAR CHANGE Remove the three crossbars from the gearbox housing and mark the end-plate and housing with the same punch method used on the motor. Remove the end-plate to access the planetary gearset inside. If you’re not familiar with planetary gears, take a minute to spin the input shaft and see the speed change between each gear. Pull the gears out and place them in order on a bench or clean area. You’ll need to pay attention to any plastic bushings and the sun gear on the smallest planetary gearset, to ensure they will be reinstalled correctly.
6. POP YOUR COLLAR With the gears out of the way, you’ll notice a circlip inside the housing. Remove the circlip to gain access to the free-spool collar. This locks into the housing by turning the free-spool lever. When the lever is disengaged the collar is allowed to spin, which lets the planetary gears spin despite the input shaft from the motor being locked solid.
Remove the free-spool collar and inspect for any wear or damage inside the housing. These items are mass-produced and aren’t perfect, so a small amount of metal-on-metal contact can cause the free-spool collar to jam.
Once the internals are removed, sit down with a bucket, a toothbrush and degreaser. You’ll want all the old grease removed, as some greases can react with each other and either break down completely or form a thick paste.
7. ON THE GEAR If you speak to 10 people you’ll get 11 opinions on the appropriate grease to use inside a winch. I’ve always found success with wheel-bearing grease, and it offers the extra benefit of simplifying the spares I carry. It’s also able to cope with the heat generated in a winch.
Whatever grease you decide to use should be applied sparingly. Overloading with grease can cause the free-spool to become difficult to operate. Apply a fine layer inside the housing where the collar sits and then on each of the planetary gears in each set. Also apply a small amount to the plastic bushes. Reinstall the free-spool collar and circlip, ensuring the free-spool lever can lock and unlock – most collars have an offset groove in them.
With the gears reinstalled, grab a battery drill and spin the input shaft to ensure all gears work before bolting the gearbox end-plate back on. If the housing is in two pieces you will need to lightly bolt it together to install the gears. Only use two bolts at this stage, as it may need to be separated if the free-spool or gearset doesn’t work.
8. CLOCKED When the free-spool is engaging and disengaging, re-attach the gearbox end-plate. If you’re hoping to not open it again for another 5-10 years, use silicone or a fresh gasket. If it’s your first time pulling a winch apart you may want to re-check it after its first use, so re-use the existing gaskets for now.
If you want to clock the housing to re-position where the free-spool lever is, now’s the time. The bolt patterns are rarely symmetrical, so you may need to clock it slightly further than desired. If you’re not clocking the lever, then re-align the punch marks you left before. Dab a touch of anti-seize on each bolt and install finger-tight, then tighten in a star pattern. Do the same on the centre section if the ’box is a two-piece item.
9. RE-INSTALLATION Slide the winch drum back onto the gearbox end-plate, ensuring it seats firmly onto the input shaft for the gears and the outer planetary gear itself. There should be a smear of fresh grease in the plastic bush the drum rides in, and in the outer seal as well.
Re-install the three crossbars onto the gearbox end-plate and ensure you use anti-seize, as the dissimilar metals can cause corrosion and lock bolts. Do the same again with the motor end-plate. With the winch assembled and the drum correctly aligned, re-install the motor onto the end-plate by either re-using the existing gaskets or replacing with silicone or new items. It can be difficult lining the long bolts up with their threads, so try having the motor 2-3mm away from the housing so you can see inside.
10. GIVE IT A WHIRL The final step is to test the winch. Test the free-spool is operating correctly by disengaging the collar and twisting the drum. The winch motor can be tested by connecting a negative jumper cable to the negative post underneath (and the positive to the red terminal post), with the other ends attached to your battery. Then run a second jumper cable between the yellow and blue posts.
You can check both directions by connecting the positive jumper cable to the yellow post, and by running the second cable from the red to the blue.
For more information and tips on Gear, check out our page here.
Follow 4X4 Australia on Google
Get more 4x4 news, reviews and gear stories from 4X4 Australia in your Google feeds.