Suspension
Gallery1
WHEN fitting a suspension lift to a live axle, coil spring set-up you can alter the axle geometry so the new ride height of the axle is offset to one side.
This article was originally published in the June 2014 issue of 4x4 Australia.
On many front axle, coil spring designs, the Panhard rod (also known as a track bar) is a bar fitted between the chassis and axle to stop the axle moving side to side. As the suspension flexes the axle doesn’t just go straight up and down, but instead it goes in an arc – thanks to this bar.
So when you lift suspension, the standard Panhard rod is no longer the correct length to keep the axle centred at your new static ride height, instead, it’s off to one side.
This job is easy but it does require some fiddling around with measuring the new adjustable Panhard rod and axle. The most difficult part is moving the body over on the axle to the correct spot. You will find driving in a straight line a few times will help, as will pushing the body over with the Panhard rod disconnected.
With the new adjustable rod bolted in place, make sure you measure one more time to see that the axle is centred. With that all done, you need to torque the attachment bolts to the manufacturer’s specifications and fit a fresh split pin to the castellated nut on top of the ball joint.
Finally, tighten the adjustment nut on the Panhard rod and add grease to the ball joint. You may well need a wheel alignment after this job, so factor that in before using your vehicle.
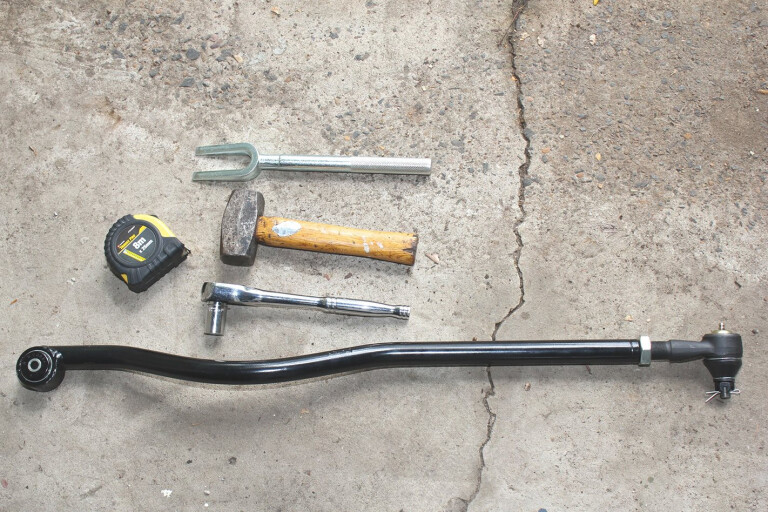
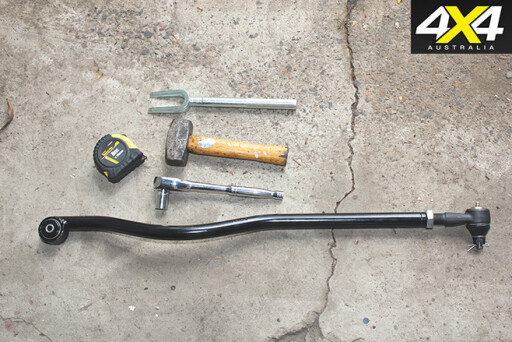 1. Basic equipment needed: Adjustable Panhard rod, ball joint separator, hammer, sockets and tape measure.
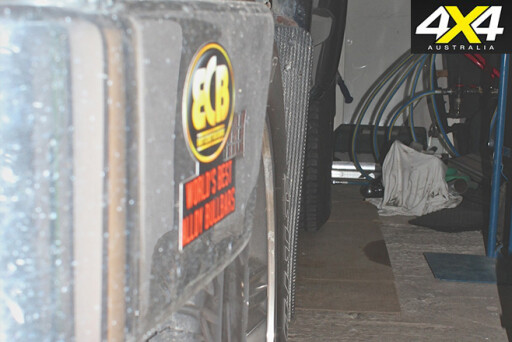 2. Do a visual check of axle alignment. Sometimes the misalignment is obvious.
3. From this angle the axle appears offset to the right, a common problem with lifted suspension.
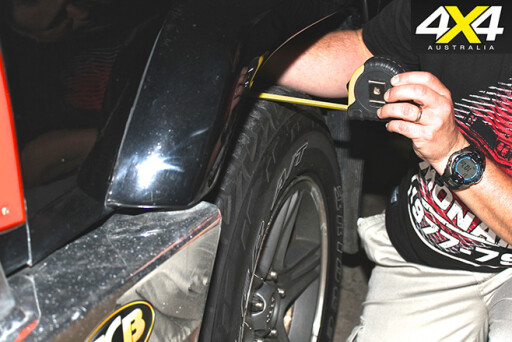 4. Measure from a fixed point on the body to a set point on the tyre – on both sides.
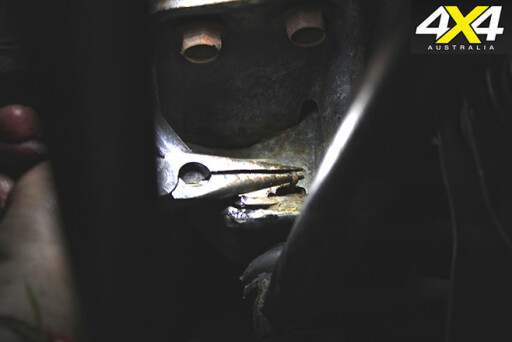 5. Remove split pin on castellated nut securing ball joint.
 6. Remove castellated nut securing ball joint.
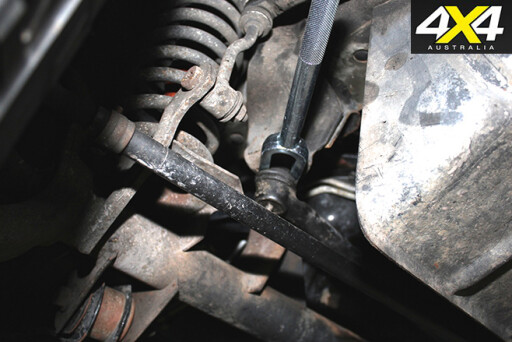 7. Using the ball joint separator and hammer, remove the Panhard rod from its securing point.
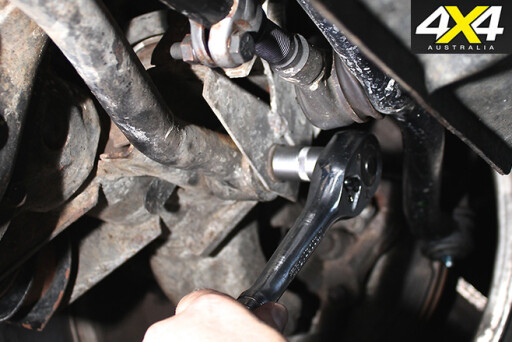
 8. Ball joint removed from securing point on frame.
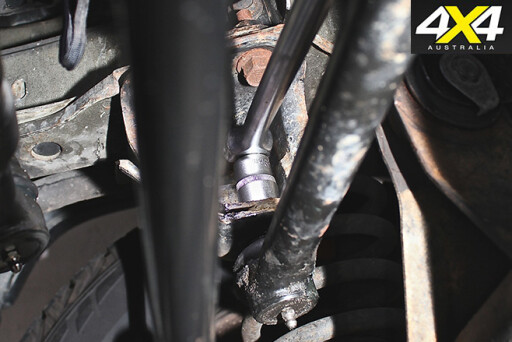
 9. Unbolt the bushed end of Panhard rod from the locating point on the axle.
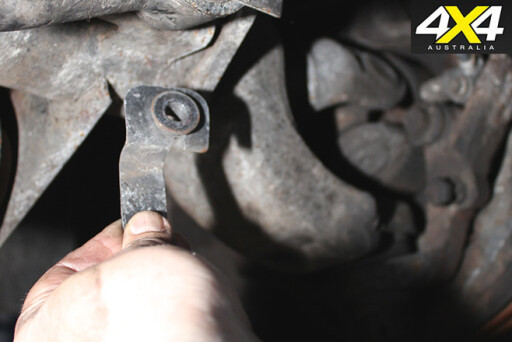 10. In this case the securing nut is easily fitted as it is welded to this locating tang.
11. Measure the adjustable rod against the old, non-adjustable one.
12. Fitting the Panhard rod is the same process as dismantling, in reverse.
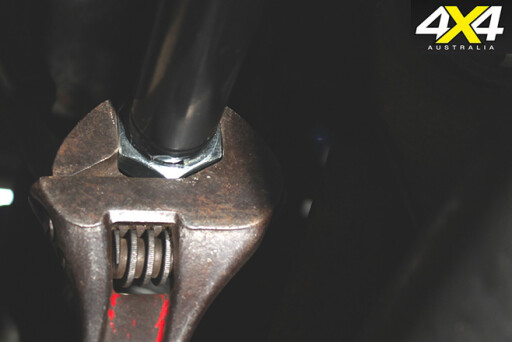 13. The adjustment nut on the Panhard rod can now be tightened up.
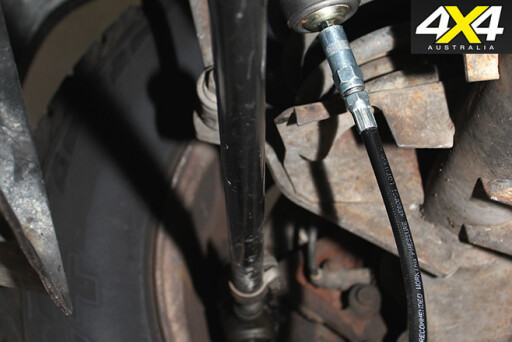 14. Add grease to ball joint, take vehicle for a test drive and get a wheel alignment if necessary.
Please enable JavaScript to view the comments powered by Disqus.
COMMENTS